
Effortless squeegee cleaning tips are about to revolutionize your cleaning routine! Are you tired of streaks and smudges ruining your freshly cleaned windows and shower doors? I know I was! For years, I struggled to achieve that crystal-clear finish, constantly battling water spots and soap scum. But guess what? The secret isn’t some expensive cleaning product; it’s mastering the art of squeegee cleaning.
Squeegees have been around for centuries, with early versions used for everything from cleaning printing presses to removing snow from sidewalks. While their design has evolved, the core principle remains the same: a simple, effective way to remove liquids from surfaces. But let’s be honest, many of us aren’t using them to their full potential. We rush through the process, resulting in less-than-perfect results.
That’s where these effortless squeegee cleaning tips come in. In this DIY guide, I’m going to share my tried-and-true methods for achieving streak-free shine every time. Whether you’re a seasoned cleaner or just starting out, these hacks will save you time, money, and frustration. Say goodbye to dull, streaky surfaces and hello to sparkling clean windows and showers! I’ll show you how to choose the right squeegee, prepare your surfaces, and master the proper technique for a professional-quality clean. Get ready to transform your cleaning game!
Effortless Squeegee Cleaning: A DIY Guide to Streak-Free Windows
Okay, let’s face it, cleaning windows can be a real pain. But with the right technique and a little DIY magic, you can achieve sparkling, streak-free results using a squeegee. I’m going to walk you through my tried-and-true method for squeegee cleaning, making the whole process much easier and, dare I say, even enjoyable!
What You’ll Need: The Essential Supplies
Before we dive in, let’s gather our supplies. Having everything ready beforehand will make the process smoother and more efficient.
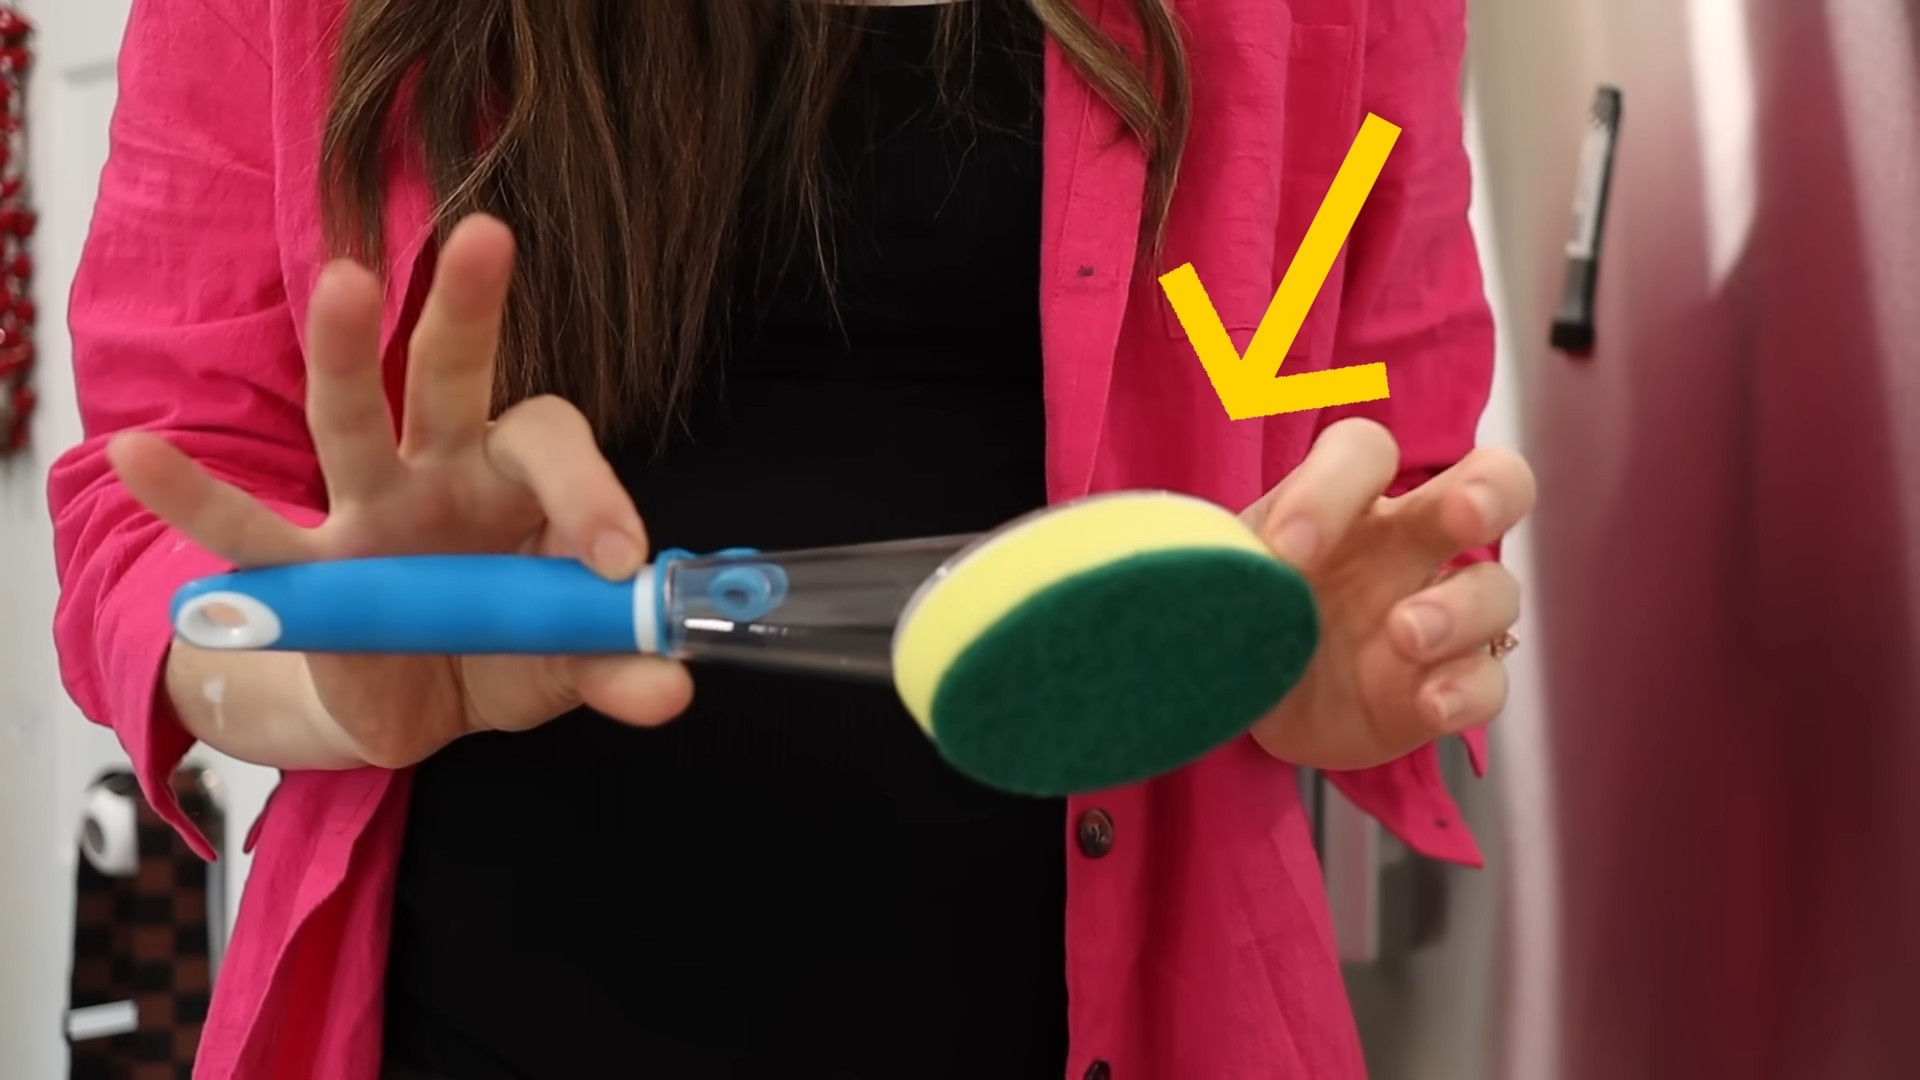
* Squeegee: This is the star of the show! A good quality squeegee with a sharp, clean rubber blade is crucial. I recommend one that’s around 10-12 inches wide for most household windows.
* Bucket: You’ll need a bucket to hold your cleaning solution.
* Cleaning Solution: You can buy a commercial window cleaner, but I prefer a simple DIY solution (recipe below!).
* Spray Bottle (Optional): For pre-treating stubborn spots.
* Applicator: A microfiber cloth, sponge, or even a T-bar applicator works great for applying the cleaning solution to the window.
* Microfiber Cloths: These are essential for wiping the squeegee blade after each stroke and for drying the edges of the window.
* Ladder or Step Stool (If needed): For reaching high windows. Safety first!
* Old Towel or Drop Cloth: To protect your floors from drips.
* Dish Soap (Optional): A tiny drop can help cut through grease.
* White Vinegar (Optional): For extra cleaning power.
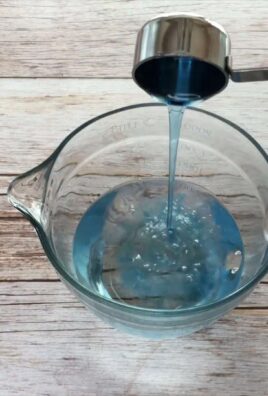
DIY Cleaning Solution Recipes: My Secret Weapons
I’m a big fan of DIY cleaning solutions because they’re eco-friendly, cost-effective, and just as effective as store-bought options. Here are a couple of my favorite recipes:
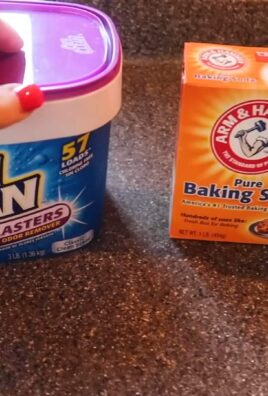
* Basic Solution: Mix 1/4 cup of white vinegar with 2 cups of water in a bucket.
* Dish Soap Solution: Add a single drop of dish soap to 2 cups of water in a bucket. Be careful not to use too much, or you’ll end up with excessive suds.
* Vinegar and Dish Soap Solution: Combine 1/4 cup of white vinegar, one drop of dish soap, and 2 cups of water in a bucket. This is my go-to for really dirty windows.
Getting Started: Preparing Your Windows
Before you even think about grabbing that squeegee, it’s important to prep your windows. This will remove loose dirt and debris, making the squeegee cleaning process much more effective.
1. Dust and Debris Removal: Use a dry brush or vacuum cleaner with a brush attachment to remove any loose dirt, dust, cobwebs, or debris from the window surface and frame. Pay special attention to the corners and edges.
2. Pre-Treat Stubborn Spots (Optional): If you have any stubborn spots like bird droppings or sticky residue, spray them with your cleaning solution and let it sit for a few minutes before wiping them away with a microfiber cloth.
Squeegee Technique: The Key to Streak-Free Results
Now for the main event! The squeegee technique is crucial for achieving streak-free windows. Here’s my step-by-step guide:
1. Dip Your Applicator: Dip your microfiber cloth, sponge, or T-bar applicator into your cleaning solution and wring out any excess liquid. You want it to be damp, not dripping.
2. Apply the Solution: Thoroughly wet the entire window surface with the cleaning solution. Make sure to cover every inch, including the corners and edges.
3. Position Your Squeegee: Start at the top corner of the window. Angle the squeegee blade slightly and press it firmly against the glass.
4. Overlap Each Stroke: Overlap each stroke by about an inch to ensure you don’t miss any spots.
5. Wipe the Blade: After each stroke, wipe the squeegee blade clean with a dry microfiber cloth. This is essential for preventing streaks.
6. The Final Wipe: Once you’ve squeegeed the entire window, use a clean, dry microfiber cloth to wipe the edges and corners to remove any remaining water or streaks.
Squeegee Stroke Patterns: Finding What Works for You
There are a few different squeegee stroke patterns you can use. Experiment to see which one works best for you and your windows.
* Vertical Strokes: Start at the top corner and pull the squeegee straight down in vertical strokes, overlapping each stroke. This is a good option for smaller windows.
* Horizontal Strokes: Start at the top corner and pull the squeegee across the window in horizontal strokes, overlapping each stroke. This is a good option for wider windows.
* Overlapping S-Strokes: This is my personal favorite. Start at the top corner and move the squeegee in an “S” pattern, overlapping each stroke. This technique allows for good coverage and control.
Troubleshooting: Dealing with Common Problems
Even with the best technique, you might encounter a few common problems. Here’s how to troubleshoot them:
* Streaks: Streaks are usually caused by a dirty squeegee blade or insufficient overlap. Make sure to wipe the blade after each stroke and overlap your strokes by at least an inch. If streaks persist, try cleaning the blade with rubbing alcohol.
* Water Spots: Water spots can occur if the cleaning solution dries too quickly. Work quickly and in the shade if possible. You can also try adding a small amount of glycerin to your cleaning solution to slow down the drying process.
* Smears: Smears are often caused by using too much cleaning solution or a dirty microfiber cloth. Use a damp (not dripping) applicator and make sure your microfiber cloths are clean and dry.
* Uneven Cleaning: This can happen if you don’t apply the cleaning solution evenly. Make sure to thoroughly wet the entire window surface before squeegeeing.
Maintaining Your Squeegee: Keeping it in Tip-Top Shape
To ensure your squeegee lasts for years to come, it’s important to maintain it properly.
* Clean the Blade: After each use, clean the squeegee blade with soap and water to remove any dirt or debris.
* Store Properly: Store your squeegee in a dry place, away from direct sunlight.
* Replace the Blade: The rubber blade will eventually wear out. Replace it when it becomes chipped, cracked, or dull. Replacement blades are readily available at most hardware stores.
Safety First: Important Considerations
Cleaning windows can be a safe and easy task, but it’s important to take a few precautions:
* Use a Sturdy Ladder: If you need to use a ladder to reach high windows, make sure it’s sturdy and properly positioned. Have someone spot you if possible.
* Avoid Cleaning in Direct Sunlight: Direct sunlight can cause the cleaning solution to dry too quickly, leading to streaks.
* Protect Your Floors: Use an old towel or drop cloth to protect your floors from drips.
* Be Careful with Chemicals: If you’re using a commercial window cleaner, follow the manufacturer’s instructions carefully.
Beyond Windows: Other Uses for Your Squeegee
Your squeegee isn’t just for windows! Here are a few other uses:
* Shower Doors: Use a squeegee to remove water from your shower doors after each use to prevent soap scum buildup.
* Mirrors: Squeegee your mirrors after cleaning them for a streak-free shine.
* Car Windows: Use a squeegee to clean your car windows for improved visibility.
* Tile Walls: Squeegee tile walls in your bathroom or kitchen after cleaning to prevent water spots.
Final Thoughts: Enjoy Your Sparkling Windows!
With a little practice and the right technique, you can achieve sparkling, streak-free windows using a squeegee. Don’t be discouraged if you don’t get it perfect the first time. Just keep practicing, and you’ll be a squeegee pro in no time! And remember, a clean window lets in more light and brightens up your entire home. Happy cleaning!
Conclusion
So, there you have it! Mastering effortless squeegee cleaning is not just about keeping your shower doors sparkling; it’s about reclaiming your time, extending the life of your cleaning tools, and enjoying a more hygienic home. We’ve explored simple yet effective techniques that transform a mundane chore into a quick and satisfying task.
Why is this DIY approach a must-try? Because it’s economical, environmentally conscious, and incredibly effective. Forget expensive, harsh chemicals that can damage your squeegee and irritate your skin. With readily available ingredients like vinegar, baking soda, and dish soap, you can create powerful cleaning solutions that tackle soap scum, hard water stains, and mildew with ease. Plus, by regularly cleaning your squeegee, you’re preventing the spread of bacteria and mold, ensuring a healthier living environment for you and your family.
But the benefits don’t stop there. A clean squeegee performs better, leaving your surfaces streak-free and gleaming. This not only enhances the appearance of your bathroom but also reduces the need for frequent deep cleaning. Think of all the time and energy you’ll save!
Looking for variations? Consider adding a few drops of your favorite essential oil to your cleaning solution for a refreshing scent. Lavender, tea tree, and eucalyptus are excellent choices for their antibacterial and antifungal properties. For particularly stubborn stains, create a paste of baking soda and water and apply it directly to the affected area before scrubbing. You can also experiment with different types of cloths or sponges to find what works best for you. Microfiber cloths are known for their superior cleaning power and lint-free finish.
Don’t be afraid to get creative and customize these techniques to suit your specific needs and preferences. The key is to find a routine that you can easily incorporate into your cleaning schedule. Even a quick wipe-down after each shower can make a significant difference in preventing buildup and maintaining a sparkling clean squeegee.
We wholeheartedly encourage you to try these effortless squeegee cleaning tips and experience the difference for yourself. It’s a small change that can have a big impact on the cleanliness and hygiene of your home.
Once you’ve given these methods a try, we’d love to hear about your experience! Share your tips, tricks, and before-and-after photos in the comments section below. Let’s create a community of squeegee cleaning enthusiasts and help each other achieve sparkling results! Your insights could be invaluable to other readers who are struggling with this common household chore. Together, we can make squeegee cleaning a breeze!
Frequently Asked Questions (FAQs)
1. How often should I clean my squeegee?
The frequency of cleaning your squeegee depends on how often you use it. Ideally, you should clean it after each use to prevent the buildup of soap scum, hard water stains, and mildew. A quick rinse with water and a wipe-down with a clean cloth can suffice for daily maintenance. However, for a more thorough cleaning, aim to deep clean your squeegee at least once a week. This will help to remove any stubborn residue and keep it in optimal condition. If you notice any signs of mold or mildew, clean it immediately, regardless of your regular cleaning schedule.
2. What’s the best way to remove stubborn soap scum from my squeegee?
Stubborn soap scum can be a challenge, but it’s definitely manageable. Start by soaking your squeegee in a solution of equal parts white vinegar and hot water for about 30 minutes. The acidity of the vinegar will help to loosen the soap scum. After soaking, scrub the squeegee with a non-abrasive sponge or cloth. For particularly stubborn areas, create a paste of baking soda and water and apply it directly to the soap scum. Let it sit for a few minutes before scrubbing again. Rinse thoroughly with water and dry with a clean cloth. If the soap scum persists, you can try using a commercial soap scum remover, but be sure to follow the manufacturer’s instructions carefully and test it on a small, inconspicuous area first.
3. Can I use bleach to clean my squeegee?
While bleach is a powerful disinfectant, it’s generally not recommended for cleaning squeegees, especially those with rubber or plastic parts. Bleach can be corrosive and may damage the materials, leading to premature wear and tear. Additionally, bleach fumes can be harmful, so it’s best to avoid using it unless absolutely necessary. If you do choose to use bleach, dilute it significantly with water and wear gloves and eye protection. Ensure proper ventilation and rinse the squeegee thoroughly after cleaning. Safer alternatives like vinegar, baking soda, and dish soap are usually sufficient for most cleaning needs.
4. How do I prevent mold and mildew from growing on my squeegee?
Preventing mold and mildew is crucial for maintaining a hygienic squeegee. The key is to keep it dry and well-ventilated. After each use, rinse your squeegee thoroughly with water and shake off any excess moisture. Store it in a dry place where it can air dry completely. Avoid storing it in a damp or enclosed space, such as inside the shower or behind the toilet. You can also spray your squeegee with a diluted vinegar solution after each use to help prevent mold and mildew growth. Vinegar is a natural disinfectant and fungicide that can effectively kill mold spores.
5. What type of cleaning solution is best for different types of squeegees?
The best cleaning solution depends on the material of your squeegee. For most squeegees with rubber or plastic blades, a solution of vinegar, water, and dish soap is a safe and effective option. Avoid using harsh chemicals or abrasive cleaners that can damage the materials. For squeegees with metal parts, be sure to dry them thoroughly after cleaning to prevent rust. If you’re unsure about the best cleaning solution for your specific squeegee, consult the manufacturer’s instructions or test a small, inconspicuous area first.
6. My squeegee blade is starting to deteriorate. Can I replace it?
In many cases, yes, you can replace the squeegee blade. Check the manufacturer’s website or online retailers for replacement blades that are compatible with your squeegee model. Replacing the blade is often more cost-effective than buying a new squeegee. To replace the blade, carefully remove the old one and slide the new one into place, following the manufacturer’s instructions. If you’re unable to find a replacement blade, it may be time to invest in a new squeegee.
7. Are there any eco-friendly alternatives to commercial squeegee cleaners?
Absolutely! The DIY cleaning solutions mentioned in this article are excellent eco-friendly alternatives to commercial squeegee cleaners. Vinegar, baking soda, and dish soap are all natural, biodegradable ingredients that are safe for the environment. You can also use essential oils for added cleaning power and a pleasant scent. By making your own cleaning solutions, you’re reducing your reliance on harsh chemicals and contributing to a more sustainable lifestyle.
8. How can I make my squeegee last longer?
Proper care and maintenance are essential for extending the life of your squeegee. In addition to regular cleaning, avoid using your squeegee on rough or abrasive surfaces that can damage the blade. Store it in a dry place to prevent mold and mildew growth. Replace the blade when it starts to deteriorate. By following these simple tips, you can keep your squeegee in good condition for years to come.
9. Can I use a dishwasher to clean my squeegee?
While it might seem convenient, it’s generally not recommended to clean your squeegee in the dishwasher. The high heat and harsh detergents can damage the rubber or plastic parts, leading to premature wear and tear. Hand washing is the preferred method for cleaning your squeegee.
10. What are some other uses for a squeegee besides cleaning shower doors?
Squeegees are versatile tools that can be used for a variety of cleaning tasks around the house. They’re great for cleaning windows, mirrors, and car windshields. You can also use them to remove water from tile floors after mopping or to clean up spills on countertops. Some people even use them to smooth wallpaper or apply decals. Get creative and experiment with different uses for your squeegee!

Leave a Comment