
Winter Radish Prep: Are you dreaming of crisp, peppery radishes even as the snow starts to fall? I know I am! There’s something incredibly satisfying about harvesting fresh vegetables from your own garden, especially when the weather outside is frightful. But growing winter radishes successfully requires a little know-how, and that’s where this DIY guide comes in. Forget those bland, store-bought radishes – we’re going to unlock the secrets to cultivating vibrant, flavorful winter radishes right in your own backyard (or even on your balcony!).
Radishes have a surprisingly long and fascinating history, dating back to ancient Egypt! They were even used as currency at one point. Today, they’re enjoyed worldwide for their unique taste and nutritional benefits. But let’s be honest, sometimes growing them can be tricky, especially when dealing with colder temperatures and shorter days.
That’s why mastering winter radish prep is so important. This isn’t just about planting seeds; it’s about understanding the specific needs of these hardy vegetables and creating the optimal environment for them to thrive. I’m going to share my favorite DIY tricks and hacks that will help you extend your growing season and enjoy a delicious radish harvest all winter long. From choosing the right varieties to protecting your plants from frost, we’ll cover everything you need to know. So, grab your gardening gloves, and let’s get started!
DIY Winter Radish Preservation: From Garden to Table All Season Long!
Hey everyone! I’m so excited to share my tried-and-true method for preserving winter radishes. If you’re like me, you love the crisp, peppery bite of a freshly harvested radish, but those little beauties don’t last forever. This guide will walk you through several ways to keep your winter radishes fresh and delicious for months, so you can enjoy them long after the growing season ends. Let’s get started!
Understanding Winter Radishes
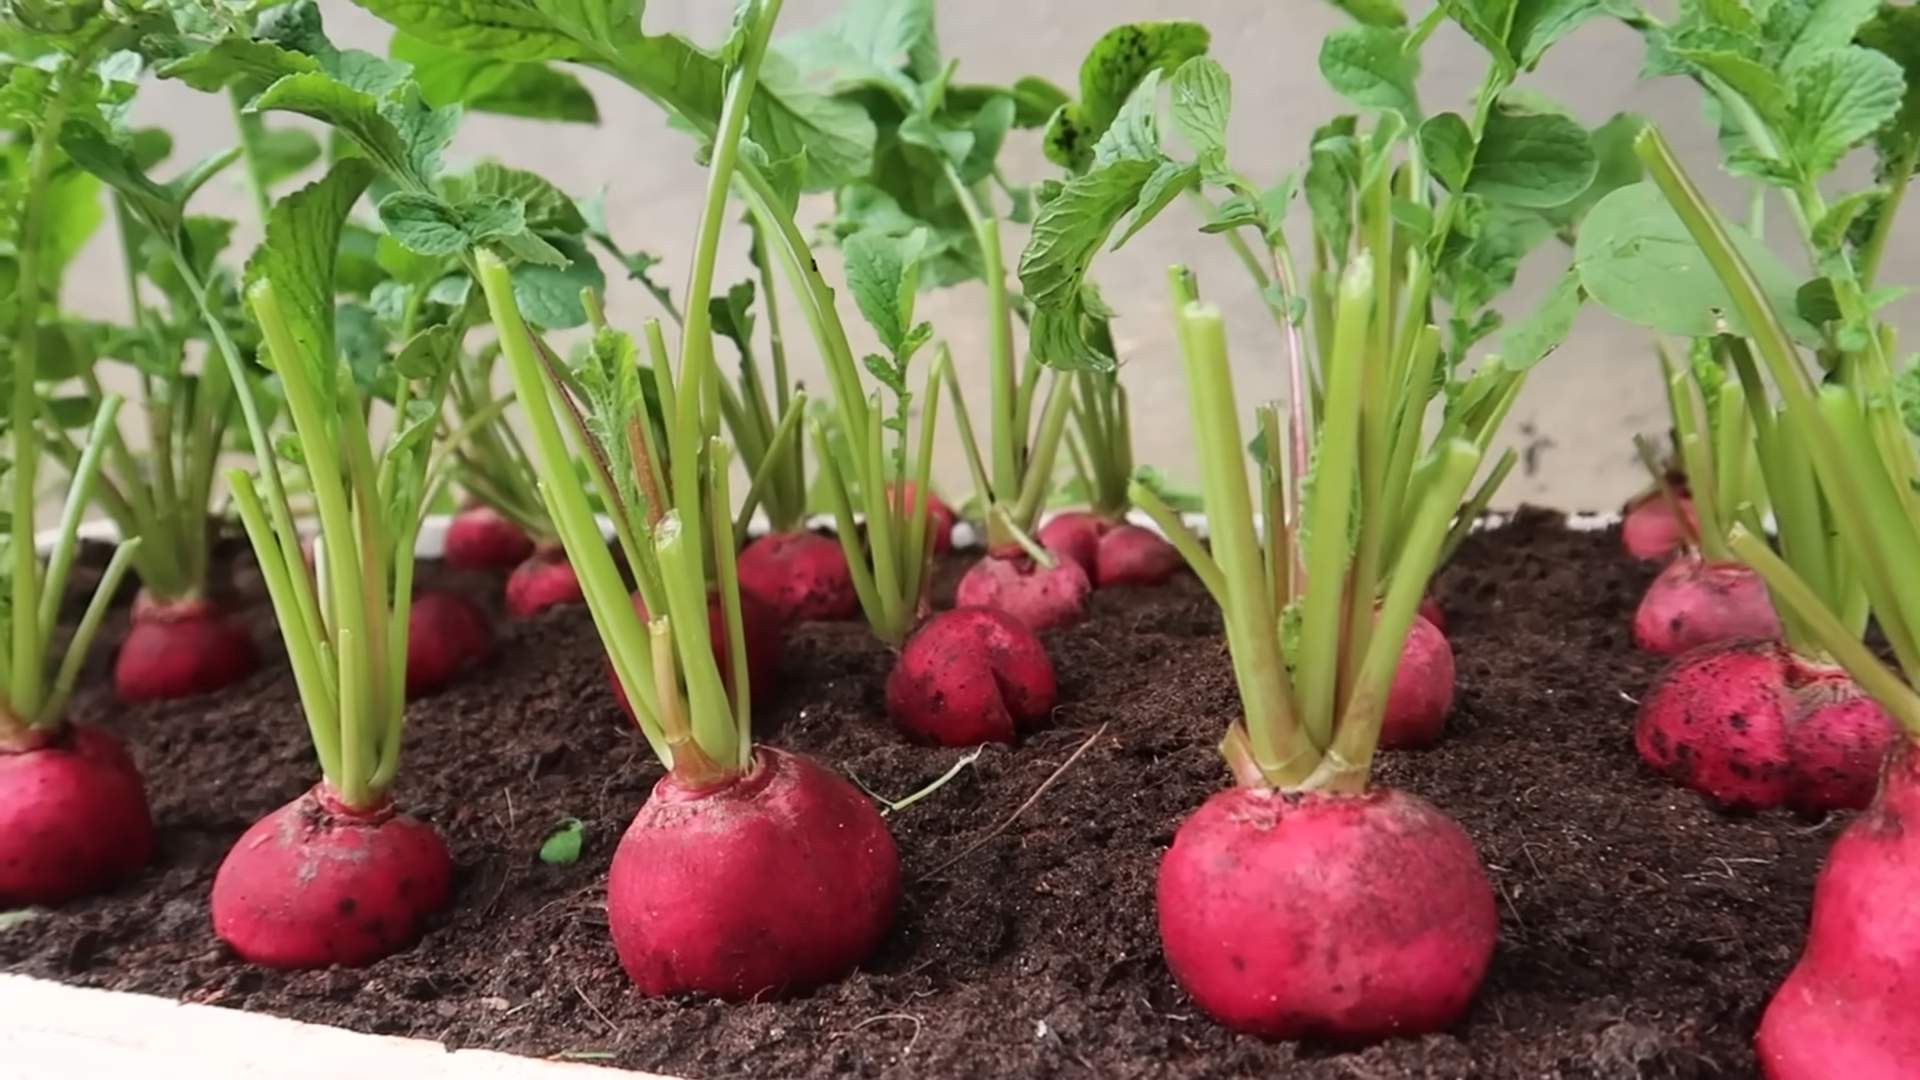
First things first, let’s talk about winter radishes. Unlike their spring counterparts, winter radishes are larger, denser, and have a much longer storage life. Varieties like Daikon, Watermelon Radish, and Black Spanish Radish are perfect for this preservation project. They’re also incredibly versatile in the kitchen!
Choosing Your Preservation Method
There are several ways to preserve winter radishes, and the best method for you will depend on your storage space, how you plan to use the radishes, and your personal preferences. Here are a few options we’ll cover:
* Root Cellaring (or a Cool, Dark Place): This is the most traditional method and works best if you have a root cellar or a similar environment.
* Refrigeration: A simple and effective method for short-term storage.
* Fermentation: Turn your radishes into delicious and probiotic-rich pickles!
* Freezing: A great option for radishes you plan to use in cooked dishes.
* Dehydration: Create radish chips or powder for a unique flavor boost.
Root Cellaring (or Simulating One!)
This is my favorite method because it keeps the radishes the closest to their fresh state. If you’re lucky enough to have a root cellar, you’re already halfway there! But don’t worry if you don’t; I’ll show you how to create a similar environment.
What You’ll Need:
* Your freshly harvested winter radishes
* A large container (plastic bin, wooden crate, or even a large bucket)
* Moist sand, sawdust, or peat moss
* A cool, dark place (ideally between 32-40°F and high humidity)
Step-by-Step Instructions:
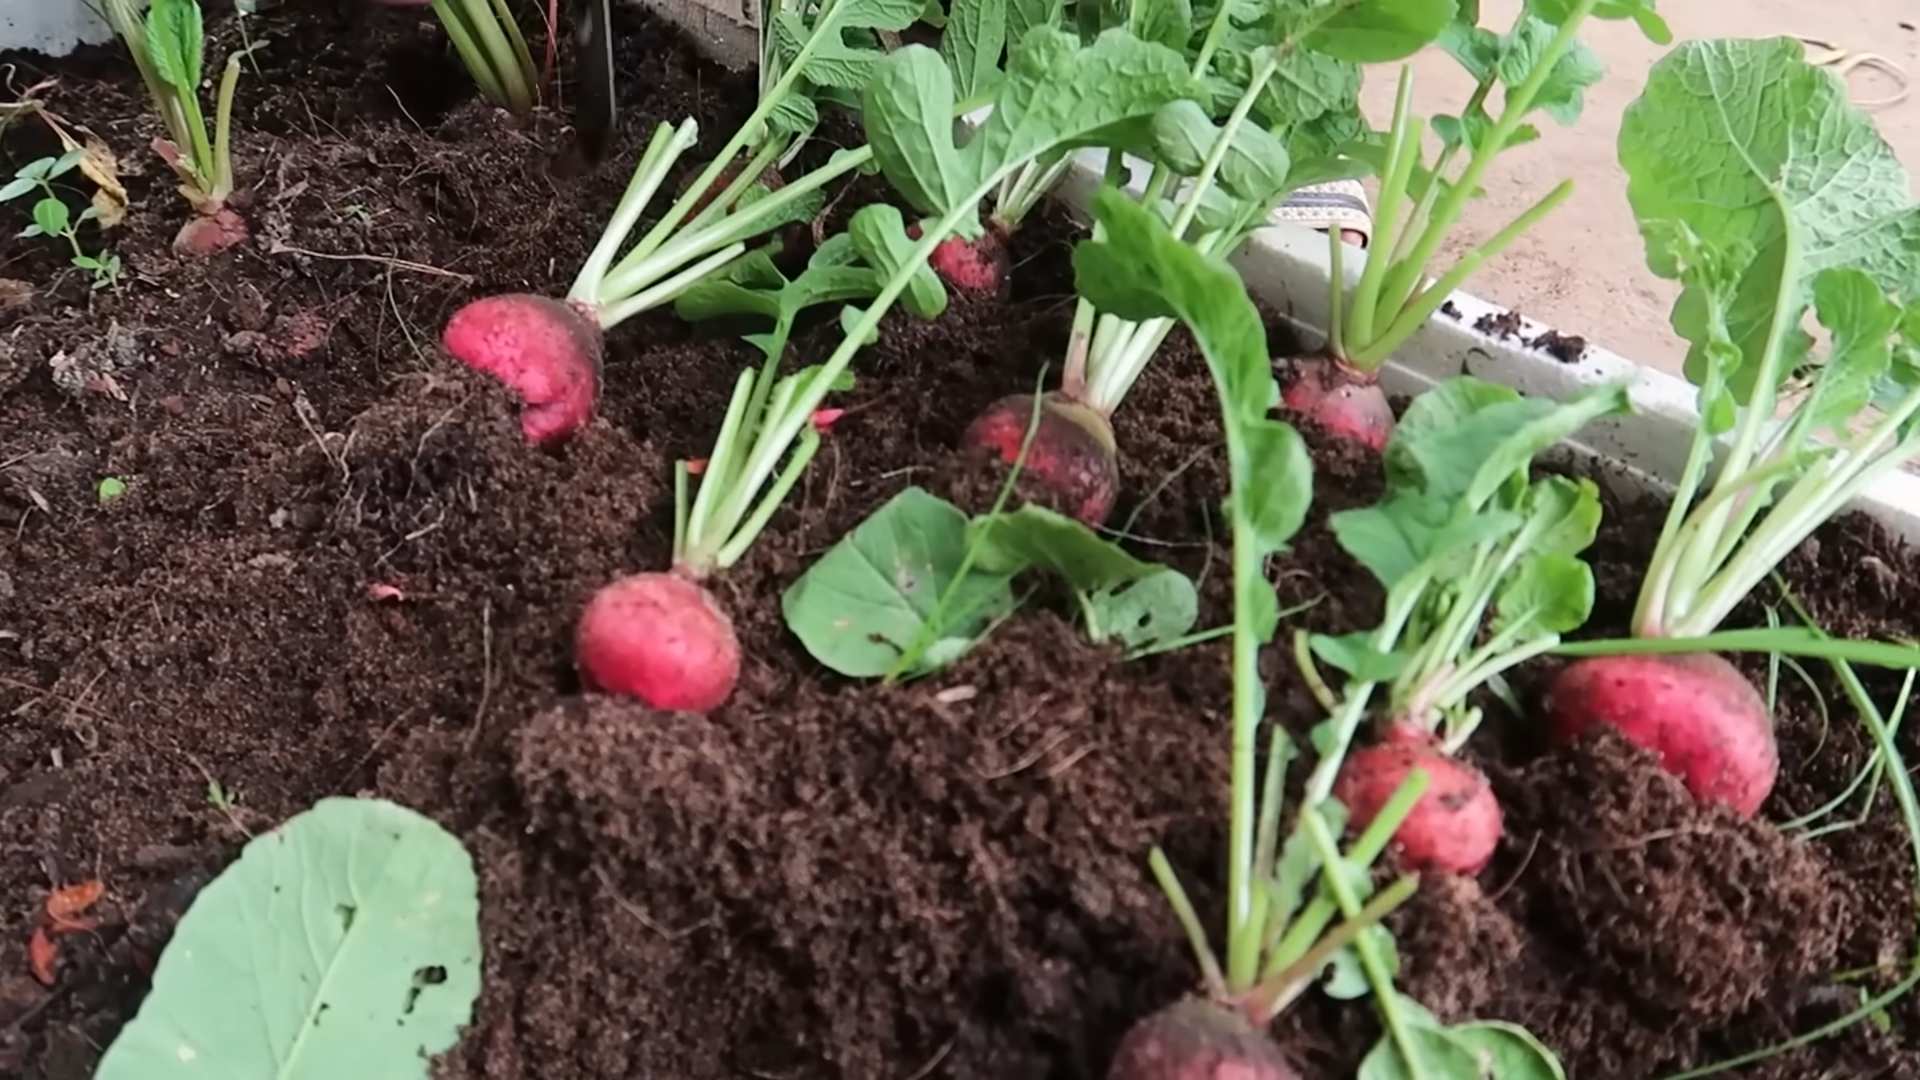
1. Harvesting and Preparing the Radishes: Gently dig up your radishes, being careful not to bruise or damage them. Brush off any excess soil, but don’t wash them! Leaving a little soil on actually helps with preservation. Trim the leafy tops, leaving about an inch of stem. This prevents moisture loss.
2. Preparing the Storage Medium: Moisten your chosen storage medium (sand, sawdust, or peat moss) until it’s damp but not soggy. You should be able to squeeze it in your hand without water dripping out.
3. Layering the Radishes: Place a layer of the moist storage medium in the bottom of your container. Then, arrange the radishes on top, making sure they don’t touch each other. Cover them completely with another layer of the storage medium.
4. Continue Layering: Repeat the layering process until your container is full, ending with a layer of the storage medium.
5. Finding the Right Spot: The key to successful root cellaring is finding a cool, dark, and humid place. If you don’t have a root cellar, a basement, garage, or even a cool closet can work. The ideal temperature is between 32-40°F, and the humidity should be high (around 90%).
6. Monitoring and Maintenance: Check your radishes every few weeks. If the storage medium starts to dry out, lightly mist it with water. Remove any radishes that show signs of spoilage to prevent them from affecting the others.
Refrigeration: A Quick and Easy Option
Refrigeration is a great option for short-term storage, typically lasting for a few weeks.
What You’ll Need:
* Your freshly harvested winter radishes
* A plastic bag or container
* Paper towels
Step-by-Step Instructions:
1. Harvesting and Preparing the Radishes: As with root cellaring, gently harvest your radishes, brush off excess soil (don’t wash!), and trim the leafy tops, leaving about an inch of stem.
2. Wrapping the Radishes: Wrap the radishes in a slightly damp paper towel. This helps maintain humidity and prevents them from drying out.
3. Storing in the Refrigerator: Place the wrapped radishes in a plastic bag or container and store them in the crisper drawer of your refrigerator.
4. Checking and Replacing Paper Towels: Check the radishes every few days and replace the paper towels if they become dry or overly wet.
Fermentation: Radish Pickles, Anyone?
Fermenting radishes is a fantastic way to preserve them and create a delicious, probiotic-rich snack or condiment. I absolutely love adding fermented radishes to salads and sandwiches!
What You’ll Need:
* Your freshly harvested winter radishes
* Salt (sea salt or kosher salt is best)
* Filtered water
* Garlic cloves (optional)
* Spices (optional, such as peppercorns, mustard seeds, or dill)
* A clean glass jar with a lid (a fermentation weight is helpful but not essential)
Step-by-Step Instructions:
1. Preparing the Radishes: Wash the radishes thoroughly and trim the tops and bottoms. You can leave them whole, slice them, or quarter them, depending on your preference.
2. Preparing the Brine: Dissolve 2-3 tablespoons of salt in 4 cups of filtered water. Stir until the salt is completely dissolved. This is your brine.
3. Packing the Jar: Pack the radishes into the clean glass jar, leaving about an inch of headspace at the top. Add garlic cloves and spices, if desired.
4. Pouring the Brine: Pour the brine over the radishes, making sure they are completely submerged. If necessary, use a fermentation weight or a small glass jar filled with water to keep the radishes below the brine.
5. Fermenting: Cover the jar loosely with a lid. You want to allow gases to escape but prevent contaminants from entering. Place the jar in a cool, dark place (around 65-75°F) for 3-7 days.
6. Burping the Jar: Once or twice a day, “burp” the jar by opening the lid slightly to release any built-up gases.
7. Tasting and Refrigerating: After 3-7 days, taste the radishes. They should be tangy and slightly sour. If they’re to your liking, tighten the lid and refrigerate. The fermentation process will slow down in the refrigerator. Fermented radishes can last for several months in the refrigerator.
Freezing: For Future Cooking Adventures
Freezing radishes is a good option if you plan to use them in cooked dishes, as the texture will change during the freezing process.
What You’ll Need:
* Your freshly harvested winter radishes
* A pot of boiling water
* A bowl of ice water
* Freezer bags or containers
Step-by-Step Instructions:
1. Preparing the Radishes: Wash the radishes thoroughly and trim the tops and bottoms. Slice, dice, or grate the radishes, depending on how you plan to use them.
2. Blanching: Blanching is essential for preserving the color, flavor, and texture of frozen vegetables. Bring a pot of water to a rolling boil. Add the radishes and blanch for 2-3 minutes.
3. Shocking: Immediately transfer the blanched radishes to a bowl of ice water to stop the cooking process.
4. Draining and Drying: Drain the radishes thoroughly and pat them dry with paper towels. This prevents ice crystals from forming.
5. Freezing: Spread the radishes in a single layer on a baking sheet lined with parchment paper. Freeze for 1-2 hours, or until solid. This prevents them from clumping together.
6. Storing: Transfer the frozen radishes to freezer bags or containers. Label and date the bags. Frozen radishes can last for up to 8-12 months in the freezer.
Dehydration: Radish Chips and Powder!
Dehydrating radishes is a fun way to create unique snacks and flavorings. Radish chips are surprisingly delicious, and radish powder can add a peppery kick to soups, stews, and sauces.
What You’ll Need:
* Your freshly harvested winter radishes
* A food dehydrator or an oven
* A mandoline slicer (optional, for even slices)
Step-by-Step Instructions:
1. Preparing the Radishes
Conclusion
So, there you have it! Mastering the art of preparing winter radishes doesn’t have to be a daunting task. This simple yet effective DIY trick transforms these often-overlooked root vegetables into culinary delights. We’ve shown you how to unlock their potential, mitigating their sometimes harsh bite and revealing a surprisingly sweet and peppery flavor profile that’s perfect for salads, slaws, dips, and even cooked dishes.
Why is this DIY trick a must-try? Because it elevates the humble winter radish from a potentially off-putting ingredient to a versatile and delicious addition to your winter meals. It’s about maximizing flavor, improving texture, and ultimately, expanding your culinary horizons. Think of it as unlocking a secret weapon in your kitchen arsenal. No more shying away from those beautiful, vibrant radishes at the farmers market!
But the fun doesn’t stop here! Feel free to experiment with variations. Try different types of vinegar for pickling – rice vinegar offers a milder sweetness, while apple cider vinegar adds a tangy depth. Infuse your pickling brine with spices like star anise, cloves, or chili flakes for an extra layer of complexity. For roasting, toss the radishes with different herbs like rosemary, thyme, or even a touch of smoked paprika for a smoky flavor. Consider adding other root vegetables like carrots or parsnips to the roasting pan for a colorful and flavorful medley.
Don’t be afraid to get creative with how you use your prepared winter radishes. Add them to tacos for a crunchy and peppery kick, incorporate them into a vibrant winter slaw with shredded cabbage and carrots, or use them as a garnish for soups and stews. The possibilities are truly endless.
We are confident that once you try this DIY trick, you’ll be amazed at the difference it makes. It’s a game-changer for anyone looking to incorporate more seasonal vegetables into their diet and discover new and exciting flavors. This method of preparing winter radishes is not just about making them palatable; it’s about celebrating their unique characteristics and transforming them into something truly special.
So, go ahead, grab a bunch of winter radishes, and give this DIY trick a try. We promise you won’t be disappointed. And most importantly, we want to hear about your experience! Share your photos, recipes, and tips with us in the comments below. Let us know how you’re using your prepared winter radishes and what variations you’ve discovered. Let’s build a community of radish enthusiasts and inspire each other to explore the delicious possibilities of this often-underappreciated vegetable. Happy cooking!
Frequently Asked Questions (FAQ)
What types of winter radishes does this DIY trick work best with?
This DIY trick is effective for a wide variety of winter radishes, including daikon, black Spanish radish, watermelon radish, and even the common red radish that’s available year-round. The key is to adjust the preparation time based on the radish’s size and intensity of flavor. Larger, more pungent radishes like the black Spanish radish may require a longer soaking or pickling time to mellow their flavor. Watermelon radishes, with their milder flavor, might need less preparation. Experiment and find what works best for your taste.
How long can I store the prepared winter radishes?
The storage time depends on the preparation method. Pickled radishes, stored in an airtight container in the refrigerator, can last for several weeks, even up to a month. Roasted radishes are best consumed within 3-4 days when stored in an airtight container in the refrigerator. Raw, sliced radishes, even after soaking, are best used within 1-2 days to maintain their crispness and prevent them from becoming soggy. Always check for any signs of spoilage before consuming.
Can I use this trick to reduce the spiciness of other vegetables?
While this DIY trick is specifically designed for winter radishes, the principles of soaking and pickling can be applied to other vegetables with a strong or bitter flavor. For example, soaking sliced onions in cold water can help reduce their sharpness. Pickling can also be used to mellow the flavor of vegetables like turnips or kohlrabi. However, the effectiveness of the trick will vary depending on the vegetable and its specific characteristics.
What if I don’t have vinegar? Can I use lemon juice instead?
Yes, lemon juice can be used as a substitute for vinegar in the pickling brine, although it will impart a slightly different flavor profile. Lemon juice offers a brighter, more citrusy tang compared to the more complex acidity of vinegar. Use the same amount of lemon juice as you would vinegar in the recipe. You can also experiment with other acidic ingredients like lime juice or even a splash of verjuice.
Is there a way to make the pickled radishes sweeter?
Absolutely! You can adjust the sweetness of the pickling brine by adding more sugar or honey. Start with a small amount and taste as you go, adding more until you reach your desired level of sweetness. You can also use alternative sweeteners like maple syrup or agave nectar for a different flavor dimension. Remember that the sweetness will mellow over time as the radishes pickle, so don’t overdo it initially.
Can I freeze winter radishes after preparing them?
Freezing is generally not recommended for raw or pickled radishes, as it can significantly alter their texture, making them mushy and less palatable. However, roasted radishes can be frozen, although they may lose some of their crispness upon thawing. To freeze roasted radishes, spread them out in a single layer on a baking sheet and freeze until solid. Then, transfer them to an airtight container or freezer bag. They can be reheated in the oven or microwave.
What are some good dishes to use prepared winter radishes in?
The possibilities are endless! Here are a few ideas:
* **Salads:** Add sliced or diced radishes to green salads, grain salads, or potato salads for a peppery crunch.
* **Slaws:** Incorporate shredded radishes into coleslaw or other types of slaw for a vibrant flavor and texture.
* **Tacos:** Top tacos with pickled radishes for a tangy and crunchy contrast to the other fillings.
* **Sandwiches:** Add sliced radishes to sandwiches or wraps for a peppery bite.
* **Dips:** Mix diced radishes into dips like hummus or guacamole for added flavor and texture.
* **Roasted Vegetable Medleys:** Roast radishes alongside other root vegetables like carrots, parsnips, and potatoes.
* **Soups and Stews:** Garnish soups and stews with thinly sliced radishes for a pop of color and flavor.
* **Pickled Radish Relish:** Finely chop pickled radishes and mix them with herbs and spices to create a flavorful relish.
How do I know when the radishes are properly pickled?
The pickling time will vary depending on the size and type of radish, as well as your personal preference. Generally, the radishes will be noticeably softer and more translucent after a few hours in the brine. Taste them periodically to check for the desired level of tanginess and sweetness. They are typically ready to eat after at least 24 hours, but the flavor will continue to develop over time.
Can I reuse the pickling brine?
It is generally not recommended to reuse pickling brine, as it can become contaminated with bacteria and lose its acidity. However, if you are only pickling one batch of radishes and the brine remains clear and free of any signs of spoilage, you can potentially reuse it for a second batch within a short period of time. Make sure to bring the brine back to a boil before reusing it to kill any potential bacteria.
What are the nutritional benefits of winter radishes?
Winter radishes are a good source of vitamins, minerals, and fiber. They are particularly rich in vitamin C, potassium, and folate. They also contain glucosinolates, which are compounds that have been linked to various health benefits, including cancer prevention. Radishes are low in calories and carbohydrates, making them a healthy addition to any diet.
Leave a Comment