
Clorox grout cleaner effectiveness is something I’ve personally wrestled with for years! Let’s be honest, nobody enjoys scrubbing grout. It’s back-breaking work, and those dingy lines between your tiles can make even the cleanest bathroom look…well, not so clean. For generations, keeping grout sparkling has been a household challenge, with remedies ranging from harsh chemicals to grandma’s secret vinegar concoctions. But does Clorox grout cleaner *really* live up to the hype?
In this DIY guide, we’re diving deep into the world of grout cleaning, specifically focusing on the effectiveness of Clorox grout cleaner. I’ll share my own experiences, tips, and tricks to help you decide if this popular product is the right solution for your grimy grout woes. We’ll explore alternative methods, discuss safety precautions, and ultimately, empower you to achieve grout so clean, you’ll want to eat off it (okay, maybe not, but you get the idea!).
Why is this important? Because a clean home is a happy home! And sometimes, the smallest details, like sparkling grout, can make the biggest difference in how you feel about your living space. Plus, nobody wants to spend hours scrubbing when there might be a faster, easier way. So, let’s get started and unlock the secrets to Clorox grout cleaner effectiveness and reclaim your sparkling surfaces!
DIY Grout Cleaning Power-Up: Making Clorox Grout Cleaner Even Better!
Okay, so you’re staring down at some seriously grimy grout, and you’ve got a bottle of Clorox Grout Cleaner ready to go. That’s a good start! Clorox Grout Cleaner is decent on its own, but let’s be honest, sometimes it needs a little extra *oomph* to really tackle those stubborn stains and mildew. I’m going to share my favorite DIY hack to boost its cleaning power and get your grout looking sparkling new (or at least a whole lot better!).
This method combines the cleaning power of Clorox with the scrubbing action of baking soda and the degreasing properties of dish soap. It’s a winning combination, trust me!
What You’ll Need:
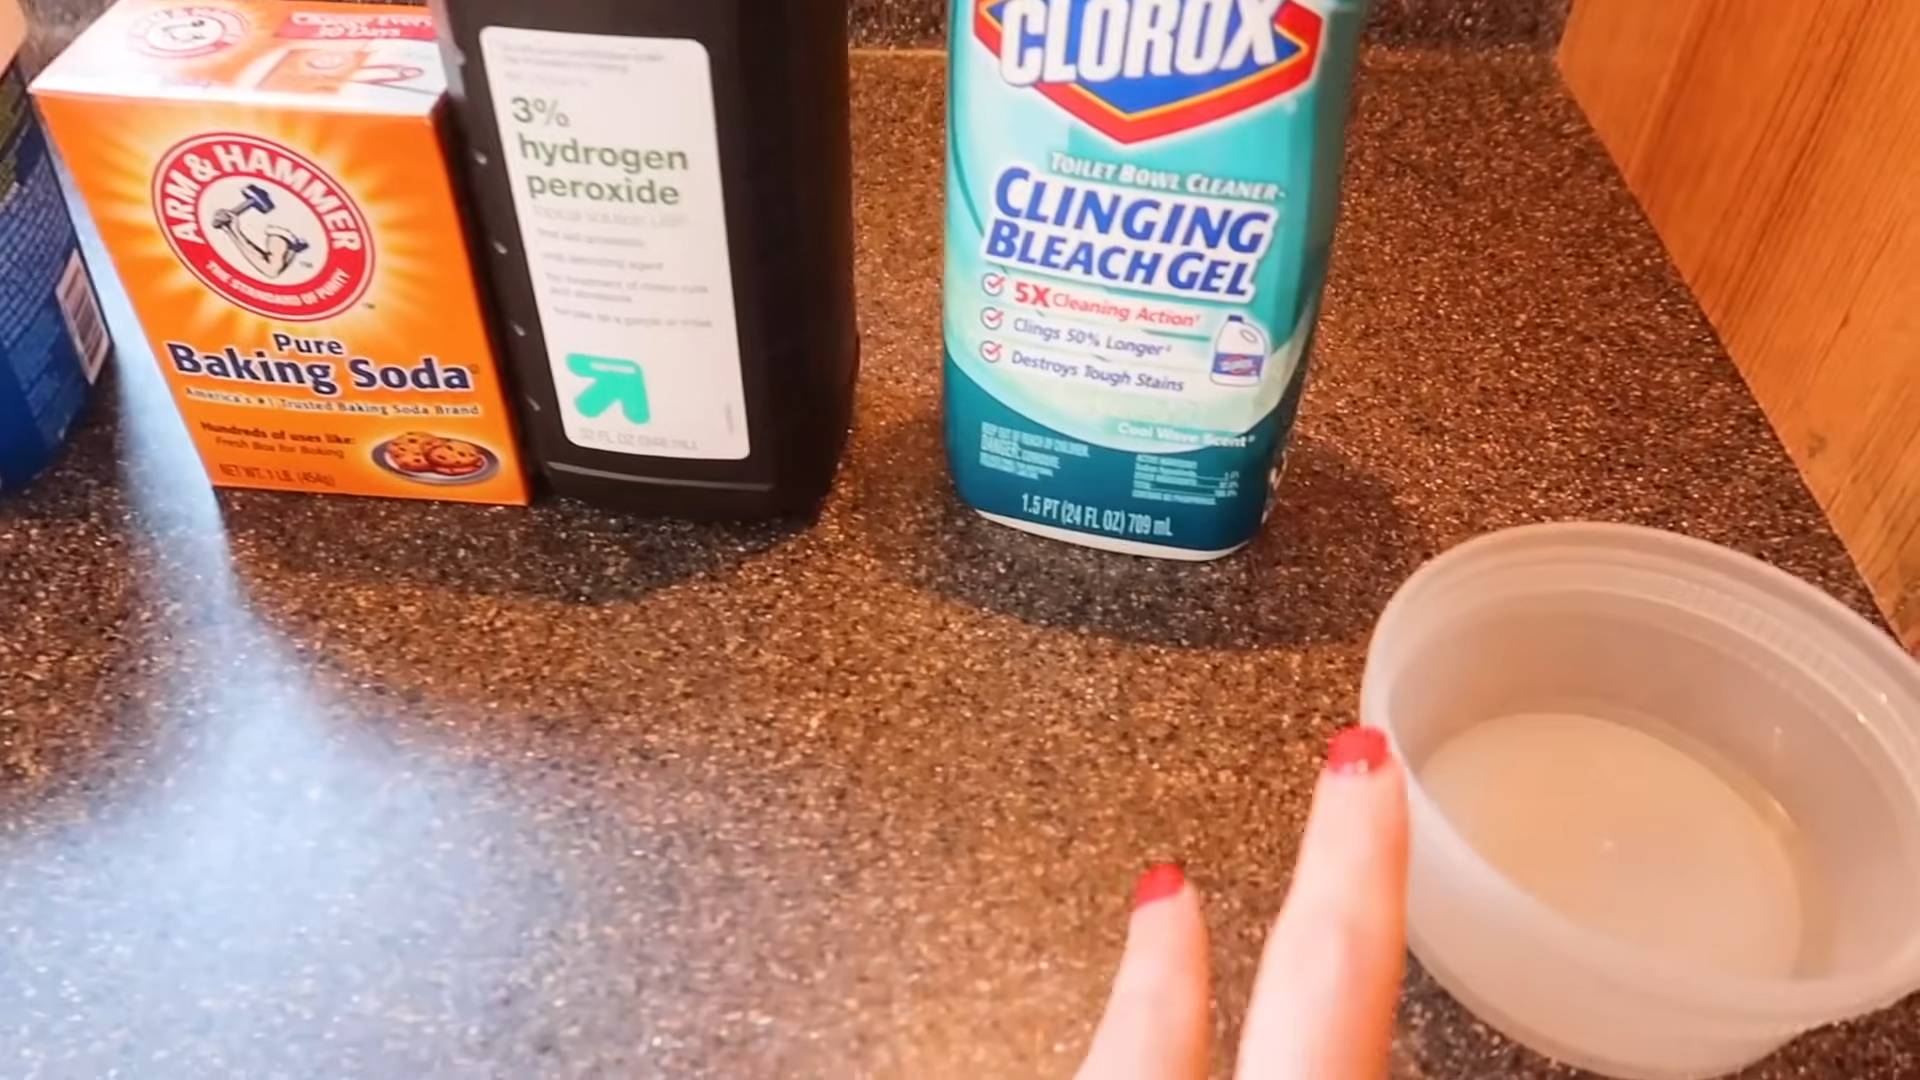
* Clorox Grout Cleaner (the spray bottle kind)
* Baking Soda
* Dish Soap (Dawn is my go-to, but any grease-cutting dish soap will work)
* An old toothbrush or grout brush
* Spray bottle (optional, but helpful for even application)
* Gloves (protect those hands!)
* Eye protection (especially important when working with bleach)
* Water
* Paper towels or a clean cloth
* Small bowl or container for mixing
Safety First!
Before we dive in, let’s talk safety. Clorox Grout Cleaner contains bleach, so it’s crucial to protect yourself.
* Always wear gloves to prevent skin irritation.
* Protect your eyes with safety glasses or goggles. Splashes happen!
* Ensure good ventilation. Open a window or turn on a fan.
* Never mix bleach with ammonia. This creates toxic fumes.
* Test in an inconspicuous area first. This is always a good practice when using any cleaning product, especially on colored grout.
Step-by-Step Instructions: The Grout Cleaning Power-Up
Alright, let’s get down to business! Here’s how I supercharge my Clorox Grout Cleaner:
1. Prepare Your Workspace: Clear the area you’ll be cleaning. Remove any rugs, mats, or items that might get in the way or get splashed with cleaner.
2. Mix Your Cleaning Paste: In your small bowl, combine the following:
* 1/2 cup baking soda
* 1-2 tablespoons of dish soap
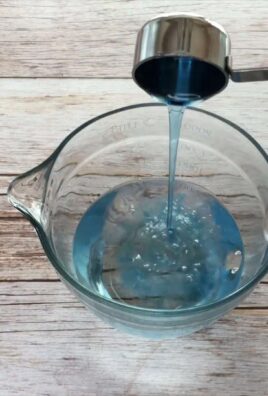
* Slowly add Clorox Grout Cleaner until you form a thick paste. You want it to be spreadable but not too runny. Start with a few tablespoons and add more as needed. The consistency should be similar to toothpaste.
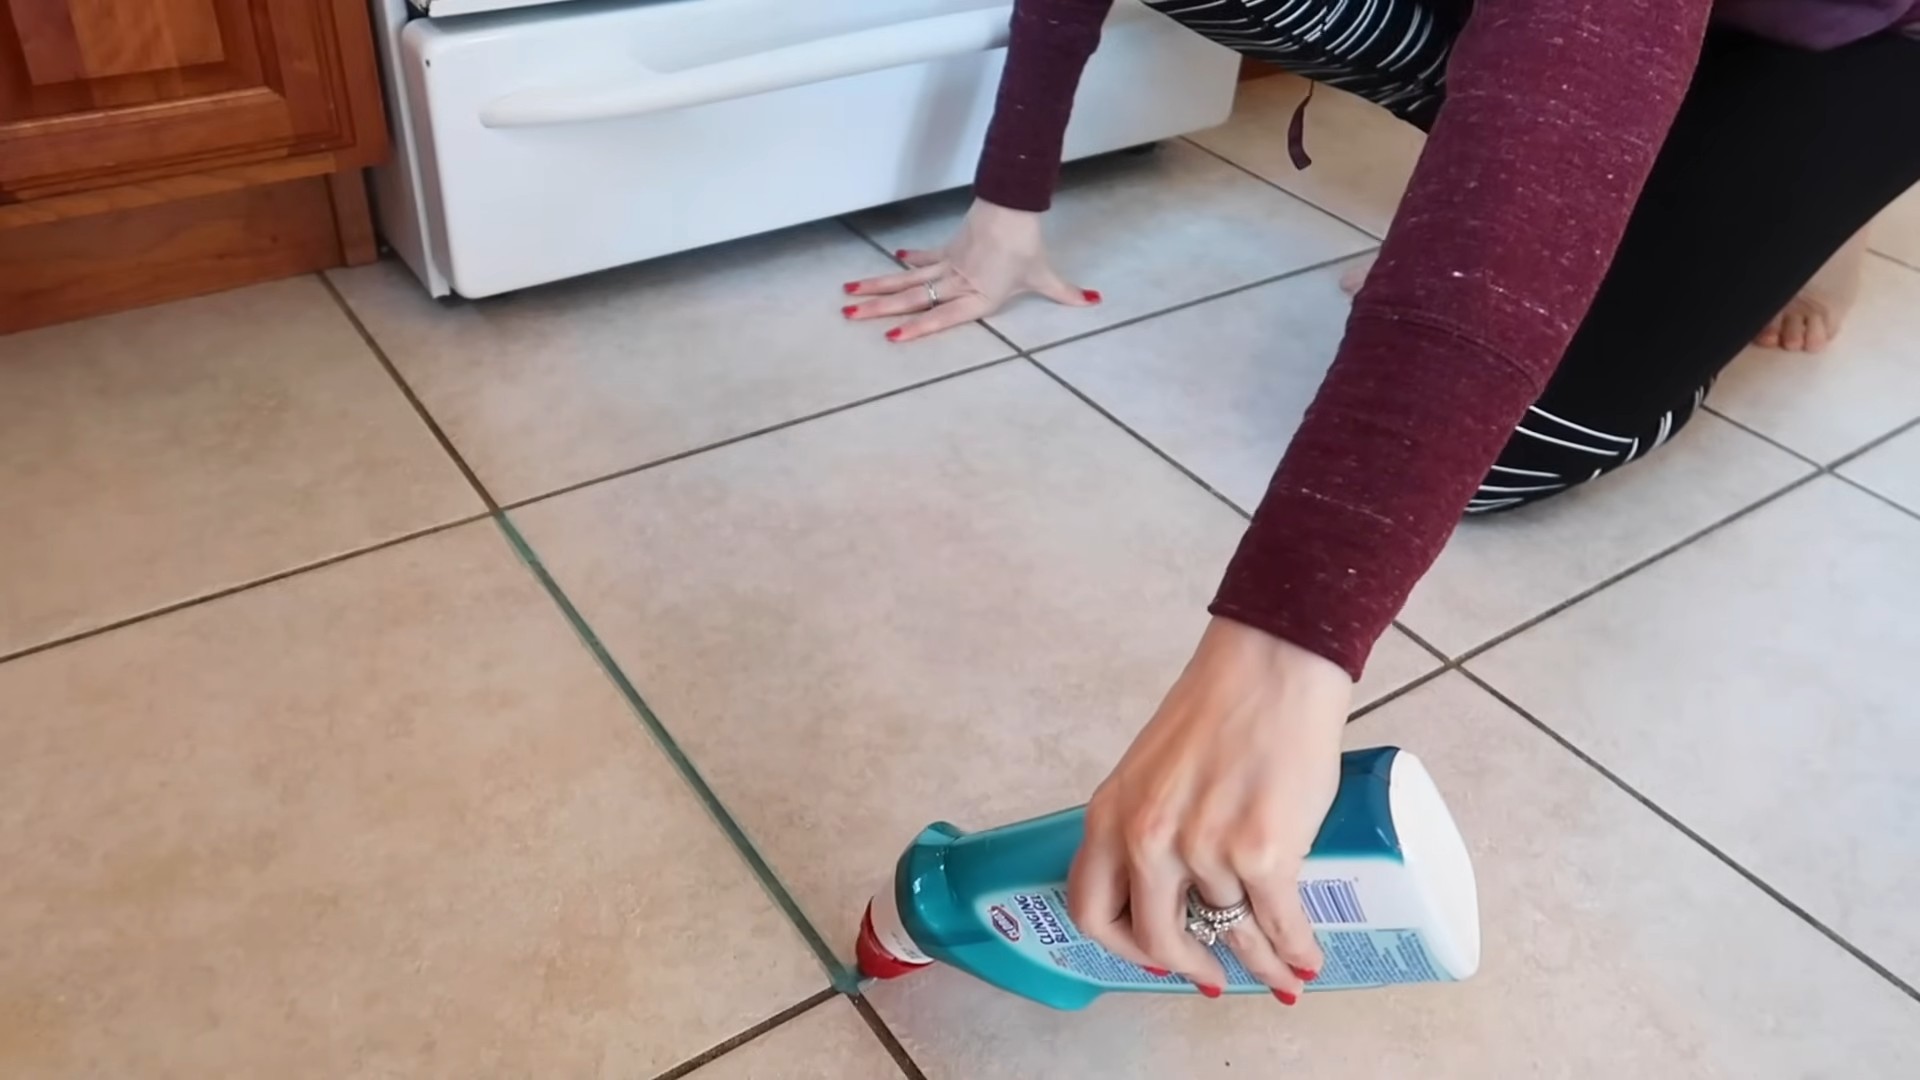
3. Apply the Paste to the Grout: Using your fingers (with gloves on, of course!), an old toothbrush, or a small spatula, apply the paste directly to the grout lines. Be generous! You want to make sure the grout is completely covered.
4. Let it Sit (the Magic Happens Here!): This is the key to getting great results. Let the paste sit on the grout for at least 15-30 minutes. For really stubborn stains, you can even let it sit for up to an hour. The longer it sits, the more time the baking soda and Clorox have to break down the grime.
5. Scrub, Scrub, Scrub!: After the paste has had time to work its magic, it’s time to scrub! Use your old toothbrush or grout brush to scrub the grout lines thoroughly. Apply firm pressure and work in small sections. You’ll likely see the grime starting to lift away.
6. Rinse Thoroughly: Once you’ve scrubbed all the grout lines, it’s time to rinse away the paste. Use clean water and a sponge or cloth to wipe away the residue. You may need to rinse several times to remove all traces of the baking soda and Clorox.
7. Dry and Admire Your Work: Use a clean towel or paper towels to dry the grout lines. Now, step back and admire your work! You should see a noticeable difference in the appearance of your grout.
Dealing with Stubborn Stains:
Sometimes, even with this power-up, you might encounter some really stubborn stains that just won’t budge. Don’t despair! Here are a few tips for tackling those tough spots:
* Repeat the Process: If the stain is still visible, repeat the entire process. Sometimes, it takes a second application to fully remove the grime.
* Increase the Clorox Concentration: If the stain is particularly stubborn, you can try adding a little more Clorox Grout Cleaner to your paste. Just be careful not to make the paste too runny.
* Use a Stiff-Bristled Brush: A stiff-bristled brush can help to dislodge stubborn stains. Just be careful not to scrub too hard, as you could damage the grout.
* Try a Grout Pen: If all else fails, you can use a grout pen to cover up the stains. Grout pens are available in a variety of colors to match your grout. This is more of a cosmetic fix, but it can be a quick and easy way to improve the appearance of your grout.
Preventing Future Grout Grime:
Once you’ve got your grout looking clean and fresh, you’ll want to keep it that way! Here are a few tips for preventing future grout grime:
* Wipe Up Spills Immediately: The sooner you wipe up spills, the less likely they are to stain your grout.
* Ventilate Your Bathroom: Proper ventilation can help to prevent the growth of mold and mildew in your bathroom. Run the exhaust fan during and after showers.
* Seal Your Grout: Sealing your grout can help to protect it from stains and moisture. You can purchase grout sealant at most home improvement stores.
* Regular Cleaning: Regular cleaning is the best way to prevent grout grime from building up. Aim to clean your grout at least once a month.
Alternative Cleaning Solutions (If Clorox Isn’t Your Thing):
I understand that some people prefer not to use bleach-based cleaners. If that’s you, here are a few alternative grout cleaning solutions you can try:
* Vinegar and Baking Soda: This is a classic DIY cleaning solution. Mix equal parts vinegar and baking soda to form a paste, apply to the grout, let it sit for 15-30 minutes, and then scrub and rinse.
* Hydrogen Peroxide: Hydrogen peroxide is a natural disinfectant and can be effective at removing stains from grout. Apply hydrogen peroxide to the grout, let it sit for 10-15 minutes, and then scrub and rinse.
* Commercial Grout Cleaners (Bleach-Free): There are many commercial grout cleaners available that are bleach-free. Look for products that are specifically designed for cleaning grout.
Troubleshooting:
* Grout is crumbling: If your grout is crumbling, it may be old or damaged. In this case, cleaning alone may not be enough. You may need to re-grout the area.
* Grout color is fading: Some cleaning products can cause grout color to fade. Always test in an inconspicuous area first. If the color fades, you may need to use a grout pen to restore the color.
* Cleaner is not working: If the cleaner is not working, it may be because the grout is too dirty or the stain is too stubborn. Try repeating the process or using a stronger cleaning solution.
I hope this guide helps you get your grout looking its best! Remember to always prioritize safety and test in an inconspicuous area before cleaning your entire grout surface. Happy cleaning!
Conclusion
So, there you have it! Mastering the art of homemade grout cleaner using the power of Clorox is not just a cost-effective alternative to expensive store-bought solutions; it’s a game-changer for anyone battling stubborn stains and discoloration in their tiled spaces. We’ve explored a simple yet potent formula that harnesses the disinfecting and whitening properties of Clorox to restore your grout to its former glory.
Why is this DIY trick a must-try? Because it’s effective, economical, and empowering. You’re taking control of the cleaning process, using ingredients you likely already have in your home, and achieving professional-level results without breaking the bank. Think about the satisfaction of seeing those dingy grout lines transform before your eyes, knowing you accomplished it with your own two hands and a little bit of cleaning ingenuity.
But the beauty of DIY lies in its adaptability. Feel free to experiment with variations to tailor the solution to your specific needs. For instance, if you’re dealing with particularly stubborn stains, consider adding a tablespoon of baking soda to the mixture for extra scrubbing power. Baking soda acts as a mild abrasive, helping to lift away grime and buildup without damaging the grout. Alternatively, for a more fragrant cleaning experience, a few drops of your favorite essential oil, such as lemon or tea tree, can be added. These oils not only provide a pleasant scent but also offer additional antibacterial properties. Remember to always test any variation on a small, inconspicuous area first to ensure it doesn’t discolor or damage your grout.
Another variation to consider is the application method. While a simple spray bottle and scrub brush work wonders, you might find that an old toothbrush is particularly effective for reaching tight corners and crevices. For larger areas, a grout brush with a long handle can save your back and knees. And if you’re feeling ambitious, a steam cleaner can be used in conjunction with the Clorox grout cleaner for an even deeper clean. The steam helps to loosen dirt and grime, making it easier for the cleaning solution to penetrate and lift away stains.
Ultimately, the key to success with this DIY Clorox grout cleaner lies in consistency and patience. Don’t expect miracles overnight. Depending on the severity of the staining, you may need to repeat the cleaning process several times to achieve optimal results. But with each application, you’ll notice a significant improvement in the appearance of your grout.
We wholeheartedly encourage you to give this DIY trick a try. It’s a simple, effective, and affordable way to revitalize your tiled surfaces and create a cleaner, more inviting home. And most importantly, we want to hear about your experience! Share your before-and-after photos, your tips and tricks, and any variations you’ve discovered in the comments below. Let’s build a community of DIY cleaning enthusiasts who are passionate about achieving sparkling clean grout without relying on harsh chemicals or expensive products. Your feedback will not only help others but also inspire us to continue developing and sharing innovative cleaning solutions. So go ahead, grab your Clorox, and get ready to transform your grout! We can’t wait to see your results!
Frequently Asked Questions (FAQs)
1. Is it safe to use Clorox grout cleaner on all types of grout?
While Clorox is generally safe for most types of grout, it’s always best to test it on a small, inconspicuous area first. This is especially important for colored grout, as Clorox can sometimes cause fading or discoloration. Apply a small amount of the cleaning solution to the test area, let it sit for a few minutes, and then wipe it away. If you notice any adverse effects, such as fading or damage, discontinue use. For particularly delicate or antique grout, consider consulting with a professional cleaning service before using any type of cleaning solution.
2. How often should I clean my grout with Clorox grout cleaner?
The frequency of cleaning depends on several factors, including the amount of foot traffic in the area, the type of grout, and the level of staining. In general, it’s a good idea to clean your grout every few months to prevent dirt and grime from building up. However, if you notice stains or discoloration appearing more frequently, you may need to clean it more often. For high-traffic areas like bathrooms and kitchens, consider cleaning your grout monthly. Regular cleaning will not only keep your grout looking its best but also prevent the growth of mold and mildew.
3. What safety precautions should I take when using Clorox grout cleaner?
Clorox is a powerful cleaning agent, so it’s important to take certain safety precautions when using it. Always wear gloves to protect your skin from irritation. Avoid getting the cleaning solution in your eyes, and if you do, rinse immediately with plenty of water. Work in a well-ventilated area to avoid inhaling the fumes. Never mix Clorox with ammonia or other cleaning products, as this can create dangerous and potentially deadly gases. Keep Clorox out of reach of children and pets. And always read and follow the manufacturer’s instructions on the Clorox bottle.
4. Can I use this DIY Clorox grout cleaner on other surfaces besides grout?
While this cleaning solution is primarily designed for grout, it can also be used on other surfaces, such as tile and porcelain. However, it’s important to test it on a small, inconspicuous area first to ensure it doesn’t damage the surface. Avoid using Clorox on delicate surfaces like marble, granite, or natural stone, as it can etch or discolor them. For these types of surfaces, use a cleaning solution specifically designed for natural stone.
5. What if the stains are still there after cleaning with Clorox grout cleaner?
If the stains persist after cleaning with the DIY Clorox grout cleaner, there are a few things you can try. First, repeat the cleaning process, allowing the solution to sit on the stains for a longer period of time. You can also try using a stiffer brush or a grout brush with a pointed tip to scrub the stains more aggressively. For particularly stubborn stains, consider making a paste of baking soda and water and applying it to the stains before cleaning with the Clorox solution. Let the paste sit for several hours or overnight before scrubbing and rinsing. If all else fails, you may need to consider using a commercial grout stain remover or hiring a professional cleaning service.
6. How do I prevent grout from getting stained in the first place?
Prevention is always better than cure, so taking steps to prevent grout from getting stained in the first place can save you a lot of time and effort in the long run. Seal your grout regularly with a grout sealer to create a barrier that prevents dirt and grime from penetrating the grout. Wipe up spills immediately to prevent them from soaking into the grout. Use mats and rugs in high-traffic areas to protect the grout from dirt and wear. And ventilate your bathroom after showering to prevent the growth of mold and mildew. By following these simple tips, you can keep your grout looking clean and stain-free for years to come.
7. What is the best ratio of Clorox to water for grout cleaning?
The ideal ratio of Clorox to water for grout cleaning depends on the severity of the staining. For light stains, a 1:10 ratio (one part Clorox to ten parts water) may be sufficient. For moderate stains, a 1:5 ratio may be more effective. And for stubborn stains, you can try using a 1:1 ratio or even undiluted Clorox, but be sure to test it on a small, inconspicuous area first and take extra safety precautions. Always start with a weaker solution and gradually increase the concentration as needed.
8. Can I use colored Clorox for grout cleaning?
It’s generally not recommended to use colored Clorox for grout cleaning, as the dye in the Clorox can potentially stain the grout. Stick to using regular, unscented Clorox for best results.
9. Is it safe to use Clorox grout cleaner around pets and children?
While Clorox is a powerful cleaning agent, it can be harmful to pets and children if ingested or if it comes into contact with their skin or eyes. Keep pets and children away from the area while you’re cleaning with Clorox, and make sure to rinse the area thoroughly after cleaning to remove any residue. Store Clorox out of reach of children and pets.
10. How do I dispose of leftover Clorox grout cleaner?
Leftover Clorox grout cleaner can be safely disposed of down the drain with plenty of water. However, never mix Clorox with ammonia or other cleaning products, as this can create dangerous gases. You can also dilute the leftover solution with water and use it to clean other surfaces, such as toilets or sinks.

Leave a Comment