
Clean Bathroom with Clorox: Is your bathroom looking less like a sanctuary and more like a science experiment gone wrong? I get it! We’ve all been there, battling stubborn stains, mildew monsters, and the lingering scent of… well, let’s just say it’s not lavender. But fear not, because a sparkling clean bathroom is within your reach, and it doesn’t require a hazmat suit or hours of scrubbing.
For generations, Clorox has been a trusted name in household cleaning, and for good reason. Its powerful disinfecting properties can transform even the grimiest bathroom into a pristine oasis. Think about it – our ancestors relied on natural remedies, but today, we have the power of modern science to help us tackle tough cleaning challenges quickly and effectively.
Why is a clean bathroom so important? Beyond the obvious hygiene benefits, a clean bathroom is a mood booster! Stepping into a fresh, sparkling space can instantly elevate your day. Plus, let’s be honest, nobody wants to be embarrassed by a dirty bathroom when guests come over. This DIY guide will provide you with simple, yet effective tricks and hacks to clean bathroom with Clorox, ensuring a spotless and inviting space. I’m going to share my favorite tips and tricks to make your bathroom shine, without spending a fortune on fancy cleaning products or wasting your precious time. Let’s get started!
DIY Bathroom Deep Clean with Clorox: My Sparkling Secrets!
Okay, friends, let’s talk bathrooms. We all know they can get… well, let’s just say less than pristine. But fear not! I’m going to share my tried-and-true method for a deep clean that will leave your bathroom sparkling, sanitized, and smelling fresh, all thanks to the power of Clorox. This isn’t just a surface scrub; we’re going deep!
What You’ll Need: Your Cleaning Arsenal
Before we dive in, let’s gather our supplies. Having everything ready will make the process so much smoother. Trust me, you don’t want to be running around mid-scrub!
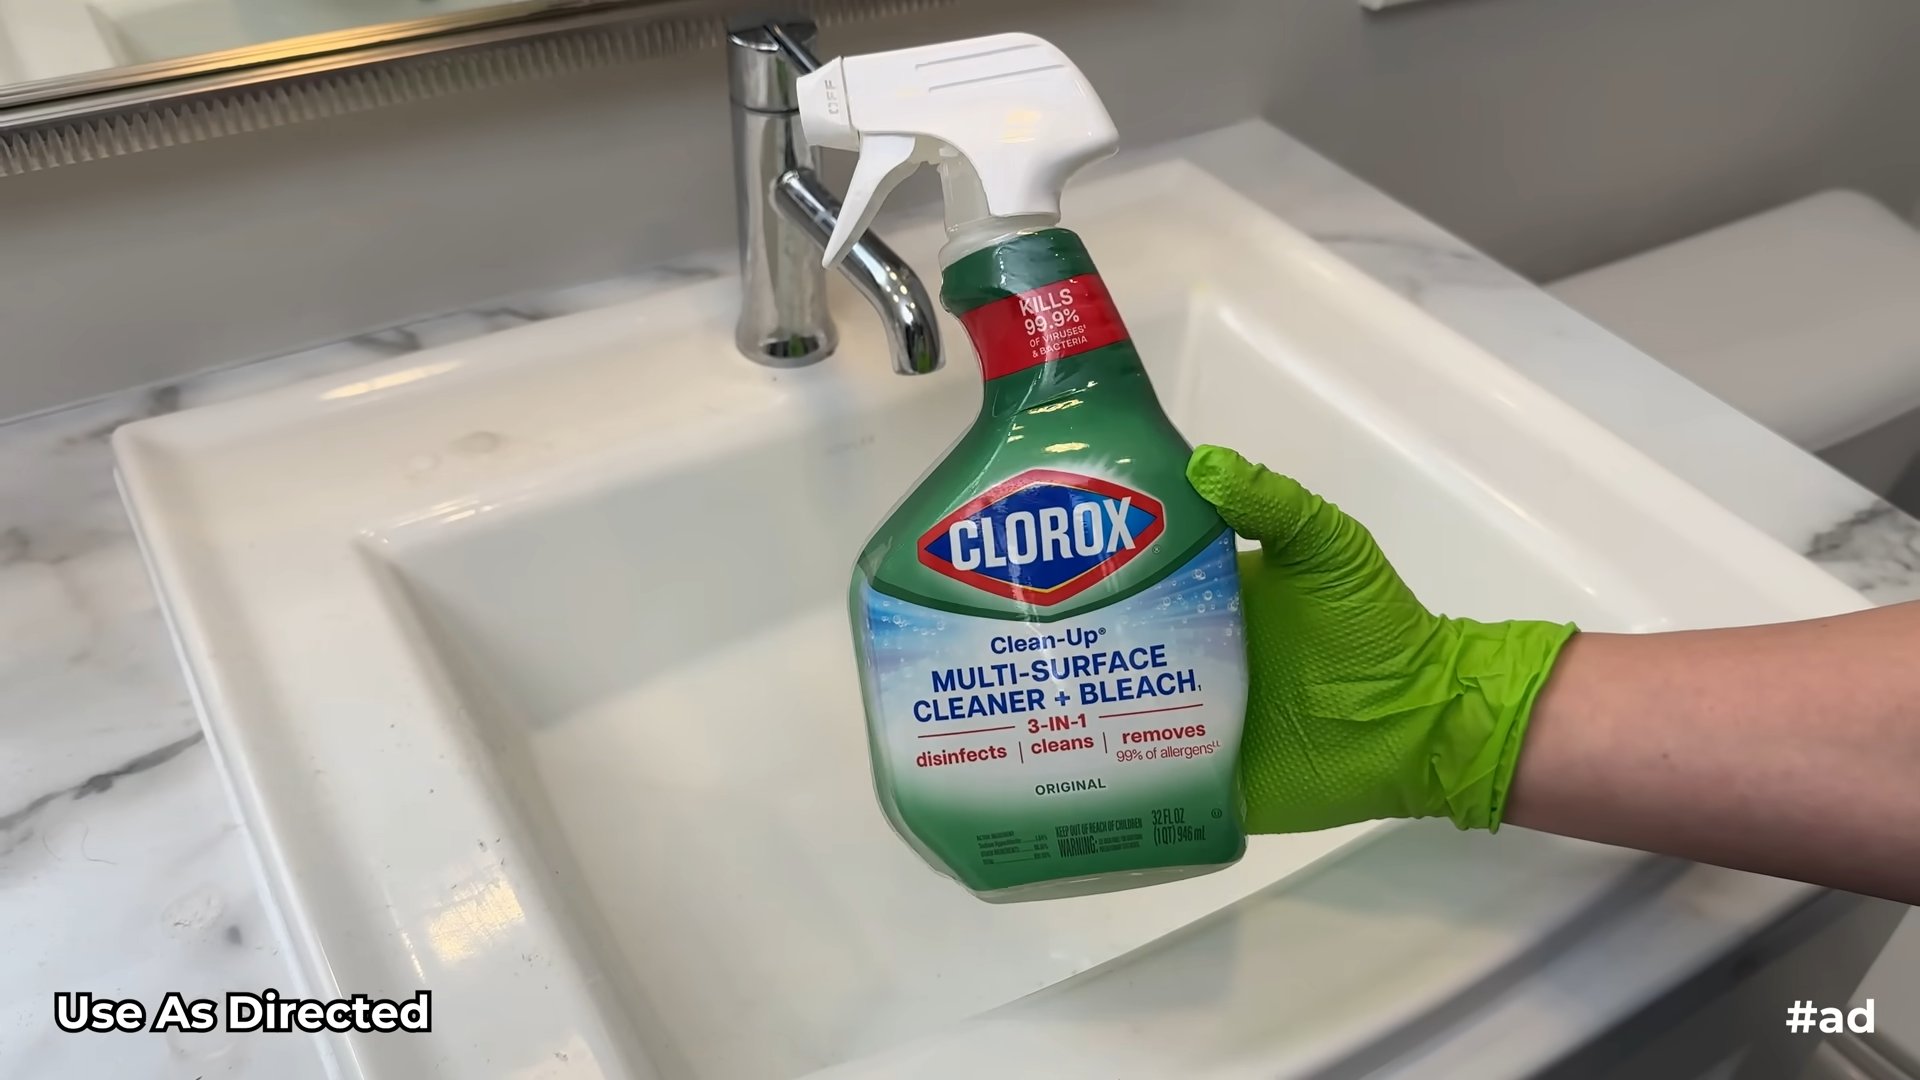
* Clorox Disinfecting Bleach: This is the star of the show! We’ll be using it diluted for disinfecting and stain removal.
* Clorox Disinfecting Wipes: Perfect for quick wipe-downs and disinfecting surfaces.
* Clorox Toilet Bowl Cleaner: Specifically designed for tackling toilet bowl stains and germs.
* Spray Bottles (at least two): One for your diluted bleach solution and another for your favorite all-purpose cleaner (optional, but recommended).
* Microfiber Cloths: These are my go-to for cleaning! They’re absorbent, lint-free, and reusable.
* Scrub Brush: A sturdy scrub brush is essential for tackling grout and stubborn stains.
* Toilet Brush: A must-have for cleaning the toilet bowl.
* Sponge: For general cleaning and wiping down surfaces.
* Rubber Gloves: Protect your hands! Bleach can be harsh on your skin.
* Old Toothbrush: Perfect for getting into those hard-to-reach crevices around faucets and drains.
* Squeegee: For streak-free shower door cleaning.
* Trash Bags: For disposing of used cleaning supplies and any bathroom clutter.
* Ventilation: Open a window or turn on the exhaust fan. Bleach fumes can be strong, so good ventilation is key.
* Safety Glasses (Optional but Recommended): Protect your eyes from splashes.
* Baking Soda (Optional): For extra scrubbing power and odor removal.
* White Vinegar (Optional): For dissolving hard water stains.
Phase 1: Prepping the Battlefield (Bathroom)
Before we unleash the cleaning power, we need to prep the bathroom. This will make the actual cleaning process much more efficient.
1. Clear the Clutter: Remove everything from the counters, shelves, and shower. This includes toiletries, decorations, and anything else that’s in the way. Place these items in a safe spot where they won’t get wet or contaminated.
2. Remove Bath Mats and Rugs: Take out any bath mats or rugs and either wash them or set them aside to be cleaned later.
3. Empty the Trash Can: Empty the trash can and replace the liner.
4. Sweep or Vacuum: Give the floor a quick sweep or vacuum to remove any loose dirt, hair, or debris. This will prevent you from just pushing the dirt around when you start cleaning.
5. Ventilate: Open a window or turn on the exhaust fan to ensure proper ventilation. This is especially important when working with bleach.
Phase 2: Tackling the Toilet
Let’s start with the toilet. It’s often the dirtiest part of the bathroom, so getting it out of the way first is a good idea.
1. Apply Toilet Bowl Cleaner: Squirt Clorox Toilet Bowl Cleaner under the rim of the toilet bowl, making sure to coat the entire surface. Let it sit for at least 10-15 minutes to allow the cleaner to work its magic.
2. Clean the Exterior: While the toilet bowl cleaner is working, use Clorox Disinfecting Wipes to clean the exterior of the toilet, including the tank, seat, lid, and base. Pay special attention to areas that are frequently touched, such as the handle and seat.
3. Scrub the Bowl: After the toilet bowl cleaner has had time to sit, use a toilet brush to scrub the inside of the bowl thoroughly. Pay attention to any stains or buildup.
4. Flush: Flush the toilet to rinse away the cleaner and any loosened debris.
5. Wipe Down Again: Give the exterior of the toilet another wipe-down with Clorox Disinfecting Wipes to ensure it’s completely clean and disinfected.
Phase 3: Shower and Tub Transformation
Next up, the shower and tub. These areas are prone to soap scum, mildew, and hard water stains, so we’ll need to put in some elbow grease.
1. Rinse the Walls and Floor: Start by rinsing the shower walls and floor with warm water to loosen any dirt or grime.
2. Prepare Your Bleach Solution: In a spray bottle, mix a solution of 1 part Clorox Disinfecting Bleach to 10 parts water. Always add bleach to water, never the other way around, to prevent splashing.
3. Spray the Bleach Solution: Spray the bleach solution onto the shower walls, floor, and any other surfaces that need cleaning. Be sure to cover all areas affected by soap scum, mildew, or stains.
4. Let it Sit: Allow the bleach solution to sit for 5-10 minutes to disinfect and break down the grime. Do not let it dry completely.
5. Scrub: Use a scrub brush or sponge to scrub the shower walls, floor, and any other surfaces. Pay special attention to grout lines, which can be a breeding ground for mildew. For stubborn stains, you can make a paste of baking soda and water and apply it to the area before scrubbing.
6. Rinse Thoroughly: Rinse the shower walls, floor, and any other surfaces thoroughly with warm water to remove all traces of the bleach solution and loosened grime.
7. Clean the Shower Door: Use a squeegee to remove excess water from the shower door. For streak-free cleaning, you can also use a glass cleaner or a solution of white vinegar and water.
8. Clean Shower Head: To clean the shower head, you can either remove it and soak it in a solution of white vinegar and water overnight, or you can fill a plastic bag with the solution and attach it to the shower head with a rubber band. Let it soak for a few hours, then remove the bag and rinse the shower head thoroughly.
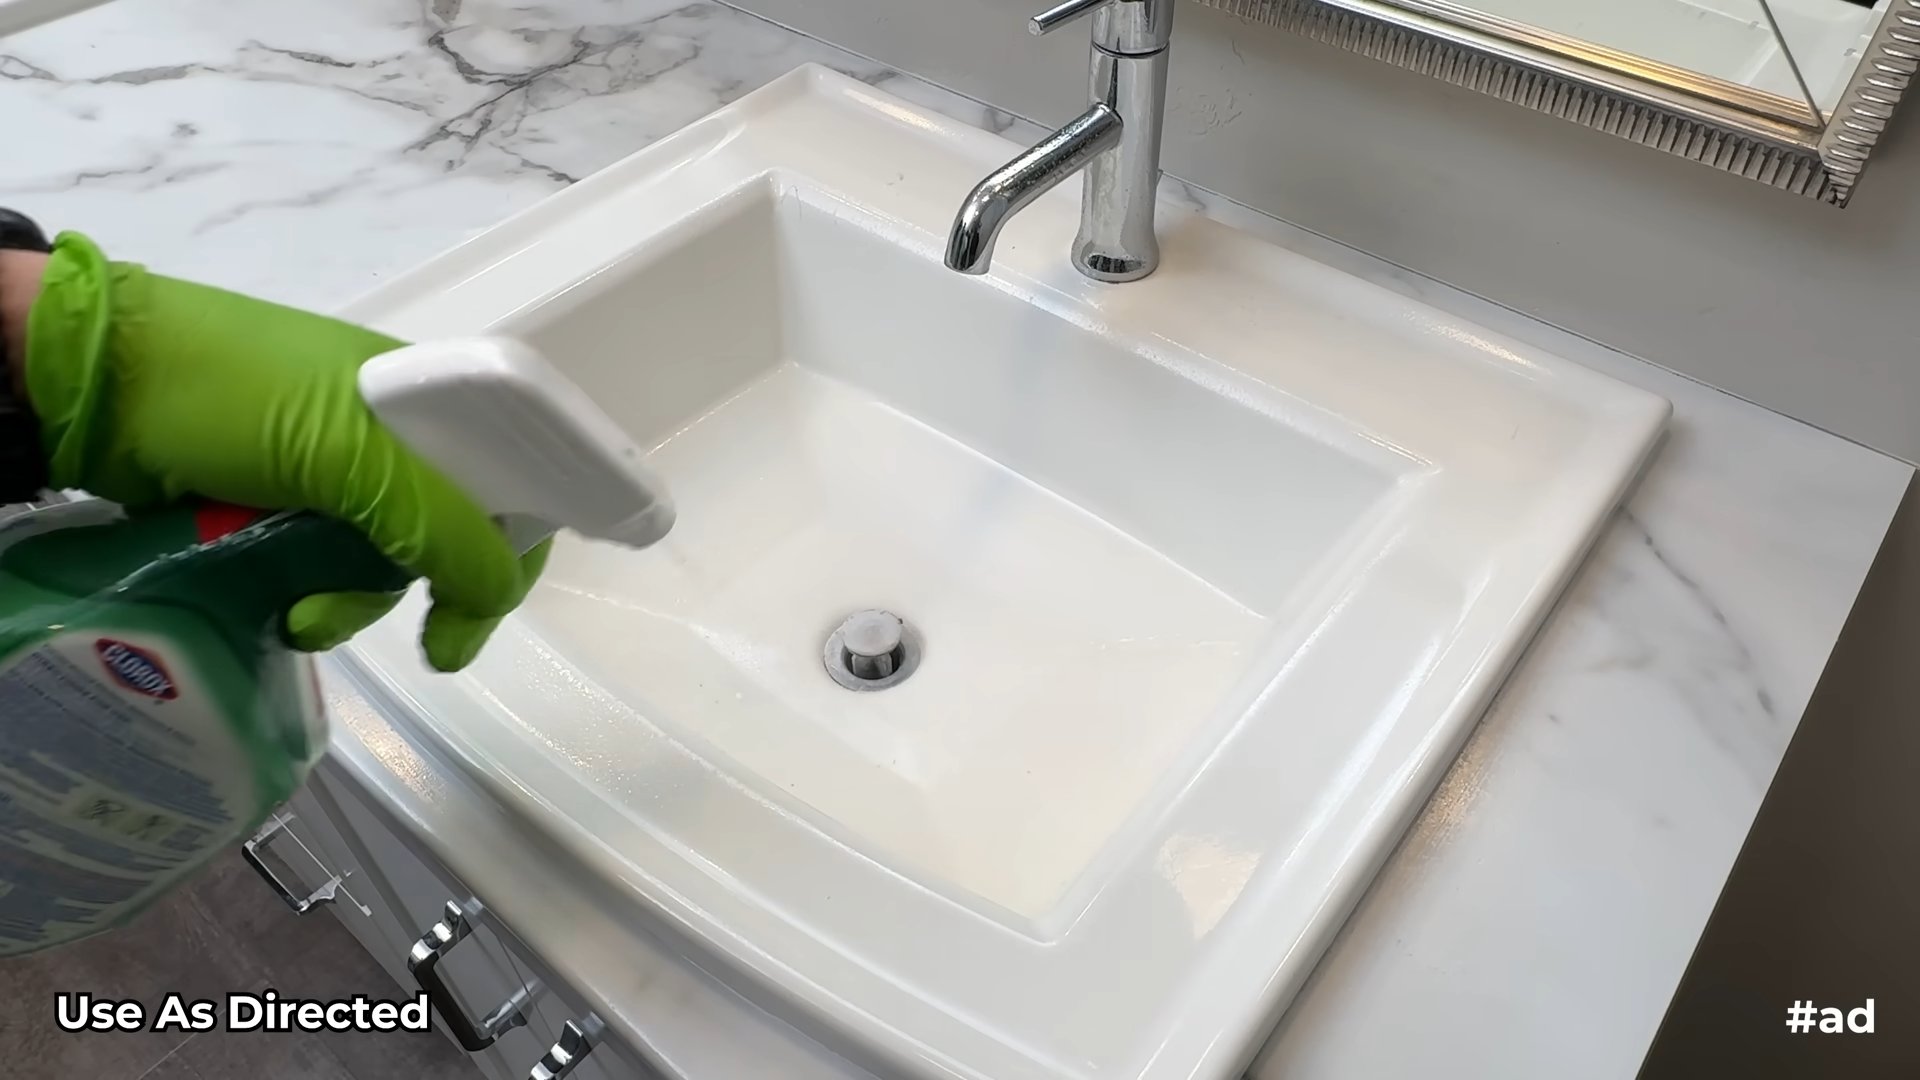
Phase 4: Sink and Countertop Sparkle
Now, let’s move on to the sink and countertops. These areas can accumulate toothpaste splatters, soap residue, and other grime.
1. Clear the Area: Make sure the sink and countertops are clear of any items.
2. Spray with All-Purpose Cleaner (Optional): If you’re using an all-purpose cleaner, spray it onto the sink and countertops.
3. Clean with Clorox Wipes: Use Clorox Disinfecting Wipes to clean the sink, countertops, and faucet. Pay special attention to areas around the faucet and drain, where grime can accumulate.
4. Scrub Stubborn Stains: For stubborn stains, you can use a paste of baking soda and water to scrub the area.
5. Rinse and Dry: Rinse the sink and countertops with water and dry them with a clean microfiber cloth.
6. Clean the Mirror: Use a glass cleaner to clean the mirror. Spray the cleaner onto a microfiber cloth and wipe the mirror in a circular motion.
Phase 5: Floor Finale
Finally, let’s tackle the floor. A clean floor can make a huge difference in the overall appearance of the bathroom.
1. Sweep or Vacuum: Sweep or vacuum the floor to remove any loose dirt, hair, or debris.
2. Prepare Your Cleaning Solution: Depending on your floor type, you can use a variety of cleaning solutions. For tile floors, you can use a solution of warm water and a mild detergent or a diluted bleach solution (1 part bleach to 10 parts water). For other floor types, consult the manufacturer’s instructions for the best cleaning solution.
3. Mop the Floor: Mop the floor with your chosen cleaning solution, making sure to cover the entire surface.
4. Rinse (If Necessary): If you’re using a cleaning solution that requires rinsing, rinse the floor with clean water.
5. Dry the Floor: Allow the floor to air dry or use a clean towel to dry it.
Phase 6: Finishing Touches and Maintenance
We’re almost there! These final touches will ensure your bathroom stays sparkling clean for longer.
1. Replace Items: Put back all the items you removed from the counters, shelves, and shower.
2. Replace Bath Mats and Rugs:
Conclusion
So, there you have it – a simple, effective, and budget-friendly way to achieve a sparkling clean bathroom using the power of Clorox. This isn’t just about surface cleaning; it’s about creating a healthier and more inviting space for you and your family. We’ve walked you through the steps, highlighting the key areas to focus on and providing tips to maximize the cleaning power of Clorox.
Why is this DIY bathroom cleaning trick a must-try? Because it delivers professional-level results without the professional-level price tag. You’re not just saving money; you’re also gaining control over the cleaning process, ensuring that every nook and cranny is addressed to your satisfaction. Plus, you’re minimizing your exposure to harsh chemicals often found in commercial cleaning products.
But the best part? The versatility! Feel free to adapt this method to suit your specific needs and preferences.
* For stubborn stains: Create a paste of Clorox and baking soda for extra scrubbing power. Let it sit for a few minutes before rinsing.
* For a fresh scent: Add a few drops of your favorite essential oil (like eucalyptus or tea tree) to your cleaning solution.
* For grout cleaning: Use an old toothbrush to scrub grout lines with a Clorox solution.
Remember to always test any cleaning solution in an inconspicuous area first to ensure it doesn’t damage the surface. And always wear gloves and eye protection when working with Clorox.
We’re confident that this DIY bathroom cleaning method will transform your cleaning routine and leave you with a bathroom that shines. But don’t just take our word for it – try it yourself! We encourage you to experiment with the variations, find what works best for your bathroom, and share your experiences with us. Let us know your tips, tricks, and any modifications you’ve made to this method. Your feedback will help others discover the joy of a truly clean bathroom.
This method is not just a cleaning hack; it’s a commitment to a cleaner, healthier home. It’s about taking pride in your space and creating an environment that promotes well-being. So, grab your Clorox, roll up your sleeves, and get ready to experience the satisfaction of a sparkling clean bathroom. We can’t wait to hear about your results! Share your before-and-after photos and cleaning tips in the comments below. Let’s build a community of clean bathroom enthusiasts!
Frequently Asked Questions (FAQs)
Is it safe to use Clorox in my bathroom?
Yes, Clorox is generally safe to use in your bathroom when used according to the manufacturer’s instructions. However, it’s crucial to take necessary precautions. Always wear gloves and eye protection to prevent skin and eye irritation. Ensure proper ventilation by opening windows or using a fan. Never mix Clorox with ammonia or other cleaning products, as this can create dangerous and potentially deadly fumes. If you have sensitive skin or respiratory issues, consider wearing a mask. After cleaning, rinse surfaces thoroughly with water to remove any residual Clorox. If you are unsure about using Clorox on a particular surface, test it in an inconspicuous area first.
Can I use Clorox on all bathroom surfaces?
While Clorox is effective on many bathroom surfaces, it’s not suitable for everything. It’s generally safe for use on porcelain, ceramic tile, fiberglass, and sealed grout. However, avoid using Clorox on natural stone surfaces like marble or granite, as it can damage and discolor them. Similarly, be cautious when using Clorox on metal fixtures, as it can cause corrosion over time. Always test a small, hidden area before applying Clorox to the entire surface. For delicate surfaces, consider using a diluted solution or alternative cleaning methods. If you’re unsure about a particular surface, consult the manufacturer’s instructions or a professional cleaner.
How often should I clean my bathroom with Clorox?
The frequency of cleaning your bathroom with Clorox depends on several factors, including the size of your household, the level of usage, and your personal preferences. As a general guideline, aim to clean your bathroom with Clorox at least once a week to maintain hygiene and prevent the buildup of mold and mildew. High-traffic bathrooms may require more frequent cleaning, while less frequently used bathrooms can be cleaned less often. Pay attention to areas prone to moisture and grime, such as the shower, toilet, and sink. Regular cleaning not only keeps your bathroom looking its best but also helps prevent the spread of germs and bacteria.
What is the best way to remove mold and mildew with Clorox?
Clorox is an effective solution for removing mold and mildew in your bathroom. To tackle these stubborn growths, start by diluting Clorox with water in a well-ventilated area. A ratio of 1 part Clorox to 10 parts water is generally recommended. Apply the solution to the affected areas using a spray bottle or sponge. Allow the solution to sit for 10-15 minutes to penetrate and kill the mold and mildew. Then, scrub the area with a brush or sponge to remove the residue. Rinse thoroughly with water and dry the surface completely. For heavily soiled areas, you may need to repeat the process. Remember to wear gloves and eye protection during the cleaning process.
Can I use Clorox to clean my toilet bowl?
Yes, Clorox can be used to effectively clean and disinfect your toilet bowl. Pour about a cup of Clorox directly into the toilet bowl, making sure to coat the entire surface. Let it sit for 10-15 minutes to allow the Clorox to kill germs and break down stains. Then, use a toilet brush to scrub the bowl thoroughly, paying attention to the rim and any areas with stubborn stains. Flush the toilet to rinse away the Clorox and debris. For heavily soiled toilets, you may need to repeat the process or use a stronger concentration of Clorox. Always ensure proper ventilation when cleaning with Clorox.
How can I prevent mold and mildew from returning after cleaning with Clorox?
Preventing mold and mildew from returning after cleaning with Clorox requires a combination of good ventilation, moisture control, and regular cleaning. After showering or bathing, always run the exhaust fan or open a window to remove excess moisture from the air. Wipe down wet surfaces, such as shower walls and doors, with a towel or squeegee to prevent water from pooling. Repair any leaks or plumbing issues promptly to eliminate sources of moisture. Regularly clean your bathroom with Clorox or another disinfectant to kill any remaining mold spores. Consider using a dehumidifier in your bathroom to further reduce moisture levels. By taking these steps, you can create an environment that is less conducive to mold and mildew growth.
What are some alternatives to Clorox for cleaning my bathroom?
If you prefer not to use Clorox, there are several alternative cleaning options for your bathroom. Vinegar is a natural disinfectant and deodorizer that can be used to clean various surfaces. Baking soda is a mild abrasive that can help remove stains and grime. Hydrogen peroxide is another effective disinfectant that can be used to clean toilets and sinks. Commercial bathroom cleaners that are free of harsh chemicals are also available. When choosing an alternative cleaner, consider the type of surface you’re cleaning and the level of grime or stains you need to remove. Always test the cleaner in an inconspicuous area first to ensure it doesn’t damage the surface.


Leave a Comment