
Growing Butternut Squash Containers: Imagine harvesting plump, vibrant butternut squash right from your own patio! No sprawling garden needed. For centuries, humans have cultivated squash, with evidence suggesting its domestication in the Americas dating back thousands of years. From ancient civilizations relying on it as a staple food source to modern chefs crafting culinary masterpieces, the butternut squash holds a special place in our hearts (and stomachs!).
But what if you lack the space for a traditional garden? That’s where the magic of container gardening comes in! I’m here to tell you that you don’t need acres of land to enjoy the satisfaction of growing your own food. Many people are intimidated by the thought of growing squash, especially varieties like butternut, believing they require vast amounts of space. But I’m going to show you how to successfully grow butternut squash in containers, even if you’re a complete beginner. This DIY guide will provide you with simple, effective tricks and hacks to maximize your yield and enjoy a bountiful harvest.
Why is this important? Because fresh, homegrown produce tastes better, is healthier, and connects you to the natural world. Plus, growing butternut squash containers is incredibly rewarding! So, let’s ditch the grocery store squash and embark on this exciting gardening adventure together. Get ready to learn the secrets to successful container gardening and enjoy the delicious fruits (or rather, vegetables!) of your labor.
Growing Butternut Squash in Containers: A Comprehensive Guide
Hey there, fellow gardening enthusiasts! I’m so excited to share my tried-and-true method for growing butternut squash in containers. I know, I know, it sounds a bit ambitious, right? But trust me, with a little planning and the right techniques, you can absolutely enjoy a bountiful harvest of these delicious winter squashes, even if you’re short on space. I’ve been doing this for years, and I’m here to walk you through every step.
Choosing the Right Container and Variety
Before we even think about planting, let’s talk about the essentials: the container and the squash variety. This is crucial for success!
* Container Size: This is non-negotiable. Butternut squash plants are vigorous growers and need plenty of room for their roots to spread. I recommend a container that’s at least 20 gallons in size. Think big! A half-barrel planter or a large, sturdy plastic tub will work perfectly. The bigger, the better, honestly. You want to give those roots plenty of space to roam.
* Drainage: Excellent drainage is absolutely essential. Butternut squash hates sitting in soggy soil. Make sure your container has plenty of drainage holes at the bottom. If it doesn’t, drill some! I usually add a layer of gravel or broken pottery at the bottom of the container to further improve drainage.
* Squash Variety: While you can technically grow any butternut squash variety in a container, I’ve found that bush or semi-bush varieties are the most successful. These varieties are more compact and don’t require as much sprawling space as vining varieties. Some of my favorites include ‘Butterbush’, ‘Early Butternut’, and ‘Waltham Butternut’. Check the seed packet for information on the plant’s growth habit before you buy.
Preparing the Soil
Now that we’ve got our container sorted, let’s get our hands dirty and prepare the soil. Butternut squash are heavy feeders, so they need a rich, well-draining soil mix.
* The Perfect Mix: I like to create my own soil mix using a combination of:
* Potting Mix: This forms the base of our mix and provides good drainage.
* Compost: Compost is black gold for gardeners! It adds essential nutrients and improves soil structure. I use a generous amount of well-rotted compost.
* Well-rotted Manure: This provides a slow-release source of nutrients. Make sure it’s well-rotted to avoid burning the roots.
* Perlite or Vermiculite: These help improve drainage and aeration.
* Mixing it Up: Aim for a ratio of roughly 1:1:1:1 of potting mix, compost, manure, and perlite/vermiculite. Mix everything thoroughly until it’s well combined. The soil should be loose, crumbly, and rich in organic matter.
* pH Level: Butternut squash prefers a slightly acidic to neutral soil pH (around 6.0 to 7.0). You can test your soil pH using a soil testing kit, which you can find at most garden centers. If your soil is too alkaline, you can amend it with sulfur.
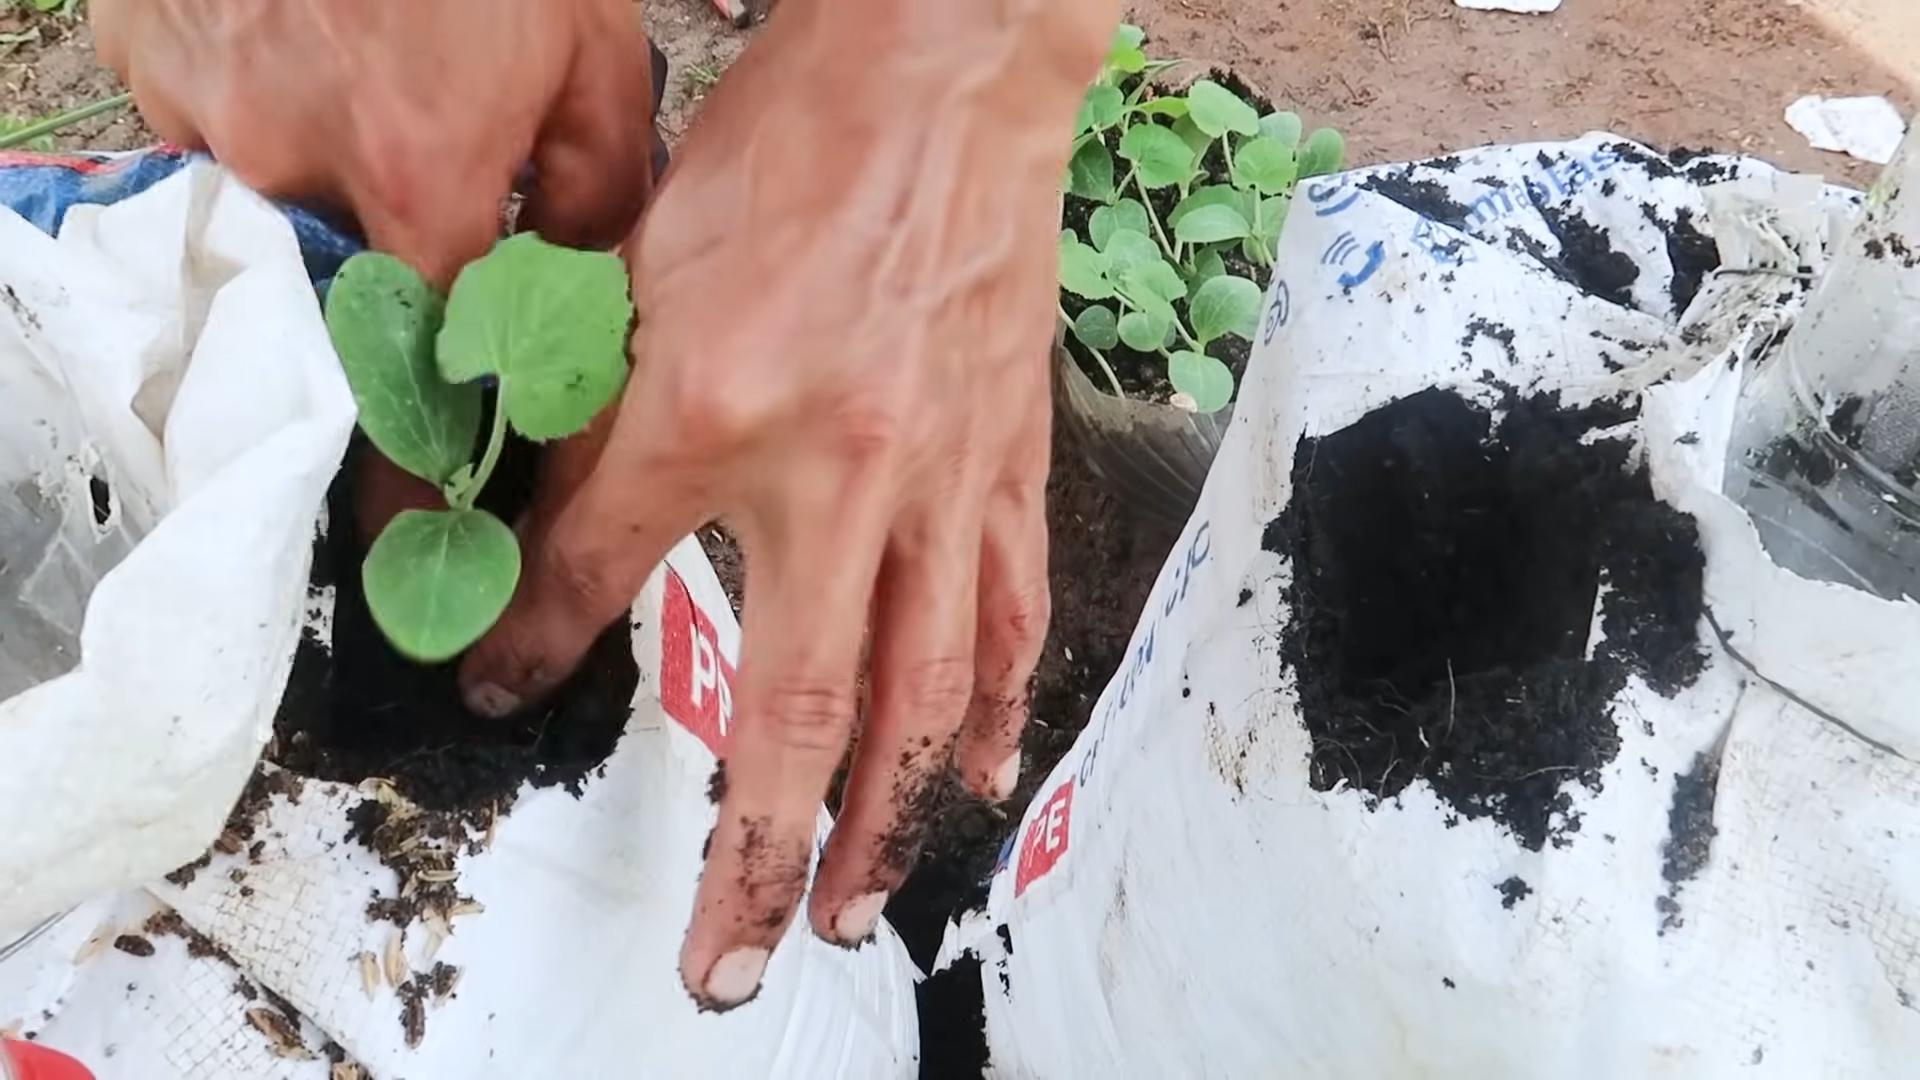
Planting Your Butternut Squash
Alright, time to get those seeds in the ground!
1. Starting Seeds Indoors (Optional): I usually start my butternut squash seeds indoors about 3-4 weeks before the last expected frost. This gives them a head start and helps them mature faster. Sow the seeds in small pots or seed trays filled with seed-starting mix. Keep the soil moist and warm (around 70-75°F). Once the seedlings have developed a few true leaves, they’re ready to transplant.
2. Direct Sowing: If you live in a warmer climate with a long growing season, you can direct sow the seeds directly into the container. Wait until the soil has warmed up to at least 65°F.
3. Planting Depth: Sow the seeds about 1 inch deep.
4. Number of Seeds: I usually plant 2-3 seeds per container, just to be on the safe side. Once the seedlings emerge, I thin them out to the strongest one.
5. Watering: Water the soil gently after planting, making sure to moisten it thoroughly.
Caring for Your Butternut Squash Plants
Now comes the fun part: nurturing your plants and watching them grow!
1. Sunlight: Butternut squash needs at least 6-8 hours of direct sunlight per day. Place your container in a sunny spot where it will receive plenty of light.
2. Watering: Water regularly, especially during hot, dry weather. The soil should be consistently moist, but not waterlogged. I usually water deeply whenever the top inch of soil feels dry to the touch. Avoid getting the leaves wet, as this can promote fungal diseases.
3. Fertilizing: As I mentioned earlier, butternut squash are heavy feeders. Fertilize them regularly with a balanced fertilizer. I like to use a liquid fertilizer diluted to half strength every 2-3 weeks. You can also side-dress the plants with compost or well-rotted manure.
4. Pollination: Butternut squash plants have separate male and female flowers. The female flowers have a small fruit at the base, while the male flowers don’t. Bees are the primary pollinators, but if you’re not seeing a lot of bee activity, you may need to hand-pollinate the flowers. To do this, simply use a small paintbrush to transfer pollen from the male flower to the female flower.
5. Pruning: While not essential, pruning can help improve air circulation and encourage fruit production. I usually prune away any yellowing or damaged leaves. You can also pinch off the tips of the vines to encourage branching.
6. Support: Even bush varieties can get a bit unruly. I like to provide some support for the vines, such as a small trellis or tomato cage. This helps keep the fruits off the ground and prevents them from rotting.
7. Pest and Disease Control: Keep an eye out for common pests like squash bugs, squash vine borers, and aphids. You can control these pests with insecticidal soap or neem oil. Powdery mildew is a common fungal disease that can affect butternut squash plants. To prevent powdery mildew, make sure the plants have good air circulation and avoid getting the leaves wet when watering. You can also treat powdery mildew with a fungicide.
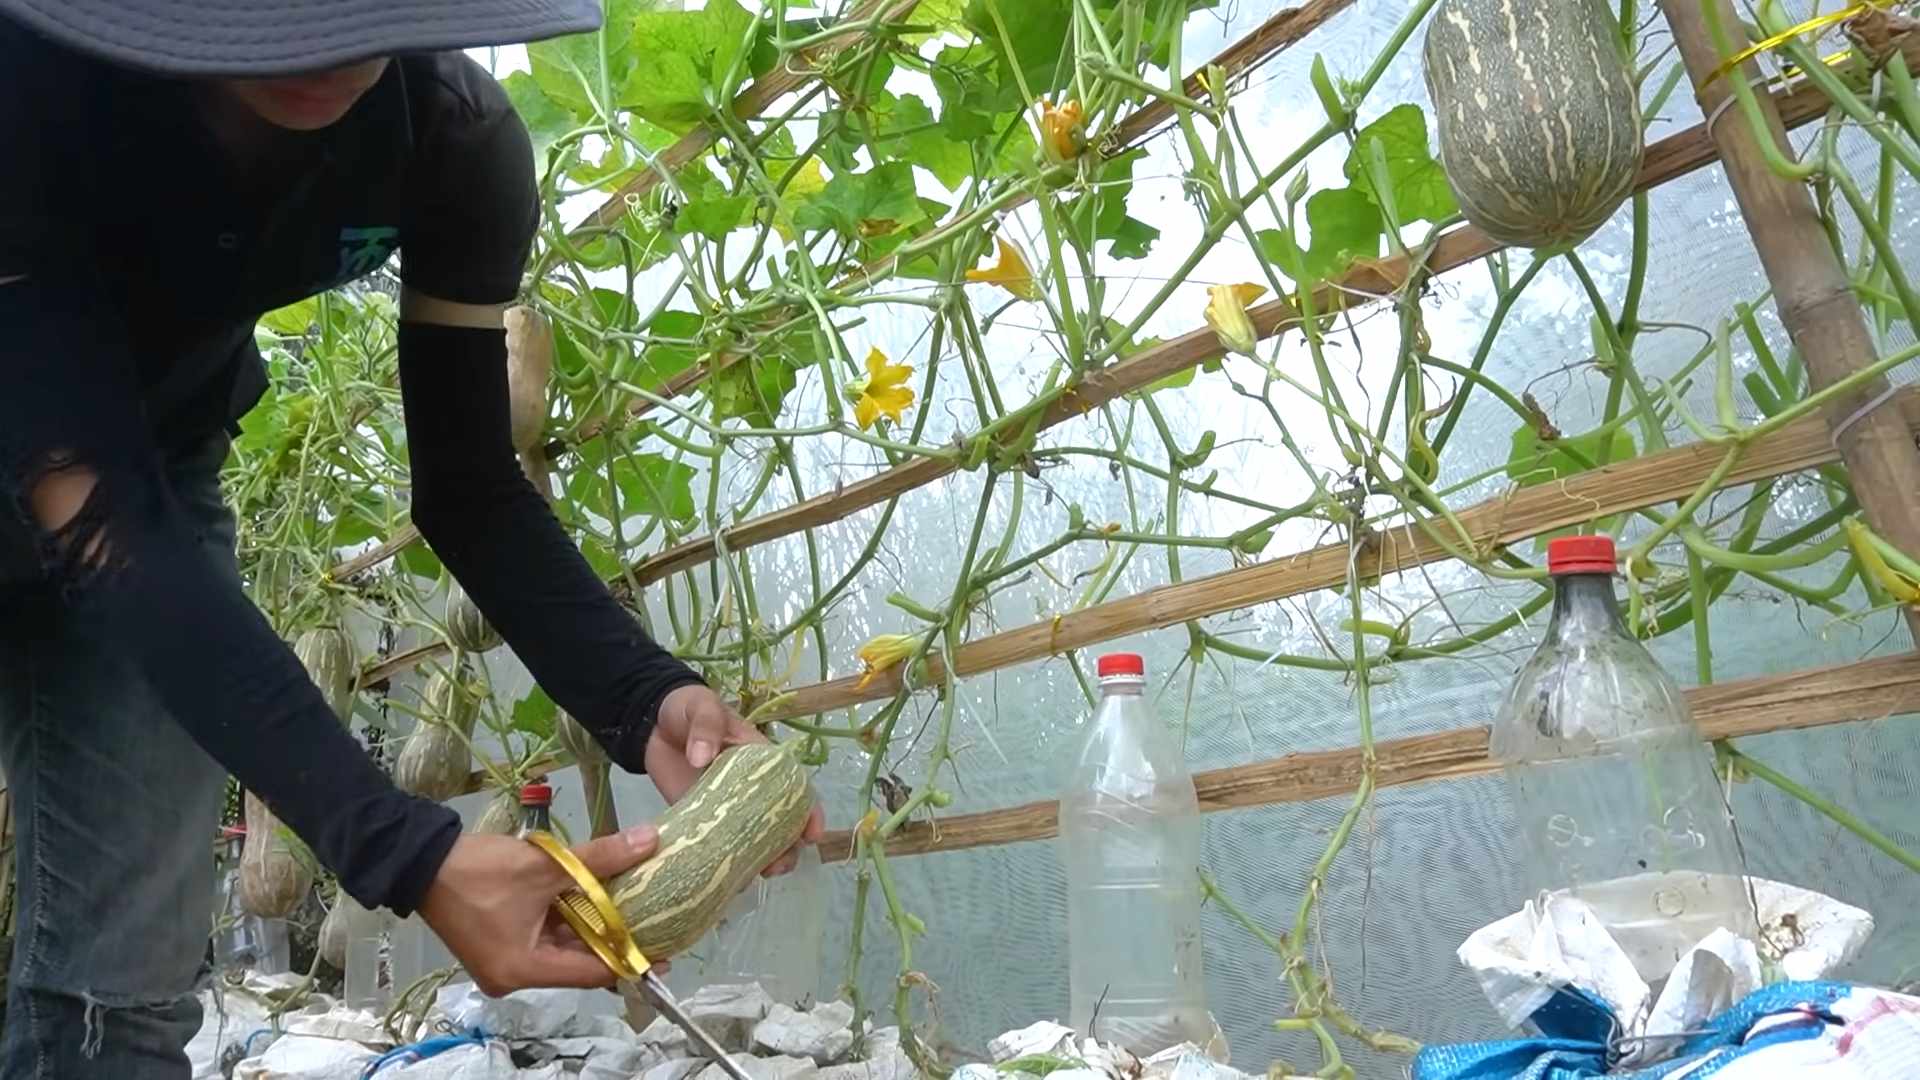
Harvesting Your Butternut Squash
The moment we’ve all been waiting for: harvesting!
1. Timing: Butternut squash are typically ready to harvest in the fall, about 90-100 days after planting. The exact timing will depend on the variety and your local climate.
2. Signs of Ripeness: Look for these signs that your butternut squash is ready to harvest:
* The skin should be hard and tough. You shouldn’t be able to easily pierce it with your fingernail.
* The color should be a deep tan or beige.
* The stem should be dry and brown.
3. Harvesting Technique: Use a sharp knife or pruning shears to cut the squash from the vine, leaving about 2-3 inches of stem attached. This helps prevent rot.
4. Curing: After harvesting, cure the squash in a warm, dry place for about 1-2 weeks. This helps harden the skin and improve storage life. I usually cure my squash in my garage or on a covered porch.
5. Storage: Store cured butternut squash in a cool, dry place (around 50-60°F) with good ventilation. They should last for several months.
Troubleshooting
Even with the best planning, things can sometimes go wrong. Here are a few common problems you might encounter and how to fix them:
* Poor Fruit Set: If your plants are producing lots of flowers but no fruit, it could be due to poor pollination. Try hand-pollinating the flowers or attracting more bees to your garden by planting bee-friendly flowers.
* Yellowing Leaves: Yellowing leaves can be a sign of nutrient deficiency, overwatering, or disease. Check the soil moisture and fertilize the plants if necessary. If you suspect a disease, treat the plants with an appropriate fungicide.
* Pest Infestations: As mentioned earlier, keep an eye out for common pests and treat them promptly with insecticidal soap or neem oil.
Enjoying Your Harvest
Congratulations! You’ve successfully grown butternut squash in containers. Now it’s time to enjoy the fruits (or rather, vegetables) of your labor. Butternut squash is incredibly versatile and can be used in a variety of dishes, from soups and stews to roasted vegetables and pies. I love roasting it with a little olive oil, salt, and pepper. It’s also delicious in butternut squash ravioli or risotto.
Growing butternut squash in containers is a rewarding experience that allows you to enjoy
Conclusion
So, there you have it! Growing butternut squash in containers might seem like a daunting task, but with the right approach, it’s entirely achievable and incredibly rewarding. We’ve walked through the key steps, from selecting the perfect container and nutrient-rich soil to providing adequate support and diligently managing pests and diseases. But why is this DIY trick a must-try?
Firstly, it democratizes gardening. You don’t need acres of land to enjoy the satisfaction of harvesting your own delicious butternut squash. Whether you have a small balcony, a sunny patio, or just a limited garden space, container gardening opens up the possibility of growing your own food, connecting with nature, and enjoying fresh, homegrown produce.
Secondly, it offers greater control. Container gardening allows you to meticulously manage the growing environment. You can easily move your plants to chase the sun, protect them from harsh weather, and tailor the soil composition to meet their specific needs. This level of control can lead to healthier plants and a more abundant harvest.
Thirdly, it’s a fantastic learning experience. Growing butternut squash in containers is a hands-on way to learn about plant life cycles, soil science, and pest management. It’s a journey of discovery that can deepen your appreciation for the natural world and empower you to become a more confident and skilled gardener.
But the benefits don’t stop there. Imagine the satisfaction of serving a butternut squash soup made with squash you grew yourself. Picture the vibrant orange flesh adding a touch of autumnal warmth to your table. Envision sharing your homegrown bounty with friends and family, knowing that you nurtured it from seed to harvest.
Now, let’s talk about variations. While we’ve focused on the classic butternut squash, don’t be afraid to experiment with other varieties. Smaller, bush-type butternut squash cultivars are particularly well-suited for container gardening. You could also try growing other winter squash varieties like acorn squash or delicata squash, adapting the techniques we’ve discussed to suit their specific needs.
Consider companion planting to enhance your container garden. Marigolds can help deter pests, while nasturtiums can attract beneficial insects. Basil can improve the flavor of your squash and repel certain pests. Experiment with different combinations to find what works best for you.
Another variation is to explore different trellising methods. While we’ve suggested using a sturdy trellis or tomato cage, you could also try using a DIY trellis made from bamboo stakes or repurposed materials. Get creative and find a solution that fits your space and aesthetic.
Finally, remember that growing butternut squash in containers is an ongoing process of learning and refinement. Don’t be discouraged if you encounter challenges along the way. Every season is an opportunity to learn from your mistakes and improve your techniques.
So, what are you waiting for? Grab a container, some soil, and a butternut squash seedling, and embark on this rewarding gardening adventure. We encourage you to try this DIY trick and experience the joy of growing your own butternut squash. And most importantly, share your experience with us! We’d love to hear about your successes, your challenges, and any tips or tricks you’ve discovered along the way. Share your photos, your stories, and your questions in the comments below. Let’s build a community of container squash growers and inspire others to embrace the joys of homegrown food. Happy gardening!
Frequently Asked Questions (FAQ)
1. What is the best size container for growing butternut squash?
The ideal container size for growing butternut squash is at least 20 gallons. A larger container, around 25-30 gallons, is even better as it provides ample space for the roots to develop and supports the vigorous growth of the plant. The bigger the container, the more moisture and nutrients it can hold, reducing the frequency of watering and fertilizing. Ensure the container has adequate drainage holes to prevent waterlogging, which can lead to root rot. Remember, a happy root system translates to a healthy and productive plant.
2. What type of soil should I use for growing butternut squash in containers?
Butternut squash thrives in well-draining, nutrient-rich soil. A good potting mix specifically formulated for vegetables is an excellent choice. You can also create your own mix by combining equal parts of compost, peat moss (or coconut coir), and perlite or vermiculite. Compost provides essential nutrients, peat moss (or coconut coir) helps retain moisture, and perlite or vermiculite improves drainage and aeration. Avoid using garden soil in containers, as it can become compacted and hinder root growth. The ideal soil pH for butternut squash is between 6.0 and 7.0.
3. How much sunlight does butternut squash need when grown in containers?
Butternut squash requires at least 6-8 hours of direct sunlight per day to produce a good harvest. Choose a location that receives ample sunlight throughout the day. If you live in a particularly hot climate, some afternoon shade can be beneficial to prevent the plants from overheating. If you don’t have a sunny spot, consider using grow lights to supplement the natural sunlight. Rotate the container regularly to ensure that all sides of the plant receive adequate sunlight.
4. How often should I water butternut squash grown in containers?
Water butternut squash regularly, especially during hot and dry weather. The soil should be kept consistently moist but not waterlogged. Check the soil moisture level by sticking your finger about an inch deep into the soil. If it feels dry, it’s time to water. Water deeply, allowing the water to drain out of the drainage holes. Avoid watering the foliage, as this can increase the risk of fungal diseases. Mulching around the base of the plant can help retain moisture and suppress weeds.
5. What kind of fertilizer should I use for butternut squash in containers?
Butternut squash is a heavy feeder and requires regular fertilization. Use a balanced fertilizer with an NPK ratio of 10-10-10 or 14-14-14. Apply the fertilizer according to the package instructions, typically every 2-3 weeks. You can also supplement with organic fertilizers such as compost tea or fish emulsion. During the flowering and fruiting stages, switch to a fertilizer that is higher in phosphorus and potassium to promote fruit development. Avoid over-fertilizing, as this can lead to excessive foliage growth and reduced fruit production.
6. How do I deal with pests and diseases when growing butternut squash in containers?
Monitor your plants regularly for signs of pests and diseases. Common pests that affect butternut squash include squash bugs, squash vine borers, and aphids. Handpick pests whenever possible. You can also use insecticidal soap or neem oil to control infestations. Common diseases include powdery mildew and squash vine borer. Ensure good air circulation around the plants to prevent fungal diseases. Remove any infected leaves or stems promptly. Consider using organic fungicides if necessary. Crop rotation and companion planting can also help prevent pest and disease problems.
7. How do I know when my butternut squash is ready to harvest?
Butternut squash is typically ready to harvest about 90-100 days after planting. The skin should be hard and tough, and the stem should be dry and corky. The color of the squash should be a deep tan or beige. You can also test for ripeness by pressing your thumbnail into the skin. If it’s difficult to puncture, the squash is ready to harvest. Use a sharp knife or pruning shears to cut the squash from the vine, leaving a few inches of stem attached. Curing the squash for 1-2 weeks in a warm, dry place will improve its flavor and storage life.
8. Can I grow butternut squash indoors?
While it’s possible to start butternut squash seeds indoors, it’s not recommended to grow them indoors for their entire life cycle. Butternut squash requires a lot of sunlight and space to thrive, which is difficult to provide indoors. However, you can start seeds indoors about 4-6 weeks before the last expected frost and then transplant them into containers outdoors once the weather warms up. Use grow lights to provide adequate light for the seedlings.
9. My butternut squash plant is producing flowers but no fruit. What could be the problem?
There are several reasons why your butternut squash plant might be producing flowers but no fruit. One common reason is lack of pollination. Butternut squash requires pollination to set fruit. You can hand-pollinate the flowers by transferring pollen from the male flowers to the female flowers using a small brush. Another reason could be insufficient sunlight or nutrients. Ensure that your plant is receiving at least 6-8 hours of direct sunlight per day and is being fertilized regularly. Stress from heat, drought, or pests can also prevent fruit set.
10. Can I save seeds from my homegrown butternut squash to plant next year?
Yes, you can save seeds from your homegrown butternut squash to plant next year, but there are a few things to keep in mind. If your squash was grown near other squash varieties, there is a chance that it may have cross-pollinated, which means the seeds may not produce true-to-type plants. To ensure that you get true-to-type seeds, you can isolate your butternut squash plants from other squash varieties. Allow the squash to fully mature on the vine before harvesting the seeds. Clean the seeds thoroughly and dry them completely before storing them in a cool, dry place.


Leave a Comment