
Grow Microgreens Indoors and unlock a world of fresh, flavorful, and nutrient-packed goodness right in your own home! Forget those expensive trips to the grocery store for a handful of sprouts. I’m going to show you how incredibly easy and rewarding it is to cultivate your own miniature garden, even if you have limited space or a less-than-green thumb.
Microgreens, while a relatively recent culinary trend, have roots that stretch back to ancient times. Cultures around the globe have long valued sprouts and young greens for their concentrated nutritional benefits and vibrant flavors. Think of them as nature’s tiny powerhouses, bursting with vitamins, minerals, and antioxidants. But why should you bother with growing them yourself?
In today’s fast-paced world, we’re all looking for ways to eat healthier and more sustainably. Grow Microgreens Indoors offers a simple, cost-effective solution. You’ll have access to fresh, organic greens year-round, adding a burst of flavor and nutrition to your salads, sandwiches, smoothies, and more. Plus, it’s a fantastic way to connect with nature and experience the joy of watching something grow from seed to harvest in just a matter of days. Ready to get started? Let’s dive into some easy DIY tricks and hacks that will have you enjoying your own homegrown microgreens in no time!

Grow Your Own Delicious Microgreens Indoors: A Beginner’s Guide
Hey there, fellow plant enthusiasts! Ever wanted to add a burst of fresh flavor and vibrant color to your meals, even when the weather outside is frightful? Well, I’m here to tell you that growing your own microgreens indoors is surprisingly easy and incredibly rewarding. Trust me, once you taste the difference between store-bought and homegrown, you’ll be hooked!
This guide will walk you through everything you need to know to start your own indoor microgreen garden. Let’s get growing!
What are Microgreens Anyway?
Before we dive in, let’s clarify what microgreens actually are. They’re essentially baby vegetable greens, harvested just after the cotyledon leaves (the first leaves to emerge from the seed) have developed, and sometimes after the first true leaves appear. Think of them as a more mature version of sprouts, but with a much richer flavor and texture. They’re packed with nutrients and add a delightful crunch to salads, sandwiches, soups, and just about anything else you can imagine.
Choosing Your Microgreen Seeds
The beauty of microgreens is the sheer variety you can grow. Some popular and easy-to-grow options include:
* Radish: Spicy and peppery, a real flavor kick.
* Broccoli: Mild and slightly earthy, a nutritional powerhouse.
* Sunflower: Nutty and crunchy, a personal favorite.
* Pea Shoots: Sweet and tender, perfect for salads.
* Mustard: Tangy and zesty, adds a vibrant flavor.
* Arugula: Peppery and slightly bitter, a classic choice.
* Kale: Earthy and slightly bitter, another nutritional superstar.
* Beet: Earthy and sweet, adds a beautiful color.
Important Note: Make sure you’re using seeds specifically intended for sprouting or microgreens. Regular garden seeds may be treated with chemicals that aren’t safe for consumption.
Gathering Your Supplies
Okay, time to assemble your microgreen growing arsenal! Here’s what you’ll need:
* Growing Trays: You’ll need two trays – one with drainage holes and one without. The tray without holes will act as a water reservoir. I usually use standard 10×20 inch trays, but you can adapt the size to fit your space.
* Growing Medium: I recommend using a soilless mix like coconut coir or a seed starting mix. These are lightweight, retain moisture well, and are less prone to mold growth than regular soil.
* Spray Bottle: For misting your seeds and seedlings.
* Seeds: Of course! Choose your favorites from the list above.
* Light Source: Microgreens need plenty of light to thrive. A fluorescent grow light or an LED grow light works best. You can also use a sunny windowsill, but you might not get as consistent growth.
* Water: Filtered water is ideal, but tap water that’s been left to sit for a day or two to allow chlorine to dissipate is also fine.
* Optional: A humidity dome or plastic wrap to help retain moisture during germination.
Step-by-Step Guide to Growing Microgreens
Alright, let’s get our hands dirty (well, not really, since we’re using soilless mix!). Here’s the step-by-step process:
1. Prepare Your Growing Trays
* First, thoroughly clean your growing trays with soap and water to prevent any contamination.
* Next, fill the tray *with* drainage holes with your chosen growing medium. Aim for a depth of about 1-2 inches.
* Gently level the surface of the growing medium and lightly compact it. You want a firm, even surface for your seeds to rest on.
* Moisten the growing medium thoroughly with your spray bottle. It should be damp but not soggy.
2. Sow Your Seeds
* This is where the magic happens! Scatter your seeds evenly over the surface of the growing medium. Don’t overcrowd them, but aim for a good, dense covering. The seed packet should give you a recommended seeding density.
* Once the seeds are sown, gently mist them with water to ensure they’re moist.
* If you’re using a humidity dome or plastic wrap, cover the tray to help retain moisture during germination.
3. Germination Phase (The Dark Period)
* This is a crucial step! Place your tray in a dark, warm location (around 70-75°F is ideal). This darkness encourages the seeds to germinate and sprout.
* During this period, it’s important to keep the growing medium moist. Check it daily and mist with water as needed. You might need to mist once or twice a day, depending on the humidity in your environment.
* The germination period typically lasts for 2-4 days, depending on the type of seed.
4. Introducing Light
* Once the seeds have germinated and you see tiny sprouts emerging, it’s time to introduce light!
* Remove the humidity dome or plastic wrap.
* Place your tray under your grow light. Position the light a few inches above the seedlings.
* If you’re using a windowsill, choose the sunniest spot you have. Rotate the tray regularly to ensure even growth.
5. Watering and Maintenance
* Now that your microgreens are growing, it’s important to keep them properly watered.
* Instead of misting from above, I prefer to water from below. This helps prevent fungal diseases.
* To water from below, pour water into the tray *without* drainage holes (the reservoir tray). Then, place the tray with your microgreens inside the reservoir tray. The growing medium will absorb water from the bottom.
* Keep the reservoir tray filled with about an inch of water.
* Change the water in the reservoir tray every few days to prevent algae growth.
* Monitor your microgreens daily for any signs of mold or disease. If you spot any, remove the affected areas immediately. Good air circulation is key to preventing these problems.
6. Harvesting Your Microgreens
* The moment you’ve been waiting for! Your microgreens are ready to harvest when they have developed their cotyledon leaves (the first leaves) and sometimes their first true leaves. This usually takes about 7-14 days, depending on the type of seed.
* To harvest, use a sharp pair of scissors or a knife to cut the microgreens just above the growing medium.
* Gently rinse the harvested microgreens with water and pat them dry.
* Store your microgreens in an airtight container in the refrigerator. They’ll stay fresh for about a week.
Troubleshooting Common Problems
Even with the best intentions, you might encounter a few hiccups along the way. Here are some common problems and how to address them:
* Mold Growth: This is usually caused by excessive moisture and poor air circulation. Make sure you’re not overwatering, and provide good ventilation. You can also try using a diluted hydrogen peroxide solution to spray the affected areas.
* Leggy Growth: This means your microgreens aren’t getting enough light. Move them closer to your light source or provide more light.
* Uneven Germination: This could be due to uneven watering or poor seed quality. Make sure you’re watering evenly and using fresh, high-quality seeds.
* Slow Growth: This could be due to a variety of factors, including temperature, light, and nutrient deficiencies. Make sure your microgreens are getting enough light and warmth, and consider adding a diluted liquid fertilizer to the water.
Tips for Success
Here are a few extra tips to help you become a microgreen master:
* Experiment with different seed varieties: Find the flavors you love!
* Keep a journal: Track your progress and note what works and what doesn’t.
* Don’t be afraid to fail: Every gardener experiences setbacks. Learn from your mistakes and keep trying!
* Enjoy the process: Growing microgreens is a fun and rewarding hobby.
Enjoy Your Homegrown Goodness!
And there you have it! You’re now equipped with the knowledge to grow your own delicious and nutritious microgreens indoors. I hope you found this guide helpful. Now go forth and create your own little indoor garden! Happy growing!
Conclusion
So, there you have it! Growing microgreens indoors is not only surprisingly simple, but it’s also an incredibly rewarding experience that brings a burst of fresh flavor and vibrant nutrients right to your kitchen counter. Forget those expensive, pre-packaged containers from the grocery store. With minimal effort and readily available supplies, you can cultivate your own miniature garden, ensuring a constant supply of these nutritional powerhouses.
Why is this DIY trick a must-try? Because it empowers you to take control of your food source, offering a sustainable and cost-effective way to enhance your meals. Imagine adding a peppery radish microgreen to your salad, a delicate sunflower sprout to your sandwich, or a vibrant beet microgreen to your smoothie. The possibilities are endless, and the flavor profiles are diverse, adding a gourmet touch to even the simplest dishes.
Beyond the taste and convenience, growing microgreens indoors is also a fantastic way to connect with nature, even in the heart of the city. Watching those tiny seeds sprout and flourish is a truly magical experience, offering a sense of accomplishment and a welcome dose of greenery to your indoor environment. It’s a therapeutic activity that can reduce stress and boost your mood, making it a win-win for your physical and mental well-being.
Looking for variations? Experiment with different seed varieties to discover your favorite flavors. Try a spicy mix of mustard and arugula, a mild blend of broccoli and kale, or a colorful combination of red cabbage and purple kohlrabi. You can also adjust the growing medium to suit your preferences. While soil is a classic choice, you can also use coco coir, hemp mats, or even paper towels. Each medium offers a slightly different texture and moisture retention, so feel free to experiment and see what works best for you.
Consider using different containers as well. While shallow trays are ideal for larger batches, you can also use repurposed plastic containers, glass jars, or even egg cartons for smaller, more manageable quantities. Just be sure to provide adequate drainage to prevent waterlogging.
And don’t forget about lighting! While a sunny windowsill can work in some cases, a simple grow light can significantly improve your microgreens’ growth and color, especially during the darker months. LED grow lights are energy-efficient and provide the perfect spectrum of light for optimal growth.
We wholeheartedly encourage you to give this DIY trick a try. It’s a simple, affordable, and incredibly rewarding way to elevate your meals and connect with nature. Once you experience the joy of harvesting your own fresh microgreens, you’ll never go back to store-bought again.
So, grab your seeds, your growing medium, and your container, and get ready to embark on a microgreen adventure! We’re confident that you’ll be amazed by the results. And most importantly, we want to hear about your experience! Share your photos, tips, and favorite microgreen varieties in the comments below. Let’s create a community of microgreen enthusiasts and inspire others to discover the joys of growing their own food indoors. Let us know how your journey to **grow microgreens indoors** goes!
Frequently Asked Questions (FAQ)
What exactly are microgreens?
Microgreens are young vegetable greens that are typically harvested 7-14 days after germination, when the first true leaves have emerged. They are essentially baby versions of mature vegetables and herbs, packed with intense flavor and nutrients. They are different from sprouts, which are germinated seeds that are eaten whole, including the root, stem, and seed. Microgreens only include the stem and leaves.
What kind of seeds can I use to grow microgreens?
The possibilities are vast! Some popular choices include:
* **Brassicas:** Broccoli, kale, cabbage, cauliflower, arugula, radish, mustard
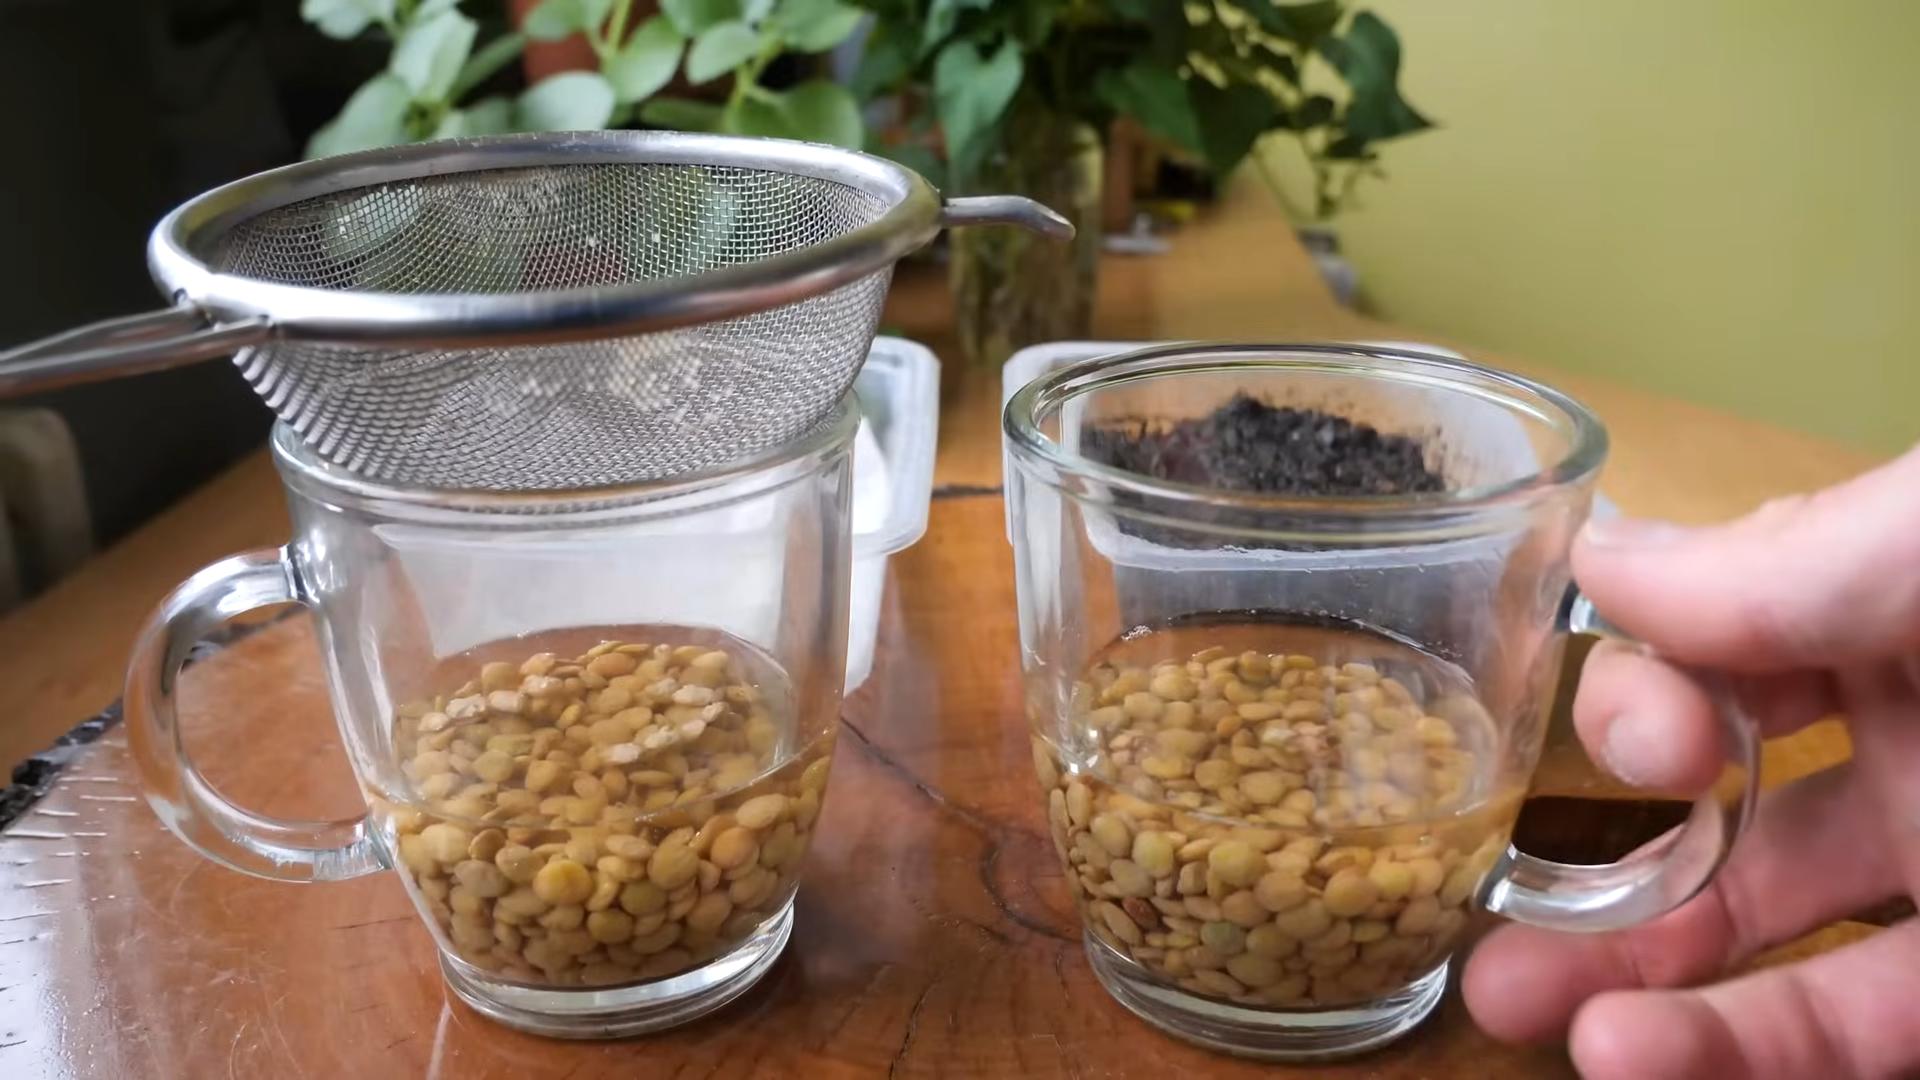
* **Legumes:** Peas, lentils, chickpeas
* **Amaranthaceae:** Amaranth, quinoa, beets, Swiss chard
* **Asteraceae:** Sunflower, lettuce, endive, radicchio
* **Apiaceae:** Carrot, celery, dill, fennel
However, it’s crucial to use seeds specifically intended for sprouting or microgreen production. Avoid using seeds that have been treated with fungicides or other chemicals, as these can be harmful to your health. Look for seeds labeled as “organic” or “untreated” to ensure they are safe for consumption.
What kind of soil or growing medium should I use?
A good quality seed starting mix is ideal. It’s lightweight, well-draining, and provides the necessary nutrients for young seedlings. You can also use coco coir, which is a sustainable alternative made from coconut husks. Hemp mats are another option, offering excellent water retention and aeration. Even paper towels can work for certain varieties, although they may require more frequent watering.
How much light do microgreens need?
Microgreens need plenty of light to thrive. A sunny windowsill can work if it receives at least 4-6 hours of direct sunlight per day. However, a grow light is highly recommended, especially during the winter months or in areas with limited sunlight. LED grow lights are energy-efficient and provide the optimal spectrum of light for microgreen growth. Position the light a few inches above the seedlings and keep it on for 12-16 hours per day.
How often should I water my microgreens?
Keep the growing medium consistently moist, but not waterlogged. Water gently from the bottom by adding water to the tray beneath the container, allowing the medium to absorb the moisture. You can also use a spray bottle to mist the surface of the soil. Avoid overwatering, as this can lead to mold growth.
How do I prevent mold growth?
Proper ventilation is key to preventing mold growth. Ensure that your microgreens have adequate airflow by placing them in a well-ventilated area. Avoid overcrowding the seeds, as this can trap moisture and create a breeding ground for mold. If you notice any mold, remove the affected areas immediately and improve ventilation. You can also spray the microgreens with a diluted solution of hydrogen peroxide (1 part hydrogen peroxide to 10 parts water) to help control mold growth.
When are microgreens ready to harvest?
Microgreens are typically ready to harvest 7-14 days after germination, when the first true leaves have emerged. The true leaves are the second set of leaves that appear after the initial seed leaves (cotyledons). Harvest the microgreens by snipping them off just above the soil line with scissors or a sharp knife.
How do I store harvested microgreens?
Store harvested microgreens in an airtight container in the refrigerator. They will typically last for up to a week. Avoid washing the microgreens until just before you are ready to use th
So, there you have it! Growing microgreens indoors is not only surprisingly simple, but it’s also an incredibly rewarding experience that brings a burst of fresh flavor and vibrant nutrients right to your kitchen counter. Forget those expensive, pre-packaged containers from the grocery store. With minimal effort and readily available supplies, you can cultivate your own miniature garden, ensuring a constant supply of these nutritional powerhouses.
Why is this DIY trick a must-try? Because it empowers you to take control of your food source, offering a sustainable and cost-effective way to enhance your meals. Imagine adding a peppery radish microgreen to your salad, a delicate sunflower sprout to your sandwich, or a vibrant beet microgreen to your smoothie. The possibilities are endless, and the flavor profiles are diverse, adding a gourmet touch to even the simplest dishes.
Beyond the taste and convenience, growing microgreens indoors is also a fantastic way to connect with nature, even in the heart of the city. Watching those tiny seeds sprout and flourish is a truly magical experience, offering a sense of accomplishment and a welcome dose of greenery to your indoor environment. It’s a therapeutic activity that can reduce stress and boost your mood, making it a win-win for your physical and mental well-being.
Looking for variations? Experiment with different seed varieties to discover your favorite flavors. Try a spicy mix of mustard and arugula, a mild blend of broccoli and kale, or a colorful combination of red cabbage and purple kohlrabi. You can also adjust the growing medium to suit your preferences. While soil is a classic choice, you can also use coco coir, hemp mats, or even paper towels. Each medium offers a slightly different texture and moisture retention, so feel free to experiment and see what works best for you.
Consider using different containers as well. While shallow trays are ideal for larger batches, you can also use repurposed plastic containers, glass jars, or even egg cartons for smaller, more manageable quantities. Just be sure to provide adequate drainage to prevent waterlogging.
And don’t forget about lighting! While a sunny windowsill can work in some cases, a simple grow light can significantly improve your microgreens’ growth and color, especially during the darker months. LED grow lights are energy-efficient and provide the perfect spectrum of light for optimal growth.
We wholeheartedly encourage you to give this DIY trick a try. It’s a simple, affordable, and incredibly rewarding way to elevate your meals and connect with nature. Once you experience the joy of harvesting your own fresh microgreens, you’ll never go back to store-bought again.
So, grab your seeds, your growing medium, and your container, and get ready to embark on a microgreen adventure! We’re confident that you’ll be amazed by the results. And most importantly, we want to hear about your experience! Share your photos, tips, and favorite microgreen varieties in the comments below. Let’s create a community of microgreen enthusiasts and inspire others to discover the joys of growing their own food indoors. Let us know how your journey to **grow microgreens indoors** goes!
Frequently Asked Questions (FAQ)
What exactly are microgreens?
Microgreens are young vegetable greens that are typically harvested 7-14 days after germination, when the first true leaves have emerged. They are essentially baby versions of mature vegetables and herbs, packed with intense flavor and nutrients. They are different from sprouts, which are germinated seeds that are eaten whole, including the root, stem, and seed. Microgreens only include the stem and leaves.
What kind of seeds can I use to grow microgreens?
The possibilities are vast! Some popular choices include:
* **Brassicas:** Broccoli, kale, cabbage, cauliflower, arugula, radish, mustard
* **Legumes:** Peas, lentils, chickpeas
* **Amaranthaceae:** Amaranth, quinoa, beets, Swiss chard
* **Asteraceae:** Sunflower, lettuce, endive, radicchio
* **Apiaceae:** Carrot, celery, dill, fennel
However, it’s crucial to use seeds specifically intended for sprouting or microgreen production. Avoid using seeds that have been treated with fungicides or other chemicals, as these can be harmful to your health. Look for seeds labeled as “organic” or “untreated” to ensure they are safe for consumption.
What kind of soil or growing medium should I use?
A good quality seed starting mix is ideal. It’s lightweight, well-draining, and provides the necessary nutrients for young seedlings. You can also use coco coir, which is a sustainable alternative made from coconut husks. Hemp mats are another option, offering excellent water retention and aeration. Even paper towels can work for certain varieties, although they may require more frequent watering.
How much light do microgreens need?
Microgreens need plenty of light to thrive. A sunny windowsill can work if it receives at least 4-6 hours of direct sunlight per day. However, a grow light is highly recommended, especially during the winter months or in areas with limited sunlight. LED grow lights are energy-efficient and provide the optimal spectrum of light for microgreen growth. Position the light a few inches above the seedlings and keep it on for 12-16 hours per day.
How often should I water my microgreens?
Keep the growing medium consistently moist, but not waterlogged. Water gently from the bottom by adding water to the tray beneath the container, allowing the medium to absorb the moisture. You can also use a spray bottle to mist the surface of the soil. Avoid overwatering, as this can lead to mold growth.
How do I prevent mold growth?
Proper ventilation is key to preventing mold growth. Ensure that your microgreens have adequate airflow by placing them in a well-ventilated area. Avoid overcrowding the seeds, as this can trap moisture and create a breeding ground for mold. If you notice any mold, remove the affected areas immediately and improve ventilation. You can also spray the microgreens with a diluted solution of hydrogen peroxide (1 part hydrogen peroxide to 10 parts water) to help control mold growth.
When are microgreens ready to harvest?
Microgreens are typically ready to harvest 7-14 days after germination, when the first true leaves have emerged. The true leaves are the second set of leaves that appear after the initial seed leaves (cotyledons). Harvest the microgreens by snipping them off just above the soil line with scissors or a sharp knife.
How do I store harvested microgreens?
Store harvested microgreens in an airtight container in the refrigerator. They will typically last for up to a week. Avoid washing the microgreens until just before you are ready to use them, as this can shorten their shelf life.
Are there any microgreens I should avoid growing?
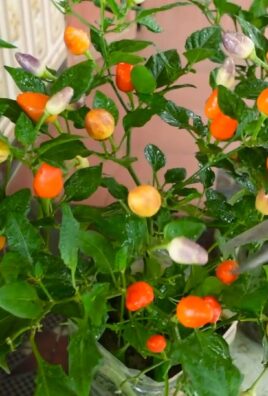
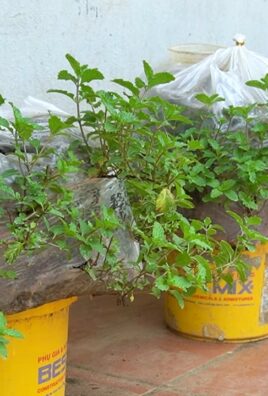
Yes, some plants in the nightshade family (Solanaceae), such as tomatoes, potatoes, eggplants, and peppers, should not be grown as microgreens. Their leaves contain toxic alkaloids that can be harmful if ingested. Also, avoid growing rhubarb leaves as microgreens, as they contain high levels of oxalic acid. Always research the safety of a particular seed before growing it as a microgreen.
Can I reuse the soil after harvesting microgreens?
It’s generally not recommended to reuse the soil after harvesting microgreens, as it may contain residual seeds, mold spores, or other contaminants. It’s best to start with fresh soil for each batch of microgreens to ensure optimal growth and prevent potential health risks. You can compost the used soil to enrich your garden soil.

Leave a Comment