
Growing mini carrots at home might sound like a whimsical dream, but trust me, it’s totally achievable and incredibly rewarding! Forget those bland, store-bought carrots – imagine plucking sweet, crunchy, perfectly portioned mini carrots straight from your own garden. I’m here to tell you it’s easier than you think, and this DIY guide will give you all the secrets to success.
Carrots, in general, have a rich history, dating back thousands of years. Originally cultivated for their aromatic leaves and seeds, the vibrant orange root we know and love today is a relatively recent development. But the joy of growing your own food, connecting with nature, and enjoying the fruits (or vegetables!) of your labor is timeless.
In today’s fast-paced world, many of us crave a connection to something real. Growing mini carrots at home offers just that – a chance to slow down, nurture something beautiful, and enjoy the delicious results. Plus, who wouldn’t want a constant supply of healthy snacks right at their fingertips? This DIY project is perfect for small spaces, beginner gardeners, and anyone looking to add a touch of homegrown goodness to their lives. So, grab your gardening gloves, and let’s get started!
Growing Mini Carrots in Containers: A Beginner’s Guide
Hey there, fellow gardening enthusiasts! Ever dreamt of plucking perfectly petite, sweet mini carrots straight from your own balcony or backyard? Well, dream no more! Growing mini carrots in containers is surprisingly easy and incredibly rewarding. I’m going to walk you through every step, from choosing the right container to harvesting your delicious little crop. Let’s get our hands dirty!
Choosing the Right Container and Soil
Before we even think about seeds, we need to set the stage for success. The container and soil are crucial for happy, healthy mini carrots.
* Container Size: Mini carrots don’t need a ton of space, but they do need depth. Aim for a container that’s at least 8-12 inches deep. This gives the roots enough room to develop properly. A wider container is better than a narrow one, allowing you to plant more carrots. I personally love using rectangular planters, as they maximize space.
* Drainage: This is non-negotiable! Carrots hate soggy feet. Make sure your container has plenty of drainage holes. If it doesn’t, you can easily drill some.
* Material: Plastic, terracotta, or even fabric grow bags all work well. Terracotta pots are beautiful but tend to dry out faster, so you’ll need to water more frequently. Plastic is more moisture-retentive, but be mindful of overheating in direct sunlight. Fabric grow bags are fantastic for drainage and aeration.
* Soil: Forget regular garden soil – it’s usually too heavy and compacted for carrots. You need a light, loose, and well-draining potting mix. I highly recommend a mix specifically formulated for vegetables. You can also create your own by combining equal parts:
* Compost (for nutrients)
* Peat moss or coco coir (for moisture retention)
* Perlite or vermiculite (for drainage and aeration)
Important Note: Remove any rocks, twigs, or large clumps from the soil. Carrots need a smooth path to grow straight.
Selecting Your Mini Carrot Seeds
Not all carrots are created equal! To grow mini carrots, you need to choose the right variety.
* Popular Mini Carrot Varieties: Look for varieties specifically labeled as “mini,” “baby,” or “round.” Some of my favorites include:
* ‘Thumbelina’: These are perfectly round and adorable.
* ‘Paris Market’: Another round variety, known for its sweetness.
* ‘Little Finger’: These are small and slender, just like their name suggests.
* ‘Short n Sweet’: A classic mini carrot with a slightly tapered shape.
* Seed Quality: Always buy seeds from a reputable source. Check the expiration date on the seed packet to ensure they’re still viable.
Planting Your Mini Carrot Seeds
Now for the fun part – planting!
1. Prepare the Soil: Fill your container with the potting mix, leaving about an inch of space at the top. Gently pat the soil down to create a level surface.
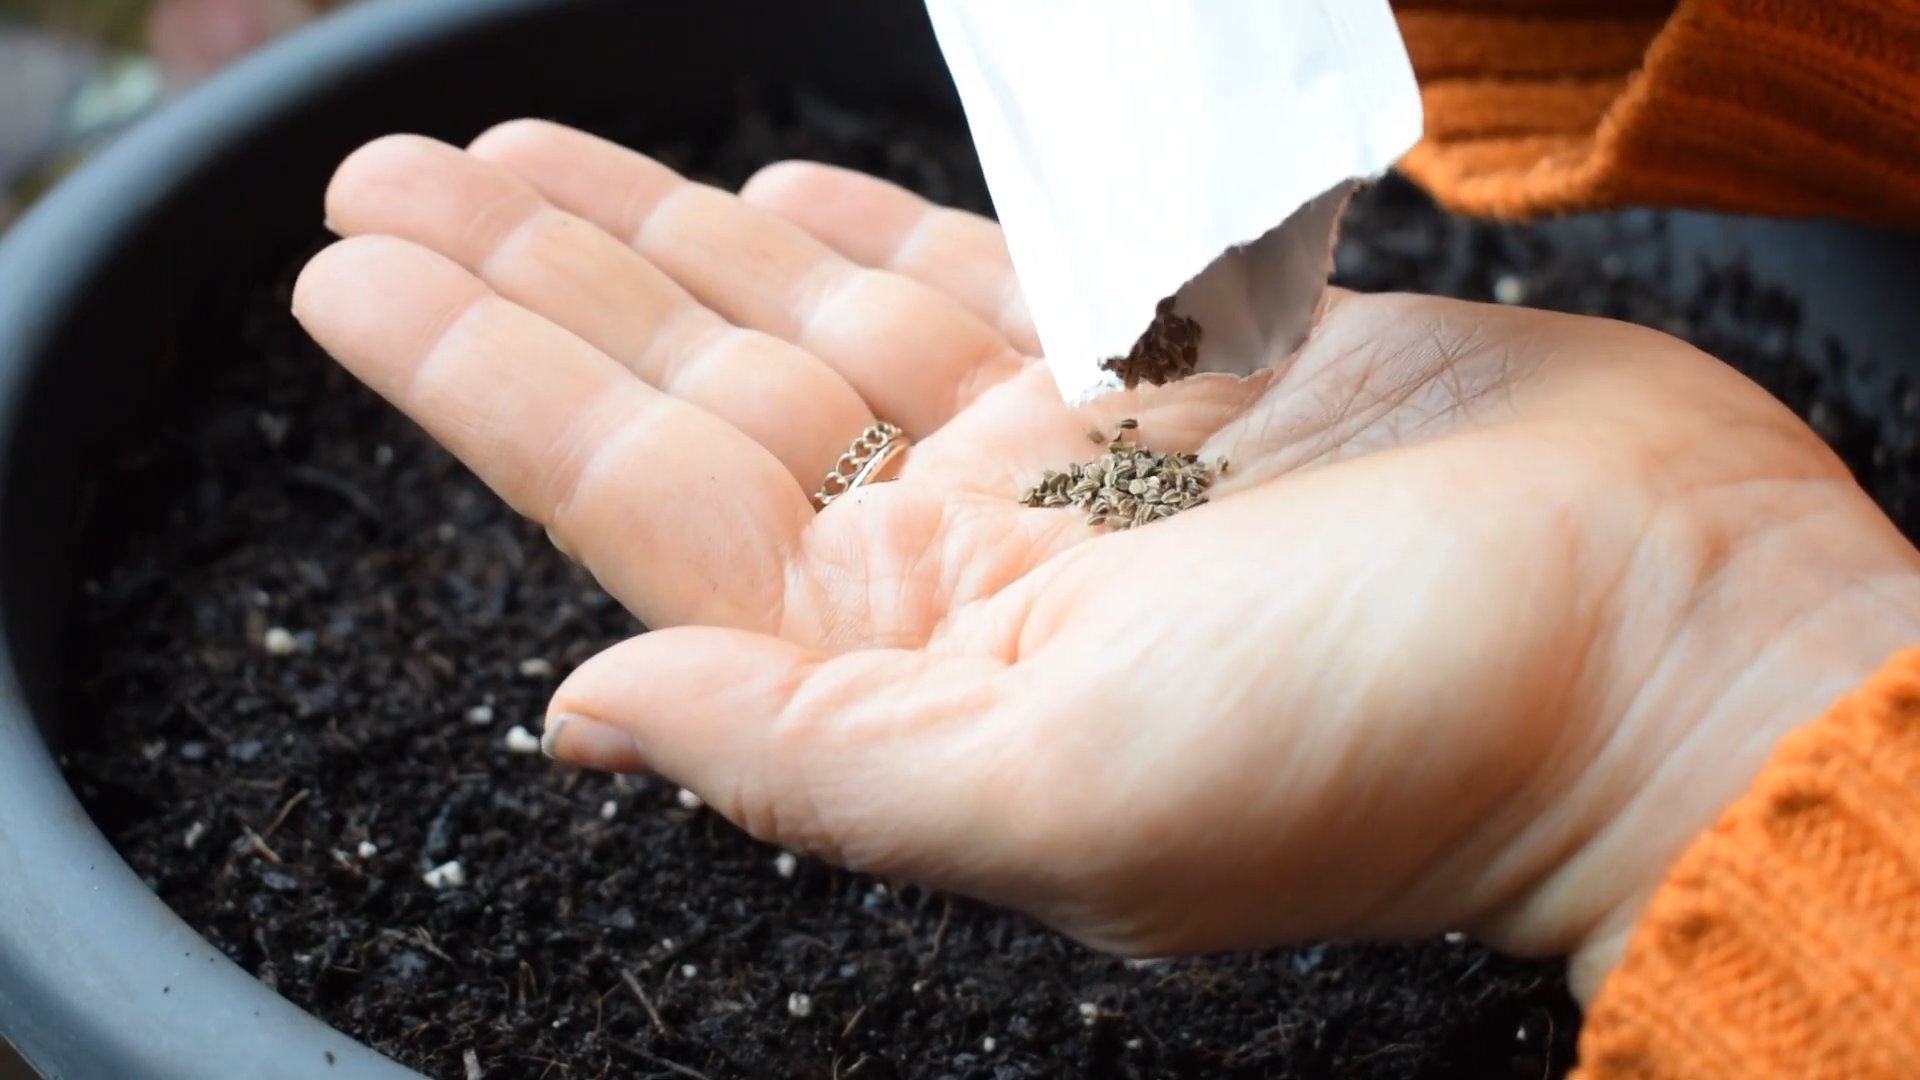
2. Sowing the Seeds: Carrot seeds are tiny, so it’s easy to over-sow. To avoid overcrowding, I like to mix the seeds with a bit of sand before planting. This helps to distribute them more evenly.
* Sprinkle the seeds thinly over the surface of the soil. Aim for about ½ inch spacing between seeds.
* Alternatively, you can create shallow furrows (about ¼ inch deep) and sow the seeds along the furrows.
3. Cover the Seeds: Lightly cover the seeds with a thin layer of soil (about ¼ inch).
4. Water Gently: Use a watering can with a gentle rose attachment or a spray bottle to water the soil thoroughly. Avoid blasting the seeds with a strong stream of water, as this can dislodge them.
5. Keep it Moist: Carrot seeds need consistent moisture to germinate. Cover the container with plastic wrap or a clear plastic lid to create a mini-greenhouse effect. This will help to retain moisture. Remove the cover once the seedlings emerge.
6. Location, Location, Location: Place the container in a sunny location. Carrots need at least 6 hours of direct sunlight per day.
Caring for Your Mini Carrot Plants
Once your seedlings emerge, it’s time to provide them with the care they need to thrive.
1. Thinning: This is crucial! If you don’t thin your carrots, they’ll be overcrowded and won’t develop properly. Once the seedlings have a few true leaves (the second set of leaves that appear after the initial seed leaves), thin them to about 1-2 inches apart. Gently pull out the weaker seedlings, being careful not to disturb the roots of the remaining plants. Don’t throw away the thinned seedlings! You can eat them as microgreens.
2. Watering: Water regularly, keeping the soil consistently moist but not waterlogged. Check the soil moisture by sticking your finger into the soil. If the top inch feels dry, it’s time to water. Water deeply, allowing the water to drain out of the drainage holes. Avoid overhead watering, as this can promote fungal diseases.
3. Fertilizing: Carrots are not heavy feeders, but they do benefit from occasional fertilization. Use a balanced liquid fertilizer diluted to half strength. Fertilize every 2-3 weeks. Alternatively, you can side-dress the plants with compost or worm castings.
4. Weeding: Keep the container free of weeds. Weeds compete with carrots for nutrients and water. Gently pull out any weeds as soon as you see them.
5. Sunlight: Ensure your carrots are getting enough sunlight. If they’re not getting at least 6 hours of direct sunlight per day, consider moving them to a sunnier location or using a grow light.
Protecting Your Carrots from Pests and Diseases
While mini carrots are relatively pest-resistant, it’s still important to be vigilant.
* Common Pests:
* Carrot Rust Flies: These flies lay their eggs near the base of the plants, and the larvae burrow into the carrots, causing damage. To prevent carrot rust flies, cover your plants with row covers.
* Aphids: These tiny insects suck the sap from plants, weakening them. You can control aphids by spraying them with a strong stream of water or by using insecticidal soap.
* Nematodes: These microscopic worms can damage the roots of carrots. To prevent nematodes, amend your soil with compost and practice crop rotation.
* Common Diseases:
* Leaf Spot: This fungal disease causes brown spots on the leaves. To prevent leaf spot, avoid overhead watering and ensure good air circulation.
* Root Rot: This fungal disease causes the roots to rot. To prevent root rot, ensure good drainage and avoid overwatering.
Harvesting Your Mini Carrots
The moment we’ve all been waiting for!
1. When to Harvest: Mini carrots are typically ready to harvest in 50-70 days, depending on the variety. You can start harvesting them when they reach the desired size. Don’t wait too long, or they may become tough and woody.
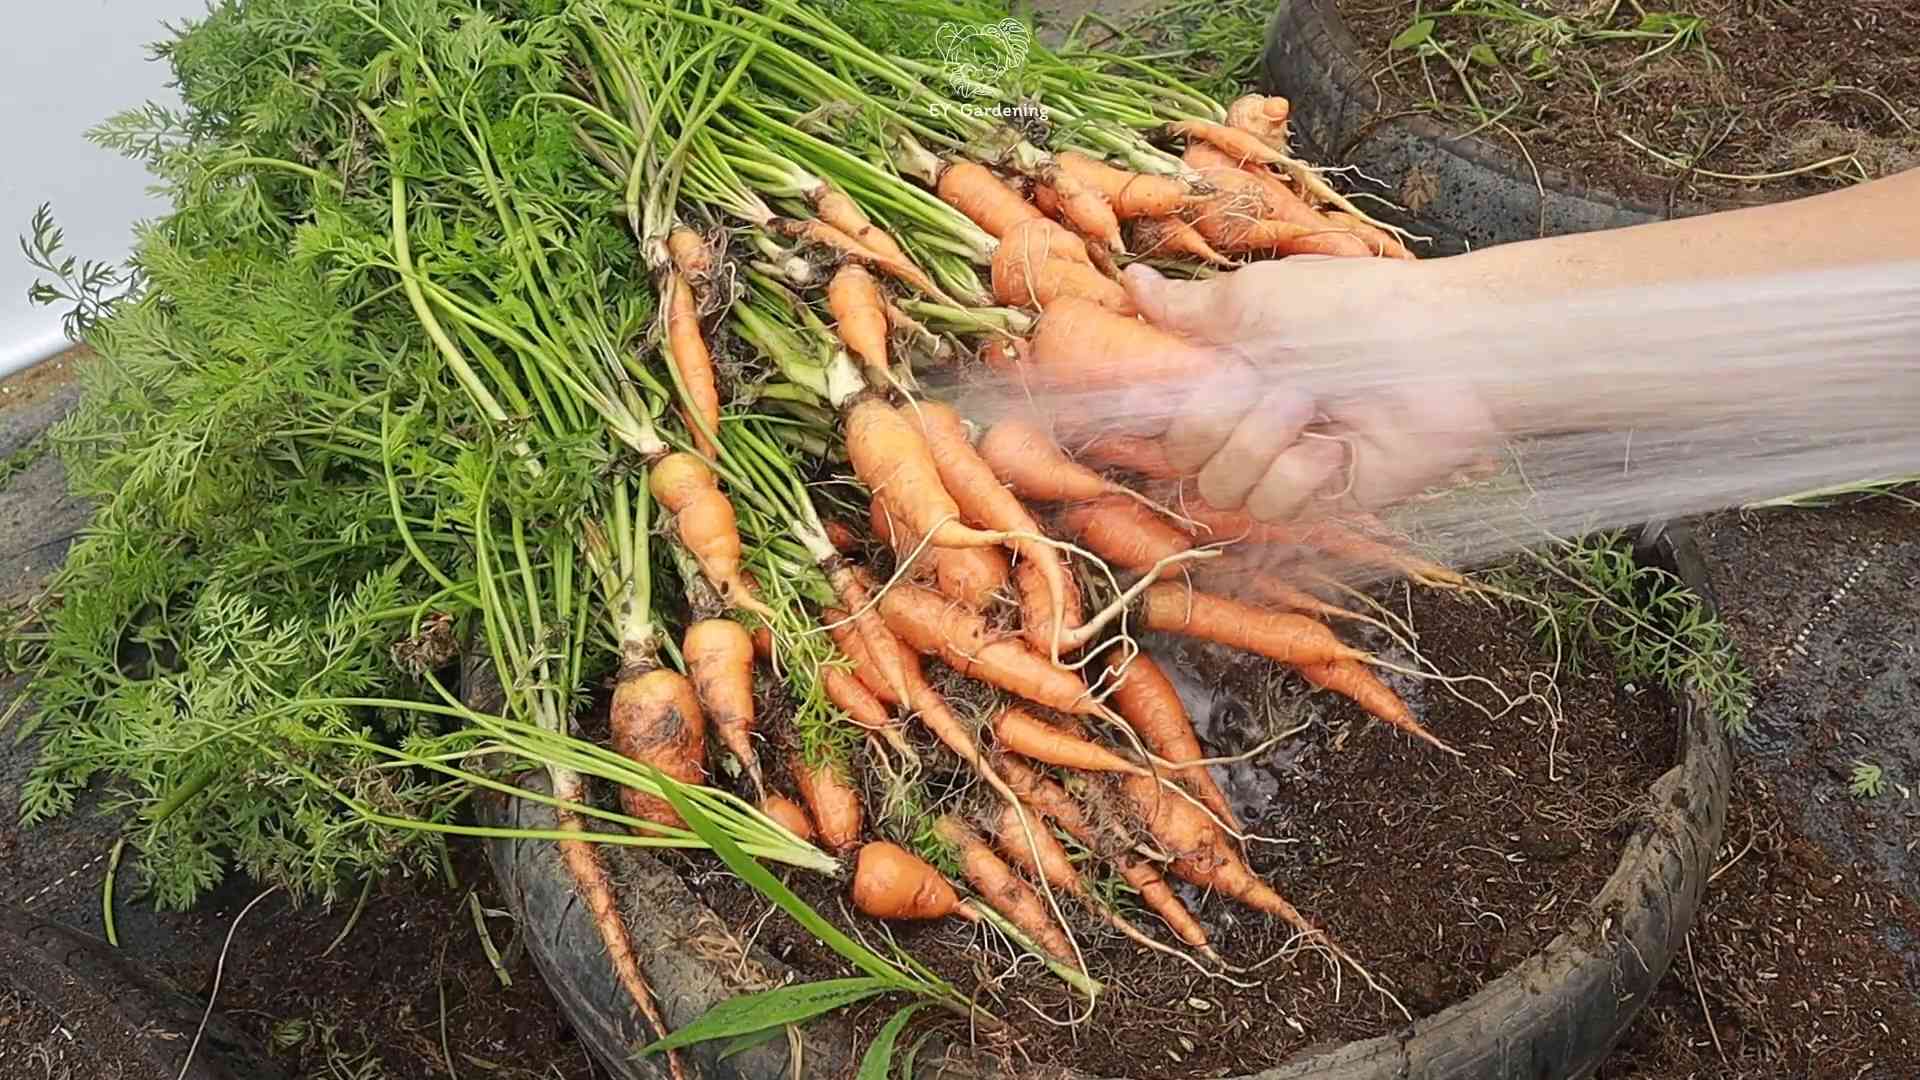
2. How to Harvest: Gently loosen the soil around the carrots with a trowel or fork. Grasp the base of the carrot and pull it straight up. If the soil is dry, water it thoroughly before harvesting to make it easier to pull the carrots.
3. Enjoy Your Harvest: Wash your mini carrots thoroughly and enjoy them raw, roasted, steamed, or added to salads and soups. They’re incredibly sweet and delicious!
Troubleshooting
Even with the best care, you might encounter some challenges along the way. Here are a few common problems and how to fix them:
* Poor Germination: If your seeds aren’t germinating, make sure the soil is consistently moist and the temperature is warm enough (65-75°F). You can also try soaking the seeds in water for 24 hours before planting.
* Forked or Twisted Carrots: This is usually caused by rocks or compacted soil. Make sure your soil is loose and free of debris.
* Small Carrots: This could be due to overcrowding, lack of sunlight, or poor soil. Thin your plants, provide them with plenty of sunlight, and fertilize regularly.
* Bitter Carrots: This can be caused by inconsistent watering or high temperatures. Water regularly and provide shade during the hottest part of the day.
Growing mini carrots in containers is a fun and rewarding experience. With a little bit of care and attention, you can enjoy a bountiful harvest of sweet, delicious carrots right from your own home. Happy gardening!
Conclusion
So, there you have it! Growing mini carrots at home is not only achievable but also incredibly rewarding. Forget those bland, store-bought baby carrots that lack real flavor. With a little effort and these simple steps, you can cultivate a vibrant harvest of sweet, tender, and perfectly petite carrots right in your own backyard or even on your balcony.
Why is this DIY trick a must-try? Because it puts you in control. You choose the variety, ensuring you get the flavor profile you crave. You control the growing conditions, guaranteeing organic, pesticide-free produce. And you experience the sheer joy of nurturing something from seed to table. Plus, let’s be honest, there’s something undeniably charming about pulling up a handful of these miniature delights.
But the fun doesn’t stop there! Feel free to experiment with different carrot varieties. Nantes carrots are known for their sweetness, while Parisian carrots are perfectly round and adorable. Consider adding companion plants like marigolds to deter pests or basil to enhance flavor. You can even try succession planting, sowing seeds every few weeks to ensure a continuous harvest throughout the growing season.
For those with limited space, container gardening is your best friend. Choose a pot that’s at least 6-8 inches deep and wide, and fill it with well-draining potting mix. Remember to water regularly and provide plenty of sunlight. Even a small balcony can become a mini carrot farm!
And if you’re feeling adventurous, why not try growing rainbow carrots? These colorful varieties add a vibrant touch to any dish and are sure to impress your friends and family. Imagine a salad bursting with orange, yellow, purple, and white mini carrots – a feast for the eyes and the palate!
Ultimately, the success of your mini carrot growing endeavor depends on your dedication and attention to detail. But trust us, the effort is well worth it. The taste of freshly harvested, homegrown carrots is simply unparalleled.
We wholeheartedly encourage you to give this DIY trick a try. It’s a fun, educational, and delicious way to connect with nature and enjoy the fruits (or rather, vegetables) of your labor. And most importantly, it allows you to enjoy the freshest, most flavorful mini carrots possible.
Don’t be afraid to get your hands dirty and embrace the process. Gardening is a journey, not a destination. There will be challenges along the way, but the rewards are immeasurable.
So, grab your seeds, prepare your soil, and get ready to embark on your mini carrot growing adventure! We can’t wait to hear about your experiences. Share your photos, tips, and tricks in the comments below. Let’s create a community of mini carrot enthusiasts and inspire others to grow their own food. Happy gardening!
Frequently Asked Questions (FAQs)
What is the best time of year to plant mini carrots?
The best time to plant mini carrots depends on your climate. Generally, they thrive in cooler weather. For most regions, early spring (as soon as the soil can be worked) or late summer/early fall are ideal planting times. Avoid planting during the hottest months of summer, as high temperatures can inhibit germination and growth. If you live in a warmer climate, you can plant throughout the winter months. Check your local planting calendar for specific recommendations based on your region’s average frost dates.
How much sunlight do mini carrots need?
Mini carrots need at least 6 hours of direct sunlight per day to thrive. Choose a location in your garden that receives ample sunlight throughout the day. If you’re growing them in containers, make sure to place the pots in a sunny spot. If you don’t have enough natural sunlight, you can supplement with grow lights.
What kind of soil is best for growing mini carrots?
Mini carrots prefer loose, well-draining soil that is rich in organic matter. Avoid heavy clay soils, as they can restrict root growth and result in misshapen carrots. Amend your soil with compost or other organic matter to improve drainage and fertility. A slightly acidic soil pH (around 6.0 to 6.8) is ideal. Before planting, make sure to remove any rocks or debris from the soil, as these can also hinder root development.
How often should I water my mini carrots?
Water your mini carrots regularly, especially during dry periods. Keep the soil consistently moist, but avoid overwatering, which can lead to root rot. Water deeply and less frequently, rather than shallowly and often. A good rule of thumb is to water when the top inch of soil feels dry to the touch. Mulching around the plants can help retain moisture and suppress weeds.
How do I prevent my mini carrots from splitting?
Splitting carrots are often caused by inconsistent watering. To prevent this, ensure that your carrots receive consistent moisture throughout their growing period. Avoid letting the soil dry out completely and then overwatering. Mulching can also help regulate soil moisture levels.
When should I harvest my mini carrots?
Mini carrots are typically ready to harvest 50-70 days after planting, depending on the variety. You can harvest them when they reach your desired size. Gently loosen the soil around the carrots and pull them up by the greens. If the soil is dry, water it beforehand to make harvesting easier.
What are some common pests and diseases that affect mini carrots?
Some common pests that can affect mini carrots include carrot rust flies, aphids, and nematodes. Diseases include leaf blight and root rot. To prevent pests and diseases, practice good garden hygiene, such as removing weeds and debris. You can also use organic pest control methods, such as insecticidal soap or neem oil. Ensure proper drainage to prevent root rot. Crop rotation can also help prevent soilborne diseases.
Can I grow mini carrots in containers?
Yes, mini carrots are well-suited for container gardening. Choose a pot that is at least 6-8 inches deep and wide. Use a well-draining potting mix and ensure that the container has drainage holes. Place the container in a sunny location and water regularly.
How do I thin my mini carrots?
Thinning is essential for ensuring that your mini carrots have enough space to grow. When the seedlings are about 1-2 inches tall, thin them to about 1-2 inches apart. You can use scissors to snip off the unwanted seedlings at the soil line. Be careful not to disturb the roots of the remaining plants.
Can I eat the carrot greens?
Yes, carrot greens are edible and nutritious. They have a slightly bitter taste, similar to parsley. You can use them in salads, soups, or as a garnish. Make sure to wash them thoroughly before eating.
What are some good companion plants for mini carrots?
Good companion plants for mini carrots include onions, garlic, rosemary, sage, and marigolds. These plants can help deter pests and improve the flavor of your carrots. Avoid planting carrots near fennel or dill, as these plants can inhibit their growth.
How do I store my harvested mini carrots?
To store your harvested mini carrots, remove the greens and wash the carrots thoroughly. Pat them dry and store them in a plastic bag in the refrigerator. They should last for several weeks. You can also freeze them, but they may lose some of their texture.

Leave a Comment