
Cleaning Hacks: Who doesn’t love a sparkling clean home? But let’s be honest, the thought of spending hours scrubbing and dusting isn’t exactly thrilling. I get it! That’s why I’m so excited to share some game-changing cleaning hacks that will transform your cleaning routine from a chore into a breeze.
For centuries, people have been searching for easier and more efficient ways to keep their homes clean. From ancient remedies using natural ingredients to the modern marvels of cleaning technology, the quest for a spotless space is a timeless pursuit. Think about it – even our grandmothers had their secret cleaning weapons, passed down through generations!
In today’s busy world, time is precious. We’re all juggling work, family, and social lives, leaving little room for extensive cleaning sessions. That’s where these DIY cleaning tricks come in. Imagine spending less time cleaning and more time doing the things you love. These aren’t just random tips; they are tried-and-true methods that will save you time, money, and effort. Plus, many of these cleaning hacks utilize items you probably already have in your pantry, making them budget-friendly and eco-conscious. So, are you ready to unlock the secrets to a cleaner, happier home? Let’s dive in!
DIY Cleaning Hack: Revive Your Grout with Baking Soda and Vinegar!
Okay, let’s face it, grimy grout is the bane of every homeowner’s existence. It’s that stubborn stuff that just seems to attract dirt and grime, making your beautiful tiles look, well, not so beautiful. But don’t despair! I’ve got a super effective, budget-friendly DIY cleaning hack that will have your grout looking sparkling new in no time. And the best part? You probably already have the ingredients in your pantry!
What You’ll Need:
Before we dive in, let’s gather our supplies. Here’s what you’ll need for this grout-cleaning adventure:
* Baking Soda: This is our gentle abrasive, perfect for lifting dirt and grime without scratching your tiles.
* White Vinegar: The acid in vinegar reacts with the baking soda, creating a powerful fizzing action that helps to break down stubborn stains.
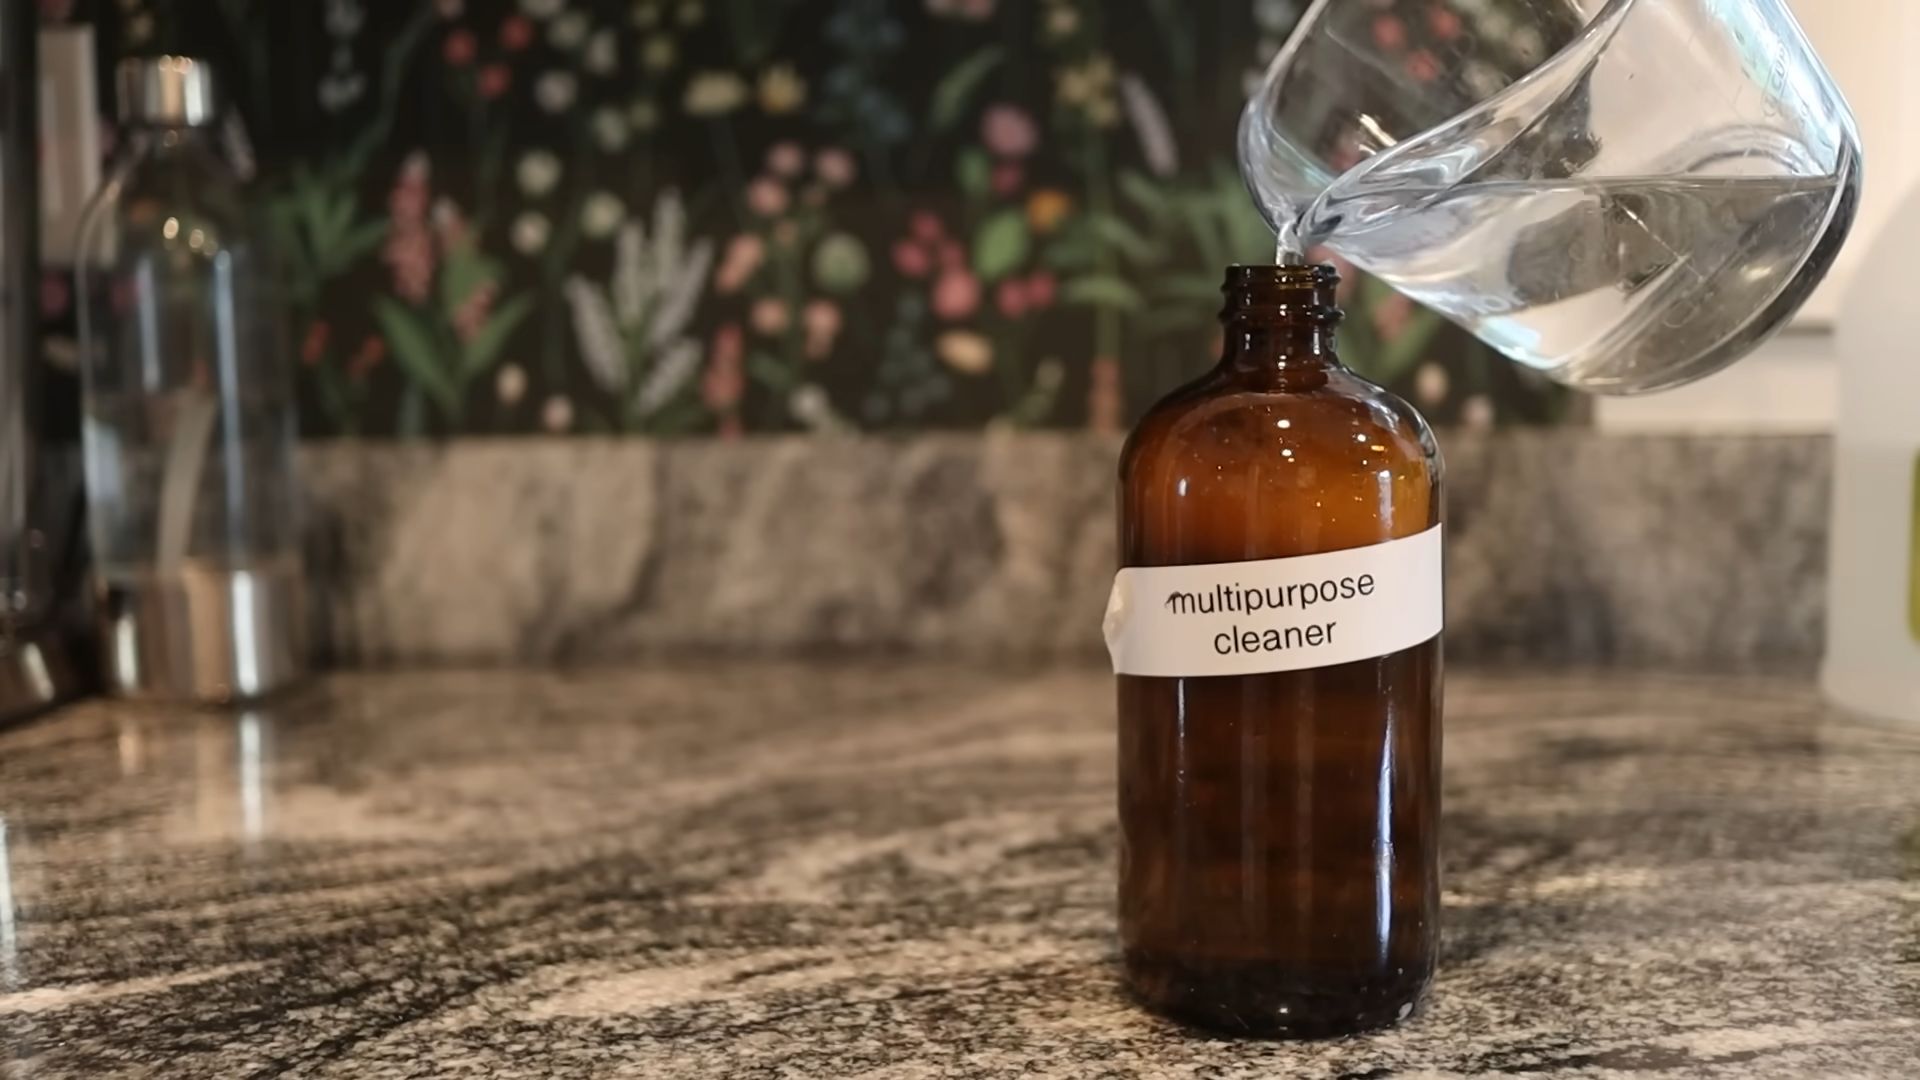
* Spray Bottle: For easy application of the vinegar.
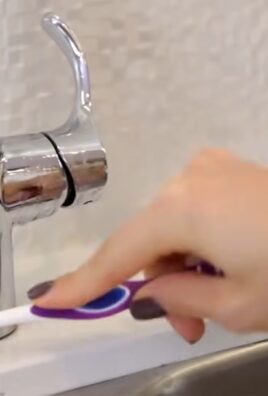
* Old Toothbrush or Grout Brush: This is your weapon of choice for scrubbing that stubborn grout. An old toothbrush works great for smaller areas, while a grout brush is ideal for larger surfaces.
* Warm Water: For rinsing away the cleaning solution.
* Sponge or Cloth: For wiping down the tiles after scrubbing.
* Protective Gloves: Because nobody wants baking soda and vinegar hands!
* Eye Protection (Optional): While not strictly necessary, it’s always a good idea to protect your eyes from splashes.
* Paper Towels or a Dry Cloth: For drying the grout lines after cleaning.
Step-by-Step Instructions:
Alright, let’s get down to the nitty-gritty! Follow these steps, and you’ll be amazed at the transformation.
Phase 1: The Baking Soda Paste
1. Prepare the Paste: In a small bowl, mix baking soda with just enough water to form a thick paste. You want it to be spreadable but not too runny. Think toothpaste consistency. I usually start with about 1/2 cup of baking soda and add water a tablespoon at a time until I get the right consistency.
2. Apply the Paste: Using your fingers (with gloves on, of course!) or a small spatula, apply the baking soda paste generously to the grout lines. Make sure you cover all the grimy areas. Don’t be shy – the more paste, the better the cleaning action!
3. Let it Sit: Now, this is where patience comes in. Let the baking soda paste sit on the grout for at least 10-15 minutes. This allows the baking soda to penetrate the dirt and grime, making it easier to scrub away later. For really tough stains, you can even let it sit for up to 30 minutes.
Phase 2: The Vinegar Fizz
1. Prepare the Vinegar: Pour white vinegar into your spray bottle. You can use it straight from the bottle – no need to dilute it.
2. Spray the Vinegar: Now comes the fun part! Spray the vinegar generously over the baking soda paste-covered grout lines. You’ll immediately see a fizzing reaction as the vinegar reacts with the baking soda. This is exactly what we want! The fizzing action helps to loosen the dirt and grime even further.
3. Let it Fizz: Allow the vinegar and baking soda to fizz for a few minutes. This gives the cleaning action time to work its magic. I usually let it fizz for about 5 minutes.
Phase 3: The Scrubbing Power
1. Grab Your Brush: Now it’s time to put in a little elbow grease! Grab your old toothbrush or grout brush and start scrubbing the grout lines. Use a firm, back-and-forth motion to really get into the grout and lift away the dirt and grime.
2. Scrub Thoroughly: Pay close attention to areas with stubborn stains. You might need to scrub these areas a little more vigorously. Don’t be afraid to apply some pressure, but be careful not to scratch your tiles.
3. Rinse and Repeat (If Necessary): If you’re dealing with particularly dirty grout, you might need to repeat steps 1 and 2 of this phase. After scrubbing, rinse the area with warm water and check to see if the grout is clean. If not, apply more baking soda paste, spray with vinegar, and scrub again.
Phase 4: The Final Touches
1. Rinse Thoroughly: Once you’re satisfied with the scrubbing, rinse the area thoroughly with warm water to remove all traces of baking soda and vinegar.
2. Wipe Clean: Use a sponge or cloth to wipe down the tiles and remove any remaining residue.
3. Dry the Grout: Finally, dry the grout lines with paper towels or a dry cloth. This helps to prevent water spots and mildew growth.
Tips and Tricks for Sparkling Grout:
* Ventilation is Key: Make sure you have good ventilation in the area you’re cleaning. Open a window or turn on a fan to help dissipate the vinegar fumes.
* Test in an Inconspicuous Area: Before cleaning your entire tiled surface, test the baking soda and vinegar mixture in a small, inconspicuous area to make sure it doesn’t damage your tiles. While this method is generally safe for most tiles, it’s always better to be safe than sorry.
* For Colored Grout: If you have colored grout, be extra cautious when using vinegar. Vinegar can sometimes fade colored grout, so test it in an inconspicuous area first. You might also want to dilute the vinegar with water to reduce its acidity.
* Preventative Measures: To keep your grout looking clean for longer, wipe up spills immediately and regularly clean your tiled surfaces with a mild detergent.
* Consider a Grout Sealer: After cleaning your grout, consider applying a grout sealer. This will help to protect the grout from future stains and make it easier to clean. You can find grout sealers at most home improvement stores.
* Stubborn Stains: For really stubborn stains, you can try making a paste of baking soda and hydrogen peroxide. Apply the paste to the grout, let it sit for a few minutes, and then scrub with a brush.
* Steam Cleaning: If you have a steam cleaner, you can use it to clean your grout. The steam will help to loosen the dirt and grime, making it easier to scrub away.
* Lemon Juice: Lemon juice is another natural cleaning agent that can be used to clean grout. Simply apply lemon juice to the grout, let it sit for a few minutes, and then scrub with a brush.
* Magic Eraser: A magic eraser can also be effective for cleaning grout. Wet the magic eraser and gently rub it over the grout lines.
Why This Hack Works:
The magic of this cleaning hack lies in the combination of baking soda and vinegar. Baking soda is a mild abrasive that helps to lift dirt and grime, while vinegar is an acid that helps to break down stubborn stains. When combined, these two ingredients create a powerful fizzing action that helps to loosen the dirt and grime, making it easier to scrub away. Plus, both baking soda and vinegar are natural and non-toxic, making them a safe and eco-friendly alternative to harsh chemical cleaners.
Alternative Cleaning Solutions (If Baking Soda & Vinegar Aren’t Your Thing):
While I swear by the baking soda and vinegar method, I understand it might not be for everyone. Maybe you don’t have those ingredients on hand, or perhaps you’re looking for something different. Here are a few other options you can try:
* Commercial Grout Cleaners: There are many commercial grout cleaners available on the market. These cleaners are specifically formulated to remove dirt and grime from grout. Be sure to follow the instructions on the label carefully. Always wear gloves and eye protection when using commercial cleaners.
* Oxygen Bleach: Oxygen bleach (like OxiClean) is a gentler alternative to chlorine bleach. Mix oxygen bleach with water according to the package directions and apply it to the grout. Let it sit for a few minutes, then scrub with a brush and rinse thoroughly.
* Dish Soap and Water: For light cleaning, you can simply use dish soap and water. Mix a few drops of dish soap with warm water and apply it to the grout. Scrub with a brush and rinse thoroughly.
Maintaining Your Sparkling Grout:
Once you’ve achieved that sparkling grout, you’ll want to keep it that way! Here are a few tips for maintaining your clean grout:
* Regular Cleaning: Clean your tiled surfaces regularly with a mild detergent to prevent dirt and grime from building up.
* Wipe Up Spills Immediately: Wipe up spills immediately to prevent them from staining the grout.
* Ventilation: Ensure good ventilation in your bathroom and kitchen to prevent mildew growth.
* Grout Sealer: Reapply grout sealer every year or two to protect the grout from stains and
Conclusion
So, there you have it! This simple yet incredibly effective DIY cleaning hack is a game-changer for anyone looking to streamline their cleaning routine and achieve sparkling results without breaking the bank or relying on harsh chemicals. We’ve walked you through the process, highlighting its ease, affordability, and eco-friendliness. But more than just ticking boxes, this method offers a genuine improvement in the quality of your cleaning, leaving surfaces not only visibly cleaner but also feeling fresher and more hygienic.
Why is this DIY cleaning hack a must-try? Because it’s a trifecta of benefits: it saves you money by utilizing readily available ingredients, it’s gentler on the environment by reducing your reliance on commercial cleaning products, and it’s surprisingly effective at tackling a wide range of cleaning challenges around the house. From stubborn grime in the bathroom to sticky messes in the kitchen, this versatile solution can handle it all.
But don’t just take our word for it! We encourage you to experiment and adapt this method to suit your specific needs and preferences. For example, if you’re dealing with particularly tough stains, consider adding a tablespoon of borax to the mixture for an extra boost of cleaning power. Or, if you prefer a specific scent, you can customize the fragrance by adding a few drops of your favorite essential oil, such as lavender for a calming aroma or lemon for a refreshing citrus burst. You could even infuse vinegar with citrus peels for a naturally scented cleaning solution.
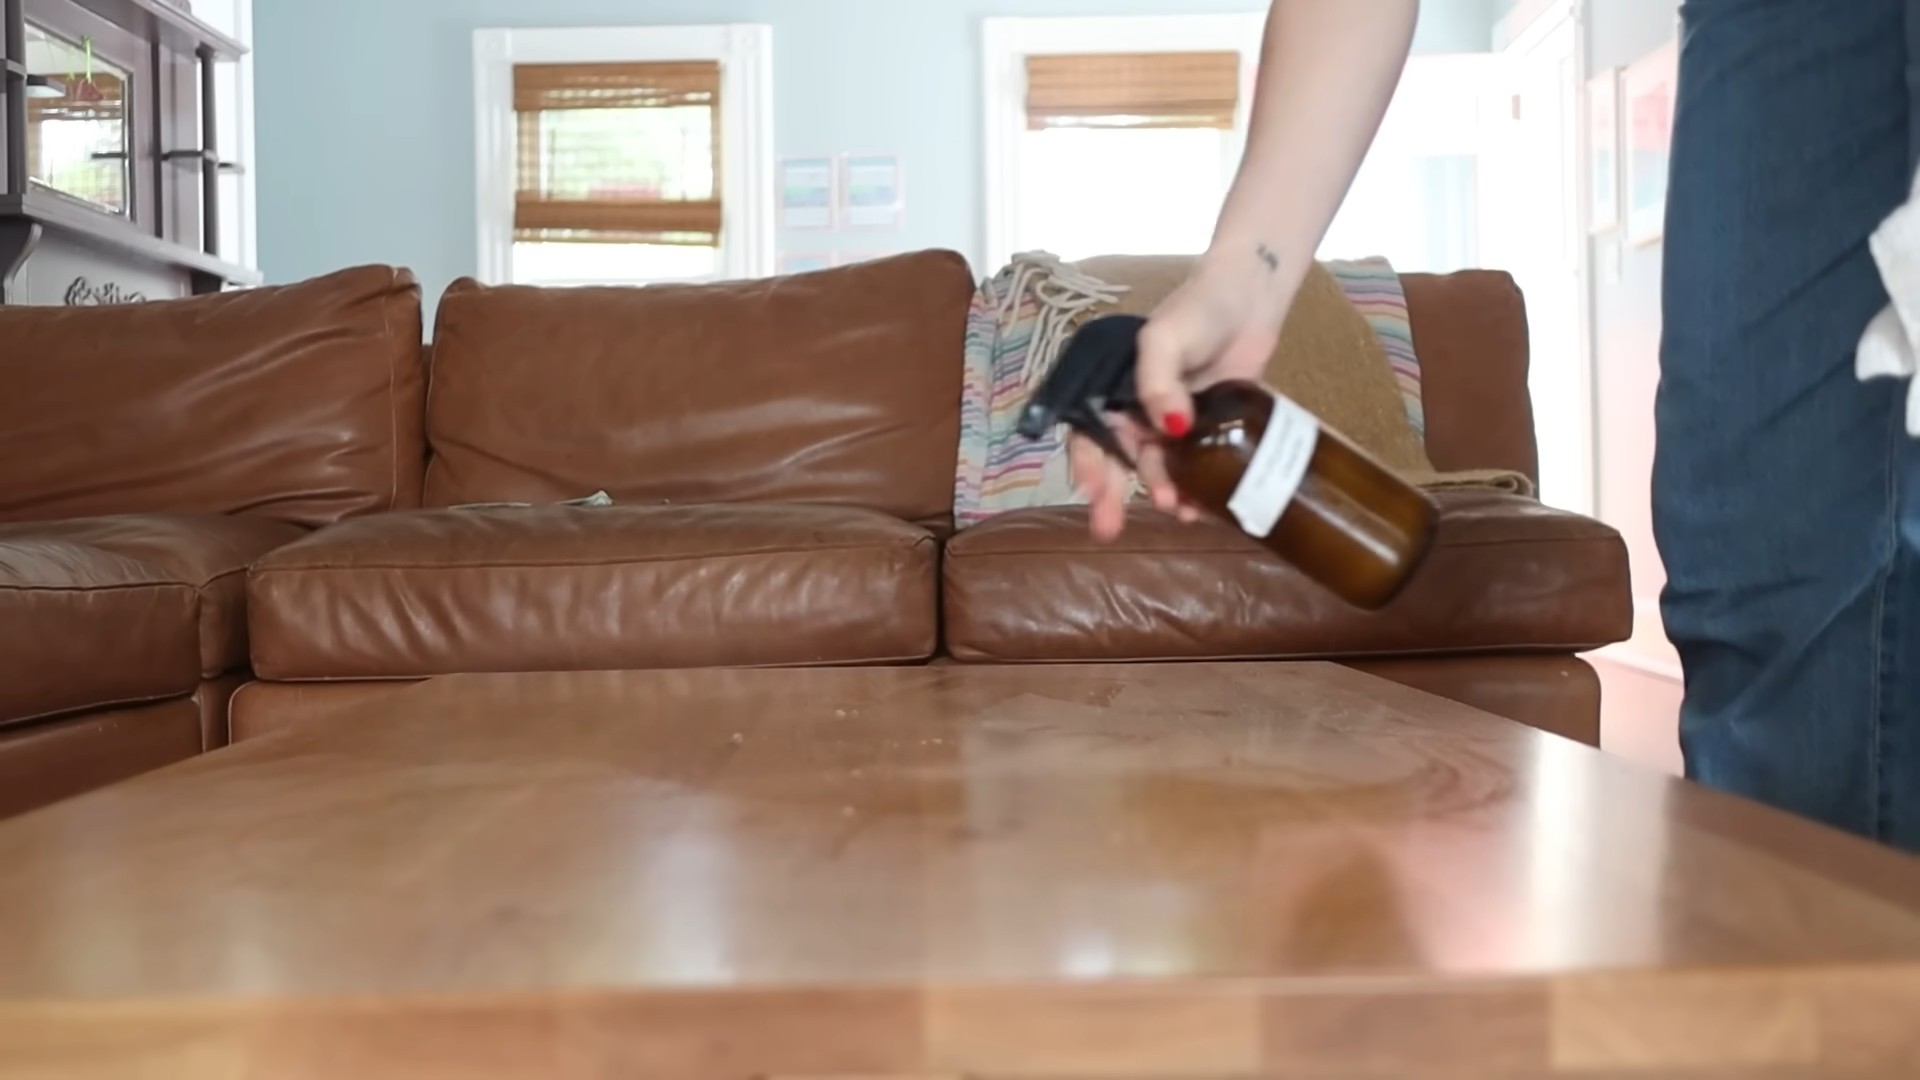
Another variation to consider is the application method. While we’ve suggested using a spray bottle, you can also use a microfiber cloth dipped in the solution for targeted cleaning. This is particularly useful for cleaning delicate surfaces or for spot-cleaning specific areas. For larger surfaces, like floors, you can dilute the solution in a bucket of water and use a mop.
The beauty of this DIY approach is its flexibility. You can adjust the ingredients and methods to create a cleaning solution that perfectly fits your lifestyle and cleaning needs. The key is to experiment and find what works best for you.
We are confident that once you try this DIY cleaning hack, you’ll be amazed by the results. It’s a simple, effective, and sustainable way to keep your home clean and fresh. So, ditch the expensive and chemical-laden cleaning products and embrace the power of DIY!
We’re eager to hear about your experiences with this cleaning hack. Did you find it as effective as we did? Did you try any variations? Share your tips, tricks, and feedback in the comments below. Let’s create a community of DIY cleaning enthusiasts and help each other achieve a cleaner, healthier, and more sustainable home! Don’t forget to share this article with your friends and family so they can benefit from this amazing cleaning hack too!
Frequently Asked Questions (FAQ)
What exactly is this DIY cleaning hack, and what does it clean?
This DIY cleaning hack involves creating a homemade cleaning solution using common household ingredients like vinegar, baking soda, and water. It’s a versatile solution that can be used to clean a wide range of surfaces, including countertops, sinks, toilets, showers, floors, and even appliances. It’s effective at removing dirt, grime, grease, soap scum, and other common household messes. The specific ingredients and ratios can be adjusted depending on the cleaning task at hand.
Is this DIY cleaning solution safe to use on all surfaces?
While this DIY cleaning solution is generally safe for most surfaces, it’s always a good idea to test it in an inconspicuous area first, especially on delicate or sensitive materials like marble, granite, or wood. Vinegar, in particular, can be acidic and may damage certain surfaces if left on for too long. Avoid using it on natural stone surfaces without proper dilution and testing. Always wipe the surface dry after cleaning to prevent water spots or damage.
Can I use this cleaning solution on my hardwood floors?
Using vinegar on hardwood floors is a debated topic. Some people find it effective and safe when properly diluted, while others advise against it due to the potential for damage to the finish. If you choose to use this DIY cleaning solution on your hardwood floors, make sure to dilute it significantly with water (a ratio of 1 part vinegar to 10 parts water is recommended). Also, avoid using it on waxed floors, as the vinegar can strip the wax. Always test in an inconspicuous area first and wipe the floor dry immediately after cleaning. A pH-neutral cleaner specifically designed for hardwood floors is generally a safer option.
How long does this DIY cleaning solution last?
This DIY cleaning solution is best used fresh. While it doesn’t necessarily “go bad,” the effectiveness of the ingredients may diminish over time. It’s recommended to mix up a new batch each time you clean to ensure optimal results. If you do have leftover solution, store it in a tightly sealed container in a cool, dark place.
Can I add essential oils to this cleaning solution?
Yes, you can definitely add essential oils to this cleaning solution for added fragrance and potential antibacterial properties. Some popular choices include lavender, lemon, tea tree, and eucalyptus. Add a few drops of your favorite essential oil to the mixture and shake well before using. Be sure to use pure essential oils and avoid synthetic fragrances, as they may not have the same benefits.
What if I don’t have vinegar or baking soda? Are there any alternatives?
If you don’t have vinegar, you can try using lemon juice as a substitute, as it also has acidic properties. For baking soda, you can try using washing soda (sodium carbonate), which is a stronger cleaning agent. However, be careful when using washing soda, as it can be more abrasive than baking soda. Always test in an inconspicuous area first.
Is this DIY cleaning solution environmentally friendly?
Yes, this DIY cleaning solution is generally considered to be more environmentally friendly than commercial cleaning products. It uses readily available, biodegradable ingredients and reduces your reliance on harsh chemicals and plastic packaging. However, it’s important to dispose of the solution properly. Avoid pouring large amounts of it down the drain, as it can still have an impact on the environment.
What are the benefits of using a DIY cleaning solution over commercial cleaning products?
There are several benefits to using a DIY cleaning solution over commercial cleaning products. These include:
* **Cost-effectiveness:** DIY cleaning solutions are typically much cheaper than commercial cleaning products.
* **Environmental friendliness:** DIY cleaning solutions use biodegradable ingredients and reduce your reliance on harsh chemicals and plastic packaging.
* **Health benefits:** DIY cleaning solutions avoid the use of potentially harmful chemicals that can be found in commercial cleaning products.
* **Customization:** You can customize the ingredients and ratios of DIY cleaning solutions to suit your specific needs and preferences.
* **Transparency:** You know exactly what’s in your DIY cleaning solution, unlike many commercial cleaning products that contain undisclosed ingredients.
What if the DIY cleaning hack doesn’t work for a particular stain or mess?
While this DIY cleaning hack is effective for many cleaning tasks, it may not be a miracle solution for every stain or mess. For particularly stubborn stains, you may need to try a different cleaning method or a specialized stain remover. It’s also important to remember that some stains may be permanent, especially if they’ve been left untreated for a long time.
How can I share my experience with this DIY cleaning hack?
We encourage you to share your experience with this DIY cleaning hack in the comments section below. You can also share your tips, tricks, and variations on social media using relevant hashtags. Let’s create a community of DIY cleaning enthusiasts and help each other achieve a cleaner, healthier, and more sustainable home!

Leave a Comment