
Vinegar cleaning tips are about to become your new best friend! Are you tired of harsh chemicals and expensive cleaning products that promise the world but deliver… well, less than sparkling results? I know I was! That’s why I dove headfirst into the world of natural cleaning solutions, and let me tell you, the results have been amazing.
Vinegar, a staple in kitchens for centuries, boasts a surprisingly rich history beyond just culinary uses. From ancient civilizations using it as a disinfectant to its role in traditional folk remedies, vinegar has always been valued for its versatile properties. Think of it as your grandmother’s secret weapon, now rediscovered and ready to revolutionize your cleaning routine!
But why should *you* embrace these vinegar cleaning tips? Because they’re effective, eco-friendly, and incredibly budget-friendly! In today’s world, we’re all looking for ways to simplify our lives, reduce our environmental impact, and save a few bucks. These DIY tricks and hacks will help you achieve all three. I’m going to show you how to tackle everything from stubborn stains to grimy surfaces with just a bottle of vinegar and a few simple ingredients. Get ready to ditch the chemicals and embrace a cleaner, greener, and more affordable way to keep your home sparkling!
DIY All-Purpose Vinegar Cleaning Solution: Your Home’s New Best Friend
Okay, let’s talk cleaning! I know, it’s not everyone’s favorite topic, but trust me, this DIY cleaning solution will make your life so much easier (and cheaper!). We’re ditching the harsh chemicals and embracing the power of vinegar. Yes, that’s right, plain old vinegar! It’s a natural disinfectant, deodorizer, and degreaser – basically a cleaning superhero in disguise.
This guide will walk you through creating an all-purpose vinegar cleaning solution that you can use on almost any surface in your home. I’ll also share some tips and tricks for customizing it to tackle specific cleaning challenges. Get ready to say goodbye to expensive, chemical-laden cleaners and hello to a sparkling clean home, naturally!
What You’ll Need
Before we dive in, let’s gather our supplies. This is a super simple recipe, so you probably already have most of these items on hand.
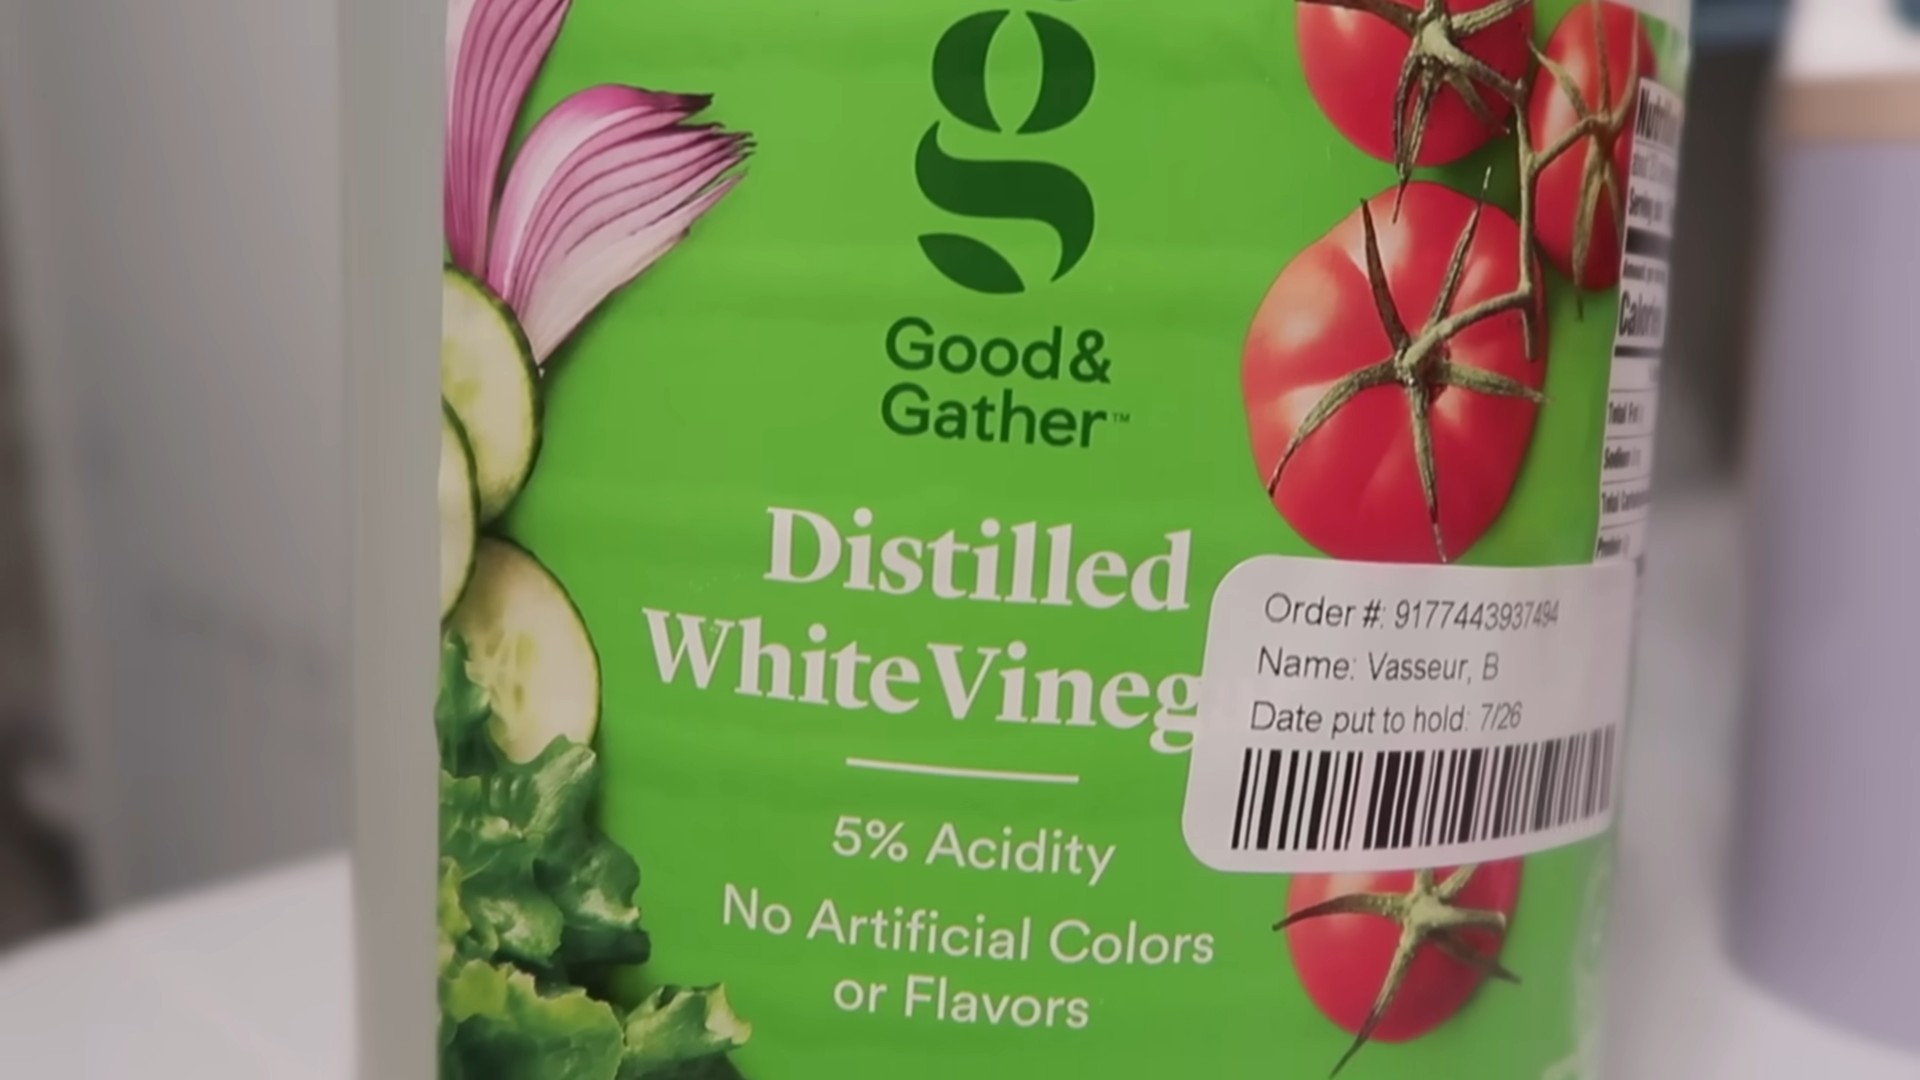
* White Distilled Vinegar: This is the star of the show! Make sure it’s white distilled vinegar, as other types might stain or leave a residue.
* Water: Tap water is perfectly fine.
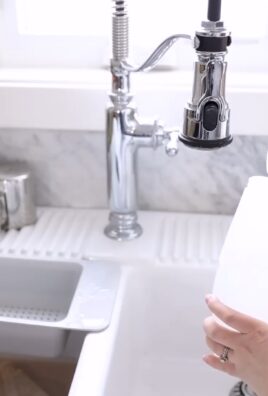
* Spray Bottle: A clean, empty spray bottle is essential for easy application. I recommend a sturdy one that can handle repeated use.
* Essential Oils (Optional): Vinegar has a distinct smell, which some people find unpleasant. Essential oils can help mask the odor and add a pleasant scent. Lavender, lemon, tea tree, and eucalyptus are all great options.
* Measuring Cup or Spoons: For accurate measurements.
* Funnel (Optional): Makes pouring liquids into the spray bottle much easier and less messy.
The Basic Recipe: All-Purpose Cleaning Power
This is the foundation of our cleaning solution. It’s effective for general cleaning tasks like wiping down countertops, cleaning bathroom surfaces, and mopping floors.
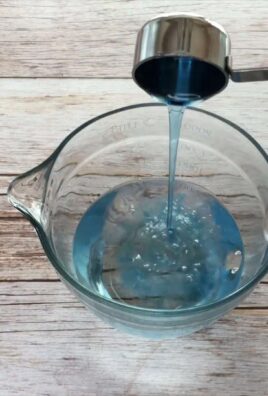
Ratio: The key is the vinegar-to-water ratio. For an all-purpose cleaner, we’ll use a 1:1 ratio. That means equal parts vinegar and water.
Step-by-Step Instructions
1. Prepare Your Spray Bottle: Make sure your spray bottle is clean and dry. Any residue from previous cleaners could interfere with the effectiveness of our vinegar solution.
2. Measure the Vinegar: Using your measuring cup, pour one cup of white distilled vinegar into the spray bottle.
3. Add the Water: Now, add one cup of water to the spray bottle.
4. Add Essential Oils (Optional): If you’re using essential oils, add about 10-20 drops to the mixture. Start with a smaller amount and add more if you want a stronger scent. I personally love using lemon essential oil for its fresh, clean fragrance.
5. Close and Shake: Secure the spray bottle lid tightly and shake well to combine all the ingredients.
6. Label Your Bottle: This is important! Label your spray bottle clearly as “Vinegar Cleaning Solution” so you don’t accidentally mix it up with other cleaning products.
Using Your All-Purpose Vinegar Cleaner
Now that you’ve made your cleaning solution, it’s time to put it to work!
1. Spray: Spray the solution directly onto the surface you want to clean.
2. Wipe: Use a clean cloth or sponge to wipe the surface. For tougher messes, let the solution sit for a few minutes before wiping.
3. Dry (If Necessary): Some surfaces may benefit from being dried with a clean cloth after wiping. This is especially helpful for glass and mirrors to prevent streaks.
Specific Cleaning Applications and Customizations
The basic recipe is great for general cleaning, but let’s explore some specific applications and how to customize the solution for even better results.
Cleaning Kitchen Surfaces
* Countertops: Vinegar is excellent for cleaning countertops, but avoid using it on natural stone surfaces like granite or marble, as it can etch the stone. For laminate, tile, and stainless steel countertops, it works wonders.
* Cutting Boards: Vinegar is a natural disinfectant, making it perfect for cleaning cutting boards after preparing food. Spray the board with the solution, let it sit for a few minutes, and then rinse with water.
* Microwave: To clean your microwave, heat a cup of the vinegar solution in the microwave for a few minutes. The steam will loosen any stuck-on food, making it easy to wipe clean.
* Dishwasher: Pour a cup of vinegar into the bottom of your empty dishwasher and run a normal cycle. This will help remove buildup and freshen the dishwasher.
Cleaning Bathroom Surfaces
* Shower and Tub: Vinegar can help remove soap scum and mildew from your shower and tub. Spray the surfaces with the solution, let it sit for a few minutes, and then scrub with a brush or sponge. For stubborn mildew, you can use a stronger solution of straight vinegar.
* Toilet: Pour a cup of vinegar into the toilet bowl and let it sit for at least 30 minutes (or even overnight) before flushing. This will help remove stains and deodorize the toilet.
* Mirrors and Glass: Vinegar is a fantastic glass cleaner! Spray the solution onto the mirror or glass surface and wipe with a clean, lint-free cloth for a streak-free shine.
Floor Cleaning
* Hardwood Floors: Use a diluted vinegar solution (1/2 cup vinegar per gallon of water) to mop hardwood floors. Be sure to wring out the mop thoroughly to avoid over-wetting the floor. Avoid using vinegar on waxed hardwood floors, as it can strip the wax.
* Tile Floors: Vinegar is great for cleaning tile floors. Use the same diluted solution as for hardwood floors.
Deodorizing
* Garbage Disposal: Pour a cup of vinegar down the garbage disposal and let it sit for a few minutes before running the disposal with cold water. This will help eliminate odors.
* Refrigerator: Wipe down the inside of your refrigerator with the vinegar solution to remove spills and odors.
* Laundry: Add 1/2 cup of vinegar to your washing machine during the rinse cycle to help soften clothes and remove odors.
Troubleshooting and Tips
* Vinegar Smell: If you’re sensitive to the smell of vinegar, don’t worry! The scent usually dissipates quickly. Adding essential oils can also help mask the odor.
* Stubborn Stains: For tough stains, you may need to use a stronger solution of vinegar or let the solution sit for a longer period of time before wiping.
* Testing on Delicate Surfaces: Before using the vinegar solution on a delicate surface, test it in an inconspicuous area to make sure it doesn’t cause any damage.
* Storage: Store your vinegar cleaning solution in a cool, dark place. It should last for several months.
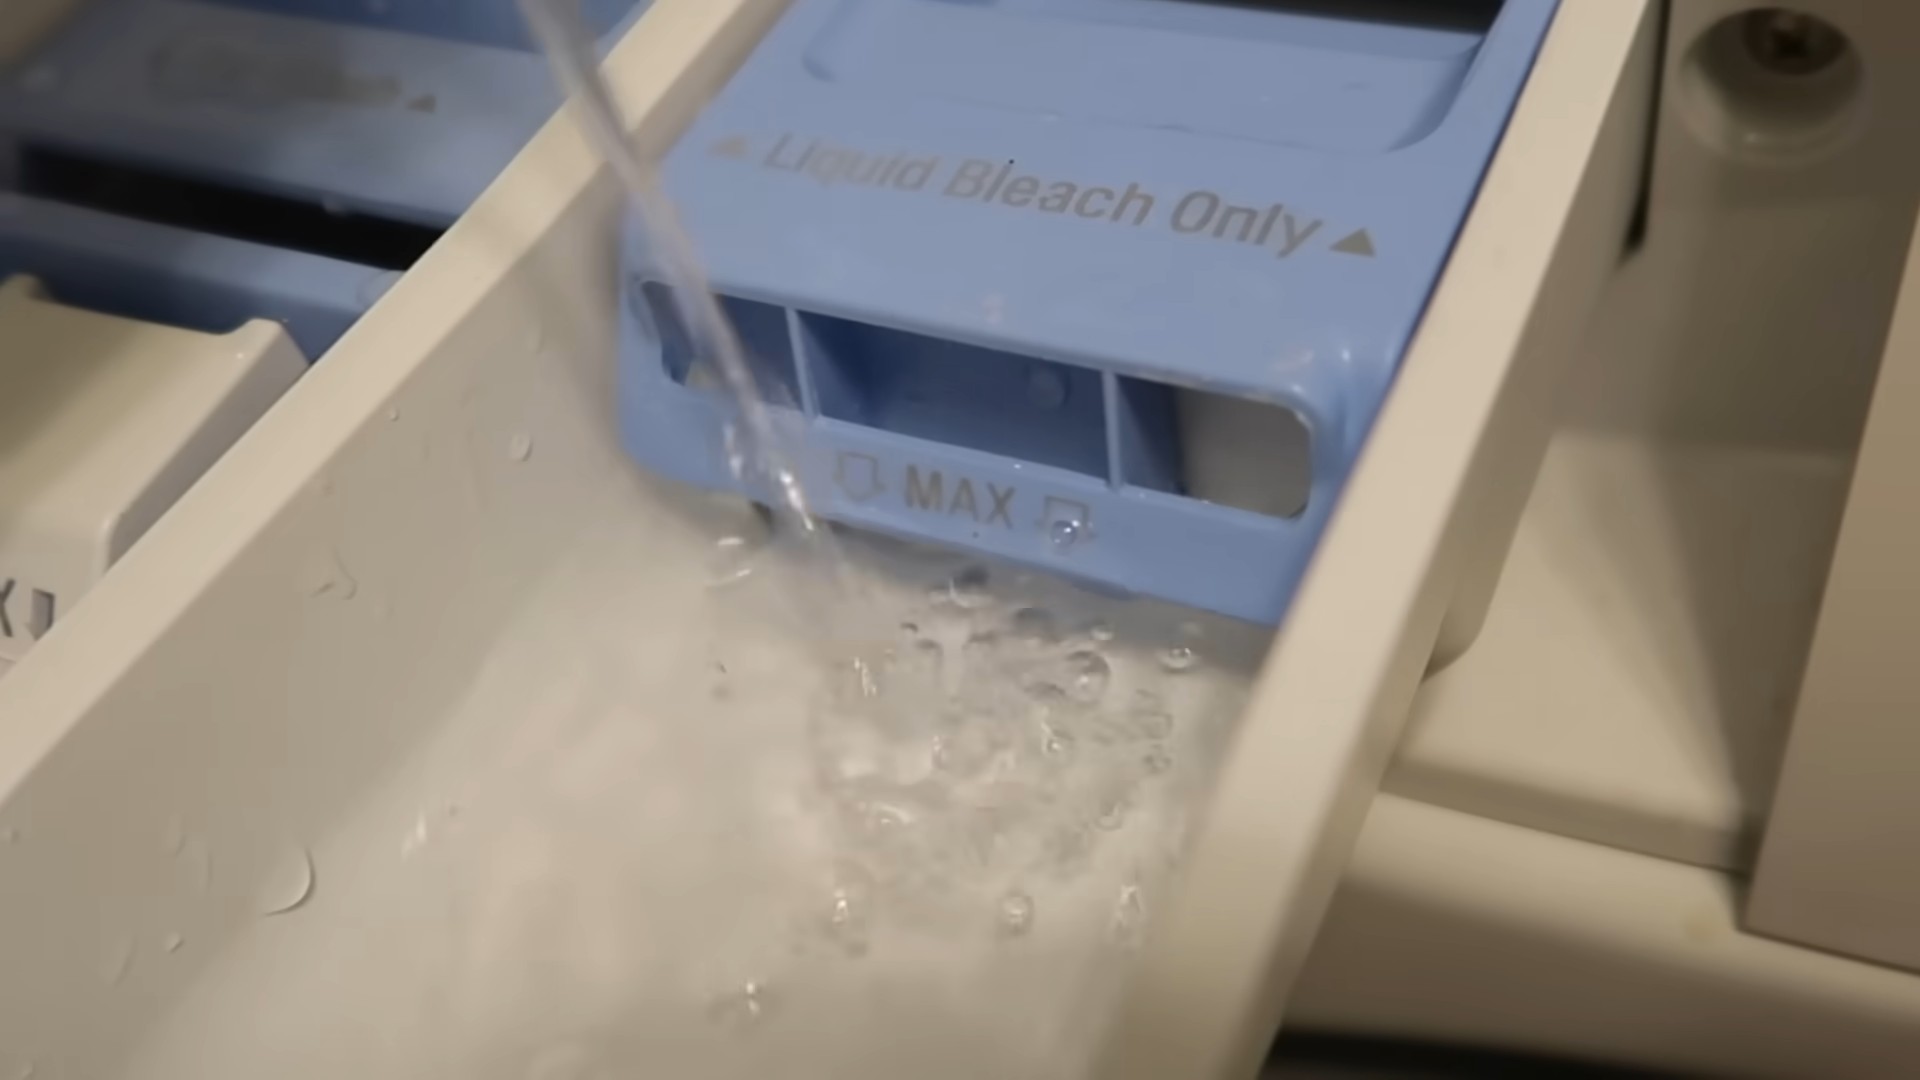
* Don’t Mix with Bleach: Never, ever mix vinegar with bleach! This creates toxic fumes that can be harmful to your health.
Customizing Your Cleaning Solution: Beyond the Basics
Now that you’ve mastered the basic recipe, let’s get creative and customize your cleaning solution to tackle specific cleaning challenges.
Boosting Cleaning Power: Adding Baking Soda
For extra cleaning power, you can add baking soda to your vinegar solution. Baking soda is a mild abrasive that can help scrub away tough stains and grime.
How to Use: Sprinkle baking soda onto the surface you want to clean, then spray with the vinegar solution. The mixture will fizz, which helps loosen dirt and grime. Let it sit for a few minutes, then scrub and wipe clean.
Caution: Be careful when mixing vinegar and baking soda, as it can create a lot of fizz. It’s best to mix them directly on the surface you’re cleaning rather than in the spray bottle.
Adding a Degreasing Agent: Dish Soap
For greasy messes, adding a small amount of dish soap to your vinegar solution can help cut through the grease.
How to Use: Add a teaspoon of dish soap to your spray bottle along with the vinegar and water. Shake well to combine.
Caution: Use dish soap sparingly, as too much can leave a residue.
Infusing with Citrus Peels
For a natural citrus scent and added cleaning power, you can infuse your vinegar with citrus peels.
How to Use: Place citrus peels (lemon, orange, grapefruit, etc.) in a jar and cover them with vinegar. Let the mixture sit for several weeks, shaking occasionally. Strain the vinegar and use it in your cleaning solution.
Making a Disinfectant Spray: Adding Hydrogen Peroxide
For a stronger disinfectant, you can add hydrogen peroxide to your cleaning routine.
How to Use: After cleaning with the vinegar solution, spray the surface with hydrogen peroxide. Let it sit for a few minutes, then wipe clean.
Caution: Do not mix vinegar and hydrogen peroxide in the same bottle, as this can create a potentially harmful chemical reaction. Always use them separately
Conclusion
So, there you have it! Mastering the art of cleaning with vinegar isn’t just about saving money; it’s about embracing a powerful, eco-friendly alternative that delivers sparkling results. We’ve explored the versatility of this humble household staple, revealing how it can tackle everything from stubborn grime to lingering odors. The beauty of these vinegar cleaning tips lies in their simplicity and adaptability.
Why is this DIY approach a must-try? Because it’s effective, affordable, and environmentally conscious. Commercial cleaners often contain harsh chemicals that can be harmful to your health and the planet. Vinegar, on the other hand, is a natural disinfectant and deodorizer that’s safe for your family and pets. Plus, think of all the money you’ll save by ditching those expensive store-bought products!
But the benefits don’t stop there. Vinegar cleaning is incredibly versatile. You can customize your cleaning solutions to suit your specific needs. For a refreshing scent, infuse your vinegar with citrus peels or herbs. Add a few drops of essential oil for an extra boost of cleaning power and a pleasant aroma. Experiment with different concentrations of vinegar and water to find the perfect balance for your cleaning tasks.
Consider these variations to elevate your vinegar cleaning game:
* Infused Vinegar: Steep citrus peels (lemon, orange, grapefruit) or herbs (lavender, rosemary, thyme) in white vinegar for a few weeks. Strain before using for a fragrant and effective cleaner.
* Vinegar and Baking Soda Paste: Combine vinegar and baking soda to create a powerful scrubbing paste for tough stains and grime. This is especially effective on grout and oven interiors.
* Vinegar and Essential Oil Blend: Add a few drops of your favorite essential oil (tea tree, eucalyptus, lavender) to your vinegar cleaning solution for added antibacterial and aromatherapy benefits.
* Vinegar as a Fabric Softener: Add 1/2 cup of white vinegar to your washing machine’s fabric softener dispenser for softer, brighter clothes.
We’ve armed you with the knowledge and inspiration to transform your cleaning routine. Now, it’s time to put these vinegar cleaning tips into action! We encourage you to experiment with different methods and find what works best for you. Start small, perhaps with cleaning your microwave or descaling your coffee maker. Once you see the amazing results, you’ll be hooked!
Don’t be afraid to get creative and share your own vinegar cleaning discoveries with us. We’d love to hear about your successes, challenges, and unique variations. Share your experiences in the comments below, and let’s build a community of vinegar cleaning enthusiasts! Together, we can create a cleaner, healthier, and more sustainable world, one vinegar-soaked sponge at a time. Embrace the power of vinegar and experience the difference it can make in your home. You’ll be amazed by the results!
Frequently Asked Questions (FAQs)
Is vinegar safe to use on all surfaces?
While vinegar is a fantastic cleaner for many surfaces, it’s not universally safe. Avoid using vinegar on natural stone surfaces like marble, granite, and limestone, as the acidity can etch and damage them. It’s also best to avoid using vinegar on waxed wood furniture, as it can strip the wax finish. Always test vinegar on an inconspicuous area before applying it to a larger surface. When in doubt, consult the manufacturer’s instructions for your specific surface.
What type of vinegar is best for cleaning?
White distilled vinegar is the most commonly recommended type of vinegar for cleaning. It’s inexpensive, readily available, and has a high acidity level, making it effective at disinfecting and removing grime. Avoid using other types of vinegar, such as apple cider vinegar or balsamic vinegar, as they can stain surfaces due to their color and sugar content.
How do I get rid of the vinegar smell after cleaning?
The vinegar smell is temporary and usually dissipates within a few hours. To speed up the process, you can open windows and doors to ventilate the area. You can also add a few drops of essential oil to your vinegar cleaning solution to mask the smell. Another option is to wipe down surfaces with a clean, damp cloth after cleaning with vinegar.
Can I mix vinegar with bleach?
Never mix vinegar with bleach! This combination creates toxic chlorine gas, which can be extremely harmful and even fatal. Always use vinegar and bleach separately, and rinse surfaces thoroughly between using different cleaning products. Safety should always be your top priority when cleaning.
How do I clean my coffee maker with vinegar?
To clean your coffee maker with vinegar, fill the water reservoir with equal parts white vinegar and water. Run the coffee maker through a full brewing cycle. Then, run two cycles with fresh water to rinse away any remaining vinegar. This will remove mineral buildup and keep your coffee maker functioning properly.
Can vinegar kill mold?
Yes, vinegar can kill mold. White distilled vinegar is about 80% effective in killing mold species. To kill mold with vinegar, spray undiluted vinegar onto the affected area and let it sit for an hour. Then, wipe the area clean with a damp cloth. For stubborn mold, you may need to repeat the process. Always wear gloves and a mask when dealing with mold.
How can I use vinegar to clean my microwave?
Cleaning your microwave with vinegar is easy and effective. Combine equal parts white vinegar and water in a microwave-safe bowl. Microwave the mixture for 5-10 minutes, or until the solution boils and the microwave is filled with steam. Carefully remove the bowl and wipe down the interior of the microwave with a clean cloth. The steam will loosen any food splatters and make them easy to remove.
Is vinegar safe for septic systems?
Yes, vinegar is generally safe for septic systems. The small amount of vinegar used for cleaning is unlikely to disrupt the balance of bacteria in your septic tank. However, it’s always a good idea to use cleaning products sparingly and avoid pouring large amounts of vinegar down the drain.
How do I clean my showerhead with vinegar?
To clean your showerhead with vinegar, fill a plastic bag with white vinegar and secure it around the showerhead with a rubber band. Make sure the showerhead is fully submerged in the vinegar. Let it soak for several hours or overnight. Remove the bag and run the shower to flush out any remaining vinegar and mineral deposits. This will improve water flow and remove buildup.
Can vinegar remove hard water stains?
Yes, vinegar is excellent at removing hard water stains. Hard water stains are caused by mineral deposits, and the acidity of vinegar helps to dissolve them. To remove hard water stains, spray vinegar onto the affected area and let it sit for a few minutes. Then, scrub the area with a sponge or cloth and rinse with water. For stubborn stains, you may need to repeat the process or use a stronger concentration of vinegar.
Leave a Comment