
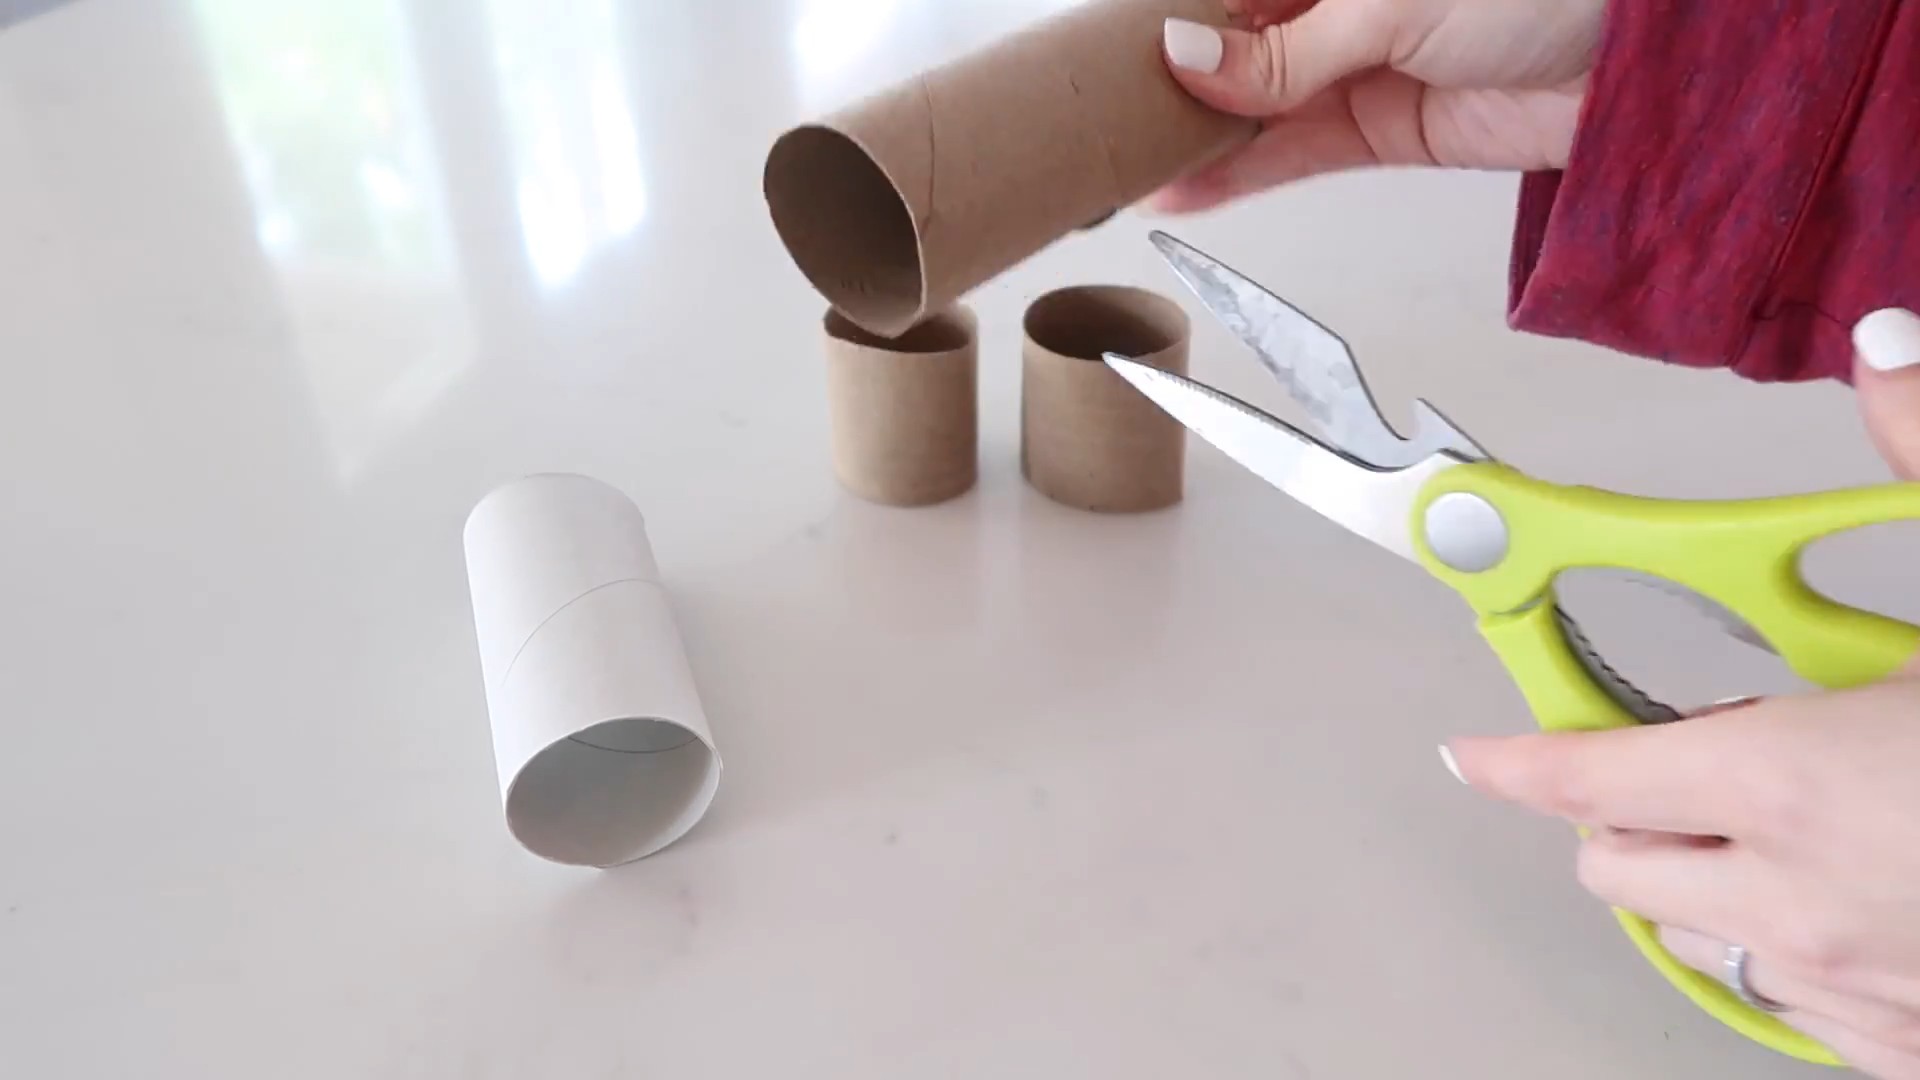
Innovative Home Hacks: Ready to transform your living space without breaking the bank? I’m so excited to share some of my favorite DIY tricks that will not only save you money but also add a personal touch to your home. For centuries, people have sought clever ways to improve their homes, from repurposing materials out of necessity to crafting beautiful, functional pieces as a form of self-expression. Think of the resourceful pioneers who built entire homes from the land or the intricate folk art that adorned humble dwellings – the spirit of DIY is deeply ingrained in our history!
In today’s fast-paced world, it’s easy to get caught up in consumerism, constantly buying new things to keep up with trends. But what if you could create a unique and stylish home using items you already have or by investing in a few affordable materials? That’s where these Innovative Home Hacks come in. I’ll show you how to upcycle old furniture, create stunning wall art, and organize your space with simple, ingenious solutions. These hacks are perfect for anyone looking to reduce waste, save money, and express their creativity. Let’s dive in and unlock the potential of your home!
Growing Zucchini Year-Round: A DIY Greenhouse Hack
Okay, zucchini lovers, let’s face it: zucchini season is amazing, but it’s way too short! I’m going to show you how to extend that deliciousness and potentially harvest zucchini year-round, even in colder climates, with a simple DIY greenhouse hack. It’s not going to be a massive, expensive structure, but a manageable, affordable solution that you can build yourself.
Understanding the Challenge: Zucchini’s Needs
Before we dive into the building process, let’s quickly understand what zucchini needs to thrive. Zucchini plants are warm-weather crops, meaning they need:
* Warm Temperatures: Ideally, between 65°F and 75°F (18°C and 24°C). They can tolerate slightly lower temperatures, but growth will slow down significantly. Frost is a definite no-no.
* Plenty of Sunlight: Zucchini needs at least 6-8 hours of direct sunlight per day.
* Well-Drained Soil: Zucchini hates soggy roots. Good drainage is crucial.
* Pollination: Zucchini flowers need to be pollinated to produce fruit. Bees are the usual pollinators, but in a closed greenhouse, we might need to lend a hand.
Our DIY greenhouse hack will address these needs, allowing us to create a microclimate suitable for zucchini even when the weather outside is frightful.
The DIY Greenhouse: A Cold Frame Upgrade
We’re not building a full-sized greenhouse here. Instead, we’re creating an enhanced cold frame – a structure that traps solar heat and protects plants from the elements. This is a perfect project for beginner DIYers.
Materials You’ll Need:
* Clear Plastic Sheeting (Heavy-Duty): This will be the “glass” of our greenhouse. Look for UV-resistant polyethylene plastic, at least 6 mil thick. The size will depend on the area you want to cover. I recommend measuring your garden bed or container area first.
* Wooden Frame Materials: You can use reclaimed wood, 2x4s, or even sturdy branches. The amount you need will depend on the size and design of your frame. I’m using reclaimed 2x4s for a sturdy base.
* Hinges: To create a lid that can be opened for ventilation and access. Two or three hinges should be sufficient, depending on the length of your frame.
* Screws or Nails: For assembling the wooden frame.
* Staple Gun: To attach the plastic sheeting to the frame.
* Weather Stripping (Optional): To seal gaps and improve insulation.
* Rockwool or Straw Bales (Optional): For additional insulation around the base of the frame.
* Thermometer: To monitor the temperature inside the greenhouse. This is crucial for managing ventilation.
* Small Fan (Optional): To circulate air inside the greenhouse and prevent overheating.
* Spray Bottle: For hand-pollinating the zucchini flowers.
* Gloves and Safety Glasses: For protection during construction.
* Measuring Tape, Saw, Drill, and Hammer: Basic tools for woodworking.
Building Your DIY Zucchini Greenhouse: Step-by-Step
Okay, let’s get building!
1. Measure and Plan Your Frame:
* First, decide where you’ll place your greenhouse. It should be in a sunny spot.
* Measure the area you want to cover. This will determine the dimensions of your wooden frame.
* Consider the height of your zucchini plants. You’ll need enough headroom for them to grow. I’m aiming for a height of about 2 feet at the highest point.
* Sketch out a simple design for your frame. A rectangular or A-frame design works well. I’m going with a slightly slanted rectangular design for better sunlight capture.
2. Cut the Wood:
* Using your measurements, cut the wood pieces for your frame.
* Make sure the cuts are straight and accurate.
* Sand down any rough edges to prevent splinters.
3. Assemble the Frame:
* Using screws or nails, assemble the wooden frame.
* Ensure the frame is sturdy and square.
* Reinforce the corners with extra screws or nails if needed.
* If you’re building an A-frame, make sure the angle is wide enough to allow for plant growth.
4. Attach the Hinges:
* Attach the hinges to one side of the frame to create a lid.
* Make sure the hinges are aligned properly so the lid opens and closes smoothly.
* Test the lid to ensure it swings freely.
5. Attach the Plastic Sheeting:
* Lay the plastic sheeting over the frame.
* Pull the plastic taut and secure it to the frame using a staple gun.
* Start at one corner and work your way around the frame, stapling every few inches.
* Make sure the plastic is smooth and wrinkle-free.
* Trim off any excess plastic with scissors or a utility knife.
6. Add Weather Stripping (Optional):
* Apply weather stripping around the edges of the frame to seal any gaps.
* This will help to insulate the greenhouse and prevent heat loss.
7. Position Your Greenhouse:
* Place your greenhouse over your zucchini plants.
* Make sure the base is level.
* If desired, insulate the base of the frame with rockwool or straw bales.
Planting and Maintaining Your Zucchini
Now that your greenhouse is built, it’s time to plant (or transplant) your zucchini!
1. Soil Preparation:
* Ensure the soil inside the greenhouse is well-drained and rich in organic matter.
* Amend the soil with compost or well-rotted manure.
* Zucchini prefers a slightly acidic to neutral soil pH (around 6.0-7.0).
2. Planting:
* If you’re starting from seeds, sow them directly into the soil inside the greenhouse.
* If you’re transplanting seedlings, dig a hole large enough to accommodate the root ball.
* Space the plants according to the variety’s recommendations (usually about 2-3 feet apart).
3. Watering:
* Water the zucchini plants regularly, especially during dry periods.
* Avoid overwatering, as this can lead to root rot.
* Water at the base of the plants to avoid wetting the foliage, which can encourage fungal diseases.
4. Ventilation:
* This is crucial! Monitor the temperature inside the greenhouse using a thermometer.
* On sunny days, open the lid to vent excess heat.
* If the temperature gets too high (above 85°F or 29°C), open the lid wider or even remove it completely.
* Close the lid at night to trap heat.
5. Pollination:
* If you’re growing zucchini inside the greenhouse during a time when bees are scarce, you’ll need to hand-pollinate the flowers.
* Zucchini plants have separate male and female flowers. The female flowers have a small zucchini fruit developing behind the flower.
* To hand-pollinate, use a small paintbrush or cotton swab to transfer pollen from the male flower to the female flower.
* You can also gently remove a male flower, peel back the petals, and rub the pollen-covered stamen onto the stigma of the female flower.
* Do this in the morning, when the flowers are open.
6. Fertilizing:
* Feed your zucchini plants with a balanced fertilizer every few weeks.
* You can use a liquid fertilizer or a slow-release granular fertilizer.
* Follow the instructions on the fertilizer package.
7. Pest and Disease Control:
* Keep an eye out for pests and diseases.
* Common zucchini pests include squash bugs, squash vine borers, and aphids.
* Common zucchini diseases include powdery mildew and squash mosaic virus.
* Treat any problems promptly with appropriate organic pesticides or fungicides.
* Good air circulation can help prevent fungal diseases.
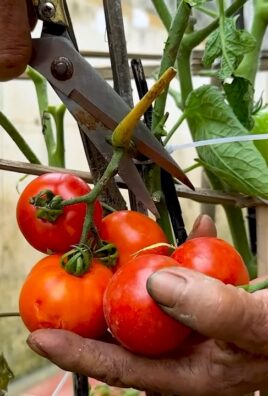
8. Harvesting:
* Harvest your zucchini when they are young and tender, typically when they are about 6-8 inches long.
* Use a sharp knife to cut the zucchini from the plant.
* Regular harvesting will encourage the plant to produce more fruit.
Troubleshooting and Tips
* Overheating: This is the biggest challenge. Monitor the temperature closely and vent the greenhouse as needed. A small fan can help circulate air.
* Lack of Pollination: Hand

Conclusion
So, there you have it! This simple yet incredibly effective DIY trick is more than just a clever shortcut; it’s a game-changer for anyone looking to streamline their home maintenance and add a touch of personalized flair. We’ve shown you how to transform ordinary materials into extraordinary solutions, saving you time, money, and a whole lot of frustration.
Why is this a must-try? Because it empowers you to take control of your living space, fostering a sense of accomplishment and creativity. It’s about more than just fixing a problem; it’s about understanding the potential hidden within everyday objects and unlocking your inner innovator. Plus, let’s be honest, who doesn’t love a good DIY project that actually works?
But the beauty of this trick lies in its adaptability. Feel free to experiment with different materials and techniques to suit your specific needs and preferences. For instance, if you’re working with delicate surfaces, consider using a softer cloth or a gentler cleaning solution. Or, if you’re looking to add a touch of personality, try incorporating decorative elements or embellishments. The possibilities are truly endless!
Consider these variations to elevate your DIY experience:
* Scented Solutions: Infuse your cleaning solution with essential oils for a refreshing and aromatic experience. Lavender, lemon, and eucalyptus are all excellent choices.
* Color Coordination: Match the materials you use to your existing décor for a seamless and aesthetically pleasing result.
* Upcycled Materials: Give old items a new lease on life by incorporating them into your DIY project. This is a great way to reduce waste and add a unique touch.
* Personalized Touches: Add your own creative flair by incorporating decorative elements, such as paint, stencils, or embellishments.
Ultimately, this DIY trick is about more than just achieving a specific outcome; it’s about embracing the spirit of innovation and resourcefulness. It’s about finding creative solutions to everyday challenges and transforming your living space into a reflection of your unique personality.
We wholeheartedly encourage you to give this DIY trick a try. We are confident that you’ll be amazed by the results. And, more importantly, we want to hear about your experience! Share your tips, tricks, and variations in the comments below. Let’s create a community of DIY enthusiasts who are passionate about transforming their homes and embracing the power of innovative home hacks. Your insights could inspire others and help us all discover even more creative solutions. Don’t be shy – share your success stories, your challenges, and your unique perspectives. Together, we can unlock the full potential of DIY and create homes that are both functional and beautiful. So go ahead, get your hands dirty, and let your creativity shine! We can’t wait to see what you come up with.
Frequently Asked Questions (FAQ)
What if I don’t have all the exact materials listed?
Don’t worry! Part of the fun of DIY is adapting to what you have on hand. Consider the purpose of each material and think about what you might have that could serve a similar function. For example, if the recipe calls for a specific type of cloth, you could substitute it with an old t-shirt or a microfiber towel. The key is to be resourceful and think creatively. Just make sure the substitute material is safe for the surface you’re working on.
Is this DIY trick safe for all surfaces?
While we’ve designed this trick to be generally safe and effective, it’s always a good idea to test it on a small, inconspicuous area first. This will help you ensure that it doesn’t damage or discolor the surface you’re working on. Pay particular attention to delicate materials like wood, leather, or painted surfaces. If you’re unsure, consult the manufacturer’s instructions or a professional cleaner.
How often should I use this DIY trick?
The frequency with which you use this trick will depend on your specific needs and the area you’re treating. For general cleaning and maintenance, you can use it as often as needed. However, for more delicate surfaces or specialized cleaning tasks, it’s best to use it sparingly. Always observe the condition of the surface and adjust your usage accordingly.
Can I use different cleaning solutions with this DIY trick?
Absolutely! Feel free to experiment with different cleaning solutions to find what works best for you. However, it’s important to be mindful of the potential interactions between different chemicals. Avoid mixing bleach with ammonia or other harsh chemicals, as this can create dangerous fumes. Always read the labels carefully and follow the manufacturer’s instructions. Natural cleaning solutions like vinegar and baking soda are often a safe and effective alternative.
What if I’m not happy with the results?
Don’t be discouraged! DIY is all about trial and error. If you’re not happy with the results, try adjusting the materials, techniques, or cleaning solutions you’re using. You can also consult online resources or seek advice from other DIY enthusiasts. Remember, the goal is to learn and improve with each attempt. And if all else fails, don’t hesitate to call in a professional.
How can I make this DIY trick more eco-friendly?
There are several ways to make this DIY trick more environmentally friendly. Start by using recycled or upcycled materials whenever possible. Choose natural cleaning solutions like vinegar, baking soda, or lemon juice. Avoid using harsh chemicals that can pollute the environment. And finally, dispose of any waste materials responsibly.
Where can I find more innovative home hacks like this?
Keep an eye on our website for more articles and tutorials on innovative home hacks. You can also find inspiration on social media platforms like Pinterest, YouTube, and Instagram. Look for hashtags like #DIYhome, #homehacks, and #cleaningtips. And don’t forget to share your own creations and discoveries with the community! We’re always looking for new and creative ways to improve our homes and our lives.

Leave a Comment