
Drain starfish benefits – ever heard of them? Probably not! But trust me, once you discover this quirky little home gardening trick, you’ll wonder why you haven’t been doing it all along. I know I did! We’re diving deep into the world of upcycling and sustainable gardening, and this is one DIY project that’s both incredibly simple and surprisingly effective.
While the exact origins of using drain starfish in gardens are a bit murky (pun intended!), the concept of repurposing household waste for plant health has been around for centuries. Think about it – our ancestors didn’t have access to fancy fertilizers. They relied on ingenuity and observation, figuring out how to use what they had to nourish their crops. This is a modern twist on that age-old practice.
So, why should you care about drain starfish benefits for your garden? Well, if you’re anything like me, you’re always looking for ways to reduce waste and give your plants a little extra boost. Those little plastic or metal drain covers often end up in the trash, but they can actually be incredibly useful in your potted plants. They help with drainage, prevent soil erosion, and even deter pests! Plus, it’s a fantastic way to give a new life to something that would otherwise end up in a landfill. Let’s get started and turn those discarded drain starfish into garden gold!
Unclog Your Drain with a DIY Drain Starfish: A Step-by-Step Guide
Okay, let’s face it: clogged drains are the bane of every homeowner’s existence. Hair, soap scum, and who-knows-what-else conspire to turn your relaxing shower into a wading pool. But fear not! I’m going to show you how to create a super effective “drain starfish” that will catch all that gunk before it even thinks about clogging your pipes. And the best part? It’s cheap, easy, and you probably already have most of the supplies lying around.
What is a Drain Starfish and Why Should You Make One?
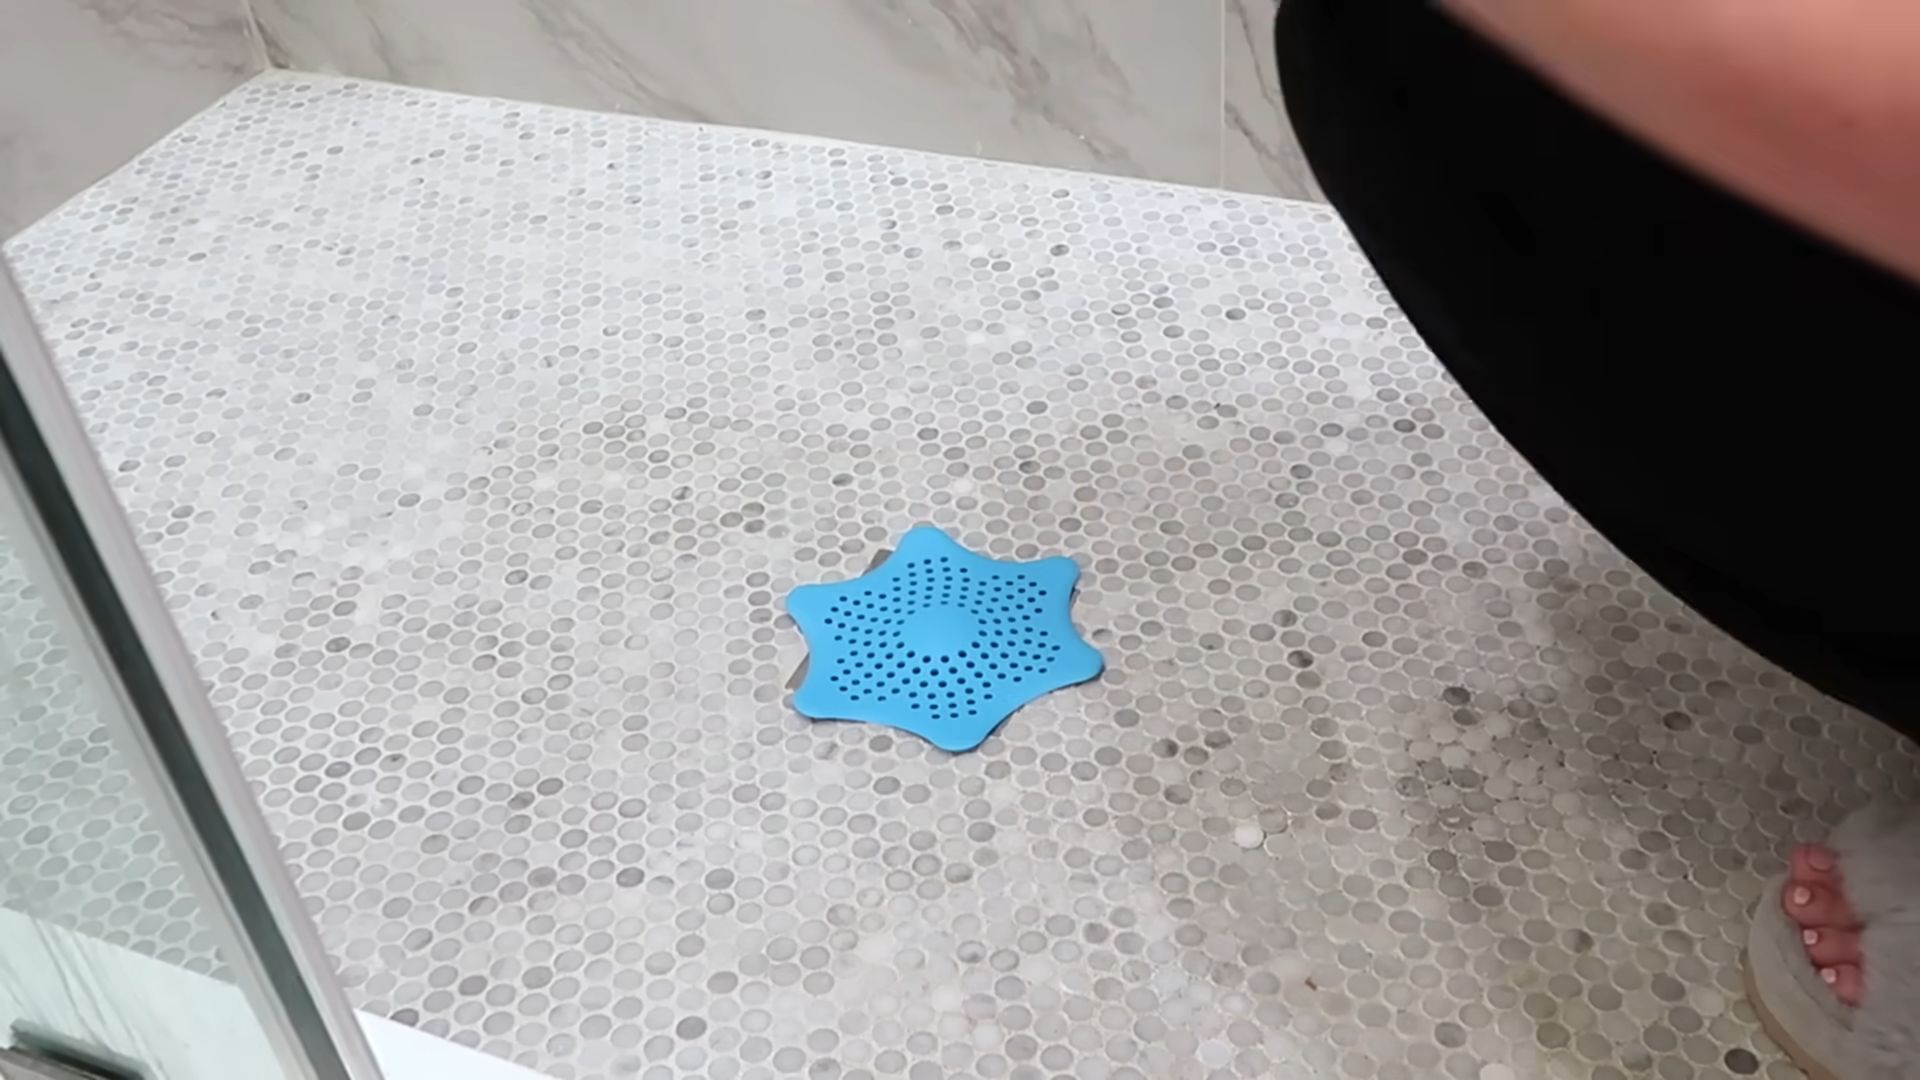
A drain starfish is essentially a DIY drain protector. It’s designed to sit inside your drain and catch hair and debris before they can travel down the pipes and cause a blockage. Think of it as a first line of defense against the dreaded clog.
Here’s why I think you’ll love this DIY project:
* It’s incredibly effective: Seriously, you’ll be amazed at how much stuff this little thing catches.
* It’s budget-friendly: We’re talking pennies here, folks.
* It’s eco-friendly: You’re repurposing materials instead of buying disposable drain screens.
* It’s customizable: You can adjust the size and shape to perfectly fit your drain.
* It’s satisfying: There’s something strangely satisfying about pulling out a clump of hair that *didn’t* go down your drain.
Gathering Your Supplies
Before we dive in, let’s make sure you have everything you need. This is a pretty simple project, so the supply list is short and sweet:
* Plastic Canvas: This is the key ingredient! You can find plastic canvas at most craft stores or online. I recommend a sheet that’s at least 10″ x 13″ to give you enough material to work with.
* Scissors or Utility Knife: For cutting the plastic canvas. A sharp pair of scissors works just fine, but a utility knife can be helpful for more intricate cuts.
* Ruler or Measuring Tape: To ensure accurate measurements.
* Pencil or Marker: For marking the plastic canvas.
* Needle-Nose Pliers (Optional): These can be helpful for bending the plastic canvas.
* Gloves (Optional): If you’re sensitive to the plastic canvas material.
Creating the Drain Starfish: Step-by-Step Instructions
Alright, let’s get down to business! Here’s how to make your very own drain starfish:
1. Measure Your Drain Opening: This is the most crucial step. You need to know the diameter of your drain opening to ensure your starfish fits snugly. Use your ruler or measuring tape to measure the inside diameter of the drain. Write this measurement down – we’ll call it “Drain Diameter.”
2. Cut the Base Circle: On your plastic canvas, draw a circle that’s slightly larger than your Drain Diameter. I usually add about 1/4 inch to the Drain Diameter to give the starfish a little extra grip. For example, if your Drain Diameter is 3 inches, draw a circle with a diameter of 3.25 inches. Carefully cut out the circle using your scissors or utility knife. This will be the base of your drain starfish.
3. Create the “Starfish Arms”: Now comes the fun part! We’re going to create the arms that will catch all the hair and debris.
* Decide on the Number of Arms: I recommend starting with 6-8 arms. You can always add more later if you feel like you need them.
* Cut Strips of Plastic Canvas: Cut strips of plastic canvas that are about 1/2 inch wide and 2-3 inches long. The length will depend on how deep your drain is. You want the arms to extend down into the drain but not so far that they block the water flow.
* Shape the Arms (Optional): You can leave the arms straight, or you can shape them slightly for better debris-catching ability. I like to gently curve the ends of the arms outward using my needle-nose pliers. This helps to snag hair and prevent it from slipping past.
4. Attach the Arms to the Base: This is where we assemble the starfish.
* Position the Arms: Arrange the arms evenly around the edge of the base circle. You can use a pencil to mark the positions before you start attaching them.
* Secure the Arms: This is where you get creative. There are a few ways to attach the arms:
* Weaving: This is my preferred method. Carefully weave the plastic canvas strips through the holes in the base circle, overlapping the ends slightly to secure them. This creates a strong and durable connection.
* Hot Glue (Use with Caution!): If you’re comfortable using hot glue, you can use it to glue the arms to the base. However, be careful not to use too much glue, as it can clog the drain. Also, make sure the glue is completely dry before using the starfish.
* Zip Ties (Small): You can use very small zip ties to attach the arms. Thread the zip tie through the plastic canvas on both the arm and the base, and then tighten it. Trim off the excess zip tie.
5. Test the Fit: Once you’ve attached all the arms, test the fit of your drain starfish in your drain. It should fit snugly but not be too tight. If it’s too tight, you can trim the edges of the base circle. If it’s too loose, you can add more arms or use a slightly larger base circle.
6. Fine-Tune (If Necessary): After testing, you might find that some of the arms are too long or too short. Trim them as needed to ensure they don’t block the water flow. You can also adjust the shape of the arms to optimize their debris-catching ability.
Using and Maintaining Your Drain Starfish
Now that you’ve created your drain starfish, it’s time to put it to work!
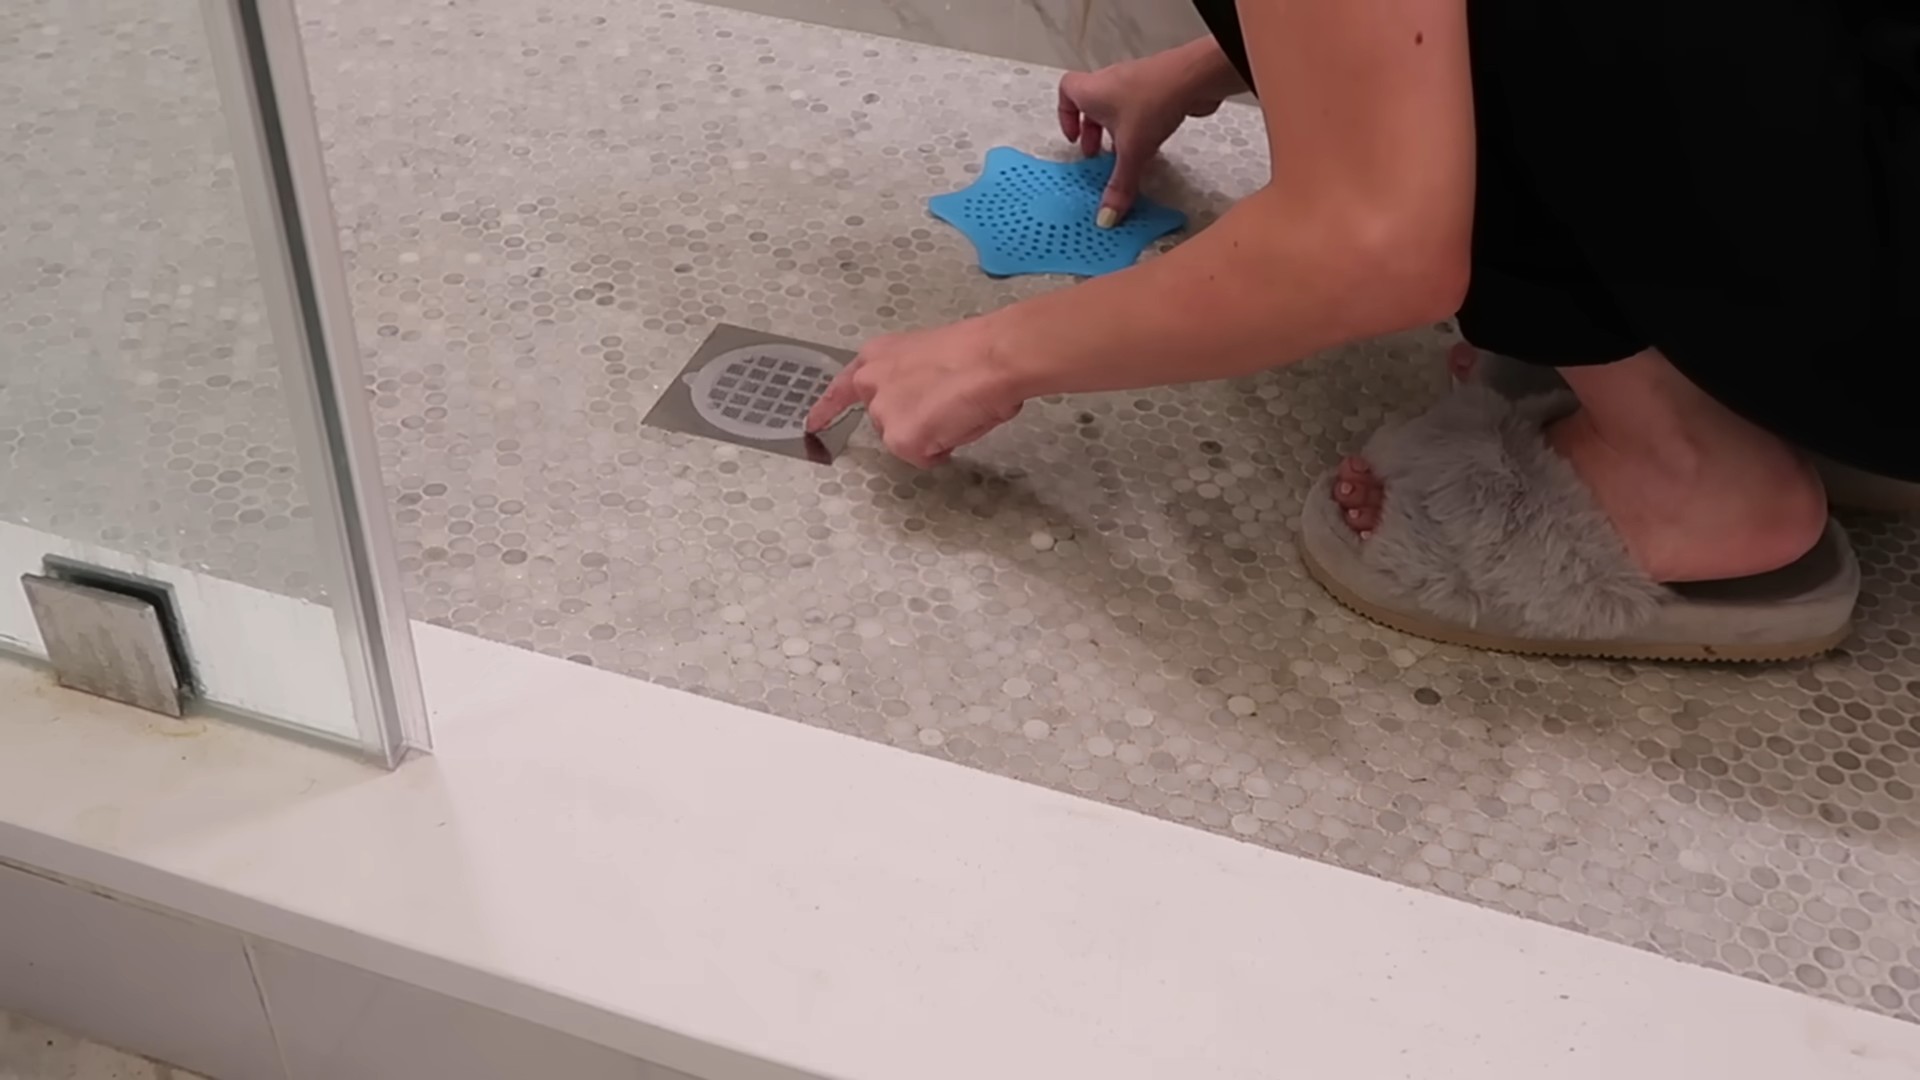
1. Place the Starfish in the Drain: Simply place the starfish in your drain, making sure it sits securely.
2. Regular Cleaning: This is key to keeping your drain clear. I recommend cleaning your drain starfish at least once a week, or more often if you notice it’s getting clogged quickly.
* Remove the Starfish: Carefully remove the starfish from the drain.
* Remove Debris: Use your fingers or a small brush to remove any hair, soap scum, or other debris that’s caught in the arms.
* Rinse Thoroughly: Rinse the starfish thoroughly with water to remove any remaining debris.
* Replace the Starfish: Place the clean starfish back in the drain.
3. Inspect Regularly: Periodically inspect your drain starfish for any damage. If you notice any cracks or breaks, it’s time to replace it.
Troubleshooting Tips
* Starfish Doesn’t Stay in Place: If your starfish keeps floating or popping out of the drain, try adding more arms or using a slightly larger base circle. You can also try adding a small weight to the center of the base.
* Water Drains Slowly: If the water is draining slowly, it could be that the arms are too long or that the starfish is too clogged. Trim the arms or clean the starfish more frequently.
* Arms Keep Breaking: If the arms keep breaking, it could be that the plastic canvas is too thin or that you’re putting too much stress on the arms. Try using a thicker plastic canvas or reinforcing the arms with hot glue or zip ties.
Alternative Designs and Materials
While the plastic canvas drain starfish is my go-to, there are other variations you can try:
* Metal Mesh: You can use metal mesh instead of plastic canvas. This is a more durable option, but it can be more difficult to work with.
* Silicone: You can mold your own drain starfish out of silicone. This is a great option if you want a custom design.
* Different Arm Shapes: Experiment with different arm shapes to see what works best for your drain. You can try using curved arms, forked arms, or even arms with small hooks.
Final Thoughts
So there you have it! A simple, effective, and budget-friendly way to keep your drains clear. I hope you found this tutorial helpful. Happy DIY-ing, and say goodbye to clogged drains! I know I have! This little starfish has saved me so much time and frustration. Plus, it’s kind of fun to see how much gunk it catches – in a weird, gross-but-satisfying way. Now go forth and conquer those drains!
Conclusion
So, there you have it! Transforming those seemingly useless drain starfish into potent plant fertilizer is not just a clever upcycling hack, it’s a game-changer for your garden. We’ve explored the incredible benefits these little guys offer, from their slow-release nutrient delivery system to their ability to enrich your soil with vital calcium and trace minerals. This DIY trick is a must-try because it’s sustainable, cost-effective, and incredibly rewarding. You’re not just throwing away waste; you’re actively contributing to a healthier, more vibrant garden ecosystem.
Think about it: instead of purchasing expensive, commercially produced fertilizers, you’re harnessing the power of nature’s own recycling system. The slow decomposition of the starfish ensures a steady stream of nutrients, preventing nutrient burn and promoting strong, healthy growth. Plus, the added calcium is a boon for plants like tomatoes and peppers, helping to prevent blossom-end rot and ensuring a bountiful harvest.
But the beauty of this DIY project lies in its adaptability. Feel free to experiment with different methods of application. While burying the starfish near the roots of your plants is a tried-and-true method, you can also create a nutrient-rich “tea” by soaking the starfish in water for a few days and then using the liquid to water your plants. This is particularly effective for seedlings and plants that need a quick boost.
Another variation to consider is combining the starfish with other organic materials. Mix them with compost, coffee grounds, or eggshells to create a super-charged fertilizer blend that caters to the specific needs of your plants. For acid-loving plants like blueberries and azaleas, you might want to add a touch of sulfur to the mix to lower the pH of the soil.
Don’t be afraid to get creative and tailor this DIY fertilizer to your own garden’s unique requirements. The key is to observe your plants and adjust your approach accordingly. Are they showing signs of nutrient deficiency? Add more starfish! Are they thriving? Keep doing what you’re doing!
We truly believe that this simple yet effective DIY trick can revolutionize your gardening practices. It’s a win-win situation: you’re reducing waste, saving money, and nurturing your plants with a natural, sustainable fertilizer.
So, what are you waiting for? Gather those drain starfish, put on your gardening gloves, and get ready to witness the transformative power of this incredible resource. We’re confident that you’ll be amazed by the results.
And most importantly, we want to hear about your experience! Share your successes, your challenges, and your variations in the comments below. Let’s build a community of gardeners who are passionate about sustainable practices and harnessing the power of nature to create thriving gardens. Let us know how this drain starfish fertilizer worked for you! Your insights could inspire others to give it a try and contribute to a greener, more sustainable future. Happy gardening!
Frequently Asked Questions (FAQ)
What exactly are drain starfish, and are they safe to use in my garden?
Drain starfish, also known as hair catchers or drain protectors, are small, often star-shaped devices designed to prevent hair and other debris from clogging your drains. They are typically made of silicone or plastic. Yes, they are generally safe to use in your garden as fertilizer, especially if they are made of silicone. However, if your drain starfish are made of plastic, ensure they are thoroughly cleaned before use to remove any lingering chemicals from soaps or cleaning products. Silicone is inert and breaks down slowly, releasing beneficial elements. Plastic, while also breaking down, might release microplastics into the soil over a very long period.
How many drain starfish should I use per plant?
The amount of drain starfish you use will depend on the size of your plant and its nutrient needs. For small plants, like seedlings or herbs, one or two starfish buried near the roots should be sufficient. For larger plants, like tomatoes or shrubs, you can use three to five starfish. Observe your plants closely and adjust the amount accordingly. If you notice signs of nutrient deficiency, such as yellowing leaves, you can add more starfish. It’s always better to start with a smaller amount and gradually increase it as needed. Remember, the goal is to provide a slow-release source of nutrients, not to overload the soil.
Will using drain starfish as fertilizer attract pests or animals?
While drain starfish themselves are unlikely to attract pests or animals, it’s important to bury them properly to avoid any potential issues. Make sure the starfish are completely covered with soil to prevent them from being exposed to the air. This will also help to minimize any odor that might attract unwanted attention. If you’re concerned about pests, you can also add a layer of mulch around your plants to deter them. Regularly inspect your plants for any signs of pests or diseases and take appropriate action if necessary.
How long does it take for the drain starfish to decompose and release nutrients into the soil?
The decomposition rate of drain starfish will vary depending on the material they are made of, the soil conditions, and the climate. Silicone starfish will decompose very slowly, providing a sustained release of nutrients over a longer period. Plastic starfish will also decompose, but at a potentially slower rate and with the risk of microplastic release. Warmer temperatures and moist soil will generally accelerate the decomposition process. You can expect to see noticeable improvements in your plants’ growth and health within a few weeks of applying the starfish.
Can I use drain starfish as fertilizer for all types of plants?
While drain starfish can be beneficial for most types of plants, it’s important to consider the specific needs of each plant. Some plants, like acid-loving plants, may require a different type of fertilizer. It’s always a good idea to research the specific nutrient requirements of your plants before applying any type of fertilizer. You can also conduct a soil test to determine the nutrient levels in your soil and identify any deficiencies. If you’re unsure whether drain starfish are suitable for a particular plant, it’s best to err on the side of caution and start with a small amount.
What if my drain starfish contain hair or other debris? Should I clean them before using them as fertilizer?
Yes, it’s highly recommended to clean your drain starfish before using them as fertilizer. Remove any hair, soap scum, or other debris that may be trapped in the starfish. You can soak them in a solution of water and vinegar to help loosen any stubborn residue. Thoroughly rinse the starfish with clean water before burying them near your plants. This will help to prevent any potential contamination of the soil and ensure that the starfish are providing a clean source of nutrients.
Is there a risk of over-fertilizing my plants with drain starfish?
While drain starfish provide a slow-release source of nutrients, it’s still possible to over-fertilize your plants if you use too many. Over-fertilization can lead to nutrient burn, which can damage or even kill your plants. To avoid over-fertilization, start with a small amount of starfish and observe your plants closely. If you notice any signs of nutrient burn, such as yellowing or browning leaves, reduce the amount of starfish you’re using. It’s always better to under-fertilize than to over-fertilize.
Can I use drain starfish in container gardens?
Yes, drain starfish can be used in container gardens. Simply bury the starfish near the roots of your plants in the container. The amount of starfish you use will depend on the size of the container and the nutrient needs of the plant. Be sure to monitor the moisture levels in the container, as the starfish can help to retain moisture in the soil. Container gardens often require more frequent fertilization than in-ground gardens, so you may need to replenish the starfish more often.
How do I store drain starfish that I’m not using immediately?
If you’re not using your drain starfish immediately, you can store them in a cool, dry place. Make sure they are clean and free of any debris. You can store them in a sealed container or bag to prevent them from attracting pests or absorbing moisture. Properly stored drain starfish can last for several months or even years.
What are the environmental benefits of using drain starfish as fertilizer?
Using drain starfish as fertilizer is an environmentally friendly practice that helps to reduce waste and promote sustainable gardening. By upcycling these seemingly useless items, you’re diverting them from landfills and giving them a new purpose. This helps to conserve resources and reduce pollution. Additionally, using drain starfish as fertilizer reduces the need for commercially produced fertilizers, which can be harmful to the environment. Commercially produced fertilizers often contain synthetic chemicals that can pollute waterways and harm wildlife. By using drain starfish, you’re contributing to a healthier, more sustainable ecosystem.

Leave a Comment