
Grow Chili Peppers, and unlock a world of fiery flavors right in your own backyard! Have you ever dreamed of adding a personal touch of spice to your meals, knowing exactly where your ingredients come from? Well, you’re in the right place! This isn’t just about gardening; it’s about embarking on a flavorful adventure, a journey from seed to sizzling sensation.
Chili peppers have a rich history, dating back thousands of years to South America, where they were not only a culinary staple but also held medicinal and even spiritual significance. Cultures around the globe have embraced these vibrant fruits, incorporating them into their cuisines and traditions. Now, it’s your turn to join this global community of chili enthusiasts!
Why should you learn these DIY tricks and hacks to grow chili peppers? Because store-bought peppers simply can’t compare to the satisfaction of harvesting your own, bursting with freshness and flavor. Plus, you’ll have complete control over the growing process, ensuring they’re organic and free from harmful chemicals. Imagine the pride of serving a dish made with peppers you nurtured from tiny seedlings! I’m here to guide you through every step, from choosing the right varieties to troubleshooting common problems, so you can enjoy a bountiful harvest of delicious chili peppers. Let’s get started!
Growing Chili Peppers: From Seed to Spicy Harvest!
Hey there, fellow spice enthusiasts! I’m so excited to share my tried-and-true method for growing chili peppers at home. Trust me, there’s nothing quite like the satisfaction of harvesting your own fiery peppers and adding them to your favorite dishes. This guide will walk you through every step, from starting seeds indoors to enjoying a bountiful harvest. Let’s get started!
Choosing Your Chili Pepper Variety
Before we dive into the nitty-gritty, let’s talk about choosing the right chili pepper for you. The world of chili peppers is vast and varied, ranging from mild and sweet to scorching hot. Consider your taste preferences and the climate you live in.
Here are a few popular choices:
* **Jalapeño:** A classic choice, known for its moderate heat and versatility. Perfect for salsas, poppers, and adding a kick to almost anything.
* **Serrano:** A bit hotter than jalapeños, serranos are great for adding a more intense flavor to your dishes.
* **Cayenne:** These slender peppers pack a punch! They’re often dried and ground into powder for seasoning.
* **Habanero:** Proceed with caution! Habaneros are seriously hot and have a fruity, almost floral flavor.
* **Ghost Pepper (Bhut Jolokia):** One of the hottest peppers in the world. Only for the truly adventurous!
* **Bell Pepper:** Okay, okay, not technically a chili pepper, but a sweet and mild option if you’re not into the heat.
Once you’ve chosen your variety, it’s time to gather your supplies.
Gathering Your Supplies
To successfully grow chili peppers, you’ll need the following:
* **Chili pepper seeds:** Purchase high-quality seeds from a reputable source.
* **Seed starting trays or small pots:** These will be used to germinate your seeds indoors.
* **Seed starting mix:** A light and airy soil mix specifically designed for seedlings.
* **Grow lights (optional but recommended):** Provide consistent light for healthy seedling growth.
* **Larger pots (for transplanting):** Choose pots that are at least 5 gallons in size.
* **Potting mix:** A well-draining potting mix for growing mature plants.
* **Fertilizer:** A balanced fertilizer specifically formulated for vegetables.
* **Watering can or hose:** For watering your plants.
* **Gloves:** To protect your hands, especially when handling hot peppers.
* **Gardening tools:** A trowel, pruners, and possibly stakes or cages for support.
Starting Your Seeds Indoors
Starting your chili pepper seeds indoors is crucial, especially if you live in a region with a short growing season. This gives your plants a head start and ensures a longer harvest.
1. **Sow the Seeds:** Fill your seed starting trays or small pots with seed starting mix. Moisten the mix thoroughly. Sow the seeds about ¼ inch deep, placing 2-3 seeds per cell or pot.
2. **Provide Warmth:** Chili pepper seeds need warmth to germinate. The ideal temperature is between 75-85°F (24-29°C). You can use a heat mat to provide consistent warmth.
3. **Maintain Moisture:** Keep the soil consistently moist, but not soggy. Water gently with a spray bottle or watering can.
4. **Provide Light:** Once the seedlings emerge (usually within 7-14 days), provide them with plenty of light. If you’re using grow lights, position them a few inches above the seedlings. If you’re using natural light, place the seedlings in a sunny window.
5. **Thin the Seedlings:** Once the seedlings have their first true leaves (the second set of leaves), thin them out, leaving only the strongest seedling in each cell or pot.
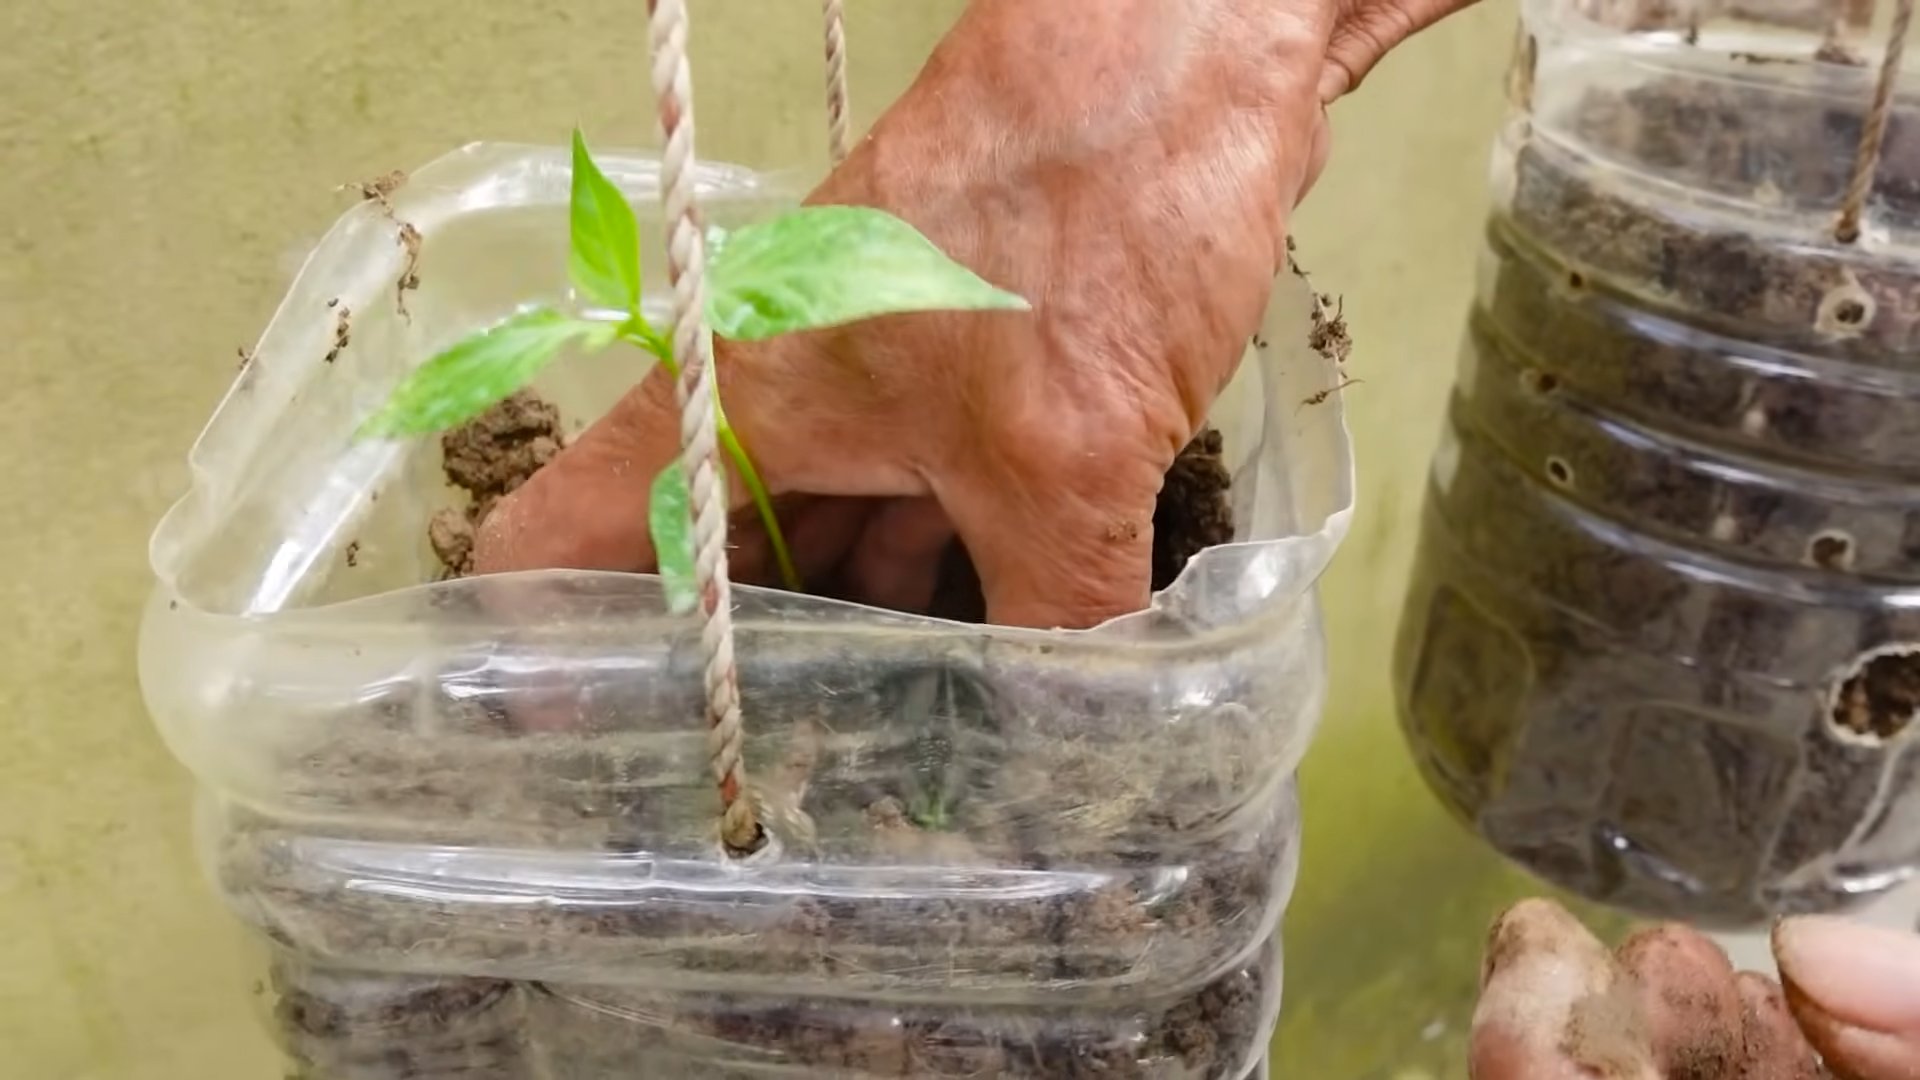
Transplanting Your Seedlings
Once your seedlings have grown a few inches tall and the weather has warmed up, it’s time to transplant them into larger pots or directly into your garden.
1. **Harden Off the Seedlings:** Before transplanting, you need to “harden off” your seedlings. This means gradually exposing them to outdoor conditions to acclimate them to the sun, wind, and temperature changes. Start by placing them outdoors for an hour or two each day, gradually increasing the time over the course of a week.
2. **Choose a Sunny Location:** Chili peppers need at least 6-8 hours of sunlight per day. Choose a sunny spot in your garden or on your patio.
3. **Prepare the Soil:** If you’re planting in the garden, amend the soil with compost or other organic matter to improve drainage and fertility. If you’re planting in pots, use a well-draining potting mix.
4. **Transplant the Seedlings:** Gently remove the seedlings from their containers and plant them in the prepared soil, spacing them about 18-24 inches apart. Water thoroughly after transplanting.
Caring for Your Chili Pepper Plants
Now that your chili pepper plants are in their final location, it’s time to provide them with the care they need to thrive.
1. **Watering:** Water your chili pepper plants regularly, especially during hot, dry weather. Aim to keep the soil consistently moist, but not waterlogged.
2. **Fertilizing:** Fertilize your chili pepper plants every 2-3 weeks with a balanced fertilizer. Follow the instructions on the fertilizer label.
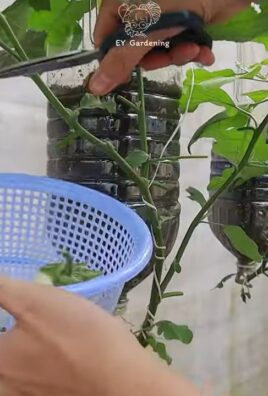
3. **Pruning:** Pruning can help to improve air circulation and encourage bushier growth. Remove any yellowing or dead leaves. You can also pinch off the tips of the branches to encourage more branching.
4. **Support:** As your chili pepper plants grow, they may need support to prevent them from falling over. Use stakes or cages to provide support.
5. **Pest and Disease Control:** Keep an eye out for pests and diseases. Common pests include aphids, spider mites, and whiteflies. Common diseases include blossom end rot and fungal infections. Treat any problems promptly with appropriate organic pesticides or fungicides.
Dealing with Common Problems
Even with the best care, you might encounter some common problems when growing chili peppers. Here’s how to deal with them:
* **Blossom End Rot:** This is caused by a calcium deficiency and results in a dark, sunken spot on the bottom of the fruit. To prevent blossom end rot, ensure your soil is rich in calcium and water your plants consistently. You can also add calcium supplements to the soil.
* **Aphids:** These tiny insects suck the sap from plants, causing them to weaken and become distorted. You can control aphids by spraying them with a strong stream of water, using insecticidal soap, or introducing beneficial insects like ladybugs.
* **Spider Mites:** These tiny pests create webs on plants and suck the sap from the leaves. You can control spider mites by spraying them with a strong stream of water, using insecticidal soap, or introducing predatory mites.
* **Fungal Infections:** These can cause spots on the leaves, stems, or fruit. To prevent fungal infections, provide good air circulation, avoid overwatering, and use a fungicide if necessary.
Harvesting Your Chili Peppers
The moment you’ve been waiting for! Harvesting your chili peppers is the most rewarding part of the process.
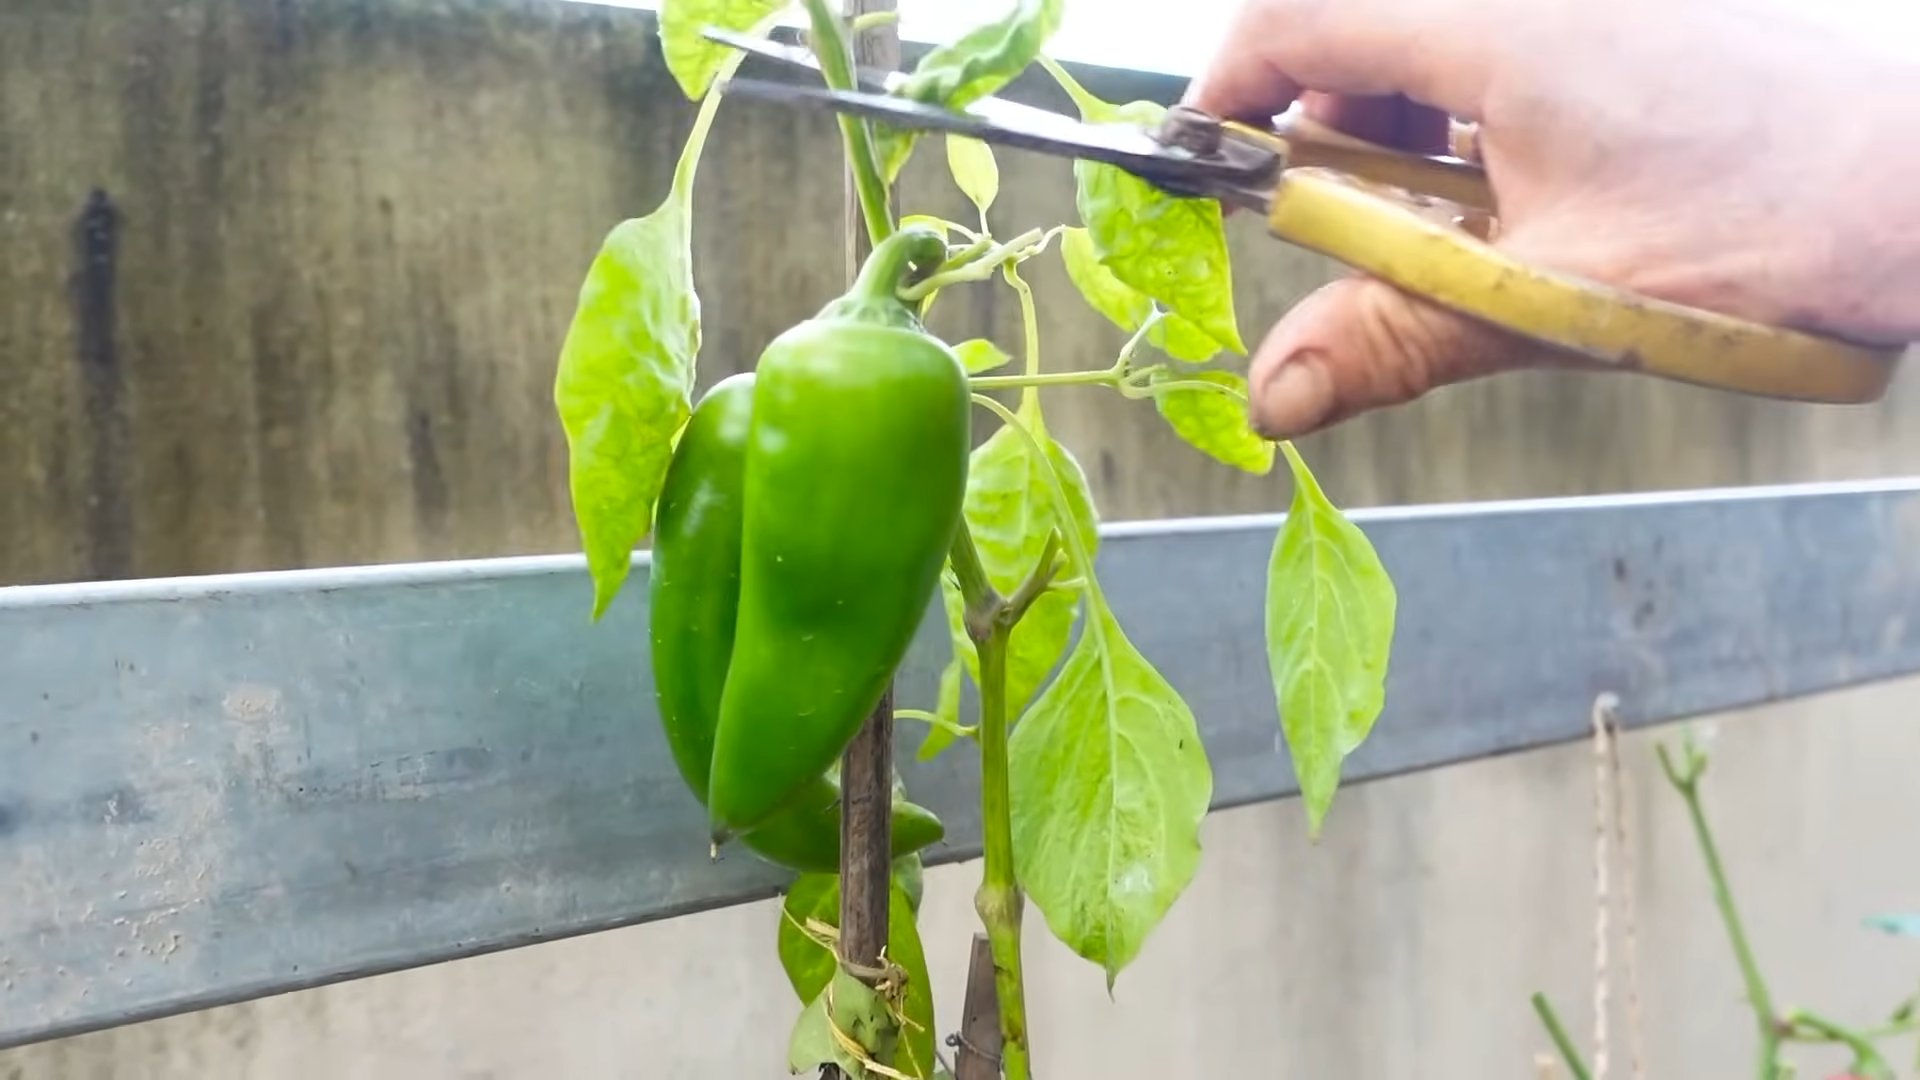
1. **When to Harvest:** The time to harvest your chili peppers depends on the variety and your personal preference. Generally, peppers are ready to harvest when they have reached their mature size and color. For example, jalapeños are typically harvested when they are dark green and about 3-4 inches long. Habaneros are harvested when they are bright orange.
2. **How to Harvest:** Use pruners or scissors to cut the peppers from the plant, leaving a small stem attached.
3. **Handling Hot Peppers:** When handling hot peppers, wear gloves to protect your hands from the capsaicin, the compound that makes peppers hot. Avoid touching your eyes or face after handling hot peppers.
Storing Your Chili Peppers
Once you’ve harvested your chili peppers, you’ll want to store them properly to preserve their flavor and heat.
* **Fresh Storage:** Fresh chili peppers can be stored in the refrigerator for up to a week. Place them in a plastic bag or container.
* **Drying:** Drying is a great way to preserve chili peppers for longer periods. You can dry them in a dehydrator, in the oven on low heat, or by stringing them together and hanging them in a dry, well-ventilated place.
* **Freezing:** Chili peppers can also be frozen. Simply wash them, dry them, and place them in a freezer bag.
* **Pickling:** Pickling is another popular way to preserve chili peppers. There are many different pickling recipes available online.
Enjoying Your Harvest
Now for the best part: enjoying the fruits (or peppers!) of your labor. Add your homegrown chili peppers to your favorite dishes, make salsa, create hot sauce, or simply enjoy them fresh. The possibilities are endless!
Growing chili peppers can be a fun and rewarding experience. With a little patience and care, you can enjoy
Conclusion
So, there you have it! Growing chili peppers at home, while it might seem daunting at first, is incredibly rewarding and surprisingly simple with the right approach. We’ve explored a method that bypasses common pitfalls and sets you up for a bountiful harvest of fiery goodness. This isn’t just about saving money; it’s about connecting with your food, understanding its journey from seed to table, and enjoying the unparalleled satisfaction of nurturing something from scratch.
Why is this DIY trick a must-try? Because it empowers you to control the entire process. You dictate the soil quality, the watering schedule, and the pest control methods, ensuring your chili peppers are grown organically and to your exact specifications. Forget those bland, mass-produced peppers from the grocery store. Imagine the vibrant colors, the intense flavors, and the sheer pride you’ll feel when you harvest your own homegrown chilies.
But the fun doesn’t stop there! This method is incredibly versatile. Want to grow different varieties? Go for it! Experiment with jalapeños, habaneros, serranos, or even the notoriously hot ghost peppers. The possibilities are endless. You can also tailor the growing conditions to suit your specific climate. If you live in a colder region, consider using grow lights or a greenhouse to extend the growing season. If you have limited space, container gardening is a fantastic option.
Consider adding companion plants like basil or marigolds to deter pests and attract pollinators. These not only benefit your chili peppers but also add beauty and fragrance to your garden. You can also experiment with different fertilizers to see which ones produce the best results. Some gardeners swear by compost tea, while others prefer organic granular fertilizers.
Ultimately, the best way to learn is by doing. Don’t be afraid to experiment and make mistakes. That’s all part of the learning process. The most important thing is to get started and have fun.
We’ve provided a solid foundation, but the real magic happens when you personalize the process and adapt it to your own unique circumstances. This DIY approach to grow chili peppers is more than just a gardening technique; it’s an invitation to connect with nature, unleash your creativity, and savor the fruits (or should we say, peppers!) of your labor.
So, what are you waiting for? Grab some seeds, gather your supplies, and get ready to embark on a chili-growing adventure. We’re confident that you’ll be amazed by the results. And once you’ve harvested your first batch of homegrown chilies, we want to hear all about it! Share your experiences, your tips, and your photos with us. Let’s build a community of chili-growing enthusiasts and inspire others to discover the joy of growing their own food.
Frequently Asked Questions (FAQ)
What is the best time of year to start growing chili peppers?
The ideal time to start growing chili peppers depends on your climate. In general, chili peppers need warm temperatures to thrive. If you live in a region with a long growing season, you can start seeds indoors 6-8 weeks before the last expected frost. If you live in a colder climate, you may need to start seeds earlier or use grow lights to extend the growing season. A good rule of thumb is to transplant seedlings outdoors when the soil temperature reaches at least 60°F (15°C).
What kind of soil is best for growing chili peppers?
Chili peppers prefer well-draining soil that is rich in organic matter. A good soil mix should be slightly acidic, with a pH between 6.0 and 7.0. You can amend your soil with compost, aged manure, or other organic materials to improve its drainage and fertility. Avoid using heavy clay soils, as they can retain too much water and lead to root rot.
How much sunlight do chili peppers need?
Chili peppers need at least 6-8 hours of direct sunlight per day to produce a good yield. Choose a location in your garden that receives plenty of sunlight throughout the day. If you are growing chili peppers indoors, you may need to supplement with grow lights to provide adequate light.
How often should I water my chili peppers?
Water your chili peppers regularly, especially during hot, dry weather. The soil should be kept consistently moist, but not waterlogged. Overwatering can lead to root rot, while underwatering can stunt growth and reduce yields. A good way to check if your chili peppers need water is to stick your finger into the soil. If the top inch of soil feels dry, it’s time to water.
What are some common pests and diseases that affect chili peppers?
Chili peppers can be susceptible to a variety of pests and diseases, including aphids, spider mites, whiteflies, and fungal diseases like powdery mildew and blossom end rot. To prevent pest and disease problems, choose disease-resistant varieties, practice good sanitation, and monitor your plants regularly for signs of infestation or infection. If you do encounter pests or diseases, treat them promptly with appropriate organic or chemical controls. Neem oil is a good organic option for many common pests.
How do I fertilize my chili peppers?
Chili peppers benefit from regular fertilization, especially during the growing season. Use a balanced fertilizer that is specifically formulated for vegetables. You can also use organic fertilizers like compost tea or fish emulsion. Avoid over-fertilizing, as this can lead to excessive foliage growth and reduced fruit production.
When should I harvest my chili peppers?
The time to harvest chili peppers depends on the variety and your personal preference. In general, chili peppers are ready to harvest when they have reached their mature size and color. Some varieties will turn red, while others will remain green, yellow, or orange. You can also harvest chili peppers when they are still green if you prefer a milder flavor. Use pruning shears or scissors to cut the peppers from the plant, leaving a small stem attached.
How do I store my chili peppers?
Fresh chili peppers can be stored in the refrigerator for up to a week. For longer storage, you can dry, freeze, or pickle them. To dry chili peppers, string them together and hang them in a well-ventilated area until they are completely dry. To freeze chili peppers, wash and dry them thoroughly, then place them in a freezer bag or container. To pickle chili peppers, follow a recipe for pickled vegetables.
Can I grow chili peppers in containers?
Yes, chili peppers can be grown successfully in containers. Choose a container that is at least 12 inches in diameter and has drainage holes. Use a well-draining potting mix and water regularly. Container-grown chili peppers may need to be fertilized more frequently than those grown in the ground.
How do I overwinter my chili pepper plants?
If you live in a region with cold winters, you can overwinter your chili pepper plants indoors. Before the first frost, prune the plants back to about 6 inches tall and transplant them into pots. Place the pots in a sunny location indoors and water sparingly. The plants may lose some of their leaves during the winter, but they should start to grow again in the spring.
What are some good companion plants for chili peppers?
Good companion plants for chili peppers include basil, marigolds, onions, garlic, and carrots. Basil helps to repel pests, while marigolds attract beneficial insects. Onions and garlic can deter aphids, and carrots can improve soil drainage. Avoid planting chili peppers near fennel or brassicas (cabbage, broccoli, cauliflower), as these plants can inhibit their growth.
Leave a Comment