
Tomato Growing Strategy: Unlock the secrets to a bountiful harvest right in your backyard! Have you ever dreamed of biting into a juicy, sun-ripened tomato, bursting with flavor, that you grew yourself? I know I have! But let’s be honest, sometimes those dreams turn into a vine full of green, stubborn fruits that just won’t cooperate. That’s where a smart tomato growing strategy comes in handy.
For centuries, tomatoes have been a staple in cuisines around the world, from the vibrant sauces of Italy to the refreshing salads of the Mediterranean. Their journey from South America to our gardens is a testament to their adaptability and deliciousness. But even with all that history, growing perfect tomatoes can still feel like a challenge.
That’s why I’m so excited to share these DIY tricks and hacks with you. Whether you’re a seasoned gardener or just starting out, these tips will help you overcome common tomato-growing hurdles. We’ll cover everything from choosing the right varieties for your climate to optimizing soil conditions and warding off pesky pests. Imagine the satisfaction of serving up homegrown tomatoes in your next meal, knowing you nurtured them from seed to table. Let’s ditch the store-bought blandness and cultivate a thriving tomato patch together!
DIY Tomato Trellis: From Seedling to Sauce!
Hey there, fellow gardeners! I’m so excited to share my favorite DIY tomato trellis project with you. Forget those flimsy store-bought cages that topple over the moment your tomato plants start producing. This trellis is sturdy, customizable, and surprisingly easy to build. Plus, it looks great in the garden! I’ve used this method for years, and it’s helped me yield buckets of delicious tomatoes every season. Let’s get started!
Materials You’ll Need
Before we dive in, let’s gather our supplies. This is what I typically use, but feel free to adjust based on your garden size and preferences:
* Wooden Stakes: I prefer using cedar or redwood stakes because they’re naturally rot-resistant. You’ll need at least three stakes per trellis section. The length depends on how tall you want your trellis to be. I usually go for 6-8 foot stakes, burying about 2 feet in the ground.
* Horizontal Supports: These can be made from wood, bamboo, or even sturdy metal rods. I often use leftover pieces of lumber from other projects. The length will depend on the width of your garden bed.
* Twine or Garden Tape: This is what we’ll use to tie the tomato plants to the trellis. I like using jute twine because it’s biodegradable.
* Measuring Tape: Essential for accurate spacing.
* Saw: For cutting the wooden stakes or horizontal supports if needed.
* Drill (Optional): If you want to pre-drill holes for easier screwing.
* Screws or Nails: To attach the horizontal supports to the stakes. I prefer screws for a more secure hold.
* Hammer or Screwdriver: Depending on whether you’re using nails or screws.
* Gloves: To protect your hands.
* Level: To ensure your trellis is straight.
* Post Hole Digger or Shovel: For digging the holes for the stakes.
Building the Trellis Frame
This is the foundation of our tomato support system. A solid frame will ensure your plants have the support they need to thrive.
1. Plan Your Layout: Before you start digging, take some time to plan the layout of your trellis. Consider the spacing between your tomato plants and the overall size of your garden bed. I usually space my plants about 2-3 feet apart. This will determine how many trellis sections you need.
2. Mark Stake Locations: Use your measuring tape to mark the locations where you’ll be placing the stakes. Make sure the stakes are evenly spaced and aligned. I like to use a string line to ensure they’re in a straight row.
3. Dig the Holes: Now it’s time to get your hands dirty! Use your post hole digger or shovel to dig holes for the stakes. The holes should be deep enough to bury about 2 feet of the stake. This will provide a stable base for the trellis.
4. Insert the Stakes: Place the stakes into the holes and use your level to ensure they’re standing straight. Backfill the holes with soil and tamp it down firmly to secure the stakes in place.
5. Attach Horizontal Supports: This is where the horizontal supports come in. Decide how many levels of support you want for your tomato plants. I usually add supports at about 1 foot intervals, starting about 1 foot above the ground. Use your measuring tape to mark the locations for the supports on the stakes.
6. Pre-Drill Holes (Optional): If you’re using screws, I recommend pre-drilling holes through the stakes and into the horizontal supports. This will make it easier to drive the screws and prevent the wood from splitting.
7. Secure the Supports: Attach the horizontal supports to the stakes using screws or nails. Make sure the supports are level and securely fastened. This is crucial for the stability of the trellis.
Training Your Tomato Plants
Now that the trellis is built, it’s time to train your tomato plants to grow up it. This is an ongoing process that will require some attention throughout the growing season.
1. Plant Your Tomato Seedlings: If you’re starting with seedlings, plant them near the base of the trellis, spacing them according to your plan. Make sure the soil is well-drained and rich in nutrients.
2. Initial Tying: As your tomato plants grow, gently tie the main stem to the trellis using twine or garden tape. Be careful not to tie the stem too tightly, as this can restrict growth. I usually tie the stem every 6-8 inches.
3. Pruning Suckers: Tomato plants produce “suckers,” which are small shoots that grow in the junction between the main stem and the branches. These suckers can steal energy from the plant and reduce fruit production. I recommend pruning these suckers regularly. Simply pinch them off with your fingers or use pruning shears.
4. Continued Tying: As the tomato plants continue to grow, continue tying the main stem and any major branches to the trellis. This will help support the weight of the fruit and prevent the plants from falling over.
5. Adjusting as Needed: Throughout the growing season, keep an eye on your tomato plants and adjust the trellis as needed. You may need to add additional supports or re-tie the plants as they grow.
Tips for Success
Here are a few extra tips to help you get the most out of your DIY tomato trellis:
* Choose the Right Tomato Variety: Some tomato varieties are better suited for trellising than others. Indeterminate varieties, which continue to grow throughout the season, are ideal for trellising. Determinate varieties, which grow to a certain size and then stop, may not need as much support.
* Water Regularly: Tomato plants need consistent watering, especially during hot weather. Water deeply and regularly, but avoid overwatering, which can lead to root rot.
* Fertilize Regularly: Tomato plants are heavy feeders and need regular fertilization to produce abundant fruit. Use a balanced fertilizer that is specifically formulated for tomatoes.
* Monitor for Pests and Diseases: Keep an eye out for pests and diseases that can affect tomato plants. Common pests include aphids, tomato hornworms, and whiteflies. Common diseases include early blight, late blight, and septoria leaf spot. Treat any problems promptly to prevent them from spreading.
* Harvest Regularly: Harvest your tomatoes when they are ripe and fully colored. Regular harvesting will encourage the plant to produce more fruit.
Adapting the Design
One of the best things about this DIY trellis is that you can adapt the design to fit your specific needs and preferences. Here are a few ideas:
* A-Frame Trellis: For a more decorative look, you can build an A-frame trellis. This involves creating two triangular frames and connecting them at the top.
* Teepee Trellis: Another option is to build a teepee trellis. This involves arranging several stakes in a circle and tying them together at the top.
* Cattle Panel Trellis: If you have access to cattle panels, you can use them to create a sturdy and durable trellis. Simply bend the panel into an arch and secure it to the ground.
* Repurposed Materials: Get creative and use repurposed materials to build your trellis. Old ladders, pallets, and even tree branches can be transformed into unique and functional trellises.
I hope this guide has inspired you to build your own DIY tomato trellis. It’s a rewarding project that will not only support your tomato plants but also add beauty to your garden. Happy gardening!
Conclusion
So, there you have it! This simple yet incredibly effective tomato growing strategy is more than just a gardening tip; it’s a game-changer for anyone looking to maximize their tomato harvest and enjoy the freshest, most flavorful fruits imaginable. We’ve walked you through the process, highlighting the benefits of this method, and hopefully, dispelled any doubts you might have had.
Why is this a must-try? Because it addresses several key challenges faced by tomato growers. It promotes stronger root development, leading to healthier, more resilient plants. It provides a consistent supply of nutrients directly to the root zone, ensuring optimal growth and fruit production. And perhaps most importantly, it’s incredibly easy and cost-effective to implement, using materials you likely already have on hand.
But don’t just take our word for it. The real magic happens when you put this tomato growing strategy into practice yourself. Imagine biting into a juicy, sun-ripened tomato that you nurtured from seedling to fruit, knowing that you played a direct role in its exceptional flavor and quality. That’s the reward that awaits you.
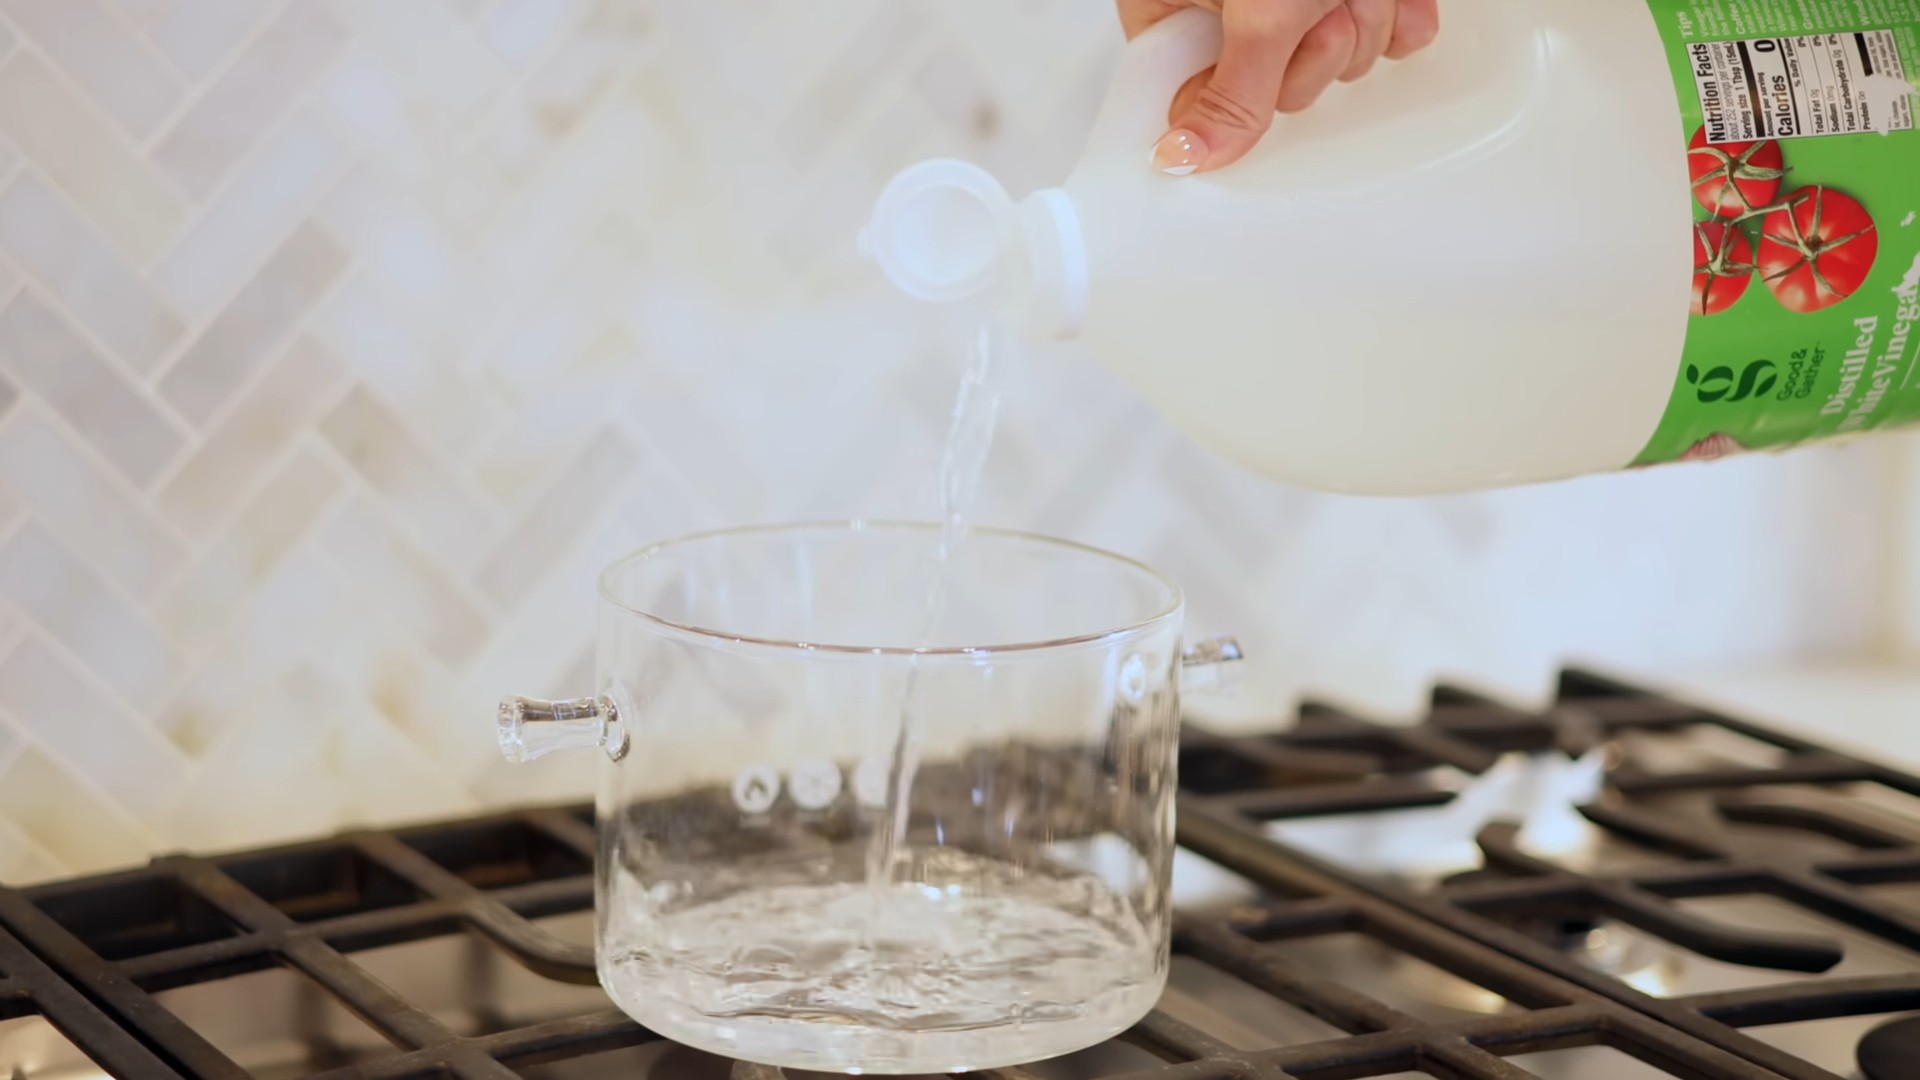
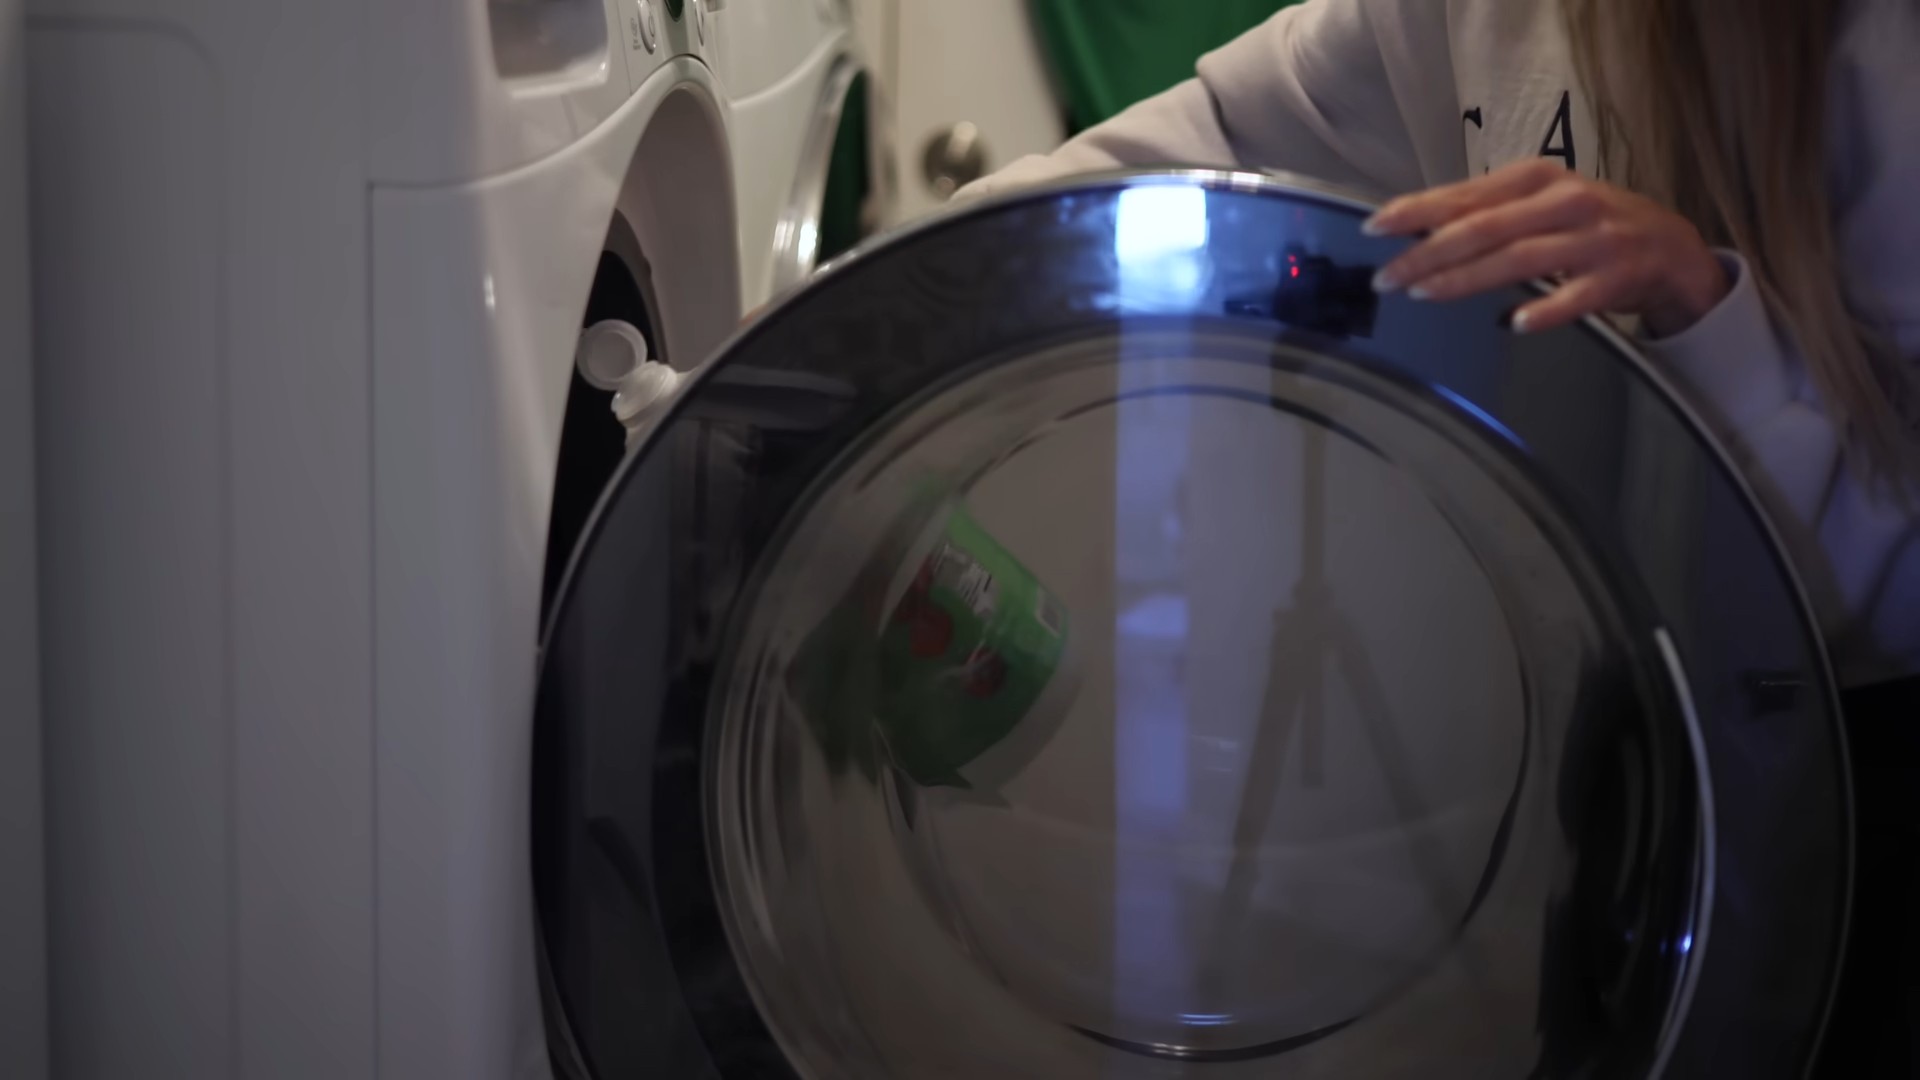
Feeling adventurous? Consider some variations! For instance, you could experiment with different types of organic fertilizers, such as bone meal or fish emulsion, to tailor the nutrient profile to your specific tomato variety. Or, if you’re growing in containers, you could adapt the method by using smaller bottles and adjusting the watering frequency accordingly. You can also try using different types of bottles, like plastic water bottles or even milk jugs, as long as they are thoroughly cleaned and have holes poked in them. Remember to always monitor your plants closely and adjust your approach as needed.
We are confident that this tomato growing strategy will transform your tomato growing experience. It’s a simple, sustainable, and highly effective way to achieve a bountiful harvest of delicious tomatoes.
Now, it’s your turn! We encourage you to give this method a try and see the difference it makes in your own garden. Don’t be afraid to experiment and adapt the technique to suit your specific needs and growing conditions. And most importantly, we want to hear about your results! Share your experiences, tips, and photos with us in the comments section below. Let’s build a community of tomato-growing enthusiasts who are passionate about sharing their knowledge and helping each other succeed. Happy gardening!
Frequently Asked Questions (FAQ)
What type of tomatoes does this strategy work best for?
This tomato growing strategy is beneficial for virtually all types of tomatoes, from cherry tomatoes and Roma tomatoes to beefsteak and heirloom varieties. The core principle of providing consistent nutrients and water directly to the root zone applies regardless of the specific tomato type. However, keep in mind that different tomato varieties have different nutrient requirements. For example, larger varieties like beefsteak tomatoes may benefit from slightly higher levels of phosphorus and potassium to support fruit development. Research the specific needs of your chosen tomato variety and adjust your fertilizer accordingly.
How often should I water using this method?
The watering frequency will depend on several factors, including the weather, the type of soil you’re using, and the size of your tomato plants. As a general rule, you should water when the top inch of soil feels dry to the touch. During hot, dry weather, you may need to water daily, while during cooler, wetter periods, you may only need to water every few days. The key is to monitor your plants closely and adjust your watering schedule as needed. Overwatering can lead to root rot, while underwatering can stunt growth and reduce fruit production. The bottle system helps regulate water delivery, but it’s still important to check the soil moisture regularly.
Can I use this method for other plants besides tomatoes?
Yes, this method can be adapted for other plants that benefit from consistent watering and nutrient delivery. Peppers, eggplants, and cucumbers are all good candidates. The same principles apply: bury a bottle with holes near the plant’s roots and fill it with water and fertilizer. However, keep in mind that different plants have different nutrient requirements, so you’ll need to adjust the fertilizer accordingly. Also, consider the size of the plant and the size of the bottle. Larger plants may require larger bottles or multiple bottles to provide adequate water and nutrients.
What kind of fertilizer should I use?
The best type of fertilizer to use will depend on your soil type and the specific needs of your tomato plants. A balanced organic fertilizer with an NPK ratio of around 5-10-5 is a good starting point. You can also use compost tea, fish emulsion, or bone meal to provide additional nutrients. Avoid using fertilizers that are too high in nitrogen, as this can promote excessive foliage growth at the expense of fruit production. It’s always a good idea to get your soil tested to determine its nutrient content and pH level. This will allow you to choose a fertilizer that is specifically tailored to your soil’s needs.
What if the bottle gets clogged with soil?
Clogging can be an issue, especially if you’re using a fine-grained soil. To prevent clogging, you can wrap the bottle with landscape fabric or cheesecloth before burying it. This will act as a filter and prevent soil particles from entering the bottle. You can also periodically remove the bottle and clean it out with a hose. If the holes are clogged, you can use a small wire or toothpick to clear them.
How deep should I bury the bottle?
The bottle should be buried deep enough so that the holes are below the soil surface and close to the plant’s root zone. A good rule of thumb is to bury the bottle about two-thirds of the way down. This will ensure that the water and nutrients are delivered directly to the roots. Be careful not to damage the roots when burying the bottle.
Can I use this method in containers?
Yes, this method works well in containers. Choose a container that is large enough to accommodate the tomato plant and the bottle. Use a smaller bottle for smaller containers. The same principles apply: bury the bottle with holes near the plant’s roots and fill it with water and fertilizer. Monitor the soil moisture regularly and adjust the watering frequency as needed.
What are the benefits of using this method compared to traditional watering?
This method offers several advantages over traditional watering. It delivers water and nutrients directly to the root zone, reducing water waste and minimizing the risk of fungal diseases. It also promotes stronger root development, leading to healthier, more resilient plants. Additionally, it provides a consistent supply of water and nutrients, which can result in higher yields and better-tasting tomatoes.
Is this method environmentally friendly?
Yes, this method is environmentally friendly. It reduces water waste, promotes the use of organic fertilizers, and helps to recycle plastic bottles. It’s a sustainable way to grow tomatoes that minimizes your impact on the environment.
What if I don’t have plastic bottles?
While plastic bottles are a convenient and readily available option, you can also use other containers, such as clay pots or even sections of PVC pipe. The key is to create a vessel with holes that can be buried near the plant’s roots and filled with water and fertilizer. Get creative and experiment with different materials to find what works best for you.

Leave a Comment