
Grow Turnips at Home? Absolutely! You might be thinking, “Turnips? Really?” But trust me, these often-overlooked root vegetables are surprisingly easy and rewarding to cultivate in your own backyard, or even in containers on your balcony. Forget those bland, store-bought turnips; imagine the crisp, slightly peppery flavor of freshly harvested turnips gracing your dinner table.
For centuries, turnips have been a staple food in many cultures, from ancient Rome to medieval Europe. They were a vital source of sustenance, especially during the colder months. While their popularity may have waned in recent times, the humble turnip is making a comeback, and for good reason! They are packed with nutrients, incredibly versatile in the kitchen, and, as I’m about to show you, surprisingly simple to grow turnips at home.
This DIY guide is your ticket to unlocking the secrets of successful turnip cultivation. Whether you’re a seasoned gardener or a complete beginner, I’ll walk you through every step, from selecting the right varieties to harvesting your bountiful crop. Why buy turnips when you can have a constant supply of fresh, organic goodness right outside your door? Plus, growing your own food is incredibly satisfying and a fantastic way to connect with nature. So, grab your gardening gloves, and let’s get started!
Growing Turnips: A Beginner’s Guide to a Bountiful Harvest
Hey there, fellow gardening enthusiasts! I’m so excited to share my experience with growing turnips. These root vegetables are surprisingly easy to cultivate, even if you’re a complete newbie like I was when I started. They’re packed with nutrients, delicious in so many dishes, and offer both the root and the greens for consumption. Let’s dive into how you can grow your own turnips at home!
Choosing the Right Turnip Variety
First things first, let’s talk about varieties. There are tons of different types of turnips, each with its own unique characteristics. Here are a few popular choices:
* Purple Top White Globe: This is a classic, all-purpose turnip. It’s known for its mild flavor and smooth texture. The top part is purple, and the bottom is white.
* Tokyo Cross: If you’re looking for a quick harvest, Tokyo Cross is your best bet. It matures in just about 35 days and has a very mild, almost sweet flavor.
* Golden Ball: As the name suggests, this turnip has a beautiful golden color. It’s known for its sweet and tender flesh.
* Hakurei: This Japanese turnip is incredibly versatile. You can eat it raw, roasted, or even pickled. It has a delicate flavor and crisp texture.
I personally love the Purple Top White Globe because it’s so reliable and versatile, but feel free to experiment and find your favorite!
Preparing Your Garden Bed
Turnips thrive in well-drained soil that’s rich in organic matter. Here’s how I prepare my garden bed:
* Sunlight: Turnips need at least 6 hours of sunlight per day. Choose a spot in your garden that gets plenty of sunshine.
* Soil: The ideal soil pH for turnips is between 6.0 and 6.8. You can test your soil using a soil testing kit. If your soil is too acidic, you can add lime to raise the pH.
* Amendments: I like to amend my soil with compost or well-rotted manure. This adds nutrients and improves drainage.
* Tilling: Till the soil to a depth of about 12 inches. This will loosen the soil and make it easier for the turnip roots to grow.
* Raking: Rake the soil smooth and remove any rocks or debris.
Planting Turnip Seeds
Turnips are a cool-season crop, which means they grow best in the spring or fall. I usually plant my turnip seeds about 4-6 weeks before the first expected frost in the fall, or as soon as the ground can be worked in the spring.
1. Sowing Seeds: Sow the seeds about ½ inch deep and 1 inch apart in rows that are 12-18 inches apart. I like to use a seed drill to make sure the seeds are evenly spaced.
2. Covering Seeds: Gently cover the seeds with soil and water thoroughly.
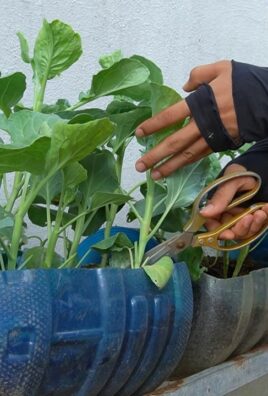
3. Thinning Seedlings: Once the seedlings emerge, thin them to about 3-4 inches apart. This will give the turnips enough room to grow. Don’t throw away the thinned seedlings! You can eat them as microgreens.
Caring for Your Turnip Plants
Turnips are relatively low-maintenance, but there are a few things you can do to ensure a healthy harvest.
* Watering: Water your turnip plants regularly, especially during dry spells. Aim for about 1 inch of water per week.
* Weeding: Keep the area around your turnip plants free of weeds. Weeds can compete with the turnips for nutrients and water. I like to hand-weed my garden, but you can also use a hoe or cultivator.
* Fertilizing: Turnips don’t need a lot of fertilizer, but you can give them a boost with a side dressing of compost or a balanced fertilizer. I usually fertilize my turnips about 3-4 weeks after planting.
* Pest Control: Turnips can be susceptible to pests like aphids, flea beetles, and cabbage worms. I like to use organic pest control methods, such as insecticidal soap or neem oil. You can also cover your plants with row covers to protect them from pests.
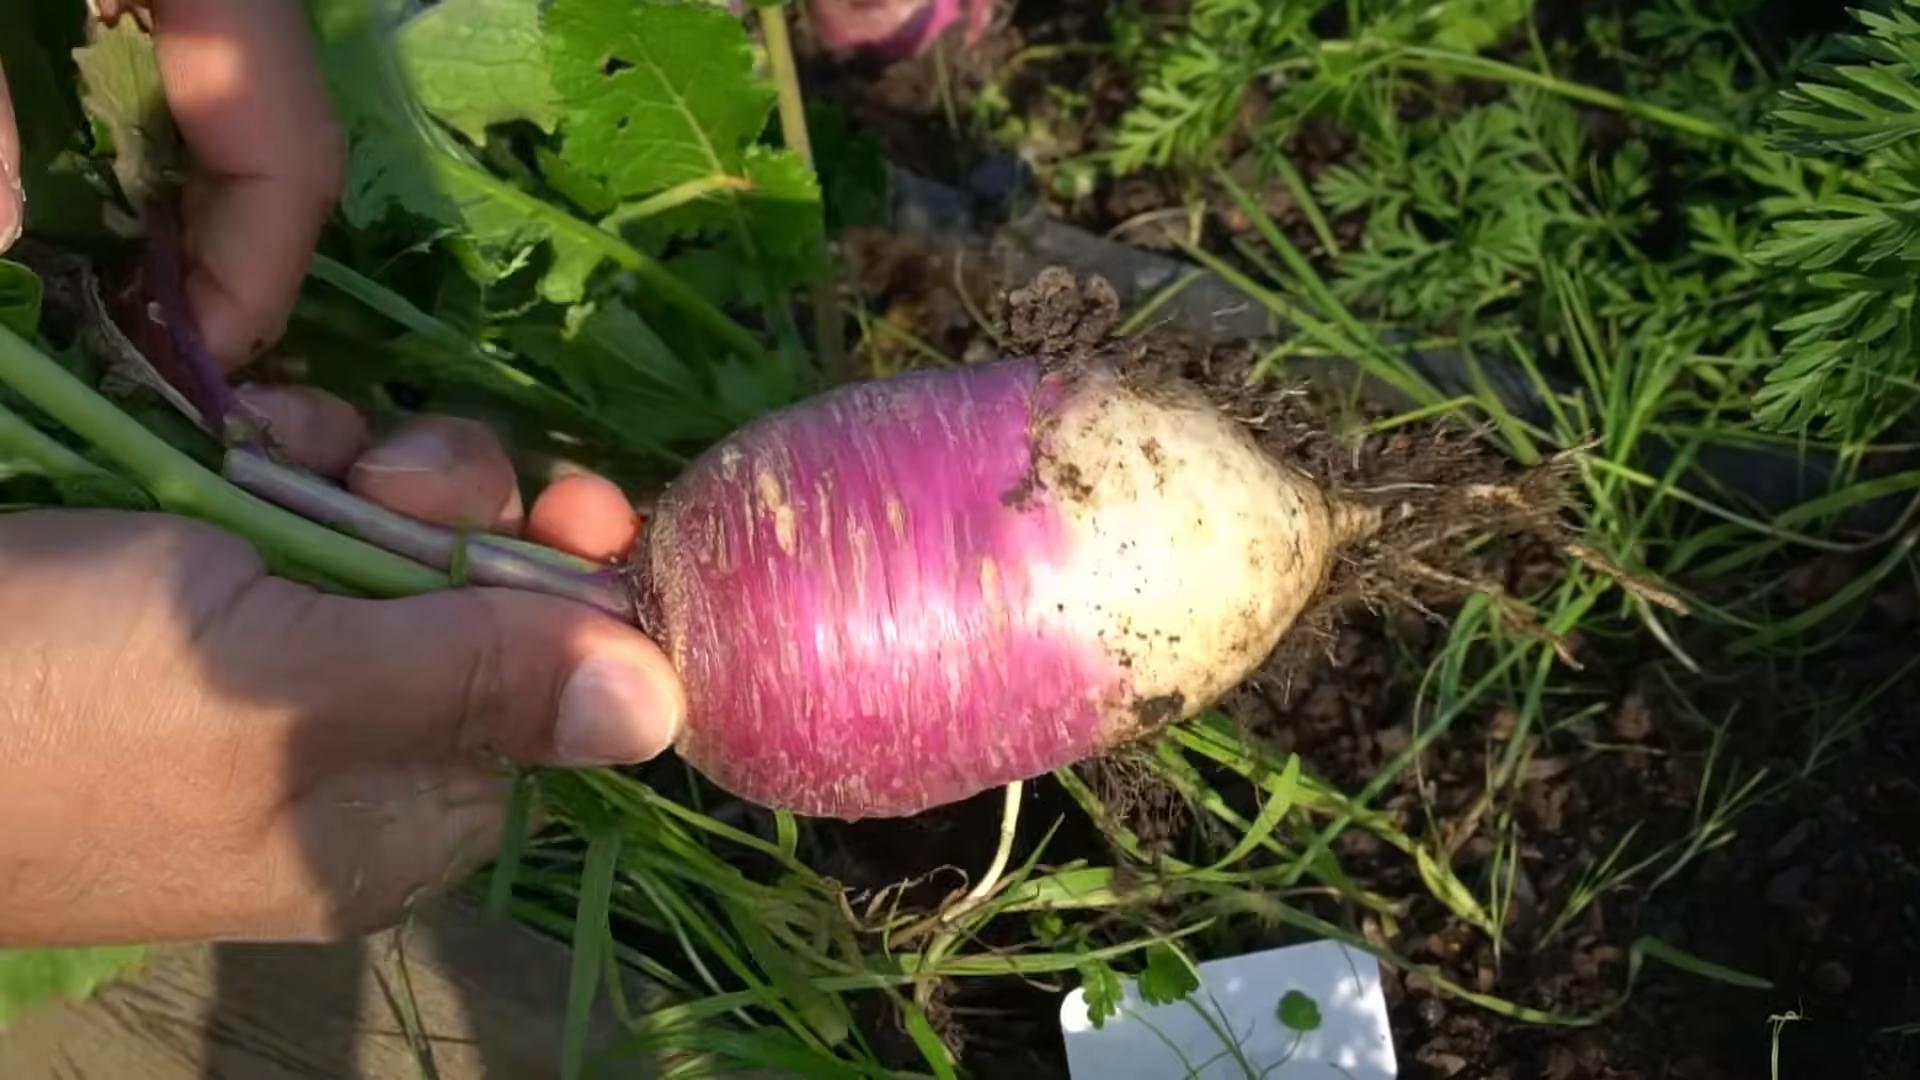
Harvesting Your Turnips
The best part about growing turnips is, of course, the harvest! Turnips are typically ready to harvest in about 50-60 days, depending on the variety.
1. Checking for Readiness: You can tell if your turnips are ready to harvest by checking the size of the roots. They should be about 2-3 inches in diameter.
2. Pulling Turnips: To harvest your turnips, gently pull them from the ground. If the soil is dry, you may need to loosen it with a garden fork first.
3. Harvesting Greens: You can also harvest the turnip greens. Simply cut off the leaves, leaving about 2 inches of stem attached to the root.
4. Cleaning and Storing: Wash the turnips and greens thoroughly. Store the turnips in the refrigerator for up to 2 weeks. Store the greens in the refrigerator for up to 3 days.
Troubleshooting Common Turnip Problems
Even with the best care, you might encounter some problems while growing turnips. Here are a few common issues and how to address them:
* Bolting: Bolting is when the turnip plants start to flower prematurely. This can happen if the weather is too hot or if the plants are stressed. To prevent bolting, plant your turnips in the spring or fall, and make sure they get enough water.
* Root Maggots: Root maggots are small, white larvae that feed on the roots of turnips. They can cause the roots to become deformed and stunted. To prevent root maggots, rotate your crops and use row covers.
* Clubroot: Clubroot is a fungal disease that causes the roots of turnips to become swollen and distorted. To prevent clubroot, plant your turnips in well-drained soil and avoid planting them in the same spot year after year.
Delicious Ways to Enjoy Your Turnip Harvest
Now that you’ve harvested your turnips, it’s time to enjoy them! Here are a few of my favorite ways to prepare turnips:
* Roasted Turnips: Toss turnip cubes with olive oil, salt, and pepper, and roast them in the oven until they’re tender and slightly caramelized.
* Mashed Turnips: Boil turnip cubes until they’re tender, then mash them with butter, milk, and salt.
* Turnip Greens: Sauté turnip greens with garlic, olive oil, and a pinch of red pepper flakes.
* Turnip Soup: Make a creamy turnip soup with chicken broth, cream, and your favorite herbs.
* Raw Turnips: Thinly slice raw turnips and add them to salads or slaws. They have a nice, peppery bite.
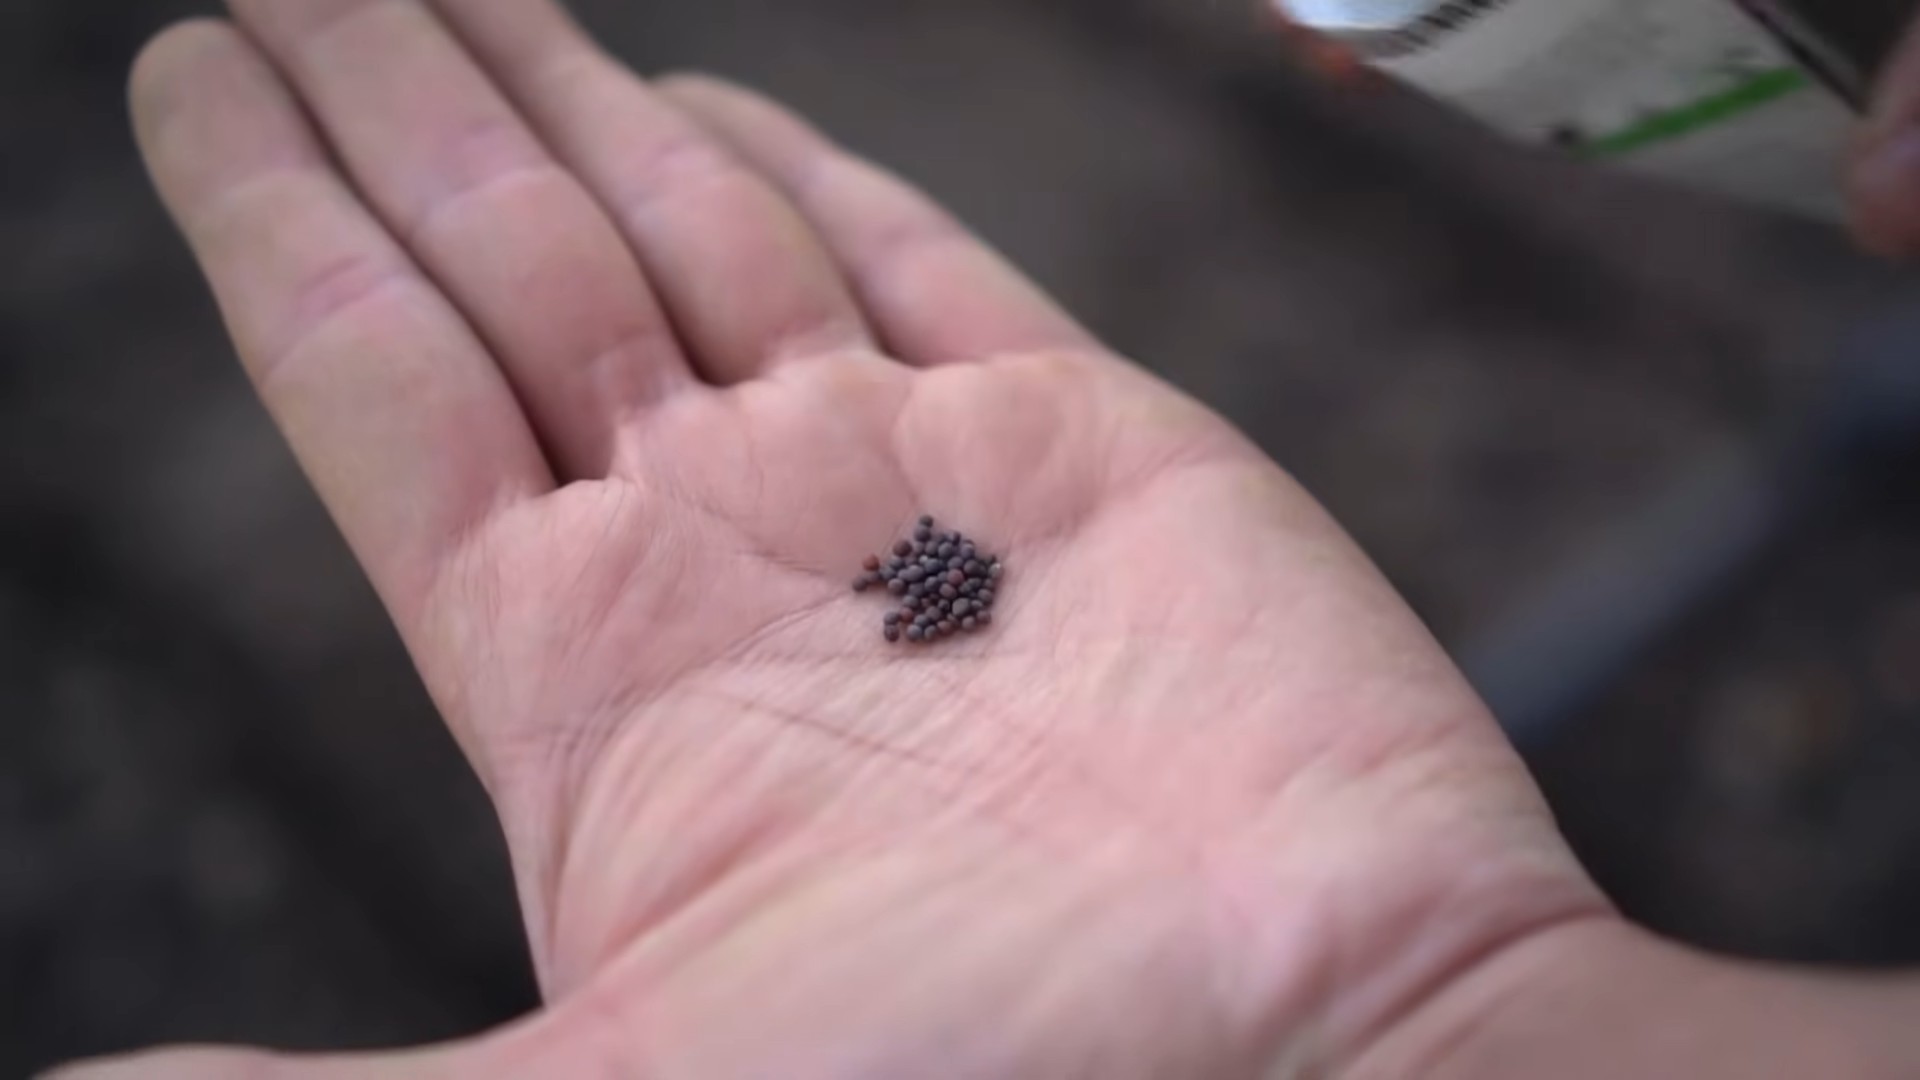
Saving Turnip Seeds
If you want to save seeds from your turnip plants for next year, here’s what you need to do:
1. Select Healthy Plants: Choose the healthiest and most vigorous turnip plants to save seeds from.
2. Allow Plants to Bolt: Allow the plants to bolt and produce flowers.
3. Collect Seed Pods: Once the seed pods are dry and brown, collect them from the plants.
4. Extract Seeds: Open the seed pods and extract the seeds.
5. Dry Seeds: Dry the seeds thoroughly on a screen or paper towel.
6. Store Seeds: Store the seeds in an airtight container in a cool, dry place.
Turnip Greens: A Nutritional Powerhouse
Don’t underestimate the power of turnip greens! They are incredibly nutritious and offer a range of health benefits. They are packed with vitamins A, C, and K, as well as folate, calcium, and fiber. Eating turnip greens can help boost your immune system, improve bone health, and support healthy digestion. I love adding them to soups, stews, and stir-fries for an extra boost of nutrients.
Turnips in Companion Planting
Turnips can be great companions to other plants in your garden. They are known to deter certain pests and can also help improve soil health. Some good companion plants for turnips include:
* Peas and Beans: These legumes help fix nitrogen in the soil, which benefits turnips.
* Garlic and Onions: These alliums can help repel pests like aphids and cabbage worms.
* Marigolds: Marigolds are known to deter nematodes and other soil pests.
* Nasturtiums: Nasturtiums can attract aphids away from your turnip plants.
Turnips: A Sustainable Choice
Growing your own turnips is not only rewarding but also a sustainable choice. By growing your own food, you reduce your reliance on commercially grown produce, which often travels long
Conclusion
So, there you have it! Growing turnips at home is not only achievable but also incredibly rewarding. From the crisp, peppery greens to the sweet, earthy roots, you’ll be amazed at the fresh flavors you can cultivate right in your own backyard or even in containers on your balcony. Forget those bland, store-bought turnips; with a little effort, you can enjoy a harvest bursting with flavor and packed with nutrients.
This DIY approach to growing turnips offers a multitude of benefits. You have complete control over the growing process, ensuring that your turnips are free from harmful pesticides and herbicides. Plus, you’ll save money and reduce your carbon footprint by sourcing your produce locally – from your own garden! The satisfaction of nurturing a plant from seed to table is an added bonus that simply can’t be replicated.
But the best part? The versatility of turnips! While we’ve covered the basics, don’t be afraid to experiment. Try different varieties of turnips, each with its unique flavor profile. For a milder taste, consider growing Hakurei turnips, known for their delicate sweetness. If you prefer a more robust flavor, Purple Top White Globe turnips are an excellent choice.
Consider companion planting to enhance your turnip crop. Planting turnips alongside legumes like beans or peas can help fix nitrogen in the soil, benefiting both plants. Aromatic herbs like rosemary and thyme can also deter pests and improve the overall health of your garden.
And don’t limit yourself to just the roots! Turnip greens are a nutritional powerhouse, packed with vitamins and minerals. Sauté them with garlic and olive oil for a simple and delicious side dish, or add them to soups and stews for a boost of flavor and nutrients. You can even pickle the turnip roots for a tangy and refreshing treat.
We encourage you to embrace this DIY project and experience the joy of growing your own turnips. It’s a fantastic way to connect with nature, learn new skills, and enjoy fresh, healthy produce. Whether you’re a seasoned gardener or a complete beginner, growing turnips at home is a project that anyone can undertake.
So, grab your seeds, prepare your soil, and get ready to embark on a delicious adventure. And most importantly, don’t forget to share your experiences with us! We’d love to hear about your successes, challenges, and creative ways of using your homegrown turnips. Share your photos, recipes, and tips in the comments below. Let’s build a community of turnip enthusiasts and inspire others to discover the joys of growing their own food. Happy gardening!
Frequently Asked Questions (FAQ)
Q: How long does it take to grow turnips from seed?
A: Turnips are relatively fast-growing vegetables. Generally, you can expect to harvest the roots in about 50-60 days from planting. The greens can be harvested even earlier, usually within 30-40 days. However, the exact time can vary depending on the variety of turnip, the growing conditions, and the climate. Warmer weather tends to speed up the growth process, while cooler weather may slow it down slightly. Regularly check your plants and harvest when the roots reach the desired size.
Q: What are the best conditions for growing turnips?
A: Turnips thrive in cool weather and well-drained soil. They prefer a sunny location with at least 6 hours of sunlight per day, although they can tolerate partial shade. The ideal soil pH is between 6.0 and 6.8. Before planting, amend the soil with compost or other organic matter to improve drainage and fertility. Turnips also need consistent moisture, so water regularly, especially during dry periods. Avoid overwatering, as this can lead to root rot.
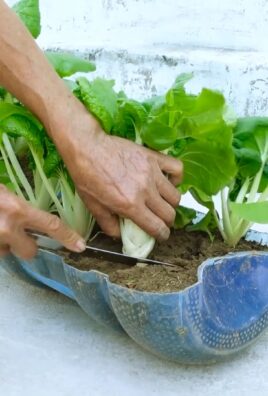
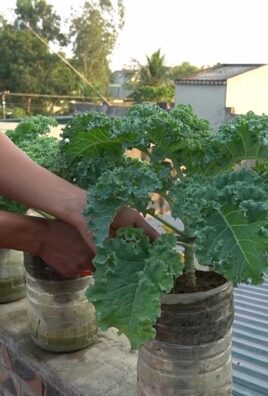
Q: Can I grow turnips in containers?
A: Yes, turnips can be successfully grown in containers, making them a great option for gardeners with limited space. Choose a container that is at least 8-12 inches deep and wide to allow enough room for the roots to develop. Use a well-draining potting mix and ensure that the container has drainage holes. Water regularly and fertilize every few weeks with a balanced fertilizer. When growing turnips in containers, it’s important to monitor the soil moisture levels closely, as containers tend to dry out faster than garden beds.
Q: What are some common pests and diseases that affect turnips?
A: While turnips are relatively easy to grow, they can be susceptible to certain pests and diseases. Common pests include aphids, flea beetles, and root maggots. Aphids can be controlled with insecticidal soap or by introducing beneficial insects like ladybugs. Flea beetles can be deterred by using row covers or by applying diatomaceous earth. Root maggots can be prevented by practicing crop rotation and by using root maggot barriers. Common diseases that affect turnips include clubroot and powdery mildew. Clubroot can be prevented by maintaining a proper soil pH and by practicing crop rotation. Powdery mildew can be controlled by improving air circulation and by applying a fungicide if necessary.
Q: How do I know when to harvest turnips?
A: The best time to harvest turnips depends on the variety and your personal preference. For the roots, harvest when they reach the desired size, usually around 2-3 inches in diameter. You can gently loosen the soil around the turnip and pull it out of the ground. For the greens, harvest when they are young and tender, usually around 4-6 inches long. You can harvest the outer leaves as needed, allowing the inner leaves to continue growing. Avoid harvesting the roots when they are too large, as they can become tough and bitter.
Q: Can I eat both the turnip roots and the greens?
A: Absolutely! Both the turnip roots and the greens are edible and nutritious. The roots can be eaten raw, roasted, boiled, mashed, or added to soups and stews. The greens can be sautéed, steamed, or added to salads. Turnip greens are a good source of vitamins A, C, and K, as well as calcium and fiber. The roots are a good source of vitamin C and fiber.
Q: How do I store turnips after harvesting?
A: To store turnips, remove the greens and wash the roots thoroughly. Store the roots in a cool, dark, and humid place, such as a refrigerator or a root cellar. They can be stored for several weeks or even months under the right conditions. The greens can be stored in the refrigerator for a few days. To prolong their shelf life, wrap them in a damp paper towel and store them in a plastic bag.
Q: Can I save turnip seeds for next year?
A: Yes, you can save turnip seeds for next year. To do so, allow a few plants to bolt (produce flowers and seeds). Once the seed pods are dry and brown, harvest them and extract the seeds. Store the seeds in a cool, dry, and dark place. Be aware that if you grow multiple varieties of turnips, they may cross-pollinate, resulting in seeds that produce plants with mixed characteristics.
Q: What are some creative ways to use homegrown turnips?
A: The possibilities are endless! Here are a few ideas:
* **Roasted Turnips:** Toss turnip cubes with olive oil, herbs, and spices, and roast until tender and slightly caramelized.
* **Mashed Turnips:** Boil or steam turnip cubes until tender, then mash with butter, milk, and seasonings.
* **Turnip Soup:** Add turnip cubes to your favorite soup or stew recipe.
* **Turnip Slaw:** Shred raw turnips and mix with shredded carrots, cabbage, and a creamy dressing.
* **Pickled Turnips:** Pickle turnip slices in a vinegar-based brine for a tangy and refreshing treat.
* **Sautéed Turnip Greens:** Sauté turnip greens with garlic, olive oil, and a pinch of red pepper flakes.
* **Turnip and Potato Gratin:** Layer thinly sliced turnips and potatoes with cheese and cream, and bake until golden brown.
Don’t be afraid to experiment and discover your own favorite ways to enjoy your homegrown turnips!
Leave a Comment