
Shaving Cream Hacks: Who knew that the foamy stuff you use for a smooth shave could be your secret weapon for a sparkling home and thriving garden? I’m always on the lookout for clever, budget-friendly solutions, and let me tell you, shaving cream is a game-changer!
For generations, resourceful homemakers have passed down tips and tricks for making life easier. While shaving cream might not be a traditional household staple like vinegar or baking soda, its unique properties make it surprisingly versatile. Think of it as a modern twist on age-old cleaning and gardening wisdom.
Are you tired of dull mirrors, stubborn stains, or lackluster plants? I know I am! That’s where these amazing shaving cream hacks come in. This isn’t just about saving money (though that’s a definite perk!). It’s about finding simple, effective solutions that free up your time and energy. From preventing foggy mirrors to giving your plants a boost, I’m going to show you how this unexpected product can transform your home and garden. Get ready to be amazed by the power of shaving cream!
DIY Floating Shelves: A Beginner’s Guide
Hey there, fellow DIY enthusiasts! I’m super excited to share one of my favorite projects with you: creating beautiful, modern floating shelves. These shelves are not only stylish but also incredibly functional, adding a touch of elegance to any room. Plus, building them yourself is way more affordable than buying them pre-made. Let’s dive in!
Materials You’ll Need
Before we get started, let’s gather all the necessary materials. This will save you time and frustration later on.
* **Wood for the Shelves:** Choose your wood wisely! I recommend using hardwood like oak, maple, or walnut for a more premium look and durability. Pine is a more budget-friendly option, but it’s softer and may require extra care. The thickness should be at least 1 inch for a sturdy shelf. Decide on the length and depth of your shelves beforehand. For this guide, let’s assume we’re making shelves that are 36 inches long and 10 inches deep.
* **Metal Shelf Brackets (Hidden):** These are the key to the “floating” effect. You’ll need brackets specifically designed for floating shelves. Make sure they are heavy-duty enough to support the weight you plan to put on the shelves. Consider the length of the bracket rods – they should be at least half the depth of your shelf for optimal stability.
* **Wood Screws:** Choose screws that are long enough to securely attach the brackets to the wall studs, but not so long that they poke through the other side of the wall. I usually go for 2.5-3 inch screws.
* **Wood Glue:** For added strength when assembling the shelf box.
* **Wood Filler:** To fill any nail holes or imperfections.
* **Sandpaper:** Various grits (80, 120, 220) for smoothing the wood.
* **Wood Stain or Finish:** To protect and enhance the beauty of the wood. Choose a stain that complements your decor. Polyurethane, varnish, or oil-based finishes are all good options.
* **Painter’s Tape:** For clean lines when staining or finishing.
Tools You’ll Need
Having the right tools makes all the difference in a DIY project. Here’s what you’ll need:
* **Drill:** Essential for pre-drilling holes and driving screws.
* **Stud Finder:** Absolutely crucial for locating wall studs to ensure your shelves are securely mounted.
* **Level:** To make sure your shelves are perfectly horizontal.
* **Measuring Tape:** For accurate measurements.
* **Pencil:** For marking measurements.
* **Saw:** To cut the wood to the desired dimensions. A circular saw, miter saw, or hand saw will work.
* **Clamps:** To hold the wood pieces together while the glue dries.
* **Safety Glasses:** Always protect your eyes!
* **Dust Mask:** To avoid inhaling sawdust.
* **Sanding Block or Orbital Sander:** For sanding the wood smoothly.
* **Paintbrushes or Rags:** For applying stain or finish.
Building the Shelf Box
This is where we create the actual shelf structure that will slide over the brackets.
1. **Cut the Wood:** Using your saw, cut the wood into the following pieces:
* Top: 36 inches long x 10 inches deep
* Bottom: 36 inches long x 10 inches deep
* Sides (2 pieces): 10 inches deep x (Thickness of Top Wood – Thickness of Bottom Wood) inches high. For example, if both top and bottom are 1 inch thick, the sides will be 10 inches deep x 0 inches high. This means you won’t need side pieces, and the top and bottom will be directly attached to each other. If you want a thicker shelf, you can use thicker wood for the top and bottom, or add side pieces. Let’s assume we are adding side pieces that are 3 inches high. So, the side pieces will be 10 inches deep x 3 inches high.
2. **Assemble the Box:** Apply wood glue to the edges of the side pieces. Clamp the side pieces to the top and bottom pieces, ensuring everything is square. Let the glue dry completely (usually 24 hours) according to the glue manufacturer’s instructions.
3. **Reinforce the Joints:** For added strength, pre-drill pilot holes and drive screws through the top and bottom pieces into the side pieces. This will create a more secure bond.
4. **Fill the Holes:** Use wood filler to fill any screw holes or imperfections in the wood. Let the filler dry completely and then sand it smooth.
Sanding and Finishing
This step is crucial for achieving a professional-looking finish.
1. **Sand the Wood:** Start with 80-grit sandpaper to remove any rough spots or imperfections. Then, move on to 120-grit sandpaper to smooth the surface further. Finally, use 220-grit sandpaper for a super smooth finish. Remember to sand with the grain of the wood.
2. **Clean the Wood:** Use a tack cloth or a damp cloth to remove all the sanding dust. This will ensure a clean surface for staining or finishing.
3. **Apply Stain (Optional):** If you want to stain the wood, apply it evenly with a brush or rag, following the manufacturer’s instructions. Let the stain sit for the recommended time and then wipe off any excess. Allow the stain to dry completely.
4. **Apply Finish:** Apply your chosen finish (polyurethane, varnish, or oil) in thin, even coats. Let each coat dry completely before applying the next. Sand lightly between coats with 220-grit sandpaper for a smoother finish. I usually apply at least two coats of finish for durability.
Installing the Brackets
This is where the magic happens and your shelves start to “float.”
1. **Locate the Wall Studs:** Use a stud finder to locate the wall studs where you want to mount your shelves. Mark the location of the studs with a pencil. This is the most important step for ensuring your shelves are strong and secure.
2. **Mark Bracket Placement:** Hold the metal shelf bracket against the wall, aligning it with the stud marks. Use a level to ensure the bracket is perfectly horizontal. Mark the screw holes on the wall with a pencil.
3. **Pre-Drill Holes:** Pre-drill pilot holes at the marked locations. This will make it easier to drive the screws and prevent the wood from splitting.
4. **Attach the Brackets:** Attach the metal shelf brackets to the wall using the wood screws. Make sure the brackets are securely fastened to the studs. Double-check that the brackets are level before tightening the screws completely.
5. **Slide the Shelf onto the Brackets:** Carefully slide the shelf box onto the metal brackets. It should fit snugly. If it’s too tight, you may need to sand the inside of the shelf box slightly.
Final Touches
Almost there! Just a few more steps to complete your floating shelves.
1. **Secure the Shelf (Optional):** For added security, you can drill small pilot holes through the top of the shelf box into the metal brackets. Then, drive short screws into the holes to secure the shelf to the brackets. This is especially recommended if you plan to put heavy items on the shelves.
2. **Conceal the Screws (Optional):** If you used screws to secure the shelf to the brackets, you can conceal the screw heads with wood filler or small wood plugs. Sand the filler or plugs smooth and then touch up with stain or finish.
3. **Clean Up:** Remove any dust or debris from the shelves and the surrounding area.
Tips and Tricks
Here are a few extra tips to help you create the perfect floating shelves:
* **Choose the Right Wood:** The type of wood you choose will affect the look and durability of your shelves. Consider the style of your room and the weight you plan to put on the shelves when making your selection.
* **Accurate Measurements are Key:** Double-check all your measurements before cutting the wood. Even a small error can throw off the entire project.
* **Use a Level:** A level is your best friend when installing floating shelves. Make sure the brackets are perfectly horizontal to prevent your shelves from looking crooked.
* **Don’t Overload the Shelves:** Floating shelves have a weight limit. Avoid overloading them with heavy items, especially if they are not securely attached to the brackets.
* **Consider Lighting:** Adding LED strip lights under your floating shelves can create a dramatic and stylish effect.
Troubleshooting
* **Shelf is Wobbly:** Make sure the brackets are securely attached to the wall studs. If the studs are too far apart, you may need to add a horizontal support piece between the studs.
* **Shelf Doesn’t Slide onto Brackets:** Sand the inside of the shelf box slightly to create more clearance.
* **Wood Splitting When Screwing:** Pre-drill pilot holes to prevent the wood from splitting.
And there you have it!
Conclusion
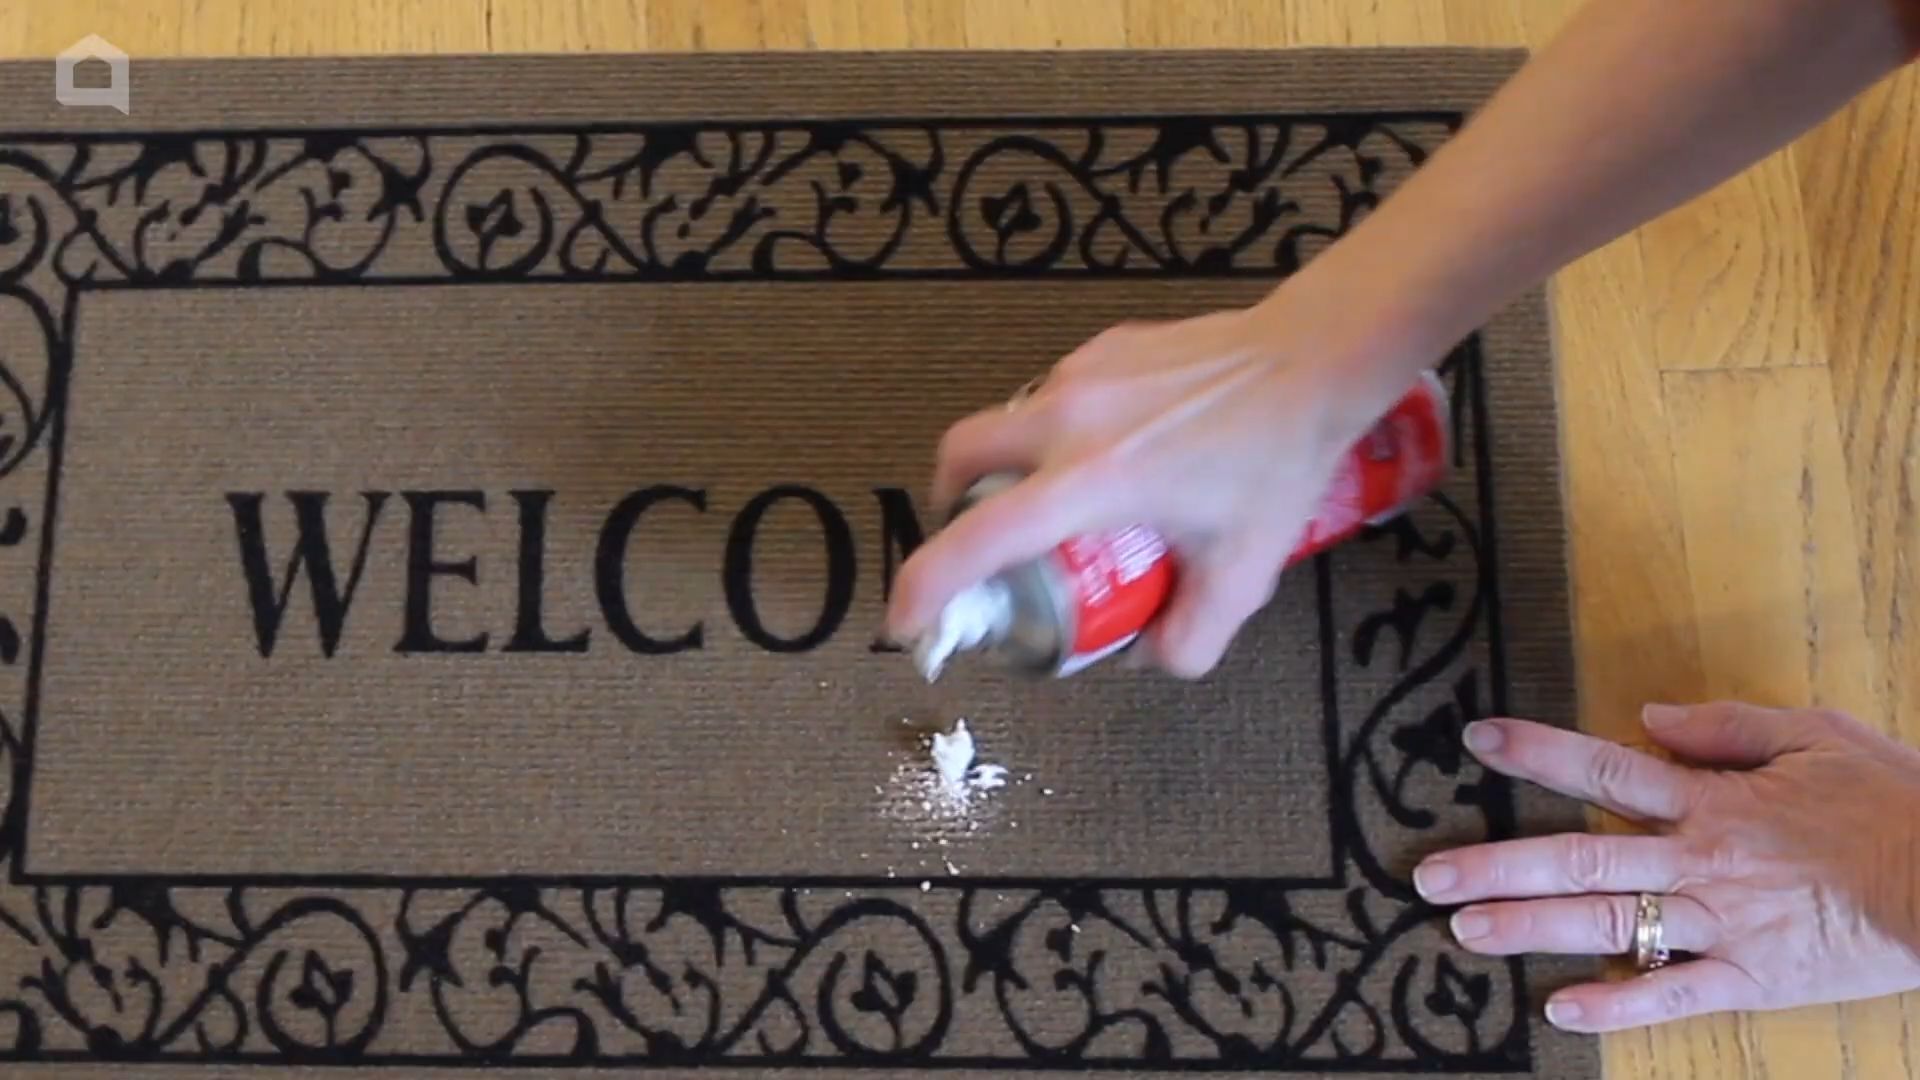
So, there you have it! We’ve explored a world beyond the razor with the humble can of shaving cream. From banishing bathroom grime to rescuing squeaky hinges, the versatility of this everyday product is truly astonishing. But the real magic lies in its ability to tackle stubborn stains on carpets and upholstery. Forget expensive, harsh chemicals; this gentle yet effective solution can breathe new life into your home furnishings.
Why is this DIY shaving cream stain remover trick a must-try? Because it’s simple, affordable, and readily available. You likely already have a can lurking in your bathroom cabinet! It’s also surprisingly effective, often outperforming commercial stain removers without the risk of damaging delicate fabrics. Plus, it’s a safer alternative for households with children and pets, minimizing exposure to potentially harmful chemicals.
Ready to take your cleaning game to the next level? Here are a few suggestions and variations to experiment with:
* For extra stubborn stains: Let the shaving cream sit for a longer period, even overnight, before blotting.
* For delicate fabrics: Test the shaving cream on an inconspicuous area first to ensure colorfastness.
* For a fresh scent: Use a scented shaving cream to leave a pleasant aroma behind. Lavender or citrus scents work particularly well.
* For a deeper clean: After blotting, use a damp cloth to gently wipe the area and remove any remaining residue. You can even use a carpet cleaner for a more thorough extraction.
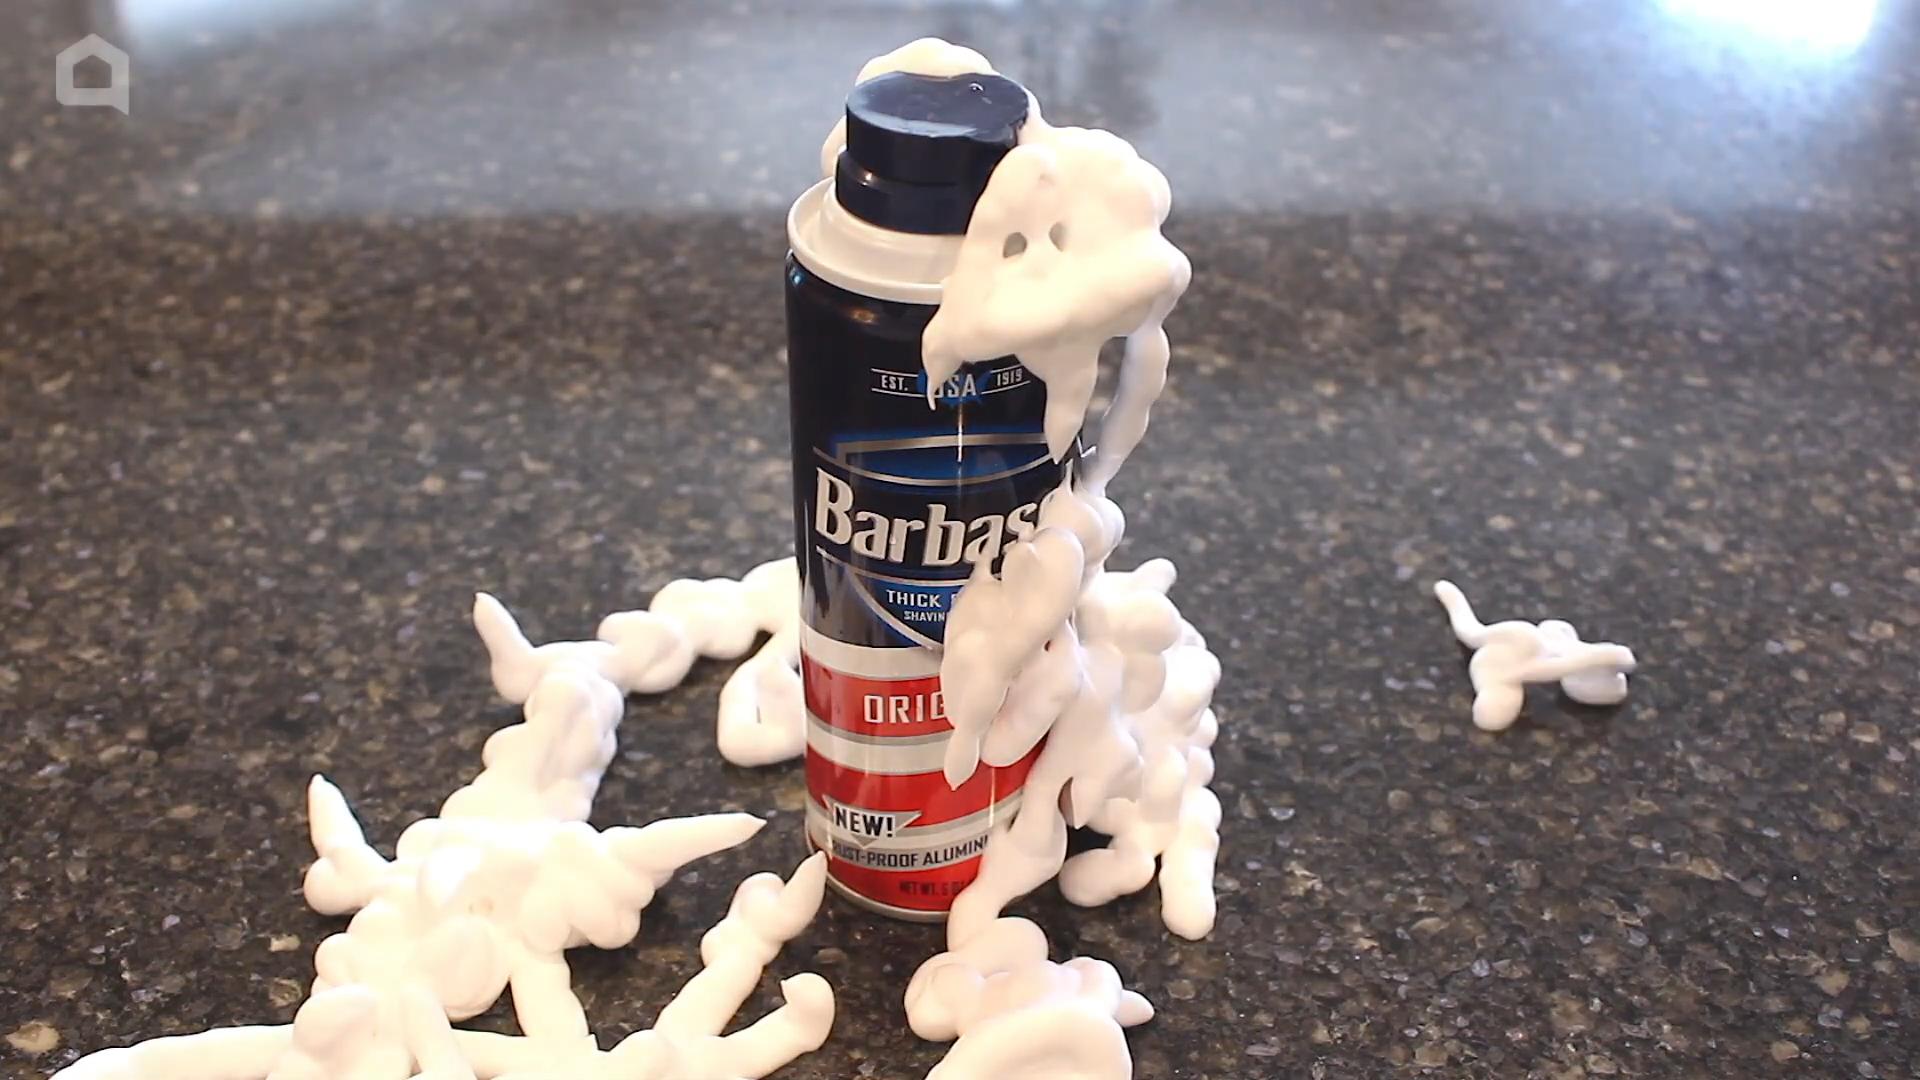
* Consider the type of shaving cream: While most shaving creams will work, those with a higher concentration of stearic acid may be particularly effective at breaking down grease and grime.
We’re confident that once you experience the stain-fighting power of shaving cream, you’ll be hooked. It’s a game-changer for anyone looking for a budget-friendly and effective cleaning solution.
Don’t just take our word for it – give it a try! We encourage you to experiment with these shaving cream hacks and discover even more uses for this versatile product. Share your experiences in the comments below. We’d love to hear your success stories and any variations you’ve discovered. Let’s unlock the full potential of shaving cream together! This simple **shaving cream** trick could save you time, money, and a whole lot of frustration.
Frequently Asked Questions (FAQs)
What type of shaving cream works best for stain removal?
Generally, most types of shaving cream will work for stain removal, but the classic, foamy kind tends to be the most effective. Avoid using shaving gels or creams that are heavily colored or contain added oils, as these could potentially stain the fabric further. Look for a basic, white shaving cream with a simple ingredient list. Shaving creams with a higher concentration of stearic acid may also be more effective at breaking down grease and grime. Ultimately, testing on an inconspicuous area first is always recommended, especially with delicate fabrics.
Can I use shaving cream on all types of stains?
While shaving cream is effective on a wide range of stains, including grease, dirt, food spills, and even some ink marks, it may not work on all types of stains. For example, it might not be as effective on set-in stains or stains caused by dyes or strong chemicals. It’s always best to try the shaving cream method as soon as possible after the stain occurs for the best results. For particularly stubborn stains, you may need to try a combination of cleaning methods or consult a professional cleaner.
Will shaving cream damage my carpet or upholstery?
Shaving cream is generally safe for most carpets and upholstery, but it’s always a good idea to test it on an inconspicuous area first to ensure colorfastness and that it doesn’t damage the fabric. Apply a small amount of shaving cream to a hidden area, such as under a sofa cushion or in a corner of the carpet, and let it sit for a few minutes. Then, blot it with a clean cloth and check for any discoloration or damage. If everything looks good, you can proceed with using the shaving cream on the stain.
How long should I leave the shaving cream on the stain?
The amount of time you leave the shaving cream on the stain will depend on the severity of the stain. For light stains, 5-10 minutes may be sufficient. For more stubborn stains, you can leave it on for 30 minutes or even overnight. Just be sure to keep the area moist by reapplying shaving cream if it starts to dry out.
What’s the best way to remove the shaving cream after it’s been applied?
After the shaving cream has sat on the stain for the desired amount of time, use a clean, damp cloth to blot the area. Avoid rubbing, as this can spread the stain or damage the fabric. Continue blotting until all of the shaving cream and stain residue have been removed. You may need to repeat this process several times. Once the area is clean, allow it to air dry completely. You can also use a vacuum cleaner to remove any remaining residue from carpets.
Can I use this method on clothing?
Yes, you can use shaving cream to remove stains from clothing. Follow the same steps as you would for carpets and upholstery: apply the shaving cream to the stain, let it sit for a few minutes, and then blot it with a clean, damp cloth. Be sure to test the shaving cream on an inconspicuous area of the garment first to ensure colorfastness. After removing the shaving cream, launder the garment as usual.
Does the scent of the shaving cream linger after cleaning?
The scent of the shaving cream may linger slightly after cleaning, but it should dissipate over time. If you’re concerned about the scent, you can use an unscented shaving cream or choose a shaving cream with a light, pleasant fragrance. You can also air out the area after cleaning to help remove any lingering odors.
What other household items can I use for stain removal?
Besides shaving cream, there are many other household items that can be used for stain removal, including baking soda, vinegar, lemon juice, and dish soap. The best method to use will depend on the type of stain and the type of fabric. It’s always a good idea to research the best stain removal methods for specific stains before attempting to clean them.
Is shaving cream safe for use around children and pets?
While shaving cream is generally considered safe, it’s still important to keep it out of reach of children and pets. Shaving cream can be irritating if ingested or if it comes into contact with the eyes. If your child or pet accidentally ingests shaving cream, contact your doctor or veterinarian immediately. When using shaving cream for cleaning, be sure to ventilate the area well and keep children and pets away until the area is dry.

Leave a Comment