
Regrow Green Onions from Scraps: Never buy green onions again! Seriously, imagine the satisfaction of snipping fresh, flavorful green onions right from your kitchen windowsill, knowing you’ve created something delicious from what would have been tossed in the trash. This isn’t just a gardening trick; it’s a little act of kitchen magic, a sustainable practice, and a fantastic way to save money.
The practice of propagating vegetables from scraps has roots in resourceful gardening traditions worldwide. For generations, people have sought ways to maximize their food sources and minimize waste. While we might not be facing the same survival pressures as our ancestors, the spirit of ingenuity and self-sufficiency remains strong. Plus, who doesn’t love a good DIY project that yields tasty results?
In today’s world, where grocery bills seem to climb higher every week, learning to regrow green onions from scraps is more relevant than ever. It’s a simple, beginner-friendly project that requires minimal space and effort. Forget those sad, wilted green onions in the crisper drawer! With this easy DIY trick, you’ll always have a fresh supply on hand to add a zesty kick to your soups, salads, stir-fries, and more. I’m excited to share this simple yet effective method with you, so let’s get started and transform those kitchen scraps into a thriving little green onion garden!
Regrowing Green Onions: A Simple DIY Guide
Hey there, fellow green thumb enthusiasts! Are you tired of throwing away those perfectly good green onion ends? Well, I’ve got fantastic news for you! You can easily regrow green onions from scraps, saving money and reducing waste. It’s a super simple project that even beginners can master. Let’s dive in!
What You’ll Need
Before we get started, gather these essential supplies:
* A bunch of green onions (with roots attached, if possible – but don’t worry if they’re not!)
* A small glass or jar
* Water (tap water is fine)
* Scissors or a sharp knife
* Potting soil (optional, for long-term growth)
* A small pot with drainage holes (optional, for long-term growth)
* A sunny windowsill or well-lit area
The Water Propagation Method
This is the easiest and quickest way to regrow your green onions. It’s perfect for getting a continuous supply of fresh green onions for your cooking.
1. Prepare the Green Onion Scraps: Using your scissors or knife, cut the green onions about 1-2 inches from the root end (the white part). Make sure you leave the roots intact if they’re still there. If the roots are gone, don’t fret! The green onions will still regrow, but it might take a little longer. I usually cut mine about 2 inches up, just to be safe.
2. Place in Water: Fill your glass or jar with enough water to cover the white part of the green onion scraps, but not so much that the green part is submerged. You want the roots (or where the roots *were*) to be fully immersed.
3. Find a Sunny Spot: Place the glass or jar on a sunny windowsill or in a well-lit area. Green onions need sunlight to grow, so make sure they get at least 6 hours of sunlight per day. I’ve found that an east-facing window works best for me.
4. Change the Water Regularly: This is crucial! Change the water every 1-2 days to prevent bacteria growth and keep the water fresh. Stagnant water can lead to rot, and we definitely don’t want that. I usually set a reminder on my phone so I don’t forget.
5. Observe and Enjoy: Within a few days, you should start to see new green shoots emerging from the top of the green onion scraps. Isn’t that amazing? The growth rate will depend on the amount of sunlight and the temperature.
6. Harvest Your Green Onions: Once the green shoots have grown to a usable length (usually a few inches), you can harvest them! Simply snip off the amount you need with your scissors. The green onions will continue to grow, providing you with a continuous supply. I love adding them to salads, soups, and stir-fries.
Transplanting to Soil (Optional, for Long-Term Growth)
While you can continue to grow your green onions in water, transplanting them to soil will provide them with more nutrients and allow them to grow larger and stronger. This is what I do when I want a really robust green onion plant.
1. Prepare the Pot: Choose a small pot with drainage holes. Fill it with good-quality potting soil. Make sure the soil is slightly moist but not waterlogged.
2. Gently Remove from Water: Carefully remove the green onion scraps from the water. Be gentle, as the roots can be delicate.
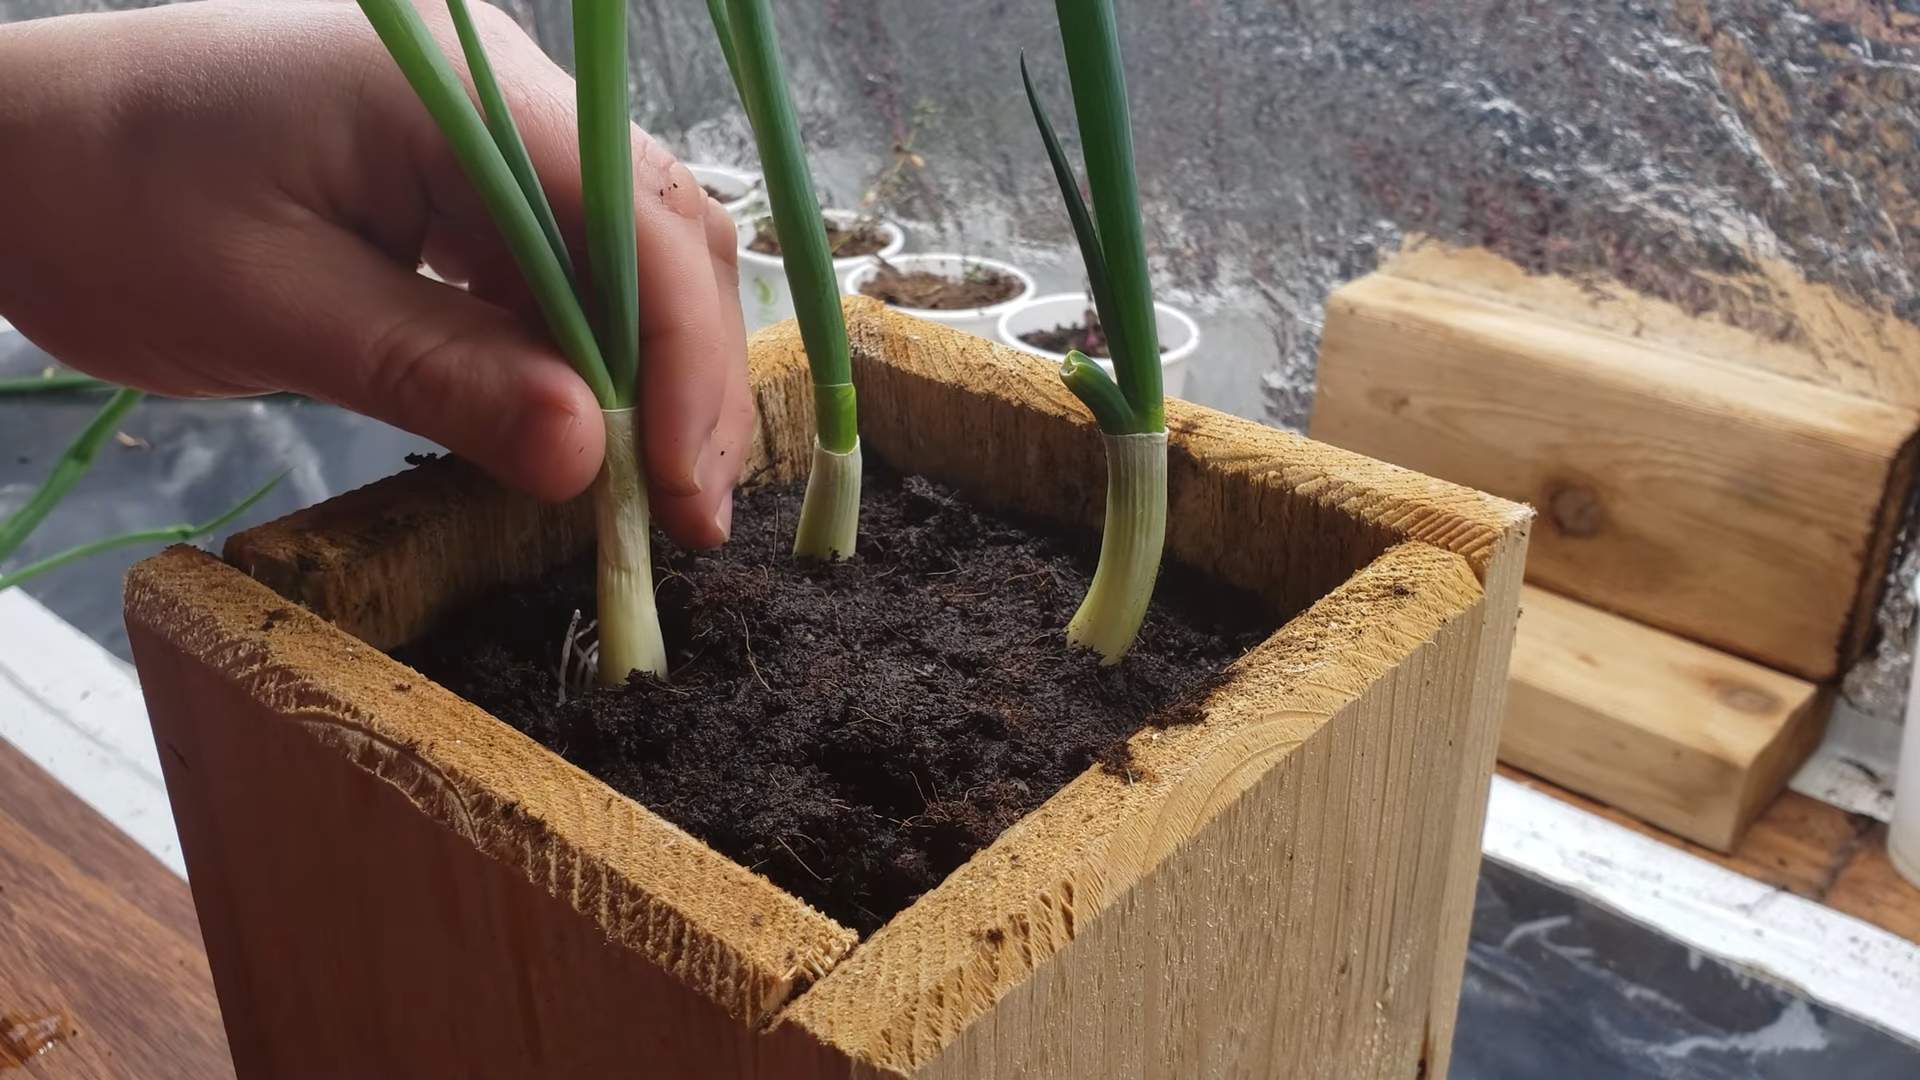
3. Plant the Green Onions: Make a small hole in the soil for each green onion scrap. Plant the white part of the green onion (and the roots, if they’re present) in the soil, leaving the green shoots exposed.
4. Water Thoroughly: Water the soil thoroughly after planting. Make sure the water drains out of the drainage holes.
5. Place in a Sunny Spot: Place the pot on a sunny windowsill or in a well-lit area.
6. Water Regularly: Water the soil regularly, keeping it moist but not waterlogged. Allow the top inch of soil to dry out between waterings. I usually check the soil moisture every day or two.
7. Fertilize (Optional): To encourage even more growth, you can fertilize your green onions every few weeks with a diluted liquid fertilizer. Follow the instructions on the fertilizer packaging.
8. Harvest and Enjoy: As with the water propagation method, you can harvest your green onions as needed by snipping off the green shoots.
Troubleshooting
Even with the best intentions, sometimes things don’t go exactly as planned. Here are a few common issues you might encounter and how to fix them:
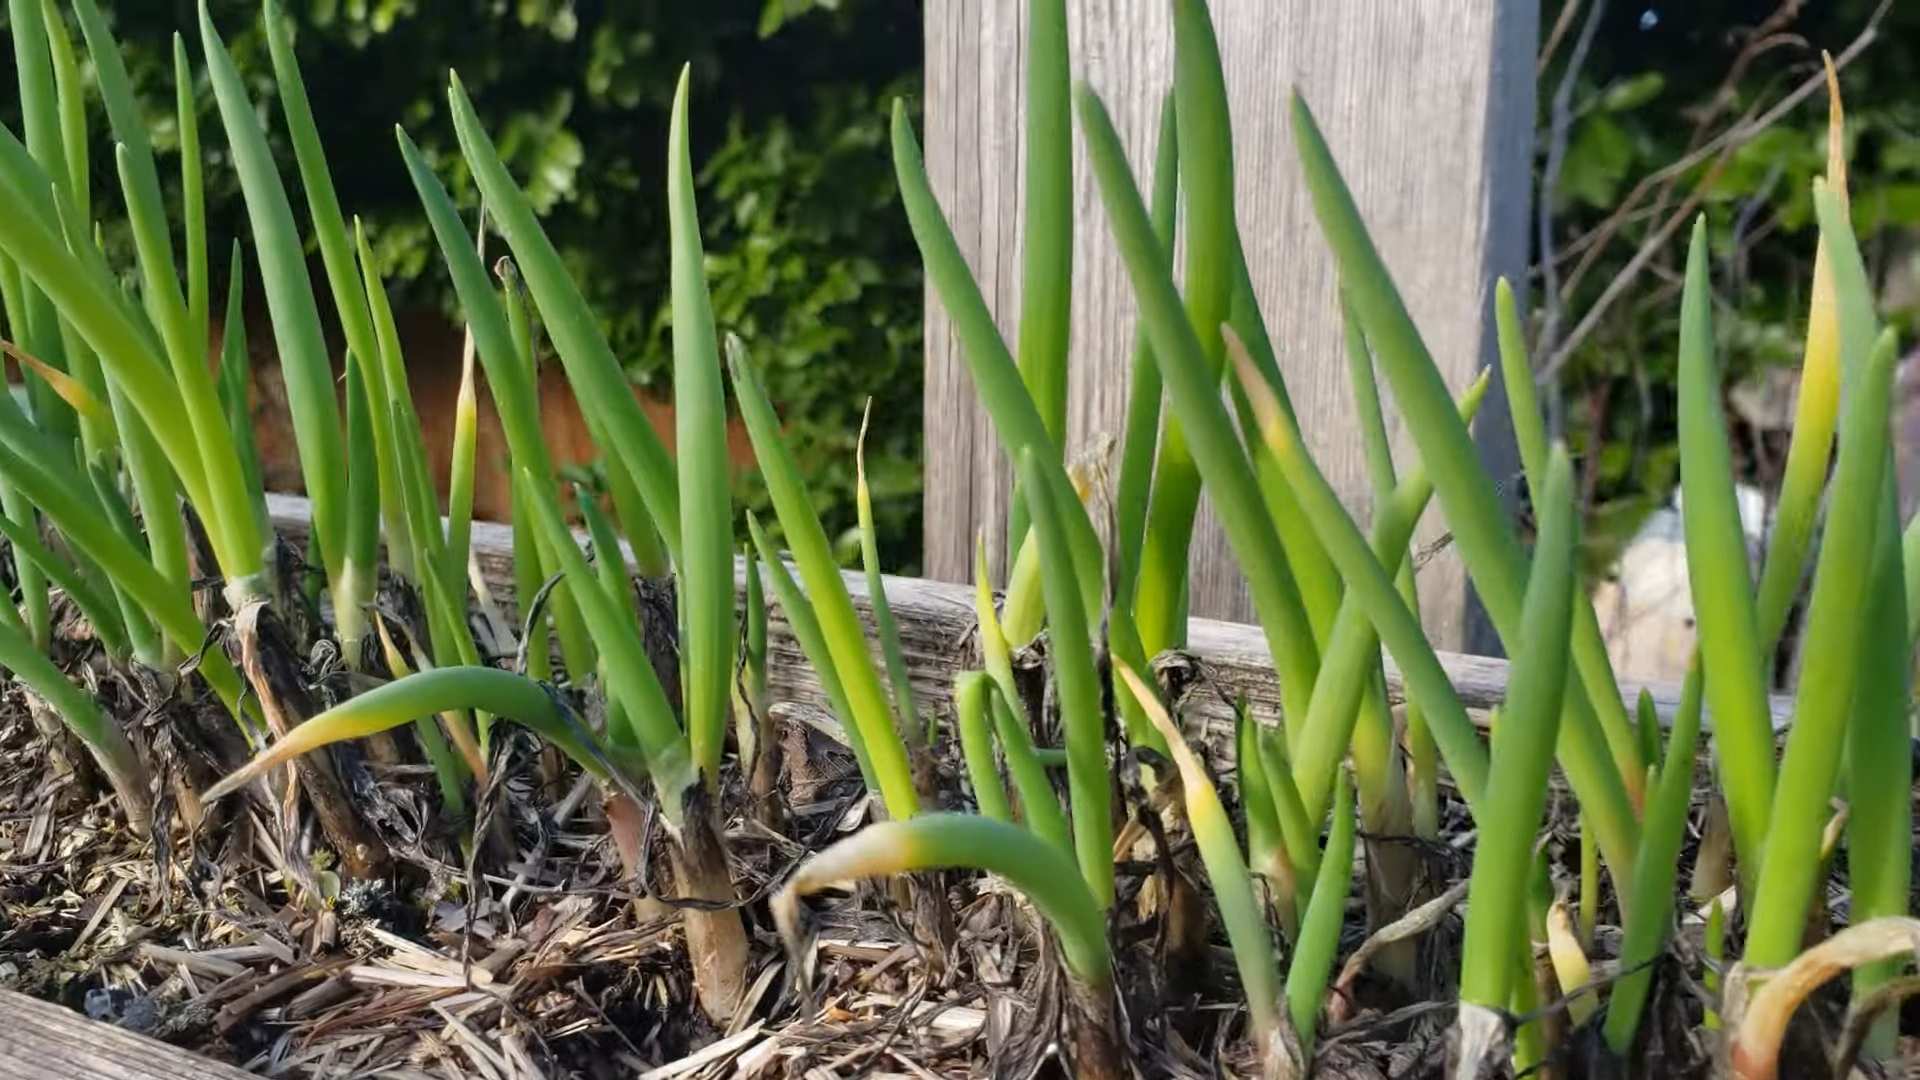
* Yellowing Leaves: Yellowing leaves can be a sign of overwatering, underwatering, or lack of nutrients. Make sure you’re watering properly and consider fertilizing your green onions. Also, ensure they are getting enough sunlight.
* Rotting Roots: Rotting roots are usually caused by stagnant water. Make sure you’re changing the water regularly (every 1-2 days) if you’re growing them in water. If you’re growing them in soil, make sure the soil is well-draining and not waterlogged.
* Slow Growth: Slow growth can be caused by lack of sunlight, lack of nutrients, or cold temperatures. Make sure your green onions are getting enough sunlight and consider fertilizing them. Also, keep them in a warm environment.
* Pests: While green onions are relatively pest-resistant, they can sometimes be affected by aphids or other small pests. If you notice any pests, try spraying them with a mixture of water and dish soap.
Tips and Tricks for Success
Here are a few extra tips and tricks that I’ve learned over time to help you get the most out of your green onion regrowing project:
* Use Filtered Water: While tap water is generally fine, using filtered water can help prevent mineral buildup and keep your green onions healthier.
* Rotate the Green Onions: If you’re growing your green onions on a windowsill, rotate them regularly to ensure they get even sunlight on all sides. This will prevent them from leaning towards the light.
* Start Multiple Batches: To ensure a continuous supply of green onions, start multiple batches at different times. This way, you’ll always have some ready to harvest.
* Experiment with Different Varieties: There are many different varieties of green onions, so experiment with different ones to see which ones you like best.
* Don’t Overharvest: Avoid harvesting all of the green shoots at once. Leave some behind to allow the green onions to continue to grow.
* Consider Hydroponics: If you’re feeling adventurous, you can even try growing your green onions hydroponically. This involves growing them in water without soil, using a nutrient solution.
* Observe Your Plants: Pay attention to your green onions and learn to recognize the signs of stress or disease. The sooner you catch a problem, the easier it will be to fix.
* Have Fun! Regrowing green onions is a fun and rewarding project. Don’t be afraid to experiment and learn from your mistakes.
Why Regrow Green Onions?
Besides being incredibly easy and cost-effective, regrowing green onions offers several benefits:
* Saves Money: You’ll no longer have to buy green onions from the store as often.
* Reduces Waste: You’ll be reducing food waste by reusing the scraps.
* Fresh Ingredients: You’ll always have fresh green onions on hand for your cooking.
* Sustainable Gardening: It’s a small step towards a more sustainable lifestyle.
* Educational: It’s a great way to teach kids about gardening and where their food comes from.
So, there you have it! A comprehensive guide to regrowing green onions from scraps. I hope you found this helpful and that you’re inspired to give it a try. Happy gardening!
Conclusion
So, there you have it! Regrowing green onions from scraps isn’t just a fun kitchen experiment; it’s a genuinely practical way to reduce food waste, save money, and always have fresh green onions on hand. Think about it: no more last-minute trips to the grocery store when you realize you’re missing that crucial garnish. No more half-used bunches wilting away in the crisper drawer. Just a continuous supply of vibrant, flavorful green onions, ready to elevate your dishes.
This DIY trick is a must-try because it’s incredibly simple, requiring minimal effort and resources. You don’t need a green thumb or any special equipment. Just water, sunlight, and a little patience. The visual reward of watching those little green shoots spring back to life is surprisingly satisfying, making it a great project for kids and adults alike.
But the benefits extend beyond convenience and cost savings. By regrowing your green onions, you’re actively participating in a more sustainable lifestyle. You’re reducing your reliance on commercially grown produce, minimizing your carbon footprint, and contributing to a more eco-friendly kitchen.
Ready to take your green onion game to the next level? Consider these variations:
* Experiment with different containers: While a glass of water works perfectly well, you can also use small pots filled with soil or even a hydroponic setup for faster growth and larger yields.
* Add fertilizer: Once the green onions have established roots, you can add a diluted liquid fertilizer every few weeks to boost their growth and flavor.
* Plant them outdoors: If you live in a mild climate, you can transplant your regrown green onions into your garden for a continuous supply throughout the year. Just make sure they get plenty of sunlight and well-drained soil.
* Try different varieties: While this method works best with standard green onions, you can also try it with other members of the allium family, such as scallions or chives.
The possibilities are endless! The key is to start small, experiment, and find what works best for you.
We’re confident that once you try this simple DIY trick, you’ll be hooked. It’s a game-changer for any home cook who values fresh ingredients, sustainability, and a little bit of kitchen magic. So, grab those green onion scraps, give them a new lease on life, and start enjoying the endless possibilities of homegrown flavor.
Don’t just take our word for it. We encourage you to try regrowing green onions from scraps yourself and share your experience with us! Post photos of your thriving green onion gardens on social media using #RegrowGreenOnions and let us know what tips and tricks you’ve discovered along the way. We can’t wait to see your green onion success stories!
Frequently Asked Questions (FAQ)
How long does it take to regrow green onions?
The time it takes to regrow green onions can vary depending on factors such as sunlight, water quality, and temperature. However, you should typically start to see new growth within a few days. Within a week or two, you’ll have enough green onions to harvest. For optimal growth, ensure your green onions receive at least 6 hours of sunlight daily and change the water every 1-2 days to prevent bacterial growth.
Can I regrow green onions indefinitely?
While you can regrow green onions multiple times from the same base, the quality and vigor of the regrowth may diminish over time. After several cycles, the green onions may become thinner and less flavorful. To maintain a consistent supply of high-quality green onions, it’s recommended to start with fresh scraps every few weeks. You can also plant the regrown base in soil to allow it to develop a stronger root system and potentially produce more robust growth.
What part of the green onion do I need to regrow it?
You only need the white part of the green onion, including the roots (if any). Cut off the green tops, leaving about 1-2 inches of the white base intact. This base contains the dormant buds that will sprout new green shoots. Make sure to remove any slimy or damaged outer layers before placing the base in water.
What kind of water should I use?
Tap water is generally fine for regrowing green onions. However, if your tap water is heavily chlorinated, it’s best to let it sit out for 24 hours before using it to allow the chlorine to dissipate. Alternatively, you can use filtered water or rainwater. Avoid using distilled water, as it lacks the minerals that plants need for healthy growth.
How often should I change the water?
It’s important to change the water every 1-2 days to prevent bacterial growth and keep the green onions healthy. Stagnant water can lead to rot and inhibit growth. When changing the water, gently rinse the base of the green onions to remove any debris or slime.
Can I plant the regrown green onions in soil?
Yes, you can definitely plant the regrown green onions in soil. Once the roots have grown to be about an inch long, you can transplant them into a pot or directly into your garden. Choose a location that receives plenty of sunlight and has well-drained soil. When planting, bury the white base of the green onion, leaving the green shoots exposed. Water regularly to keep the soil moist.
What if my green onions start to turn yellow or brown?
Yellowing or browning of the green onion shoots can indicate a few different problems. It could be due to insufficient sunlight, poor water quality, or nutrient deficiency. Make sure your green onions are getting at least 6 hours of sunlight per day and that you’re changing the water regularly. If the problem persists, try adding a diluted liquid fertilizer to the water every few weeks.
Can I use this method for other vegetables?
While this method works particularly well for green onions, you can also try it with other vegetables, such as celery, lettuce, and bok choy. The success rate may vary depending on the vegetable, but it’s worth experimenting to see what you can regrow from scraps.
Are there any pests or diseases that can affect regrown green onions?
Regrown green onions are generally quite resilient, but they can be susceptible to pests such as aphids or diseases such as fungal infections. If you notice any signs of pests or diseases, treat them promptly with an appropriate organic pesticide or fungicide. Good hygiene, such as regularly changing the water and removing any dead or decaying leaves, can also help prevent problems.
How do I harvest the regrown green onions?
You can harvest the regrown green onions by simply cutting off the green shoots with scissors. Leave about an inch of the green shoots intact to allow them to continue growing. You can harvest the green onions multiple times from the same base.
Leave a Comment