
Stain Removal Simple Trick: Are you tired of battling stubborn stains that seem impossible to remove? I know I am! It feels like the moment I put on my favorite shirt, a rogue coffee splash or a mysterious ink blot appears. But don’t despair, because I’m about to share a game-changing stain removal simple trick that will save your clothes (and your sanity!).
Throughout history, people have sought effective ways to keep their garments clean. From ancient methods using natural ingredients like lemon juice and vinegar to the modern advancements in detergents, the quest for stain-free fabrics is a timeless pursuit. Our grandmothers probably had their own secret concoctions passed down through generations, and now, I’m adding my own to the mix!
Let’s face it, life is messy! Whether it’s a clumsy spill during dinner, a muddy adventure with the kids, or a simple mishap with a pen, stains are inevitable. But instead of throwing away your beloved items or spending a fortune on professional cleaning, wouldn’t it be amazing to have a quick, easy, and affordable solution at your fingertips? That’s exactly what this DIY stain removal simple trick offers. I’m going to show you how to tackle those pesky blemishes with ingredients you probably already have in your home. Get ready to say goodbye to stain-related stress and hello to a cleaner, brighter wardrobe!
DIY Stain Removal: My Go-To Simple Trick for Almost Anything!
Okay, friends, let’s talk stains. We’ve all been there – that moment of horror when a rogue splash of coffee, a dribble of spaghetti sauce, or a muddy paw print lands on our favorite clothes, carpets, or upholstery. Before you resign yourself to living with the stain forever (or worse, throwing the item away!), let me share my absolute favorite, super simple stain removal trick that has saved countless items in my home. I’m telling you, this is a game-changer!
This method is gentle enough for most fabrics, but always test in an inconspicuous area first, just to be safe.
What You’ll Need: The Magic Ingredients
* Baking Soda: The unsung hero of stain removal! Its mild alkalinity helps lift stains without being too harsh.
* White Vinegar: Another cleaning powerhouse. The acidity helps break down stains and deodorize.
* Dish Soap (Clear, Non-Bleach): A gentle surfactant to help lift the stain from the fibers. Dawn is my personal favorite, but any clear, non-bleach dish soap will work.
* Clean Microfiber Cloths: These are essential for blotting and wiping without spreading the stain.
* Spray Bottle (Optional): For pre-treating larger areas.
* Soft-Bristled Brush (Optional): An old toothbrush works great for scrubbing stubborn stains.
* Water: For rinsing and diluting.
The Stain-Busting Process: Step-by-Step
Here’s the breakdown of how I tackle most stains using this simple yet effective method. Remember, the sooner you treat a stain, the better your chances of removing it completely.
1. Act Fast! Blot, Don’t Rub: The very first thing you need to do when a stain happens is to blot it immediately with a clean cloth or paper towel. Resist the urge to rub! Rubbing will only spread the stain and push it deeper into the fibers, making it much harder to remove later. Blot gently from the outside of the stain inwards to prevent it from spreading further.
2. Pre-Treat with Dish Soap (Optional): For particularly stubborn or set-in stains, I like to pre-treat with a little bit of dish soap. Apply a small amount of clear, non-bleach dish soap directly to the stain. Gently massage it into the fabric with your fingers or a soft-bristled brush. Let it sit for about 5-10 minutes to allow the soap to penetrate the stain.
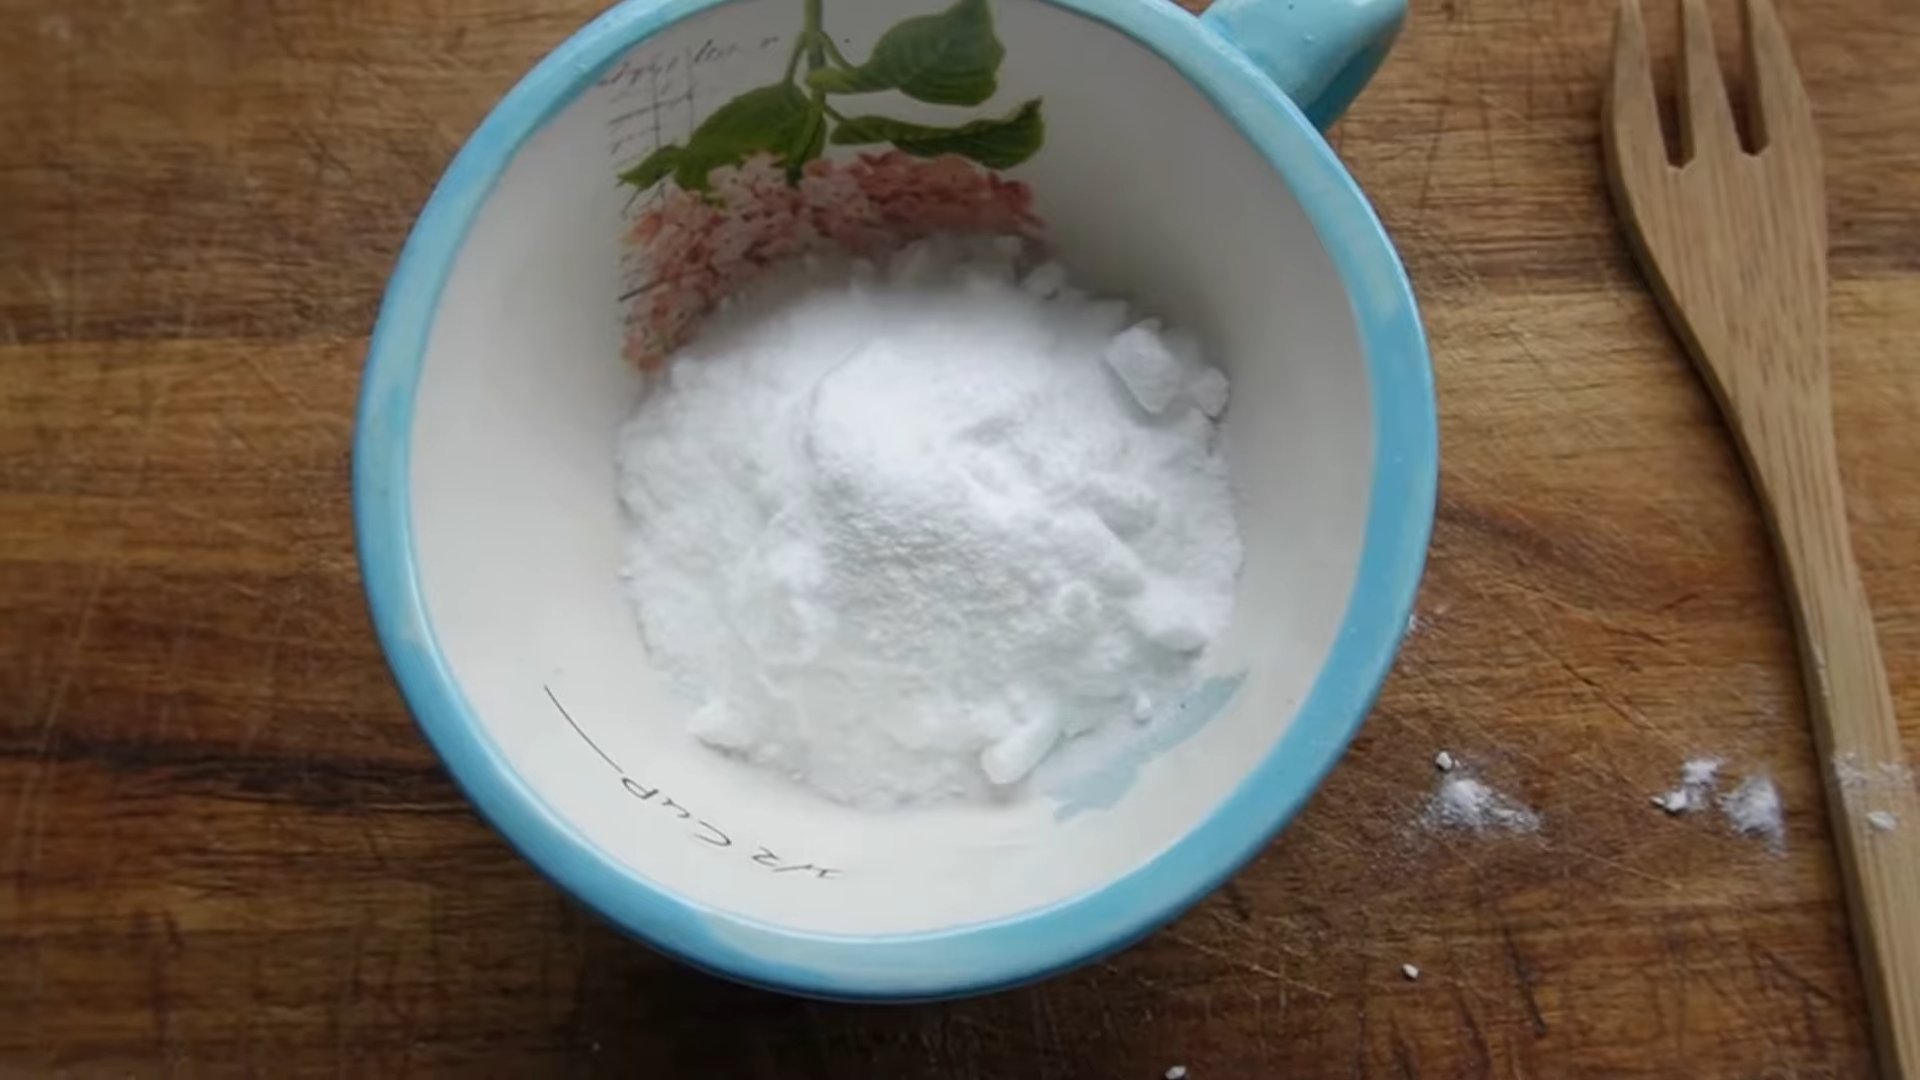
3. Create the Stain-Fighting Paste: In a small bowl, mix together the following ingredients to create a paste:
* 1 tablespoon of baking soda
* 1 tablespoon of white vinegar
* 1 teaspoon of clear, non-bleach dish soap
The mixture will fizz a bit when you combine the baking soda and vinegar – that’s perfectly normal!
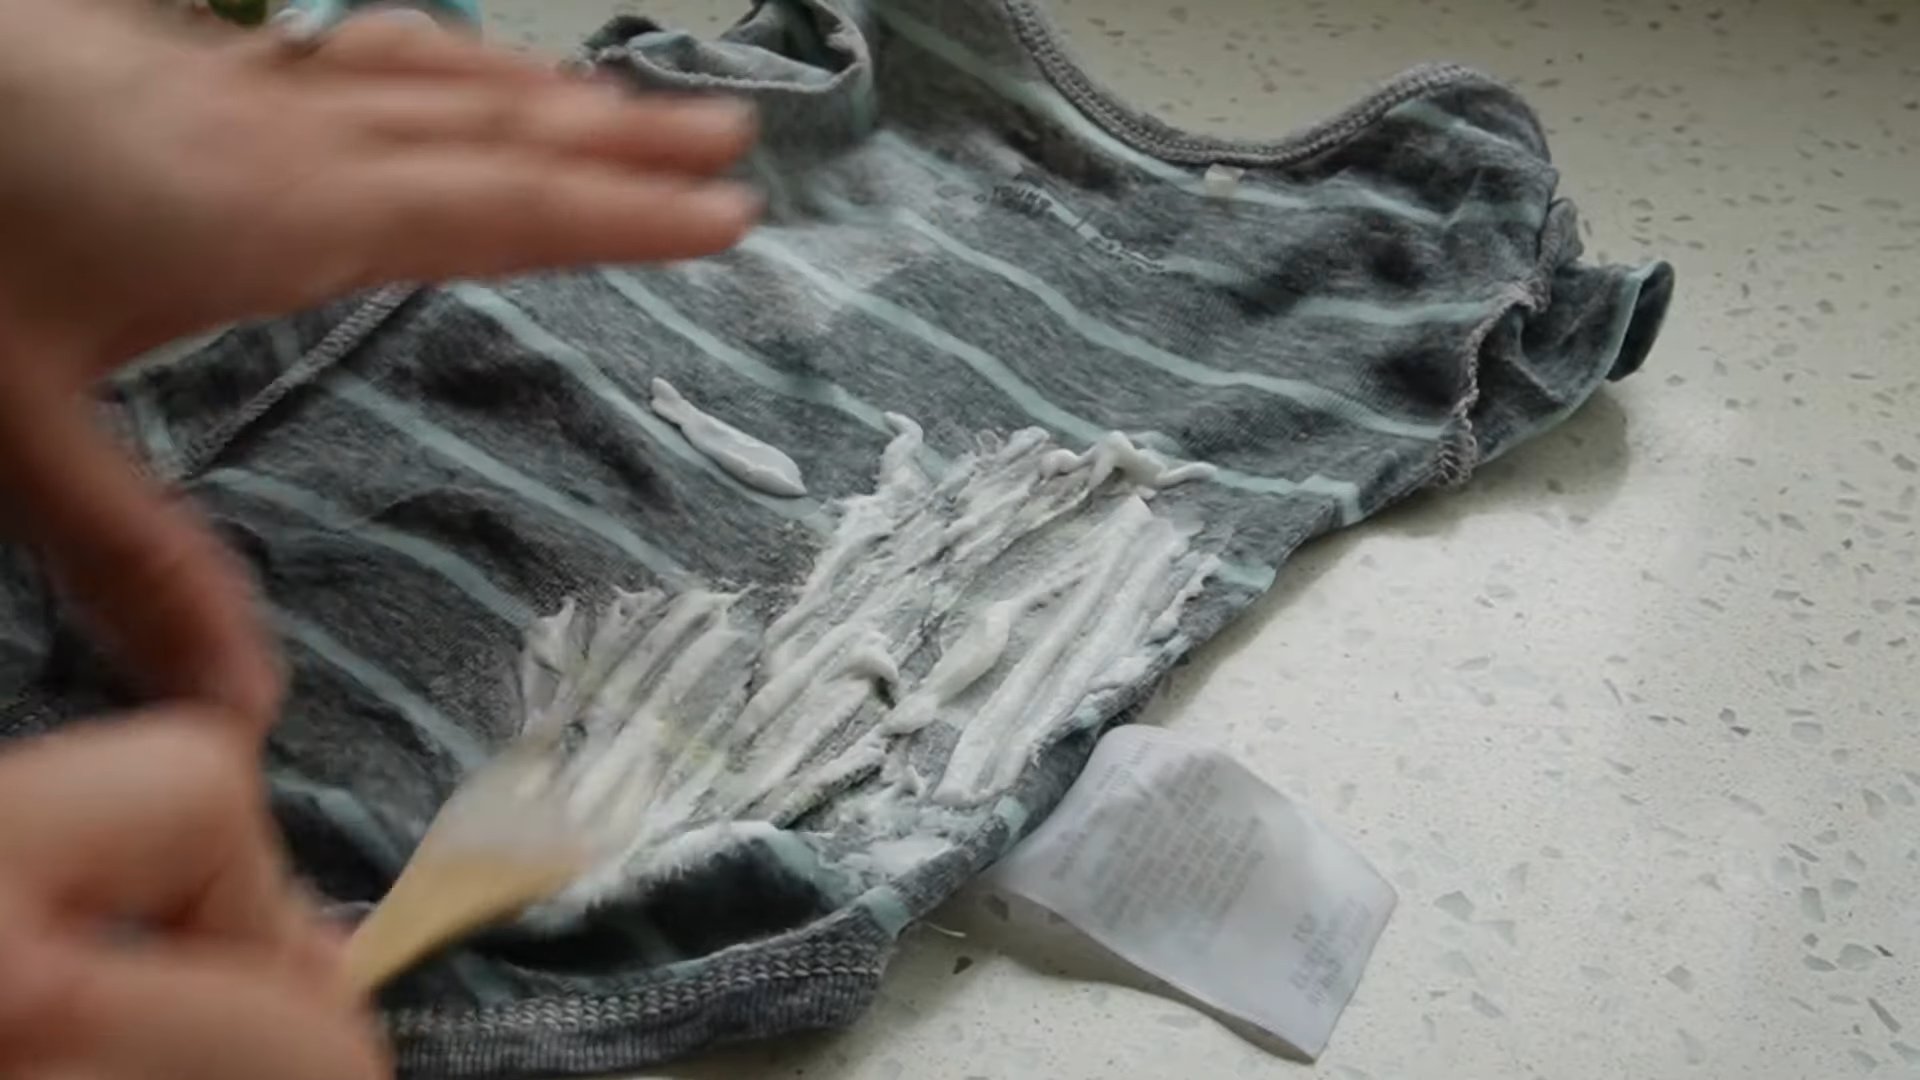
4. Apply the Paste to the Stain: Using your fingers or a clean cloth, apply the paste generously to the stained area. Make sure the entire stain is covered.
5. Gentle Scrubbing (If Needed): For tougher stains, you can gently scrub the paste into the fabric with a soft-bristled brush (like an old toothbrush). Use a circular motion and avoid scrubbing too hard, as this could damage the fibers.
6. Let it Sit and Work its Magic: This is the crucial part! Allow the paste to sit on the stain for at least 30 minutes, or even longer for really stubborn stains. I sometimes leave it on overnight. The baking soda, vinegar, and dish soap will work together to break down the stain and lift it from the fabric.
7. Rinse Thoroughly: After the paste has had time to work, rinse the treated area thoroughly with cool water. Make sure to remove all traces of the paste. You can use a clean cloth to blot up any excess water.
8. Check for Remaining Stain: Before drying, carefully inspect the treated area to see if the stain is completely gone. If you can still see a faint outline of the stain, repeat steps 3-7. It might take a couple of applications to completely remove a stubborn stain.
9. Air Dry (Important!): This is super important! Do not put the item in the dryer until you are absolutely sure the stain is gone. The heat from the dryer can set the stain permanently, making it impossible to remove. Instead, allow the item to air dry completely. You can hang it up or lay it flat on a clean surface.
10. Repeat if Necessary: Sometimes, especially with older or more stubborn stains, you might need to repeat the process a few times to completely remove the stain. Don’t give up! Persistence is key.
Specific Stain Types and Tips:
While this method works wonders on a wide variety of stains, here are some specific tips for tackling common culprits:
Coffee Stains:
Coffee stains are notorious, but this method works surprisingly well. For fresh coffee stains, blot immediately and then follow the steps above. For older, set-in coffee stains, you might need to let the paste sit for several hours or even overnight.
Red Wine Stains:
Red wine stains are the bane of many a party host! The key is to act fast. Blot up as much of the wine as possible immediately. Then, try pouring a generous amount of salt onto the stain to absorb the remaining wine. Let the salt sit for at least 30 minutes, then vacuum it up. Finally, follow the steps above to remove any remaining stain.
Grease Stains:
Grease stains can be tricky, but dish soap is your friend here. Pre-treat the stain with dish soap as described above, making sure to really work it into the fibers. Then, follow the remaining steps.
Ink Stains:
Ink stains can be particularly stubborn. Before applying the paste, try dabbing the stain with rubbing alcohol. This can help to break down the ink. Then, follow the steps above.
Mud Stains:
Let the mud dry completely before attempting to remove it. Once dry, brush off as much of the dried mud as possible. Then, follow the steps above.
Blood Stains:
Always use cold water when dealing with blood stains. Hot water can set the stain permanently. Soak the stained area in cold water for about 30 minutes, then follow the steps above.
Important Considerations:
* Always Test First: Before applying the paste to the entire stain, test it on an inconspicuous area of the fabric to make sure it doesn’t cause any discoloration or damage.
* Fabric Type: This method is generally safe for most fabrics, but it’s always a good idea to check the care label of your garment or upholstery before proceeding. Some delicate fabrics may require professional cleaning.
* Don’t Use on Leather or Suede: This method is not suitable for leather or suede. These materials require special cleaning products and techniques.
* Be Patient: Stain removal can sometimes take time and effort. Don’t get discouraged if the stain doesn’t come out immediately. Just keep repeating the process until it’s gone.
* Prevention is Key: The best way to deal with stains is to prevent them from happening in the first place! Use placemats, coasters, and tablecloths to protect your furniture. Wear an apron when cooking or doing messy tasks. And always clean up spills immediately.
My Personal Experiences and Tips:
I’ve used this method on everything from coffee spills on my white couch to spaghetti sauce stains on my kids’ clothes. It’s even saved my favorite rug from a particularly nasty mud incident involving my dog!
One thing I’ve learned is that patience is key. Sometimes, it takes a few applications to completely remove a stubborn stain. But don’t give up!
Another tip is to always have these ingredients on hand. I keep a small container of baking soda, white vinegar, and dish soap under my kitchen sink so I can tackle stains as soon as they happen.
And finally, remember to always test in an inconspicuous area first! I learned this the hard way when I accidentally discolored a small patch of my favorite shirt. Luckily, it was in a spot that wasn’t visible, but it taught me a valuable lesson.
I truly hope this simple stain removal trick helps you save your favorite items from the dreaded stain monster! Happy cleaning!
Conclusion
So, there you have it! This simple stain removal trick is more than just a quick fix; it’s a game-changer for anyone who’s ever despaired over a stubborn stain. We’ve all been there, staring at a beloved garment or cherished piece of furniture, wondering if it’s destined for the trash heap. But with this easy-to-implement method, you can breathe new life into your stained items and save yourself the cost and hassle of replacing them.
What makes this stain removal simple trick so compelling? It’s the combination of effectiveness, affordability, and accessibility. You likely already have the necessary ingredients in your pantry or laundry room, meaning you can tackle those pesky stains right now without a trip to the store. And unlike harsh chemical cleaners, this method is often gentler on fabrics and safer for your family and the environment.
But don’t just take our word for it. The real magic happens when you put this trick to the test yourself. Imagine the satisfaction of watching a seemingly permanent stain disappear before your eyes, restoring your favorite shirt or rug to its former glory. It’s a feeling of accomplishment and empowerment that comes from knowing you have a reliable solution at your fingertips.
Ready to take it a step further? Consider these variations to tailor the stain removal simple trick to your specific needs:
* For delicate fabrics: Dilute the solution with more water and test it on an inconspicuous area first. You can also use a soft cloth or sponge to gently blot the stain instead of rubbing vigorously.
* For stubborn stains: Increase the concentration of the active ingredient or let the solution sit on the stain for a longer period before blotting. You might also try pre-treating the stain with a stain remover before applying this trick.
* For different types of stains: Research the best approach for specific stains. For example, enzymatic cleaners work well on protein-based stains like blood or grass, while solvents are effective on grease and oil. This simple trick can be a great base, but sometimes needs a little extra help.
We’re confident that this stain removal simple trick will become your go-to solution for tackling everyday messes. But the best part is sharing your experiences and learning from each other. We encourage you to try this method on your own stains and let us know how it works for you. Share your tips, variations, and before-and-after photos in the comments below. Together, we can build a community of stain-fighting experts and help everyone keep their homes and wardrobes looking their best.
Don’t let stains ruin your day any longer. Embrace this simple, effective, and affordable solution and discover the joy of stain-free living!
Frequently Asked Questions (FAQ)
What types of stains does this simple trick work best on?
This stain removal simple trick is effective on a wide range of common stains, including food spills, dirt, grass, and some types of ink. However, its effectiveness can vary depending on the age and severity of the stain, as well as the type of fabric. For particularly stubborn or set-in stains, you may need to repeat the process or try a specialized stain remover in conjunction with this method. It’s always a good idea to test the solution on an inconspicuous area of the fabric first to ensure it doesn’t cause any discoloration or damage.
Can I use this stain removal simple trick on all types of fabrics?
While this trick is generally safe for most fabrics, it’s essential to exercise caution when dealing with delicate materials like silk, wool, or linen. These fabrics are more prone to damage and discoloration, so it’s best to dilute the solution with more water and test it on a hidden area before applying it to the stain. Avoid rubbing the fabric vigorously, as this can cause further damage. Instead, gently blot the stain with a soft cloth or sponge. If you’re unsure about the suitability of this method for a particular fabric, consult the garment’s care label or seek professional cleaning advice.
How long should I let the solution sit on the stain?
The optimal dwell time for the solution depends on the severity of the stain and the type of fabric. For light stains, a few minutes may be sufficient. For more stubborn stains, you can let the solution sit for up to 30 minutes or even longer. However, it’s crucial to monitor the stain closely and prevent the solution from drying on the fabric, as this can make the stain more difficult to remove. If the stain persists after the initial treatment, you can repeat the process or try a different stain removal method.
What if the stain doesn’t come out completely?
Unfortunately, not all stains are created equal, and some may be more resistant to removal than others. If the stain doesn’t come out completely after trying this simple trick, don’t despair. You can try repeating the process, increasing the concentration of the active ingredient, or using a specialized stain remover. For particularly stubborn stains, you may need to seek professional cleaning assistance. Remember, patience and persistence are key when dealing with tough stains.
Is this stain removal simple trick safe for colored fabrics?
Yes, this trick is generally safe for colored fabrics, but it’s always a good idea to test the solution on an inconspicuous area first to ensure it doesn’t cause any fading or discoloration. Avoid using harsh chemicals or abrasive cleaners, as these can damage the fabric and cause the color to bleed. If you’re concerned about colorfastness, you can also try using a color-safe stain remover in conjunction with this method.
Can I use this trick on upholstery or carpets?
Yes, this stain removal simple trick can be used on upholstery and carpets, but it’s essential to take extra precautions to prevent water damage. Avoid saturating the fabric with the solution, and use a clean cloth or sponge to blot the stain gently. You can also use a wet/dry vacuum to extract any excess moisture. After cleaning, allow the upholstery or carpet to air dry completely.
What are some alternative stain removal methods I can try?
There are many alternative stain removal methods you can try, depending on the type of stain and the fabric. Some popular options include using baking soda paste, vinegar, lemon juice, or hydrogen peroxide. You can also purchase specialized stain removers that are formulated for specific types of stains. When trying a new stain removal method, always test it on an inconspicuous area of the fabric first to ensure it doesn’t cause any damage or discoloration.
How can I prevent stains from happening in the first place?
Prevention is always better than cure when it comes to stains. To minimize the risk of stains, consider using stain-resistant fabrics, protecting your furniture with covers, and cleaning up spills immediately. You can also pretreat your clothes with a stain repellent spray before wearing them. By taking these simple precautions, you can keep your home and wardrobe looking their best.

Leave a Comment