
Laundry soap and vinegar cleaning: Sounds like a science experiment, right? Well, it’s actually a super simple and surprisingly effective way to tackle some of the toughest cleaning challenges around your home! For generations, resourceful homemakers have turned to these humble ingredients, often out of necessity, but now we’re rediscovering their power for a more eco-friendly and budget-friendly clean.
Think about it: our grandmothers likely didn’t have a cabinet full of specialized cleaning products. They relied on what they had on hand – things like vinegar and soap. This isn’t just about nostalgia, though. It’s about tapping into the inherent cleaning properties of these ingredients. Vinegar, with its mild acidity, cuts through grease and grime, while laundry soap provides the necessary surfactants to lift dirt away.
In today’s world, we’re constantly bombarded with advertisements for expensive, chemical-laden cleaners. But what if I told you that you could achieve sparkling results with just two ingredients you probably already have? This DIY guide will walk you through the amazing benefits of laundry soap and vinegar cleaning, showing you how to create your own powerful cleaning solutions for everything from your laundry to your bathroom. Get ready to ditch the harsh chemicals and embrace a simpler, more effective way to keep your home fresh and clean!
Grow Your Own Angled Luffa Sponges: A Gardener’s Guide
Hey there, fellow gardening enthusiasts! Ever thought about growing your own sponges? I know, it sounds a little crazy, but it’s totally doable and incredibly rewarding. We’re talking about angled luffa, also known as Chinese okra or ridge gourd. These amazing plants produce edible gourds when young, and when mature, they transform into the perfect natural sponges. Get ready to ditch those synthetic scrubbers and embrace the eco-friendly goodness of homegrown luffa!
What You’ll Need
Before we dive in, let’s gather our supplies. Here’s what you’ll need to successfully grow angled luffa:
* Luffa Seeds: You can find these online or at your local garden center. Make sure they are angled luffa (Luffa acutangula) seeds.
* Seed Starting Trays or Pots: For starting seeds indoors.
* Seed Starting Mix: A light and airy mix specifically designed for seedlings.
* Potting Soil: For transplanting seedlings into larger containers or directly into the garden.
* Large Containers (Optional): If you’re growing in pots, choose containers at least 15-20 gallons in size.
* Well-Draining Garden Soil: Luffa loves rich, well-draining soil.
* Compost or Aged Manure: To enrich the soil.
* Trellis or Support Structure: Luffa vines can grow up to 30 feet long, so they need something to climb on. A sturdy trellis, fence, or even a pergola will work.
* Gardening Gloves: To protect your hands.
* Watering Can or Hose: For regular watering.
* Pruning Shears or Scissors: For trimming the vines.
* Fertilizer: A balanced fertilizer or one high in phosphorus to encourage flowering and fruiting.
* Patience: Luffa takes time to mature, so be prepared to wait!
Starting Your Luffa Seeds
Luffa has a long growing season, so starting seeds indoors is highly recommended, especially if you live in a cooler climate. I usually start mine about 6-8 weeks before the last expected frost.
1. Soak the Seeds: To improve germination, soak the luffa seeds in warm water for 24-48 hours. This helps soften the hard outer shell.
2. Prepare the Seed Starting Trays: Fill your seed starting trays or pots with seed starting mix. Moisten the mix thoroughly.
3. Sow the Seeds: Plant the seeds about 1 inch deep in the soil. I usually plant 2-3 seeds per cell or pot to increase the chances of germination.
4. Cover and Keep Warm: Gently cover the seeds with soil and water lightly. Place the trays in a warm location, ideally between 70-80°F (21-27°C). You can use a heat mat to help maintain the temperature.
5. Maintain Moisture: Keep the soil consistently moist, but not waterlogged. Use a spray bottle to mist the soil regularly.
6. Wait for Germination: Luffa seeds can take anywhere from 1-3 weeks to germinate, so be patient. Once the seedlings emerge, move them to a sunny location.
Transplanting Your Luffa Seedlings
Once the danger of frost has passed and your seedlings have developed a few sets of true leaves, it’s time to transplant them into their permanent home.
1. Harden Off the Seedlings: Before transplanting, you’ll need to harden off the seedlings. This means gradually exposing them to outdoor conditions over a period of 7-10 days. Start by placing them in a sheltered location for a few hours each day, gradually increasing the amount of time they spend outdoors.
2. Prepare the Planting Site: Choose a sunny location with well-draining soil. Amend the soil with compost or aged manure to improve its fertility. If you’re growing in containers, make sure they are large enough to accommodate the mature vines.
3. Install the Trellis: Before planting, install your trellis or support structure. Luffa vines need something to climb on right away.
4. Transplant the Seedlings: Gently remove the seedlings from their trays or pots and plant them in the prepared soil. Space them about 2-3 feet apart.
5. Water Thoroughly: Water the seedlings thoroughly after transplanting.
6. Mulch: Apply a layer of mulch around the base of the plants to help retain moisture and suppress weeds.
Caring for Your Luffa Plants
Now that your luffa plants are in the ground, it’s time to provide them with the care they need to thrive.
1. Watering: Luffa plants need consistent watering, especially during hot, dry weather. Water deeply whenever the top inch of soil feels dry.
2. Fertilizing: Feed your luffa plants with a balanced fertilizer every 2-3 weeks. You can also use a fertilizer high in phosphorus to encourage flowering and fruiting.
3. Pruning: Prune the vines as needed to keep them under control and encourage branching. Remove any dead or yellowing leaves.
4. Pollination: Luffa plants produce separate male and female flowers. The female flowers have a small luffa fruit behind them. If you’re not seeing any fruit develop, you may need to hand-pollinate the flowers. To do this, use a small brush to transfer pollen from the male flowers to the female flowers.
5. Pest and Disease Control: Keep an eye out for pests and diseases. Common pests include aphids, squash bugs, and vine borers. Diseases can include powdery mildew and fungal infections. Treat any problems promptly with appropriate organic pesticides or fungicides.
Harvesting Your Luffa Sponges
This is the exciting part! Knowing when to harvest is key to getting the best sponges.
1. When to Harvest: The best time to harvest luffa for sponges is when the gourds are fully mature and the skin has turned brown and dry. The gourd should feel light and hollow. If you’re growing luffa for eating, harvest the gourds when they are young and tender, about 6-8 inches long.
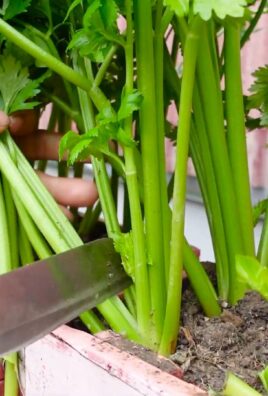
2. Harvesting the Gourds: Use pruning shears or scissors to cut the gourds from the vine.
3. Peeling the Gourds: This can be a bit messy, but it’s worth it! Soak the harvested gourds in water for a few days to soften the skin. Then, use your hands to peel off the outer skin. You may need to use a knife or scraper to remove any stubborn pieces.
4. Removing the Seeds: Once the skin is removed, shake out the seeds. You can save these seeds for planting next year.
5. Washing and Drying: Rinse the luffa sponges thoroughly with water to remove any remaining pulp or seeds. Then, hang them up to dry in a well-ventilated area.
6. Bleaching (Optional): If you want to lighten the color of your luffa sponges, you can soak them in a diluted bleach solution for a few minutes. Rinse them thoroughly afterwards.
Using Your Homegrown Luffa Sponges
Congratulations! You’ve successfully grown and harvested your own luffa sponges. Now it’s time to put them to use.
* Exfoliating: Luffa sponges are great for exfoliating your skin. Use them in the shower or bath to remove dead skin cells and leave your skin feeling smooth and refreshed.
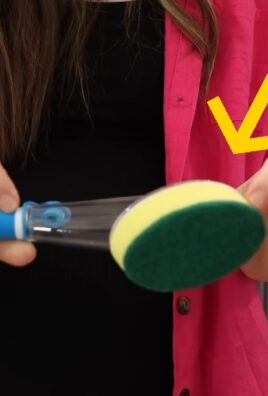
* Dishwashing: Luffa sponges are also excellent for washing dishes. They’re tough enough to scrub away grime, but gentle enough not to scratch your dishes.
* Cleaning: Use luffa sponges to clean your kitchen, bathroom, and other areas of your home. They’re a natural and eco-friendly alternative to synthetic sponges.
* Crafting: Get creative and use your luffa sponges for crafting projects. You can cut them into different shapes and use them to make soaps, bath bombs, or other DIY projects.
Troubleshooting
Even with the best care, you might encounter some challenges along the way. Here are a few common problems and how to address them:
* Poor Germination: If your luffa seeds aren’t germinating, make sure they are warm enough and that the soil is consistently moist. You can also try scarifying the seeds by gently scratching the outer shell with sandpaper before soaking them.
* Lack of Fruit: If your luffa plants are flowering but not producing fruit, it could be due to poor pollination. Try hand-pollinating the flowers or attracting more pollinators to your garden.
* Pest Infestations: Regularly inspect your l
Conclusion
So, there you have it! Ditching the harsh chemicals and embracing the power of laundry soap and vinegar cleaning is not just a trend; it’s a revolution in how we approach household chores. We’ve explored how this simple yet effective combination can tackle a multitude of cleaning tasks, from sparkling windows to deodorized laundry, all while being kinder to your skin, your wallet, and the environment.
Why is this DIY trick a must-try? Because it’s incredibly versatile, cost-effective, and surprisingly powerful. Commercial cleaners often contain a cocktail of synthetic fragrances, dyes, and harsh chemicals that can irritate sensitive skin, trigger allergies, and even contribute to indoor air pollution. Laundry soap and vinegar, on the other hand, offer a gentler, more natural alternative without sacrificing cleaning power. The soap lifts dirt and grime, while the vinegar acts as a disinfectant, deodorizer, and natural brightener. It’s a win-win situation!
But the beauty of this DIY approach lies in its adaptability. Feel free to experiment with different types of laundry soap to find your favorite scent and cleaning power. For extra stubborn stains, consider adding a tablespoon of baking soda to your cleaning solution. This creates a fizzing action that helps to lift dirt and grime from surfaces. You can also infuse your vinegar with citrus peels or herbs for a more pleasant scent. Simply steep the peels or herbs in vinegar for a few weeks, then strain before using. Lavender, lemon, and rosemary are all excellent choices.
For those who prefer a thicker cleaning paste, mix laundry soap with baking soda to form a scrub. This is perfect for cleaning grout, stovetops, and other tough-to-clean areas. Remember to always test your cleaning solution in an inconspicuous area first, especially on delicate surfaces.
We’ve covered a lot of ground, from creating all-purpose cleaners to laundry boosters. Now it’s your turn to put this knowledge into action. Embrace the simplicity and effectiveness of laundry soap and vinegar cleaning and experience the difference for yourself.
Don’t just take our word for it – try it out! We are confident that you’ll be amazed by the results. And most importantly, we want to hear about your experiences. Share your tips, tricks, and variations in the comments below. Let’s build a community of eco-conscious cleaners who are passionate about creating a healthier and more sustainable home. What are you waiting for? Grab your laundry soap and vinegar, and let’s get cleaning!
Frequently Asked Questions
Is it safe to mix laundry soap and vinegar?
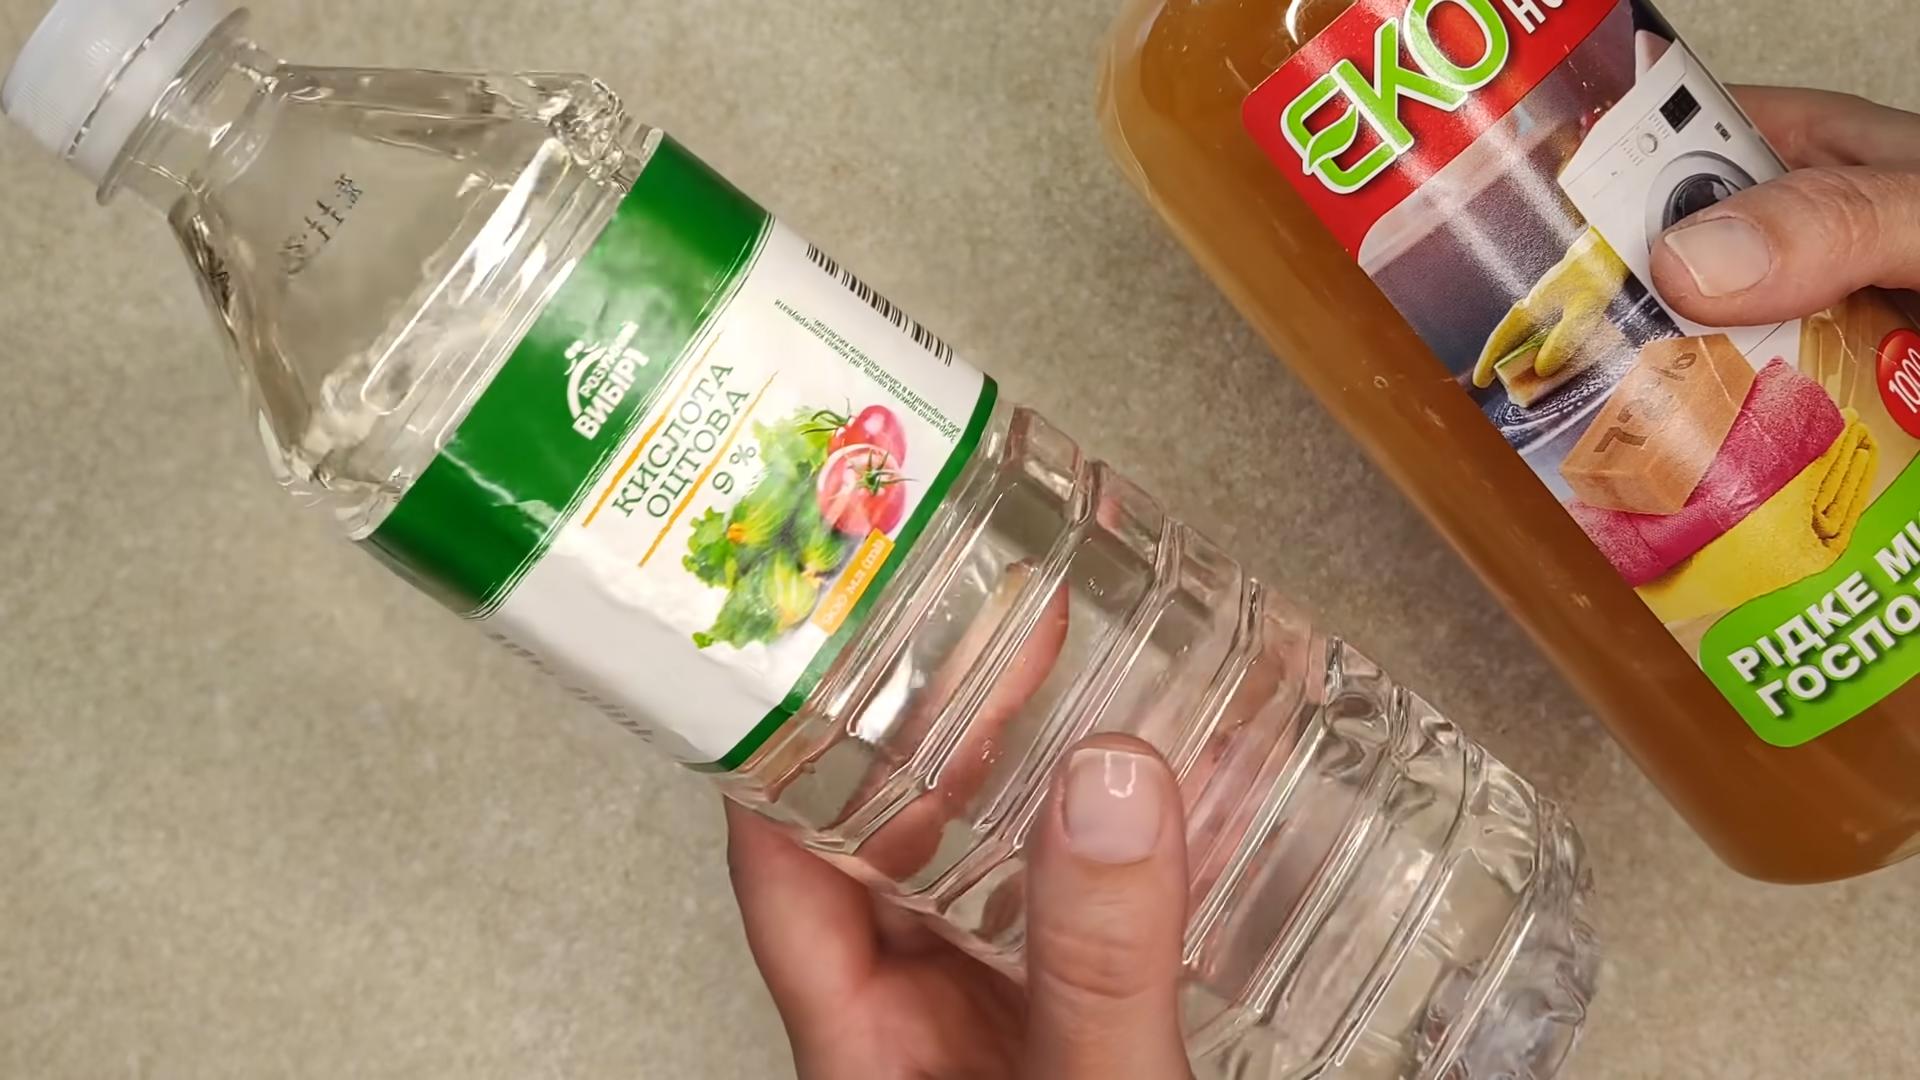
Yes, it is generally safe to mix laundry soap and vinegar, but it’s important to understand the type of laundry soap you’re using. The combination is safe and effective when using regular laundry soap (not laundry detergent) with vinegar. Laundry soap is typically made from natural fats and oils, while laundry detergent is synthetic. Mixing vinegar with laundry detergent can sometimes create unwanted chemical reactions, potentially reducing the effectiveness of both products or even creating harmful fumes in some rare cases. To be on the safe side, always use laundry soap, not detergent, when mixing with vinegar.
What type of vinegar should I use for cleaning?
White distilled vinegar is the best choice for cleaning. It’s inexpensive, readily available, and has a high acidity level, making it an effective disinfectant and deodorizer. Avoid using other types of vinegar, such as apple cider vinegar or balsamic vinegar, as they may contain sugars or other additives that can leave a sticky residue on surfaces.
Can I use this cleaning solution on all surfaces?
While laundry soap and vinegar cleaning is generally safe for most surfaces, it’s always a good idea to test it in an inconspicuous area first, especially on delicate materials like marble, granite, or wood. The acidity of vinegar can etch or damage these surfaces over time. Avoid using it on waxed furniture, as it can strip the wax. For sensitive surfaces, dilute the vinegar solution further or use a gentler cleaning method.
What is the best ratio of laundry soap to vinegar for cleaning?
A good starting point is a 1:1 ratio of laundry soap to vinegar. For example, you can mix 1/2 cup of laundry soap with 1/2 cup of vinegar in a spray bottle filled with water. Adjust the ratio according to your needs and the severity of the cleaning task. For tougher stains or dirt, you can increase the amount of vinegar. For more delicate surfaces, dilute the solution with more water.
Will my house smell like vinegar after cleaning?
Yes, there may be a slight vinegar smell after cleaning, but it will dissipate quickly. You can add a few drops of essential oil to your cleaning solution to mask the vinegar scent. Lavender, lemon, and tea tree oil are all good choices. Alternatively, you can infuse your vinegar with citrus peels or herbs for a more pleasant scent.
Can I use this cleaning solution in my washing machine?
Yes, you can use laundry soap and vinegar in your washing machine as a laundry booster. Add 1/2 cup of laundry soap to the detergent dispenser and 1/2 cup of vinegar to the fabric softener dispenser. The vinegar will help to brighten clothes, remove odors, and soften fabrics. However, avoid using too much vinegar, as it can damage the rubber seals in your washing machine over time.
Is this cleaning solution safe for pets and children?
Laundry soap and vinegar cleaning is generally safer than using harsh chemical cleaners, but it’s still important to keep the solution out of reach of children and pets. While the ingredients are relatively non-toxic, ingestion can cause stomach upset. If your pet or child ingests the cleaning solution, contact your veterinarian or poison control center immediately.
How long can I store the cleaning solution?
You can store the cleaning solution for several weeks in a sealed container. However, it’s best to use it within a few weeks for optimal effectiveness. Over time, the ingredients may separate or lose their potency.
Can I use this cleaning solution to clean my toilet?
Yes, you can use laundry soap and vinegar to clean your toilet. Pour 1/2 cup of laundry soap and 1 cup of vinegar into the toilet bowl and let it sit for 30 minutes. Then, scrub the bowl with a toilet brush and flush. The vinegar will help to disinfect and deodorize the toilet bowl.
What are some other uses for laundry soap and vinegar cleaning?
Besides the uses mentioned in the article, laundry soap and vinegar can also be used to:
* Clean windows and mirrors
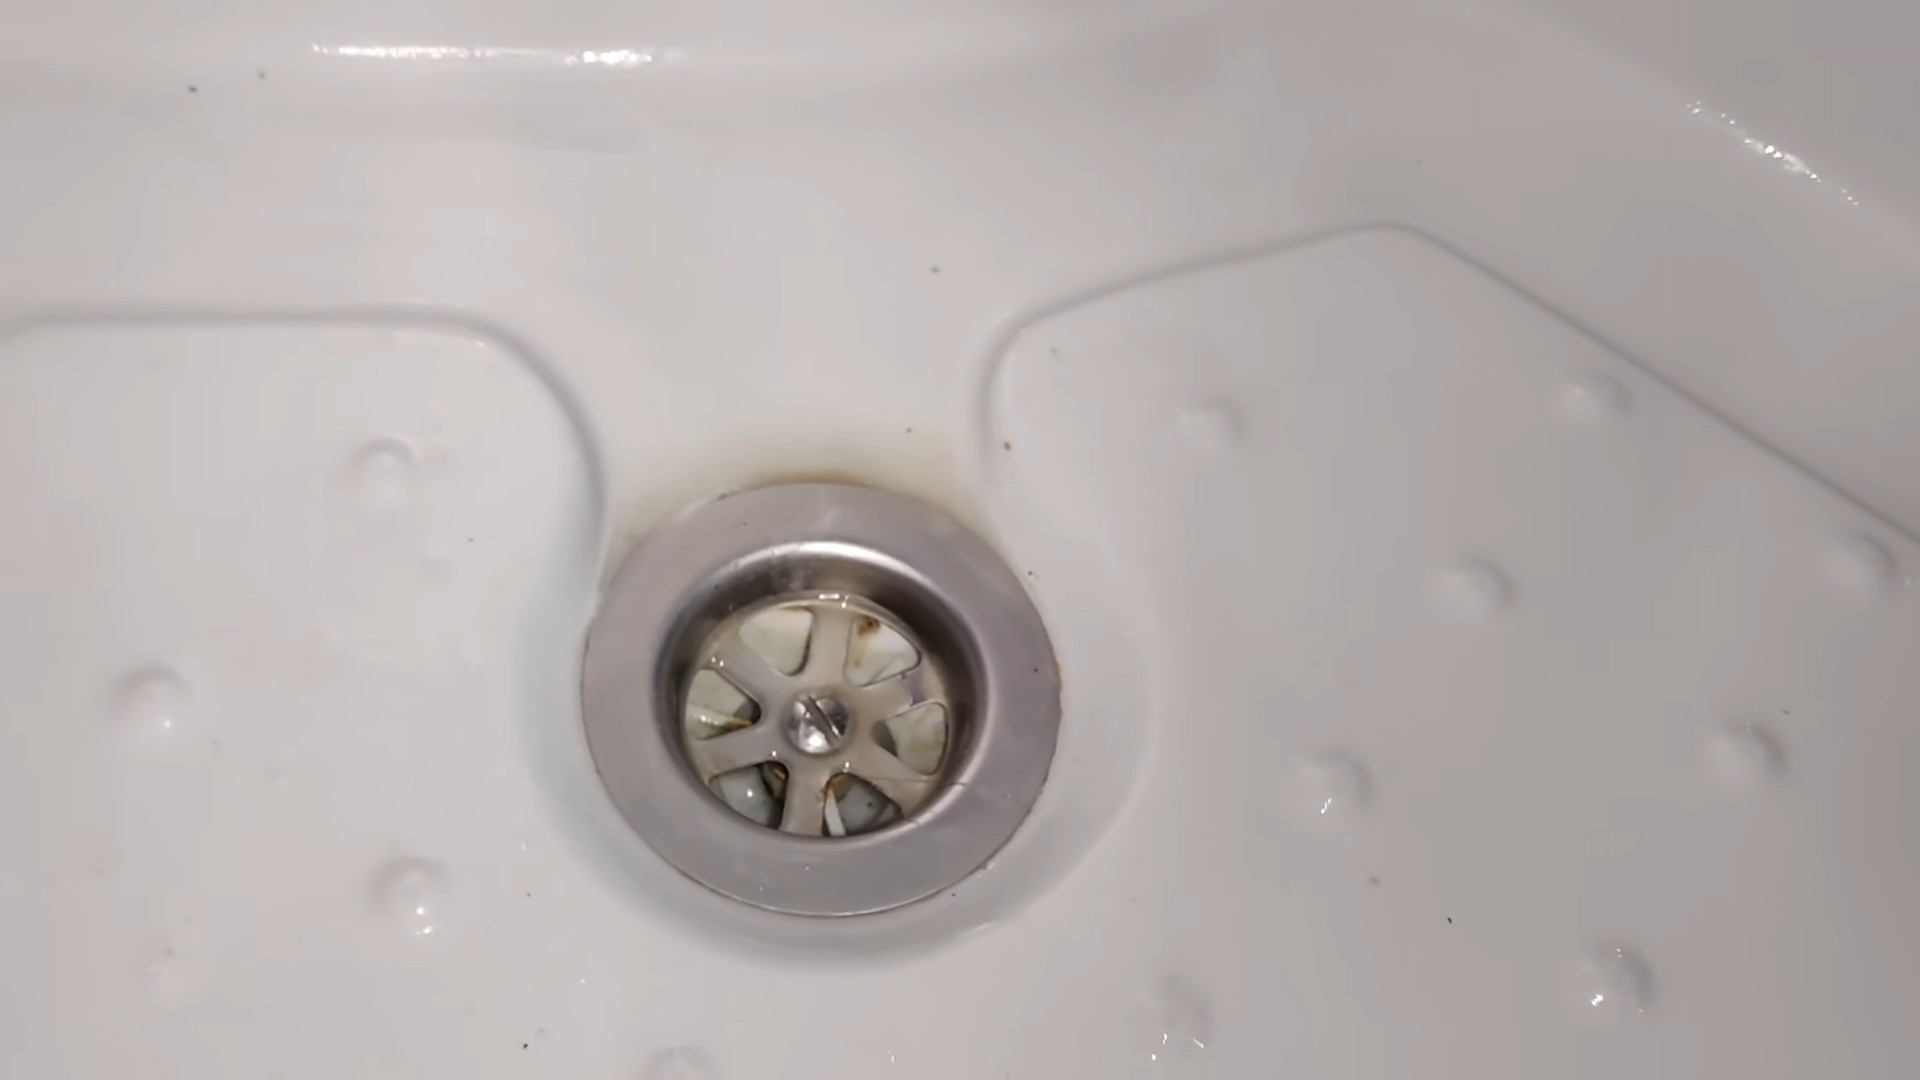
* Deodorize drains
* Remove hard water stains
* Clean coffee makers
* Remove mildew from shower curtains
* Clean floors (except for delicate surfaces like marble or wood)
* Remove sticky residue from surfaces
The possibilities are endless! Experiment and discover new ways to use this versatile cleaning solution in your home.
Leave a Comment