
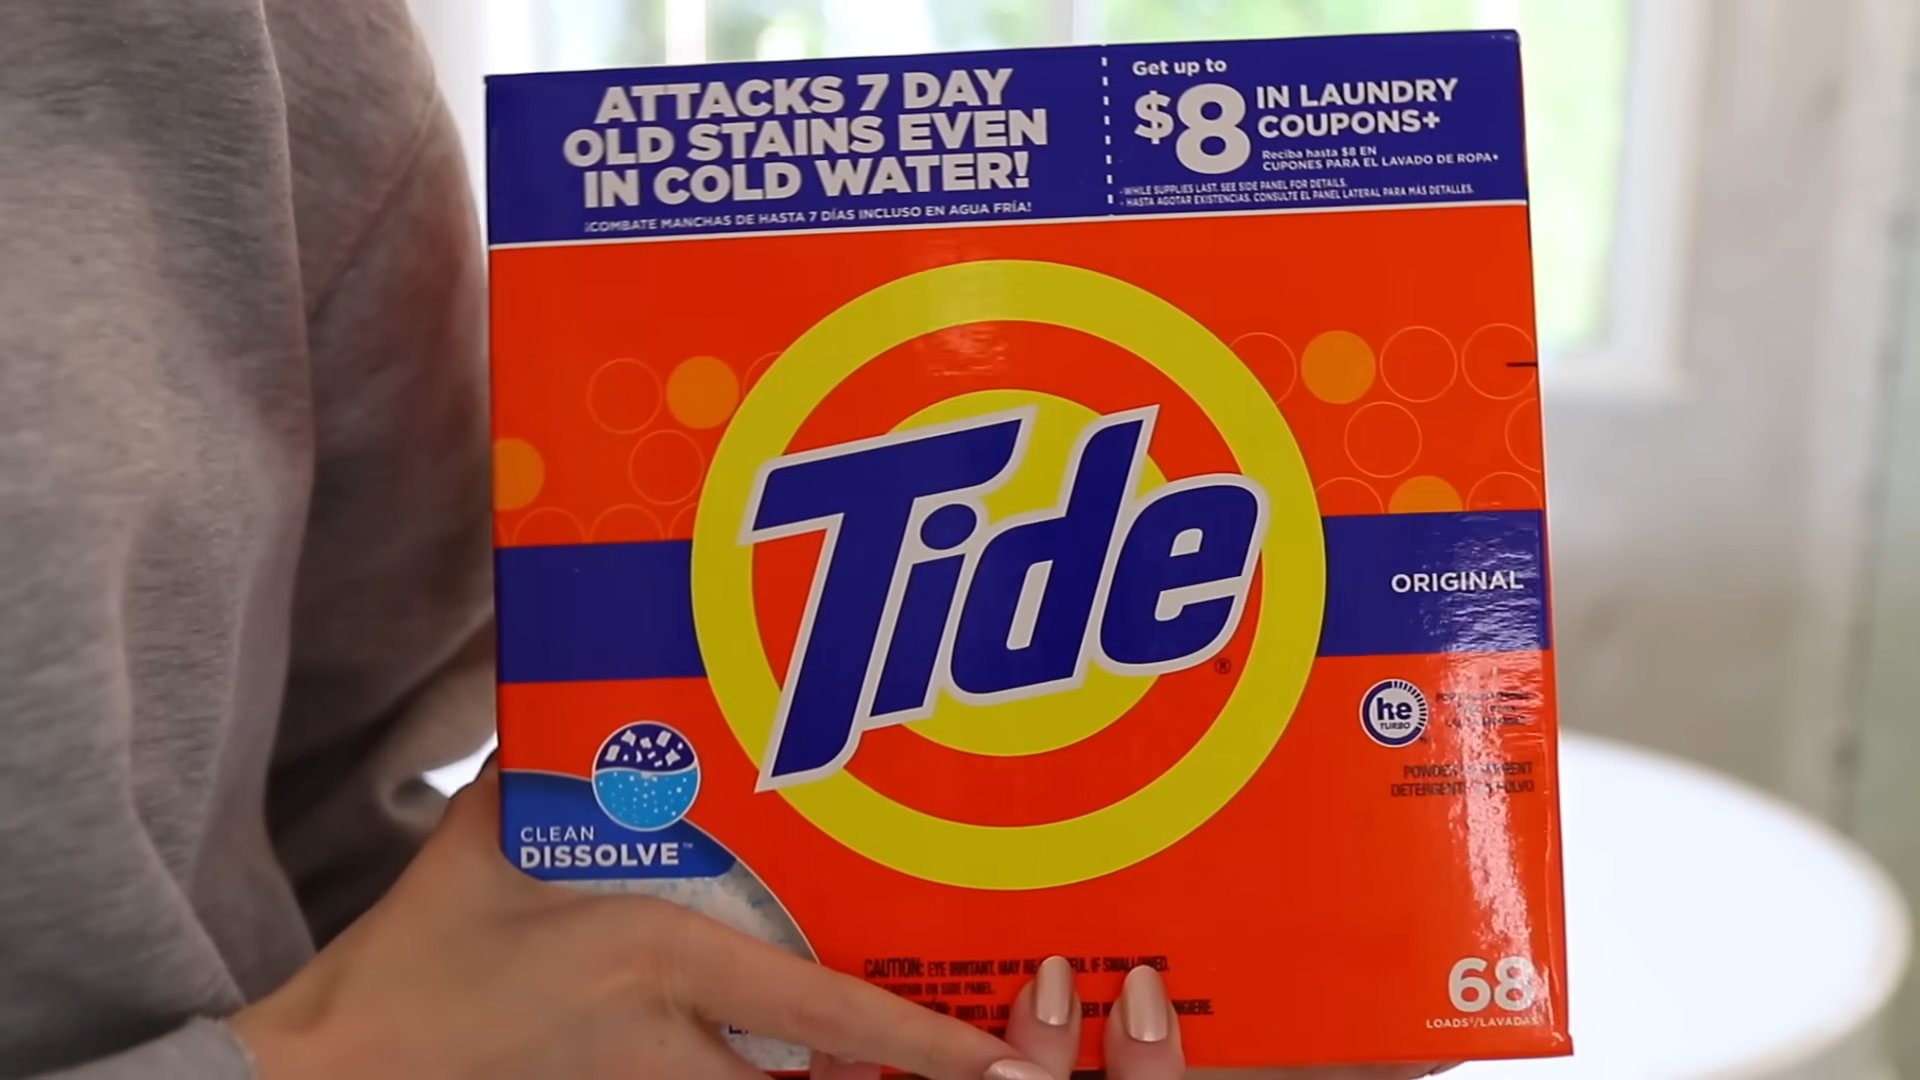
Cleaning tricks experts, that’s what we all secretly aspire to be, right? Imagine a home that sparkles effortlessly, where grime and dust vanish with a flick of the wrist. Forget spending your weekends scrubbing – this article is your shortcut to a cleaner, happier life! For centuries, people have sought clever ways to maintain their homes. From ancient civilizations using natural remedies to modern-day innovations, the quest for effective cleaning solutions is timeless.
But let’s be honest, who has the time (or the energy!) to spend hours researching and experimenting? That’s where I come in! I’ve compiled a treasure trove of tried-and-true cleaning tricks experts swear by, and I’m sharing them all with you. These aren’t just any cleaning tips; they’re game-changers that will save you time, money, and a whole lot of elbow grease.
Whether you’re battling stubborn stains, tackling a cluttered space, or simply looking for ways to streamline your cleaning routine, these DIY hacks will empower you to create a home you’ll love. Get ready to unlock the secrets to a spotless sanctuary – without breaking the bank or sacrificing your sanity!
DIY Cleaning Power: Transforming Everyday Items into Cleaning Superstars!
Hey there, fellow cleaning enthusiasts! I’m always on the lookout for clever ways to make my cleaning routine easier, cheaper, and more effective. Forget those expensive, chemical-laden cleaners – let’s unlock the cleaning potential hidden in everyday items you probably already have in your pantry! I’m going to share some of my favorite DIY cleaning hacks that have seriously changed the game for me.
Unleashing the Power of Vinegar
Vinegar is my absolute go-to for so many cleaning tasks. Its acidity makes it a natural disinfectant and deodorizer. Plus, it’s super affordable!
Cleaning Your Microwave with Vinegar
That microwave looking a little… exploded? Don’t worry, I’ve got you covered. This is one of the easiest and most satisfying cleaning tasks ever.
What you’ll need:
* 1 cup of water
* 1/2 cup of white vinegar
* Microwave-safe bowl
* Clean cloth or sponge
Instructions:
1. Mix it up: Pour the water and vinegar into the microwave-safe bowl.
2. Microwave Magic: Place the bowl in the microwave and heat on high for 5-7 minutes. You want the mixture to boil and create steam.
3. Steam Clean: Leave the microwave door closed for another 2-3 minutes to allow the steam to loosen all the grime.
4. Wipe Away: Carefully remove the bowl (it will be hot!). Use a clean cloth or sponge to wipe down the inside of the microwave. The loosened food particles should come off easily.
5. Stubborn Spots: For any stubborn spots, dip your cloth or sponge in the remaining vinegar solution and scrub gently.
Vinegar as a Shower Head Cleaner
Hard water got your shower head looking crusty? Vinegar to the rescue! This method is super effective at removing mineral buildup.
What you’ll need:
* White vinegar
* Plastic bag (sandwich bag or larger, depending on the size of your shower head)
* Rubber band or twist tie
Instructions:
1. Bag it Up: Fill the plastic bag with enough white vinegar to completely submerge the shower head.
2. Secure the Bag: Attach the bag to the shower head using a rubber band or twist tie. Make sure the vinegar is in full contact with the shower head.
3. Soak it Good: Let the shower head soak in the vinegar for at least 30 minutes, or even better, overnight.
4. Rinse and Shine: Remove the bag and run the shower for a few minutes to flush out any remaining vinegar and loosened mineral deposits.
5. Scrub if Needed: If there are still some stubborn spots, use an old toothbrush to gently scrub them away.
Baking Soda: The Gentle Abrasive
Baking soda is another one of my cleaning staples. It’s a mild abrasive, making it perfect for scrubbing without scratching. Plus, it’s a great deodorizer!
Cleaning Your Oven with Baking Soda
Oven cleaning is the worst, right? But this baking soda paste makes it so much easier!
What you’ll need:
* 1/2 cup baking soda
* Water
* Sponge or cloth
* Spray bottle (optional)
* Rubber gloves (recommended)
Instructions:
1. Make the Paste: In a bowl, mix the baking soda with enough water to form a thick paste.
2. Coat the Oven: Spread the baking soda paste all over the inside of your oven, avoiding the heating elements. I like to use my hands (with gloves on!) to really get it in there.
3. Let it Sit: Let the paste sit for at least 12 hours, or even overnight. The longer it sits, the easier it will be to clean.
4. Scrub and Wipe: After the waiting period, use a damp sponge or cloth to scrub away the baking soda paste. It should lift away the grime with it.
5. Rinse Thoroughly: Rinse the oven with clean water to remove any remaining baking soda residue. You can use a spray bottle to make rinsing easier.
Deodorizing Your Fridge with Baking Soda
That lingering fridge odor driving you crazy? Baking soda is your solution!
What you’ll need:
* Open box of baking soda
Instructions:
1. Open it Up: Simply place an open box of baking soda in your fridge.
2. Let it Absorb: Let the baking soda sit in the fridge for a few days to absorb odors.
3. Replace Regularly: Replace the box of baking soda every month or two to keep your fridge smelling fresh.
Lemon Power: Freshness and Cleaning Combined
Lemons aren’t just for lemonade! Their acidity and fresh scent make them a fantastic cleaning agent.
Cleaning Your Cutting Board with Lemon and Salt
Cutting boards can harbor bacteria and odors. This lemon and salt scrub is a natural and effective way to clean and disinfect them.
What you’ll need:
* 1/2 lemon
* Coarse salt (sea salt or kosher salt)
Instructions:
1. Sprinkle with Salt: Sprinkle a generous amount of coarse salt over the surface of your cutting board.
2. Scrub with Lemon: Cut a lemon in half and use the cut side to scrub the salt into the cutting board. Apply firm pressure and scrub in a circular motion.
3. Rinse and Dry: Rinse the cutting board with warm water and dry thoroughly.
Making Your Garbage Disposal Smell Fresh with Lemon Peels
That garbage disposal can get pretty stinky. Lemon peels are a simple and natural way to freshen it up.
What you’ll need:
* Lemon peels
Instructions:
1. Toss them In: Toss a few lemon peels into your garbage disposal.
2. Run the Disposal: Run the disposal with cold water for about 30 seconds. The lemon peels will help to clean the blades and leave a fresh citrus scent.
Hydrogen Peroxide: The Stain Fighter
Hydrogen peroxide is a mild bleaching agent that’s great for removing stains and disinfecting surfaces.
Removing Blood Stains with Hydrogen Peroxide
Accidents happen! Hydrogen peroxide can help lift those pesky blood stains.
What you’ll need:
* 3% hydrogen peroxide
* Clean cloth or paper towel
Instructions:
1. Test First: Before applying hydrogen peroxide to a large area, test it on an inconspicuous spot to make sure it doesn’t discolor the fabric.
2. Apply to Stain: Pour a small amount of hydrogen peroxide directly onto the blood stain.
3. Blot, Don’t Rub: Blot the stain with a clean cloth or paper towel. Avoid rubbing, as this can spread the stain.
4. Repeat if Necessary: Repeat the process until the stain is gone.
5. Rinse and Wash: Rinse the treated area with cold water and wash as usual.
Disinfecting Surfaces with Hydrogen Peroxide
Hydrogen peroxide is a great alternative to harsh chemical disinfectants.
What you’ll need:
* 3% hydrogen peroxide
* Spray bottle
* Clean cloth
Instructions:
1. Pour into Spray Bottle: Pour the hydrogen peroxide into a spray bottle.
2. Spray the Surface: Spray the surface you want to disinfect with hydrogen peroxide.
3. Let it Sit: Let the hydrogen peroxide sit on the surface for at least 5-10 minutes.
4. Wipe Clean: Wipe the surface clean with a clean cloth.
Bonus Tip: Essential Oils for Extra Cleaning Power and Scent
I love adding a few drops of essential oils to my DIY cleaning solutions for extra cleaning power and a pleasant scent. Tea tree oil is a great antibacterial and antifungal agent, while lemon and lavender oils have uplifting and refreshing scents. Just be sure to do your research and use essential oils safely!
Important Note: Always test any cleaning solution on an inconspicuous area first to make sure it doesn’t damage the surface. And remember to wear gloves when cleaning to protect your hands!
I hope these DIY cleaning hacks help you keep your home sparkling clean without breaking the bank or relying on harsh chemicals. Happy cleaning!
Conclusion
So, there you have it! This simple yet incredibly effective DIY cleaning trick is a game-changer for anyone looking to maintain a sparkling home without breaking the bank or relying on harsh chemicals. We’ve shown you how to harness the power of readily available ingredients to tackle common cleaning challenges, leaving your surfaces gleaming and your home smelling fresh.
Why is this a must-try? Because it’s economical, eco-friendly, and, most importantly, it works! Store-bought cleaners often contain a cocktail of chemicals that can be harmful to your health and the environment. This DIY alternative allows you to control exactly what goes into your cleaning solutions, ensuring a safer and healthier living space for you and your family. Plus, let’s be honest, there’s a certain satisfaction that comes from creating something yourself and seeing it work wonders.
But the beauty of this cleaning trick lies in its adaptability. Feel free to experiment with different essential oils to create your signature scent. Lavender, lemon, tea tree, and eucalyptus are all excellent choices, each offering its own unique aroma and added cleaning benefits. For tougher stains, consider adding a bit more vinegar or baking soda to the mixture. Remember to always test your cleaning solution on an inconspicuous area first to ensure it doesn’t damage the surface.
Beyond the basic recipe, consider these variations:
* **For a natural disinfectant:** Add a few drops of tea tree oil to your cleaning solution. Tea tree oil is known for its antibacterial and antifungal properties.
* **For a grease-cutting boost:** Add a squirt of dish soap to your mixture. This is particularly helpful for cleaning kitchen surfaces.
* **For a furniture polish:** Mix olive oil with lemon juice for a natural furniture polish that will leave your wood surfaces shining.
We are confident that once you try this DIY cleaning trick, you’ll be amazed by the results. It’s a simple, effective, and sustainable way to keep your home clean and healthy. So, ditch the expensive store-bought cleaners and embrace the power of DIY!
Now, we want to hear from you! Give this cleaning trick a try and share your experience in the comments below. What variations did you try? What surfaces did you clean? We’re eager to learn from your experiences and build a community of DIY cleaning enthusiasts. Let’s revolutionize the way we clean our homes, one DIY trick at a time! Remember, a clean home is a happy home, and with this simple trick, achieving that happiness has never been easier. So go ahead, give it a whirl, and let us know what you think! Your feedback is invaluable and will help us refine and improve this cleaning trick for everyone. We believe in the power of shared knowledge and collective experience, so don’t be shy – share your cleaning triumphs (and even your occasional mishaps!) with us. Together, we can create a cleaner, healthier, and more sustainable world, one sparkling surface at a time. This DIY cleaning trick is more than just a recipe; it’s a movement towards a more conscious and responsible way of living. Join us!
FAQ
What exactly makes this DIY cleaning trick better than store-bought cleaners?
Store-bought cleaners often contain harsh chemicals, artificial fragrances, and dyes that can be harmful to your health and the environment. Many of these chemicals can irritate your skin, eyes, and respiratory system. Furthermore, the production and disposal of these cleaners contribute to pollution. This DIY cleaning trick, on the other hand, uses natural, readily available ingredients like vinegar, baking soda, and essential oils, which are generally safer and more eco-friendly. You have complete control over what goes into your cleaning solution, avoiding potentially harmful additives. Plus, it’s significantly cheaper!
Is vinegar safe to use on all surfaces?
While vinegar is a fantastic cleaning agent, it’s not suitable for all surfaces. Avoid using vinegar on natural stone surfaces like marble, granite, and limestone, as the acidity can etch and damage them. It’s also best to avoid using vinegar on waxed wood, as it can strip the wax finish. Always test your cleaning solution on an inconspicuous area first to ensure it doesn’t cause any damage or discoloration. For delicate surfaces, consider diluting the vinegar with more water or using a gentler alternative like baking soda paste.
Can I use any type of vinegar for this cleaning trick?
White distilled vinegar is generally recommended for cleaning purposes due to its high acidity and lack of color, which minimizes the risk of staining. However, you can use other types of vinegar, such as apple cider vinegar, if you prefer. Keep in mind that apple cider vinegar has a slightly lower acidity than white vinegar and may leave a faint scent. Avoid using balsamic vinegar or red wine vinegar, as they can stain surfaces.
How long will the DIY cleaning solution last?
The DIY cleaning solution can typically last for several weeks when stored in an airtight container in a cool, dark place. However, it’s best to use it within a month for optimal effectiveness. If you notice any changes in color, odor, or consistency, it’s best to discard the solution and make a fresh batch.
What essential oils are best to use in this cleaning trick?
The best essential oils to use in this cleaning trick depend on your personal preferences and the desired cleaning benefits. Some popular choices include:
* **Lavender:** Known for its calming and relaxing scent, lavender also has antibacterial and antifungal properties.
* **Lemon:** A natural degreaser and disinfectant, lemon essential oil leaves a fresh, citrusy scent.
* **Tea Tree:** A powerful antibacterial and antifungal agent, tea tree oil is excellent for disinfecting surfaces.
* **Eucalyptus:** Known for its decongestant properties, eucalyptus essential oil also has antibacterial and antiviral benefits.
* **Peppermint:** A refreshing and invigorating scent, peppermint essential oil also has antibacterial properties.
Experiment with different essential oils to find your favorite combination. Remember to use pure, therapeutic-grade essential oils for the best results.
Can I use this cleaning trick on my floors?
Yes, you can use this cleaning trick on many types of floors, but it’s important to consider the material of your flooring. For hardwood floors, use a diluted solution of vinegar and water to avoid damaging the finish. For tile floors, you can use a stronger concentration of vinegar. Avoid using vinegar on natural stone floors, as mentioned earlier. Always test the solution on an inconspicuous area first to ensure it doesn’t cause any damage or discoloration.
What if I don’t have all the ingredients listed?
The beauty of this DIY cleaning trick is its flexibility. If you don’t have all the ingredients, you can still make a basic cleaning solution with just vinegar and water. Baking soda can be added for extra cleaning power, and essential oils are optional for fragrance and added benefits. Don’t be afraid to experiment with what you have on hand.
How do I get rid of the vinegar smell?
The vinegar smell will dissipate quickly as the solution dries. However, if you’re sensitive to the smell, you can add a few drops of your favorite essential oil to the mixture. Lemon, lavender, and peppermint essential oils are particularly effective at masking the vinegar scent. You can also open windows and ventilate the area while cleaning.
Is this cleaning trick safe for pets and children?
While the ingredients used in this DIY cleaning trick are generally considered safe, it’s still important to exercise caution when cleaning around pets and children. Keep them away from the area while you’re cleaning, and allow the surfaces to dry completely before allowing them back in. If your pet or child ingests the cleaning solution, contact your veterinarian or poison control center immediately.
What are some other uses for this DIY cleaning trick?
Besides cleaning surfaces, this DIY cleaning trick can also be used for:
* **Cleaning windows and mirrors:** The vinegar helps to cut through grime and leave a streak-free shine.
* **Deodorizing drains:** Pour a cup of baking soda down the drain, followed by a cup of vinegar. Let it fizz for 30 minutes, then flush with hot water.
* **Cleaning the microwave:** Heat a cup of water with a few tablespoons of vinegar in the microwave for a few minutes. The steam will loosen the grime, making it easy to wipe clean.
* **Removing hard water stains:** Spray the solution on hard water stains and let it sit for a few minutes before wiping clean.
* **Freshening laundry:** Add a cup of vinegar to your washing machine during the rinse cycle to help remove odors and soften fabrics.


Leave a Comment