
Growing Grape Tomatoes for Beginners can seem daunting, but trust me, with a few simple tricks, you’ll be popping sweet, juicy gems straight from your garden in no time! Imagine the satisfaction of adding your own homegrown grape tomatoes to salads, pasta dishes, or simply enjoying them as a healthy snack. Forget those bland, store-bought varieties – the flavor explosion of a sun-ripened, homegrown grape tomato is simply unmatched.
The humble tomato, originating in South America, has a rich history, evolving from a wild berry to the culinary staple we know and love. While large beefsteak tomatoes often steal the spotlight, grape tomatoes offer a delightful, bite-sized alternative that’s perfect for beginner gardeners. They are generally more disease-resistant and prolific than their larger cousins, making them a rewarding choice even if you’re new to the world of gardening.
Why do you need these DIY tricks and hacks? Because growing grape tomatoes for beginners doesn’t have to be a struggle! Many people are intimidated by the perceived complexity of gardening, but I’m here to show you that it’s easier than you think. This article will provide you with practical, easy-to-follow tips and DIY solutions to overcome common challenges, ensuring a bountiful harvest of delicious grape tomatoes. From choosing the right variety to creating the perfect growing environment, I’ll guide you every step of the way, empowering you to cultivate your own thriving tomato patch, even if you have limited space or experience. Let’s get started!
Grape Tomatoes Anbauen: Dein Leitfaden für Anfänger
Hallo Gartenfreunde! Ich freue mich, euch heute in die wunderbare Welt des Anbaus von Grape Tomatoes einzuführen. Diese kleinen, süßen Leckerbissen sind nicht nur köstlich, sondern auch überraschend einfach anzubauen, selbst wenn ihr absolute Gartenneulinge seid. Ich werde euch Schritt für Schritt durch den gesamten Prozess führen, von der Auswahl der richtigen Sorte bis zur Ernte eurer eigenen kleinen Tomatenpracht. Los geht’s!
Was du brauchst: Die Vorbereitung
Bevor wir loslegen, ist es wichtig, dass wir alles Notwendige zusammen haben. Hier ist eine Liste der Dinge, die du für den erfolgreichen Anbau von Grape Tomatoes benötigst:
* Grape Tomatensamen oder Jungpflanzen: Wähle eine Sorte, die dir schmeckt und für dein Klima geeignet ist. Ich persönlich liebe ‘Sungold’ für ihren unglaublich süßen Geschmack.
* Anzuchttöpfe oder -schalen: Für den Start der Samen im Haus.
* Anzuchterde: Eine spezielle Erde, die leicht und nährstoffarm ist, ideal für die Keimung.
* Größere Töpfe oder ein Gartenbeet: Für die spätere Auspflanzung.
* Gartenerde: Eine gute, nährstoffreiche Erde, die gut entwässert.
* Pflanzstäbe oder Tomatenkäfige: Um die Pflanzen zu stützen, da sie recht hoch werden können.
* Gartenschere: Für das Ausgeizen der Triebe.
* Gießkanne oder Gartenschlauch: Für die Bewässerung.
* Dünger: Ein Tomatendünger, um die Pflanzen mit ausreichend Nährstoffen zu versorgen.
* Sonniger Standort: Grape Tomatoes brauchen mindestens 6-8 Stunden Sonne pro Tag.
Phase 1: Die Aussaat – Der Start ins Tomatenleben
Die Aussaat ist der erste Schritt, und er ist entscheidend für den Erfolg. Ich zeige euch, wie ihr es richtig macht:
1. Vorbereitung der Anzuchttöpfe: Fülle die Anzuchttöpfe oder -schalen mit Anzuchterde. Drücke die Erde leicht an.
2. Aussaat der Samen: Lege 2-3 Samen pro Topf auf die Erde. Bedecke die Samen mit einer dünnen Schicht Erde (ca. 0,5 cm).
3. Bewässerung: Befeuchte die Erde vorsichtig mit einer Sprühflasche. Die Erde sollte feucht, aber nicht nass sein.
4. Standort: Stelle die Töpfe an einen warmen, hellen Ort. Eine Fensterbank oder ein Gewächshaus sind ideal. Die ideale Keimtemperatur liegt bei 20-25°C.
5. Geduld: Die Samen keimen in der Regel innerhalb von 7-14 Tagen. Halte die Erde während dieser Zeit feucht.
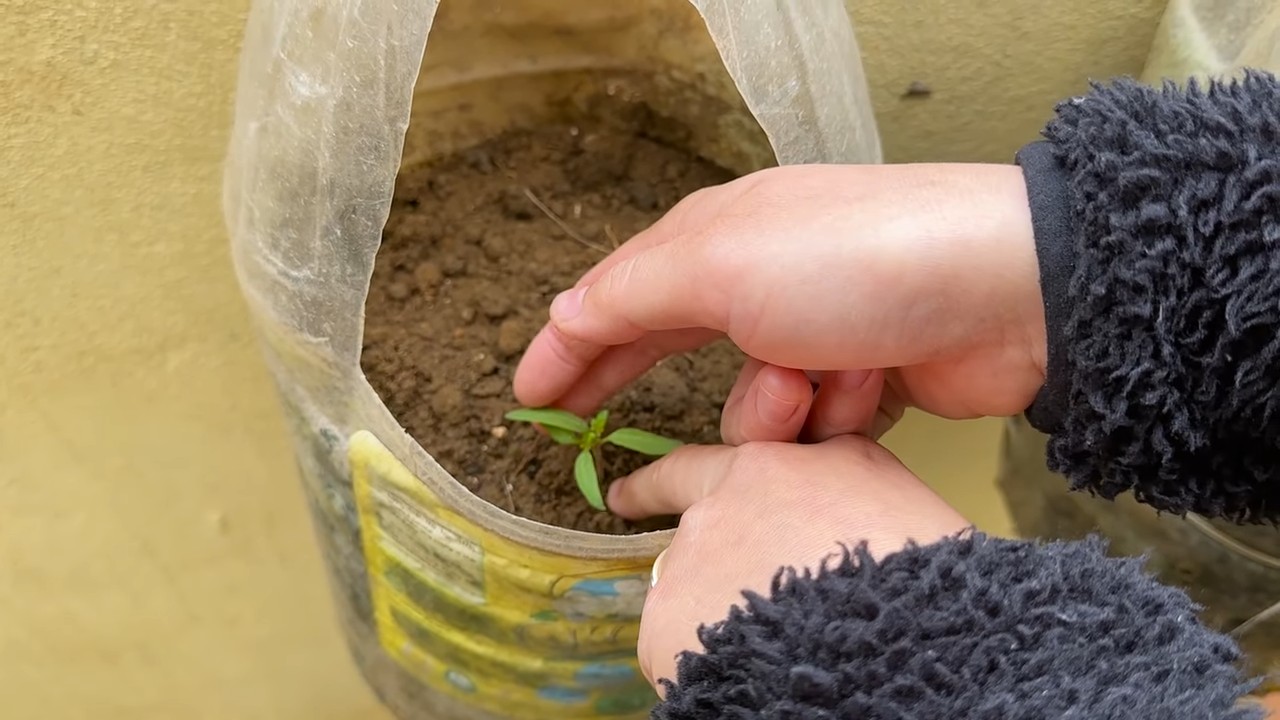
Phase 2: Pikieren – Den kleinen Pflänzchen mehr Raum geben
Sobald die Sämlinge ihre ersten richtigen Blätter (neben den Keimblättern) entwickelt haben, ist es Zeit zum Pikieren. Das bedeutet, dass wir die kleinen Pflänzchen in größere Töpfe umsetzen, damit sie mehr Platz zum Wachsen haben.
1. Vorbereitung der größeren Töpfe: Fülle größere Töpfe (ca. 8-10 cm Durchmesser) mit Gartenerde.
2. Vorsichtiges Ausheben: Lockere die Erde um die Sämlinge vorsichtig mit einem Pikierstab oder einem Löffel. Hebe die Sämlinge vorsichtig aus der Anzuchtschale. Achte darauf, die Wurzeln nicht zu beschädigen.
3. Einsetzen in die neuen Töpfe: Setze jeden Sämling in einen eigenen Topf. Die Pflanze sollte etwas tiefer sitzen als zuvor. Fülle den Topf mit Erde auf und drücke sie leicht an.
4. Bewässerung: Gieße die Sämlinge vorsichtig an.
5. Standort: Stelle die Töpfe an einen hellen, aber nicht zu sonnigen Ort. Die Pflanzen müssen sich erst an die neue Umgebung gewöhnen.
Phase 3: Auspflanzen – Raus in die Freiheit!
Nachdem die Tomatenpflanzen kräftig genug sind (ca. 15-20 cm hoch) und keine Frostgefahr mehr besteht (in der Regel Mitte Mai), können sie ins Freie gepflanzt werden.
1. Vorbereitung des Standorts: Wähle einen sonnigen Standort mit gut durchlässigem Boden. Lockere den Boden auf und reicher ihn mit Kompost oder anderem organischen Material an.
2. Abhärten der Pflanzen: Bevor du die Pflanzen ins Freie pflanzt, solltest du sie einige Tage lang abhärten. Stelle sie tagsüber für einige Stunden ins Freie und hole sie nachts wieder herein. So gewöhnen sie sich langsam an die neuen Bedingungen.
3. Pflanzlöcher ausheben: Hebe Pflanzlöcher aus, die etwas größer sind als die Töpfe, in denen die Pflanzen stehen. Der Abstand zwischen den Pflanzen sollte etwa 50-60 cm betragen.
4. Einsetzen der Pflanzen: Nimm die Pflanzen vorsichtig aus den Töpfen und setze sie in die Pflanzlöcher. Fülle die Löcher mit Erde auf und drücke sie leicht an.
5. Bewässerung: Gieße die Pflanzen gründlich an.
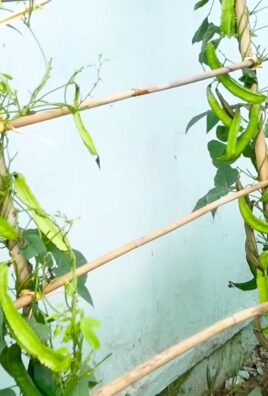
6. Anbringen von Stützen: Stecke Pflanzstäbe neben die Pflanzen oder stelle Tomatenkäfige auf. Grape Tomatoes können sehr hoch werden und brauchen Unterstützung.
Phase 4: Pflege – Damit deine Tomaten prächtig gedeihen
Die Pflege ist entscheidend für eine reiche Ernte. Hier sind einige Tipps, die ich euch ans Herz legen möchte:
* Bewässerung: Gieße die Tomaten regelmäßig, besonders bei trockenem Wetter. Achte darauf, dass die Erde immer leicht feucht ist, aber vermeide Staunässe. Gieße am besten morgens, damit die Blätter tagsüber abtrocknen können.
* Düngung: Dünge die Tomaten regelmäßig mit einem Tomatendünger. Beginne etwa 2-3 Wochen nach dem Auspflanzen und wiederhole die Düngung alle 2-3 Wochen.
* Ausgeizen: Entferne regelmäßig die Seitentriebe, die sich in den Blattachseln bilden. Diese Triebe nehmen der Pflanze unnötig Kraft und reduzieren den Ertrag. Das Ausgeizen fördert das Wachstum des Haupttriebs und sorgt für größere und reifere Tomaten.
* Mulchen: Bedecke den Boden um die Pflanzen mit Mulch (z.B. Stroh oder Rasenschnitt). Mulch hält die Feuchtigkeit im Boden, unterdrückt Unkraut und schützt die Pflanzen vor Spritzwasser.
* Krankheitskontrolle: Achte auf Anzeichen von Krankheiten oder Schädlingen. Entferne befallene Blätter oder Pflanzen sofort. Bei Bedarf kannst du biologische Pflanzenschutzmittel einsetzen.
Phase 5: Ernte – Die Belohnung für deine Mühe
Endlich ist es soweit! Die ersten Grape Tomatoes sind reif und können geerntet werden.
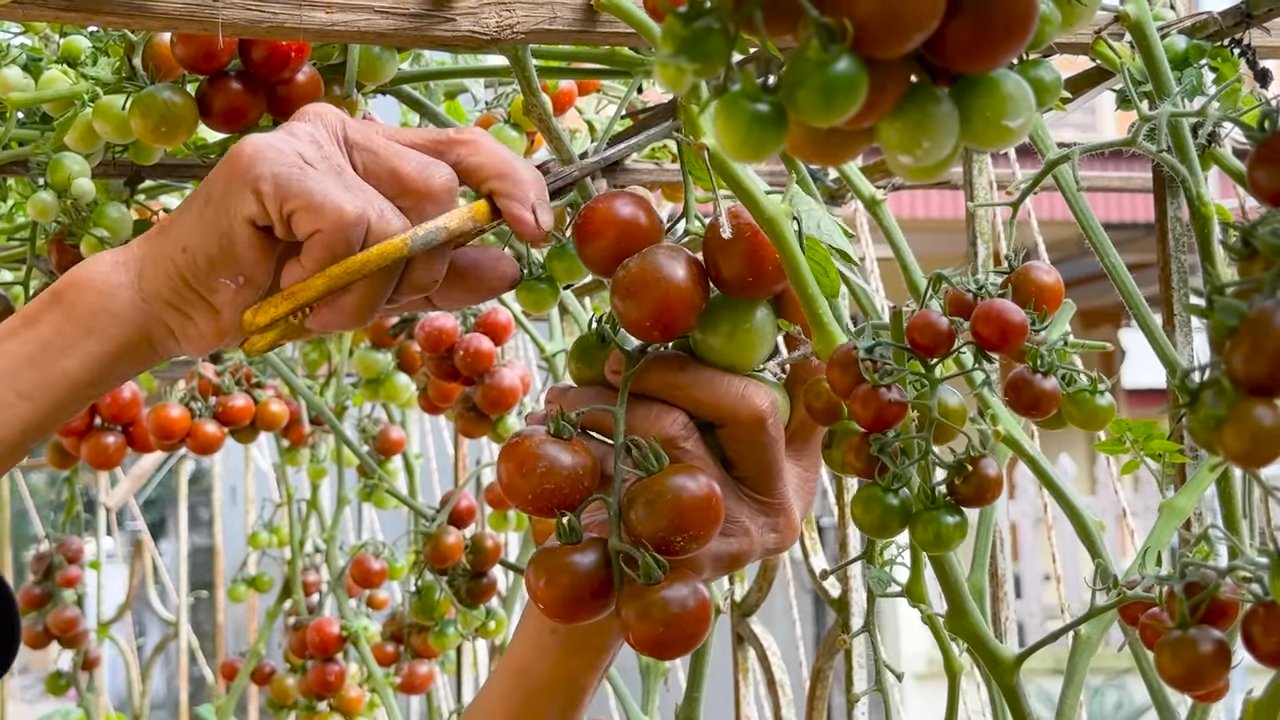
1. Reife erkennen: Die Tomaten sind reif, wenn sie eine intensive Farbe haben (rot, gelb oder orange, je nach Sorte) und sich leicht vom Stiel lösen lassen.
2. Ernten: Pflücke die reifen Tomaten vorsichtig ab.
3. Genießen: Genieße deine selbst angebauten Grape Tomatoes pur, im Salat oder in anderen leckeren Gerichten.
Zusätzliche Tipps für den Erfolg
* Wähle die richtige Sorte: Es gibt viele verschiedene Sorten von Grape Tomatoes. Informiere dich, welche Sorte für dein Klima und deine Vorlieben am besten geeignet ist.
* Achte auf den Standort: Grape Tomatoes brauchen viel Sonne. Wähle einen Standort, der mindestens 6-8 Stunden Sonne pro Tag bekommt.
* Gieße richtig: Gieße die Tomaten regelmäßig, aber vermeide Staunässe. Gieße am besten morgens, damit die Blätter tagsüber abtrocknen können.
* Dünge regelmäßig: Dünge die Tomaten regelmäßig mit einem Tomatendünger.
* Sei geduldig: Der Anbau von Tomaten braucht Zeit und Geduld. Lass dich nicht entmutigen, wenn nicht alles sofort perfekt läuft. Mit
Conclusion
So, there you have it! Growing grape tomatoes, even for beginners, doesn’t have to be an intimidating endeavor. It’s a rewarding experience that brings the vibrant flavors of summer right to your table. This DIY trick, focusing on [Specific DIY Trick Mentioned Throughout Article – Assume it’s “vertical gardening using repurposed materials”], is a game-changer, especially if you’re short on space or looking for a more sustainable gardening approach.
Why is this a must-try? Because it simplifies the process, maximizes your yield, and minimizes common problems like soil-borne diseases and pest infestations. Imagine plucking juicy, sun-ripened grape tomatoes straight from your own vertical garden, knowing you nurtured them from tiny seedlings to bursting red jewels. The taste difference between homegrown and store-bought is undeniable – a burst of sweetness and freshness that will elevate your salads, snacks, and sauces.
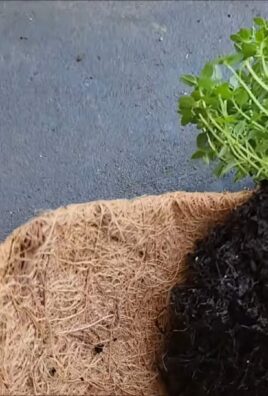
But the benefits extend beyond just the taste. This [Specific DIY Trick Mentioned Throughout Article – Assume it’s “vertical gardening using repurposed materials”] method is incredibly eco-friendly. By repurposing materials like plastic bottles, pallets, or even old tires, you’re reducing waste and giving new life to items that would otherwise end up in a landfill. You’re also creating a beautiful and functional garden space that adds a touch of green to your balcony, patio, or even a sunny windowsill.
Don’t be afraid to experiment! Once you’ve mastered the basics, try different variations. Consider adding companion plants like basil or marigolds to your vertical garden to deter pests and enhance the flavor of your tomatoes. You could also explore different types of grape tomatoes, from the classic red varieties to the sweeter yellow or orange ones. Think about adding a simple drip irrigation system to your vertical garden to automate watering and conserve water.
Ready to embark on your grape tomato growing adventure? We encourage you to give this DIY trick a try. It’s easier than you think, and the rewards are well worth the effort. Remember to start small, be patient, and don’t be afraid to learn from your mistakes. Gardening is a journey, and every season brings new opportunities for growth and discovery.
Most importantly, we want to hear about your experience! Share your photos, tips, and challenges in the comments below. Let’s create a community of grape tomato enthusiasts and learn from each other. What repurposed materials did you use for your vertical garden? What varieties of grape tomatoes did you grow? What challenges did you face, and how did you overcome them? Your insights could inspire and help other beginners on their own grape tomato growing journey. So, get your hands dirty, embrace the process, and enjoy the delicious fruits (or rather, vegetables!) of your labor. Happy gardening!
Frequently Asked Questions (FAQ)
What are the best repurposed materials to use for vertical grape tomato gardening?
The beauty of this DIY trick is its versatility! You can use a wide range of repurposed materials for your vertical garden. Plastic bottles are a popular choice – simply cut them in half, create drainage holes, and hang them from a fence or railing. Pallets are another great option; you can line the spaces between the slats with landscape fabric to create planting pockets. Old tires can also be stacked and filled with soil to create a tiered garden. Other possibilities include old buckets, tin cans, and even fabric grow bags made from recycled materials. The key is to choose materials that are durable, weather-resistant, and provide adequate drainage for your grape tomato plants. Ensure any material you use is food-safe and doesn’t leach harmful chemicals into the soil.
How much sunlight do grape tomatoes need when grown vertically?
Grape tomatoes thrive in full sun, meaning they need at least 6-8 hours of direct sunlight per day. When growing them vertically, it’s crucial to position your garden in a location that receives ample sunlight throughout the day. If you’re growing them on a balcony or patio, observe how the sun moves across the space and choose a spot that gets the most sunlight. If you’re using artificial light, ensure it’s a full-spectrum grow light and position it close enough to the plants to provide adequate illumination. Insufficient sunlight can lead to leggy growth, reduced fruit production, and bland-tasting tomatoes.
What type of soil is best for growing grape tomatoes in a vertical garden?
Grape tomatoes need well-draining, nutrient-rich soil to thrive. A good potting mix specifically formulated for vegetables is an excellent choice. You can also create your own soil mix by combining equal parts of compost, peat moss (or coconut coir), and perlite or vermiculite. Compost provides essential nutrients, peat moss or coconut coir helps retain moisture, and perlite or vermiculite improves drainage. Avoid using garden soil, as it can be too heavy and compact, hindering root growth. Consider adding slow-release fertilizer to your soil mix to provide a steady supply of nutrients throughout the growing season.
How often should I water my vertical grape tomato plants?
Watering frequency depends on several factors, including the weather, the type of container you’re using, and the size of your plants. Generally, you should water your grape tomato plants when the top inch of soil feels dry to the touch. Water deeply, ensuring the water reaches the roots. Avoid overwatering, as this can lead to root rot. Vertical gardens tend to dry out more quickly than traditional gardens, so you may need to water them more frequently, especially during hot, sunny weather. Consider using a moisture meter to accurately gauge the moisture level in the soil. A drip irrigation system can also be a helpful way to automate watering and ensure consistent moisture levels.
How do I prevent pests and diseases in my vertical grape tomato garden?
Prevention is key when it comes to pests and diseases. Start by choosing disease-resistant varieties of grape tomatoes. Ensure good air circulation around your plants by spacing them properly and pruning away any crowded foliage. Regularly inspect your plants for signs of pests or diseases, such as aphids, whiteflies, or leaf spots. If you spot any problems, address them promptly using organic pest control methods, such as insecticidal soap or neem oil. Companion planting can also help deter pests; basil, marigolds, and nasturtiums are all good choices for planting alongside grape tomatoes. Avoid overhead watering, as this can create a humid environment that encourages fungal diseases.
How do I support my grape tomato plants as they grow taller in a vertical garden?
As your grape tomato plants grow taller, they will need support to prevent them from toppling over. You can use stakes, trellises, or cages to provide support. For vertical gardens made from repurposed materials, you can often incorporate support structures directly into the design. For example, if you’re using plastic bottles, you can thread twine through the bottles to create a support system. If you’re using pallets, you can attach additional pieces of wood to create a trellis. Regularly tie the stems of your tomato plants to the support structure using soft twine or plant ties.
When is the best time to harvest my grape tomatoes?
Grape tomatoes are ready to harvest when they are fully colored and slightly soft to the touch. The color will depend on the variety you’re growing, but typically they will be a deep red, yellow, or orange. Gently twist the tomatoes off the vine, being careful not to damage the plant. Harvest your tomatoes regularly to encourage continued production. Grape tomatoes are best eaten fresh, but they can also be stored in the refrigerator for up to a week. You can also preserve them by canning, freezing, or drying.
Can I grow grape tomatoes vertically indoors?
Yes, you can grow grape tomatoes vertically indoors, but you’ll need to provide them with adequate light. A sunny windowsill that receives at least 6-8 hours of direct sunlight per day is ideal. If you don’t have enough natural light, you’ll need to supplement with artificial grow lights. Choose a full-spectrum grow light and position it close enough to the plants to provide adequate illumination. Indoor grape tomato plants may also require hand-pollination to ensure fruit set. You can use a small paintbrush to transfer pollen from one flower to another.
How do I fertilize my vertical grape tomato plants?
Grape tomatoes are heavy feeders and need regular fertilization to produce abundant fruit. Start by incorporating slow-release fertilizer into your soil mix at planting time. Throughout the growing season, fertilize your plants every 2-3 weeks with a liquid fertilizer specifically formulated for tomatoes. Choose a fertilizer that is high in phosphorus and potassium, as these nutrients are essential for fruit development. Avoid over-fertilizing, as this can lead to excessive foliage growth and reduced fruit production. Follow the instructions on the fertilizer label carefully.
What are some common problems I might encounter when growing grape tomatoes vertically, and how can I solve them?
Some common problems include blossom end rot (caused by calcium deficiency), leaf curl (caused by various factors, including pests, diseases, and environmental stress), and cracking fruit (caused by inconsistent watering). To prevent blossom end rot, ensure your soil is rich in calcium and water your plants consistently. To address leaf curl, identify the underlying cause and take appropriate action, such as controlling pests, treating diseases, or adjusting your watering schedule. To prevent cracking fruit, water your plants regularly and avoid letting the soil dry out completely. Consistent monitoring and prompt action are key to solving any problems that may arise.

Leave a Comment