
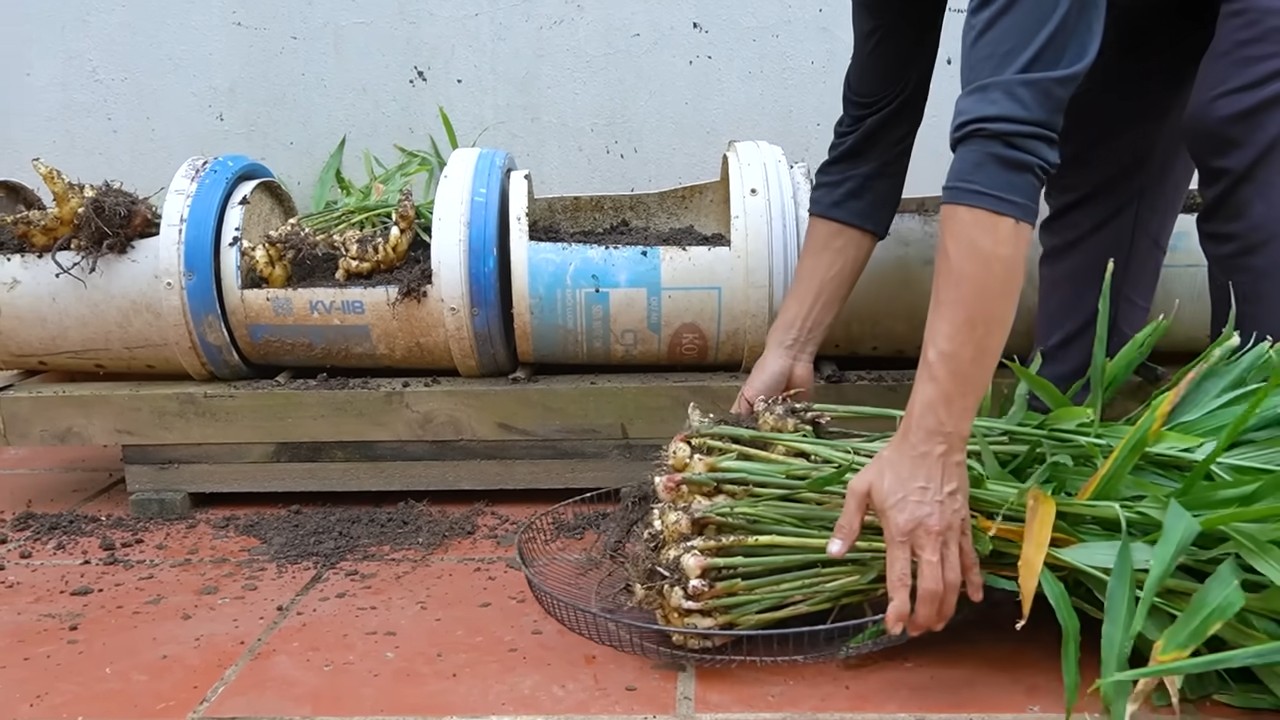
Growing Yellow Watermelons in Molds might sound like something out of a futuristic farm, but trust me, it’s a surprisingly accessible and fun DIY project you can tackle right in your own backyard! Have you ever dreamed of impressing your friends and family with perfectly shaped, vibrant yellow watermelons? Well, dream no more! This isn’t just about aesthetics; it’s about taking control of your garden and adding a touch of artistry to your harvest.
The practice of shaping fruits and vegetables isn’t entirely new. In Japan, farmers have been cultivating square watermelons for decades, primarily as novelty items and space-saving solutions for urban dwellers. These unique creations often fetch a premium price, showcasing the demand for creatively grown produce. But why should the fun be limited to square watermelons? I believe everyone deserves to experience the joy of shaping their own fruits!
Let’s be honest, traditional gardening can sometimes feel a bit… predictable. But with this DIY trick, you can inject a dose of excitement and innovation into your gardening routine. Plus, growing yellow watermelons in molds offers several practical benefits. It can protect your developing watermelons from pests and ground rot, ensuring a healthier and more bountiful harvest. And who wouldn’t want to be the envy of the neighborhood with these uniquely shaped, delicious treats? So, grab your tools, and let’s dive into the wonderful world of molded watermelons!
Gelbe Wassermelonen in Formen ziehen: Ein DIY-Leitfaden für den Garten
Hallo Gartenfreunde! Habt ihr euch jemals gefragt, wie man diese perfekt quadratischen oder herzförmigen Wassermelonen sieht? Das ist kein Zufall, sondern ein cleverer Trick, der mit Formen funktioniert! Ich zeige euch heute, wie ihr das auch zu Hause schaffen könnt, und zwar mit gelben Wassermelonen. Das Ergebnis ist nicht nur ein Hingucker, sondern auch ein tolles Gesprächsthema auf jeder Gartenparty. Lasst uns loslegen!
Was du brauchst:
* Gelbe Wassermelonensamen: Wählt eine Sorte, die für eure Region geeignet ist. Ich empfehle ‘Yellow Doll’ oder ‘Golden Midget’.
* Anzuchttöpfe und Erde: Für die Voranzucht der Samen.
* Gartenerde: Gut durchlässig und nährstoffreich.
* Dünger: Ein ausgewogener Dünger für Wassermelonen.
* Gießkanne oder Schlauch: Für die Bewässerung.
* Formen: Quadratische, herzförmige oder andere Formen aus transparentem, robustem Kunststoff. Achtet darauf, dass die Formen groß genug sind, um die wachsende Melone aufzunehmen. Die Form sollte sich öffnen und schließen lassen, um die Melone nicht zu beschädigen.
* Geduld: Das Wichtigste!
Vorbereitung: Der Grundstein für den Erfolg
Bevor wir mit dem eigentlichen Formen beginnen, müssen wir sicherstellen, dass unsere gelben Wassermelonenpflanzen gesund und kräftig sind. Hier sind die Schritte, die ich empfehle:
1. Samen vorziehen: Ich starte meine Wassermelonen gerne im Haus, etwa 4-6 Wochen vor dem letzten Frost. Füllt eure Anzuchttöpfe mit Anzuchterde und legt 2-3 Samen pro Topf hinein. Bedeckt sie leicht mit Erde und gießt sie vorsichtig an. Stellt die Töpfe an einen warmen, hellen Ort. Eine Heizmatte kann helfen, die Keimung zu beschleunigen.
2. Keimung beobachten: Nach etwa einer Woche sollten die ersten Keimlinge zu sehen sein. Wenn mehr als ein Samen pro Topf aufgeht, könnt ihr den schwächsten Keimling entfernen.
3. Pflanzen abhärten: Bevor ihr die jungen Pflanzen ins Freie setzt, müsst ihr sie abhärten. Das bedeutet, dass ihr sie langsam an die Bedingungen im Freien gewöhnt. Beginnt damit, sie für ein paar Stunden am Tag nach draußen zu stellen und verlängert die Zeit jeden Tag.
Auspflanzen: Der Umzug ins Freie
Sobald die Frostgefahr vorüber ist und die Bodentemperatur mindestens 18°C beträgt, können die Wassermelonenpflanzen ins Freie umziehen.
1. Standort wählen: Wassermelonen lieben die Sonne! Wählt einen sonnigen Standort mit gut durchlässigem Boden. Ich achte darauf, dass der Standort mindestens 6-8 Stunden Sonne pro Tag bekommt.
2. Boden vorbereiten: Lockert den Boden gründlich auf und mischt Kompost oder gut verrotteten Mist unter. Wassermelonen sind Starkzehrer und benötigen viele Nährstoffe.
3. Pflanzen einsetzen: Grabt Löcher, die etwas größer sind als die Wurzelballen der Pflanzen. Setzt die Pflanzen vorsichtig ein und füllt die Löcher mit Erde auf. Gießt die Pflanzen gut an. Ich lasse zwischen den Pflanzen etwa 90-120 cm Platz, damit sie genügend Platz zum Wachsen haben.
Die Formgebung: Der kreative Teil
Jetzt kommt der spannende Teil: das Formen der Wassermelonen!
1. Zeitpunkt wählen: Der richtige Zeitpunkt ist entscheidend. Die Wassermelone sollte etwa die Größe einer Faust haben, bevor ihr sie in die Form setzt. Wenn sie zu klein ist, wird sie die Form nicht richtig ausfüllen. Wenn sie zu groß ist, kann sie die Form sprengen.
2. Form vorbereiten: Reinigt die Form gründlich, bevor ihr sie verwendet. Ich desinfiziere sie zusätzlich mit einer milden Seifenlösung, um das Risiko von Krankheiten zu minimieren.
3. Melone in die Form setzen: Öffnet die Form vorsichtig und legt die Wassermelone hinein. Achtet darauf, dass die Melone mittig in der Form liegt. Schließt die Form vorsichtig und sichert sie mit den mitgelieferten Verschlüssen.
4. Form stabilisieren: Um zu verhindern, dass die Form umkippt oder sich verschiebt, könnt ihr sie mit Steinen oder Holzklötzen stabilisieren. Ich stelle die Form gerne auf eine ebene Fläche und sichere sie zusätzlich mit ein paar Heringen im Boden.
Pflege während der Formgebung: Geduld ist gefragt
Während die Wassermelone in der Form wächst, ist es wichtig, sie weiterhin gut zu pflegen.
1. Bewässerung: Wassermelonen benötigen viel Wasser, besonders während der Fruchtbildung. Gießt die Pflanzen regelmäßig, besonders bei trockenem Wetter. Ich gieße am liebsten früh am Morgen, damit die Blätter Zeit haben, abzutrocknen, bevor die Sonne aufgeht.
2. Düngung: Düngt die Pflanzen alle 2-3 Wochen mit einem ausgewogenen Dünger. Ich verwende gerne einen Dünger, der speziell für Wassermelonen entwickelt wurde.
3. Kontrolle: Überprüft die Form regelmäßig auf Risse oder Beschädigungen. Wenn ihr Risse entdeckt, solltet ihr die Form sofort reparieren oder austauschen. Achtet auch auf Anzeichen von Krankheiten oder Schädlingen.
4. Geduld haben: Das Wichtigste ist Geduld! Es dauert einige Wochen, bis die Wassermelone die Form vollständig ausgefüllt hat. Lasst euch nicht entmutigen, wenn es nicht sofort klappt.
Ernte: Der Lohn der Mühe
Sobald die Wassermelone die Form vollständig ausgefüllt hat und die Reife erreicht hat, ist es Zeit für die Ernte.
1. Reife prüfen: Die Reife einer Wassermelone lässt sich an verschiedenen Faktoren erkennen. Die Unterseite der Melone, die auf dem Boden liegt, sollte gelblich sein. Wenn man auf die Melone klopft, sollte sie hohl klingen. Der Stiel, der die Melone mit der Pflanze verbindet, sollte trocken und braun sein.
2. Ernte: Schneidet die Melone vorsichtig vom Stiel ab. Öffnet die Form und nehmt die geformte Wassermelone heraus.
3. Genießen: Jetzt könnt ihr eure selbst gezogene, geformte gelbe Wassermelone genießen! Sie ist nicht nur ein Hingucker, sondern schmeckt auch köstlich.
Zusätzliche Tipps und Tricks:
* Formen wiederverwenden: Die Formen können mehrfach verwendet werden. Reinigt sie nach der Ernte gründlich und lagert sie trocken.
* Verschiedene Formen ausprobieren: Experimentiert mit verschiedenen Formen, um einzigartige Wassermelonen zu züchten.
* Schutz vor Schädlingen: Wassermelonen können von verschiedenen Schädlingen befallen werden. Schützt eure Pflanzen mit natürlichen Schädlingsbekämpfungsmitteln.
* Bodenverbesserung: Verbessert den Boden regelmäßig mit Kompost oder organischem Material, um die Nährstoffversorgung der Pflanzen zu gewährleisten.
* Sonnenbrand vermeiden: In sehr heißen Regionen kann es vorkommen, dass die Wassermelonen Sonnenbrand bekommen. Schützt sie mit einem Schattiernetz oder einem Tuch.
Ich hoffe, dieser Leitfaden hilft euch dabei, eure eigenen geformten gelben Wassermelonen zu züchten. Es ist ein lustiges und lohnendes Projekt, das euch mit einzigartigen und köstlichen Früchten belohnt. Viel Spaß beim Gärtnern!
Conclusion
So, there you have it! Growing yellow watermelons in molds isn’t just a quirky gardening experiment; it’s a rewarding journey that culminates in a uniquely shaped and delicious fruit. We’ve walked through the process, from selecting the right mold to nurturing your watermelon to its final, perfectly formed glory. But why should you dedicate your precious gardening time to this endeavor?
Firstly, the novelty factor is undeniable. Imagine the looks of surprise and delight when you present a square or heart-shaped yellow watermelon at your next barbecue or potluck. It’s a conversation starter, a visual treat, and a testament to your gardening ingenuity. Beyond the aesthetic appeal, growing watermelons in molds offers a practical advantage. The molds provide a degree of protection from pests and ground rot, potentially leading to a healthier and more abundant harvest. Plus, the controlled environment within the mold can contribute to more uniform ripening and sweetness.
But the real magic lies in the experience itself. It’s about connecting with nature, learning about the growth cycle of a plant, and taking pride in cultivating something truly special. It’s a project that can be enjoyed by gardeners of all skill levels, from seasoned pros to curious beginners.
Don’t be afraid to experiment with different mold shapes and sizes. While we’ve focused on squares and hearts, the possibilities are endless. Consider using star-shaped molds for a patriotic touch, or even custom-designed molds for a truly personalized watermelon. You can also explore different varieties of yellow watermelons to find your favorite flavor profile. Some varieties are sweeter, while others have a more subtle, refreshing taste.
Remember to be patient and observant throughout the growing process. Check your watermelons regularly for signs of pests or disease, and adjust your watering and fertilization schedule as needed. With a little care and attention, you’ll be rewarded with a bountiful harvest of uniquely shaped and delicious yellow watermelons.
We wholeheartedly encourage you to try this DIY trick. It’s a fun, educational, and ultimately delicious way to elevate your gardening game. And most importantly, we want to hear about your experiences! Share your photos, tips, and stories with us in the comments below. Let’s create a community of gardeners who are passionate about pushing the boundaries of what’s possible in the garden. Let us know what mold shape you chose, what variety of yellow watermelon you used, and any challenges or successes you encountered along the way. Your feedback will help us refine this guide and inspire other gardeners to embark on their own watermelon-molding adventures. So, grab your molds, plant your seeds, and get ready to grow some truly extraordinary yellow watermelons! This method of growing **yellow watermelons in molds** is sure to be a hit!
Frequently Asked Questions (FAQ)
What type of mold is best for growing watermelons?
The best type of mold for growing watermelons is one made from food-grade, BPA-free plastic. This ensures that no harmful chemicals leach into the fruit. The mold should also be sturdy enough to withstand the weight of the growing watermelon and have adequate ventilation holes to prevent moisture buildup and mold growth. Consider molds specifically designed for shaping fruits and vegetables, as these often have features like adjustable sizes and easy-to-open closures. You can find these online or at specialty gardening stores. Avoid using molds that are too rigid, as they may restrict the watermelon’s growth and cause it to crack.
When is the right time to place the mold around the watermelon?
Timing is crucial for successful watermelon molding. You should place the mold around the watermelon when it is approximately 4-6 inches in diameter. At this stage, the watermelon is still actively growing but is small enough to fit comfortably inside the mold. Placing the mold too early can hinder the watermelon’s initial growth, while placing it too late may result in the watermelon being too large to fit properly, potentially damaging the fruit or the mold. Monitor your watermelons closely and check their size regularly to determine the optimal time for mold placement.
How do I prevent the watermelon from rotting inside the mold?
Preventing rot is essential for a successful harvest. Ensure the mold has adequate ventilation holes to allow air circulation and prevent moisture buildup. Regularly inspect the watermelon and the inside of the mold for any signs of rot or mold growth. If you notice any issues, gently wipe the affected area with a diluted solution of water and hydrogen peroxide. Avoid overwatering the watermelon, as excessive moisture can contribute to rot. Consider placing a small layer of straw or other organic material beneath the watermelon inside the mold to elevate it slightly and improve air circulation.
Can I reuse the molds for multiple watermelons?
Yes, you can reuse the molds for multiple watermelons, but proper cleaning and sanitation are essential. After harvesting a watermelon, thoroughly wash the mold with warm, soapy water to remove any residue or debris. Disinfect the mold with a diluted bleach solution (1 part bleach to 10 parts water) to kill any bacteria or fungi. Rinse the mold thoroughly with clean water and allow it to air dry completely before storing it or using it for another watermelon. Proper cleaning and sanitation will help prevent the spread of diseases and ensure the molds remain in good condition for future use.
How long does it take for the watermelon to fill the mold?
The time it takes for a watermelon to fill the mold depends on several factors, including the watermelon variety, growing conditions, and the size of the mold. Generally, it takes approximately 2-3 weeks for a watermelon to fully conform to the shape of the mold. Monitor the watermelon’s growth regularly and check its fit within the mold. If the watermelon appears to be growing too quickly or is putting excessive pressure on the mold, you may need to loosen the mold slightly to prevent cracking. Conversely, if the watermelon is growing too slowly, ensure it is receiving adequate sunlight, water, and nutrients.
What if the watermelon cracks while inside the mold?
If a watermelon cracks while inside the mold, it’s usually due to excessive pressure from rapid growth or improper mold fit. If you catch the crack early, you may be able to salvage the situation. First, carefully loosen the mold to relieve some of the pressure. Then, apply a thin layer of grafting wax or petroleum jelly to the crack to seal it and prevent infection. Monitor the watermelon closely for any signs of rot or further cracking. If the crack is too severe or the watermelon shows signs of rot, it’s best to remove it from the mold to prevent it from affecting other watermelons.
Will the mold affect the taste of the watermelon?
No, the mold should not affect the taste of the watermelon, provided it is made from food-grade, BPA-free plastic. The mold primarily influences the shape of the watermelon, not its internal composition or flavor. However, it’s important to ensure the mold is clean and free from any contaminants that could potentially affect the taste. Proper watering and fertilization practices will also play a crucial role in determining the watermelon’s sweetness and overall flavor.
What are some other creative uses for these molds besides watermelons?
While watermelons are a popular choice, these molds can also be used to shape other fruits and vegetables, such as cucumbers, squashes, and even pumpkins. The key is to choose varieties that are relatively small and have a firm texture. Experiment with different shapes and sizes to create unique and eye-catching produce. You can also use the molds for decorative purposes, such as creating ice sculptures or shaping desserts. The possibilities are endless!

Leave a Comment