
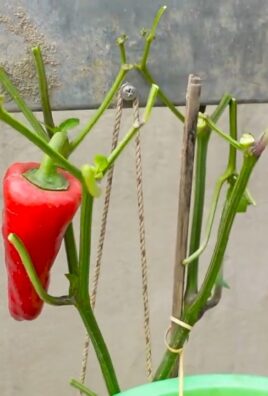
Growing kohlrabi in your backyard might sound like an exotic culinary adventure, but trust me, it’s easier than you think! Forget those bland grocery store veggies – imagine plucking crisp, slightly sweet kohlrabi straight from your own garden. I’m here to tell you that fresh, homegrown kohlrabi is a game-changer.
Kohlrabi, sometimes called a German turnip, has a fascinating history. Originating in Europe, it’s been a staple in German and Eastern European cuisine for centuries. Think of it as the cool cousin of cabbage and broccoli, offering a unique flavor profile that’s both refreshing and versatile. But why should *you* bother growing kohlrabi in your backyard? Well, for starters, it’s packed with vitamins and fiber, making it a super healthy addition to your diet. Plus, it’s incredibly rewarding to nurture a plant from seed to table.
In this DIY guide, I’m going to share my top tips and tricks for successfully growing kohlrabi, even if you’re a complete beginner. We’ll cover everything from seed starting to harvesting, ensuring you have a bountiful crop of this unusual and delicious vegetable. Get ready to impress your friends and family with your newfound gardening skills and enjoy the unique taste of homegrown kohlrabi!
Kohlrabi im eigenen Garten anbauen: Eine Schritt-für-Schritt-Anleitung
Hallo Gartenfreunde! Ich liebe es, frisches Gemüse direkt aus meinem Garten zu ernten, und Kohlrabi ist da keine Ausnahme. Er ist knackig, lecker und überraschend einfach anzubauen. In diesem Artikel zeige ich euch, wie ihr Kohlrabi erfolgreich in eurem eigenen Garten anbauen könnt. Keine Sorge, auch wenn ihr Anfänger seid, mit dieser Anleitung klappt es bestimmt!
Was du für den Kohlrabi-Anbau brauchst
Bevor wir loslegen, hier eine Liste der Dinge, die du benötigst:
* Kohlrabi-Samen (am besten eine Sorte wählen, die für deine Region geeignet ist)
* Anzuchterde (optional, für die Voranzucht)
* Töpfe oder Anzuchtschalen (optional, für die Voranzucht)
* Gartenerde
* Kompost oder anderer organischer Dünger
* Gießkanne oder Gartenschlauch
* Gartenwerkzeug (Spaten, Harke, Pflanzkelle)
* Mulchmaterial (z.B. Stroh oder Holzhackschnitzel)
* Schutznetz (optional, gegen Schädlinge)
Die richtige Sorte wählen
Es gibt verschiedene Kohlrabi-Sorten, die sich in Farbe, Größe und Reifezeit unterscheiden. Einige beliebte Sorten sind:
* ‘Delikatess Weiß’: Eine frühe, weiße Sorte mit mildem Geschmack.
* ‘Delikatess Blauer’: Eine frühe, blaue Sorte, ebenfalls mit mildem Geschmack.
* ‘Superschmelz’: Eine sehr große, weiße Sorte, die auch bei späterer Ernte nicht holzig wird.
* ‘Purple Vienna’: Eine violette Sorte mit einem etwas würzigeren Geschmack.
Wähle eine Sorte, die dir schmeckt und die für dein Klima geeignet ist. Informiere dich am besten im Fachhandel oder online, welche Sorten in deiner Region gut gedeihen.
Aussaat und Voranzucht (optional)
Kohlrabi kann entweder direkt ins Freiland gesät oder vorgezogen werden. Die Voranzucht hat den Vorteil, dass du die Ernte etwas vorziehen kannst.
Voranzucht im Haus (ca. 4-6 Wochen vor dem letzten Frost):
1. Vorbereitung der Anzuchtschalen: Fülle Anzuchtschalen oder kleine Töpfe mit Anzuchterde. Drücke die Erde leicht an.
2. Aussaat der Samen: Lege in jeden Topf oder jede Zelle 1-2 Samen. Bedecke die Samen mit einer dünnen Schicht Erde (ca. 0,5 cm).
3. Bewässerung: Befeuchte die Erde vorsichtig mit einer Sprühflasche oder Gießkanne. Die Erde sollte feucht, aber nicht nass sein.
4. Standort: Stelle die Anzuchtschalen an einen hellen, warmen Ort (ca. 18-20°C).
5. Pflege: Halte die Erde feucht und lüfte die Anzuchtschalen regelmäßig, um Schimmelbildung zu vermeiden.
6. Pikieren: Sobald die Sämlinge 2-3 echte Blätter haben (neben den Keimblättern), kannst du sie pikieren. Das bedeutet, du setzt jeden Sämling einzeln in einen größeren Topf um.
Direktsaat ins Freiland:
1. Vorbereitung des Bodens: Lockere den Boden gründlich auf und entferne Unkraut. Arbeite Kompost oder anderen organischen Dünger ein, um den Boden zu verbessern.
2. Aussaat der Samen: Ziehe Saatrillen mit einem Abstand von ca. 20-30 cm. Lege die Samen in die Rillen und bedecke sie mit einer dünnen Schicht Erde (ca. 1 cm).
3. Bewässerung: Befeuchte die Erde vorsichtig mit einer Gießkanne oder Gartenschlauch.
4. Vereinzeln: Sobald die Sämlinge aufgegangen sind, musst du sie vereinzeln, damit sie genügend Platz zum Wachsen haben. Lasse zwischen den Pflanzen einen Abstand von ca. 15-20 cm.
Der richtige Standort für Kohlrabi
Kohlrabi bevorzugt einen sonnigen bis halbschattigen Standort. Der Boden sollte locker, humos und gut durchlässig sein. Vermeide Staunässe, da dies zu Wurzelfäule führen kann.
Pflanzung der Jungpflanzen (nach der Voranzucht)
1. Vorbereitung des Bodens: Lockere den Boden gründlich auf und entferne Unkraut. Arbeite Kompost oder anderen organischen Dünger ein, um den Boden zu verbessern.
2. Pflanzlöcher ausheben: Hebe Pflanzlöcher im Abstand von ca. 15-20 cm aus. Die Löcher sollten so tief sein, dass der Wurzelballen der Jungpflanzen hineinpasst.
3. Pflanzen einsetzen: Setze die Jungpflanzen vorsichtig in die Pflanzlöcher. Achte darauf, dass der Wurzelballen nicht beschädigt wird.
4. Löcher füllen: Fülle die Pflanzlöcher mit Erde und drücke sie leicht an.
5. Bewässerung: Gieße die Pflanzen gründlich an.
Pflege des Kohlrabis
Kohlrabi ist relativ pflegeleicht, aber einige Dinge solltest du beachten, um eine reiche Ernte zu erzielen:
* Bewässerung: Kohlrabi benötigt regelmäßig Wasser, besonders während trockener Perioden. Achte darauf, dass der Boden immer leicht feucht ist.
* Düngung: Dünge den Kohlrabi regelmäßig mit Kompost oder einem organischen Dünger. Vermeide stickstoffhaltige Dünger, da diese zu weichen Knollen führen können.
* Unkrautbekämpfung: Entferne regelmäßig Unkraut, da es dem Kohlrabi Nährstoffe und Wasser entzieht.
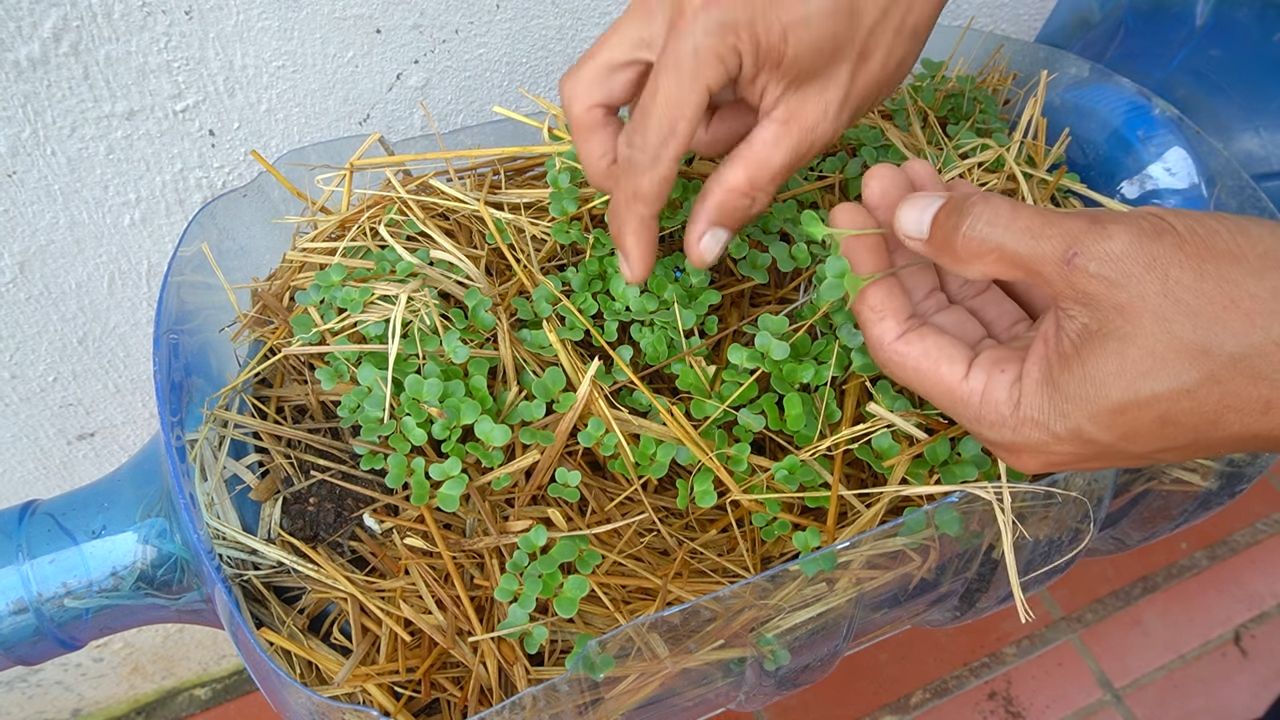
* Mulchen: Mulche den Boden um die Pflanzen herum mit Stroh oder Holzhackschnitzeln. Dies hilft, die Feuchtigkeit im Boden zu halten und Unkrautwachstum zu unterdrücken.
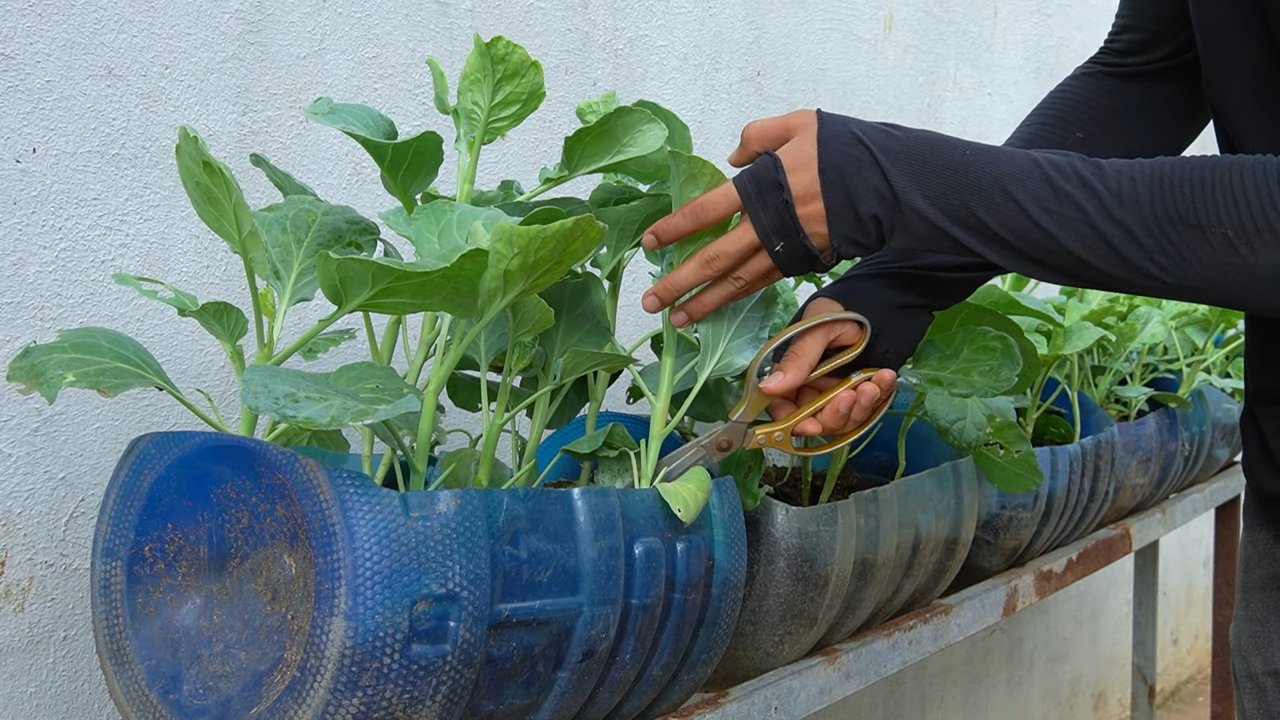
* Schädlingsbekämpfung: Kohlrabi kann von verschiedenen Schädlingen befallen werden, wie z.B. Kohlweißling, Erdflöhe oder Kohlfliegen. Kontrolliere die Pflanzen regelmäßig und bekämpfe Schädlinge bei Bedarf mit biologischen Mitteln. Ein Schutznetz kann ebenfalls helfen, Schädlinge fernzuhalten.
Ernte des Kohlrabis
Kohlrabi kann geerntet werden, sobald die Knollen die gewünschte Größe erreicht haben. Die Größe hängt von der Sorte ab, aber in der Regel sind die Knollen erntereif, wenn sie einen Durchmesser von ca. 8-10 cm haben.
1. Erntezeitpunkt: Ernte den Kohlrabi am besten an einem trockenen Tag.
2. Erntemethode: Ziehe den Kohlrabi vorsichtig aus der Erde oder schneide ihn mit einem Messer direkt über dem Boden ab.
3. Lagerung: Kohlrabi kann im Kühlschrank einige Tage gelagert werden. Entferne die Blätter, bevor du ihn lagerst.
Häufige Probleme und Lösungen
* Kohlfliegenbefall: Die Larven der Kohlfliege fressen an den Wurzeln des Kohlrabis. Du kannst Kohlfliegen mit einem Schutznetz oder mit biologischen Mitteln bekämpfen.
* Erdflöhe: Erdflöhe fressen kleine Löcher in die Blätter des Kohlrabis. Du kannst Erdflöhe mit einem Schutznetz oder mit biologischen Mitteln bekämpfen. Regelmäßiges Gießen hilft ebenfalls, da Erdflöhe trockene Bedingungen bevorzugen.
* Kohlweißling: Die Raupen des Kohlweißlings fressen die Blätter des Kohlrabis. Du kannst die Raupen absammeln oder mit biologischen Mitteln bekämpfen. Ein Schutznetz kann ebenfalls helfen.
* Holzige Knollen: Holzige Knollen entstehen, wenn der Kohlrabi zu spät geerntet wird oder wenn er unter Wassermangel leidet. Ernte den Kohlrabi rechtzeitig und achte auf eine ausreichende Bewässerung.
* Platzende Knollen: Platzende Knollen können durch unregelmäßige Bewässerung entstehen. Achte auf eine gleichmäßige Bewässerung, besonders während trockener Perioden.
Kohlrabi in der
Conclusion
So, there you have it! Mastering the art of growing kohlrabi in your backyard is not only achievable but also incredibly rewarding. From seed to table, you’ll experience the satisfaction of nurturing your own food source and enjoying the unique, slightly sweet, and subtly peppery flavor of freshly harvested kohlrabi. This isn’t just about adding another vegetable to your garden; it’s about embracing a sustainable lifestyle, connecting with nature, and savoring the fruits (or rather, the stems!) of your labor.
Why is this DIY trick a must-try? Because store-bought kohlrabi simply can’t compare to the vibrant taste and crisp texture of homegrown. You control the growing conditions, ensuring your kohlrabi is free from harmful pesticides and packed with nutrients. Plus, the sheer variety you can explore is far greater than what you’ll find at your local grocery store.
Consider these variations to elevate your kohlrabi growing experience:
* Purple Vienna Kohlrabi: For a visually stunning addition to your garden and a slightly milder flavor.
* White Vienna Kohlrabi: The classic choice, known for its reliable growth and excellent taste.
* Gigante Kohlrabi: If you’re feeling ambitious, try growing this giant variety, which can reach impressive sizes without sacrificing flavor.
* Container Gardening: Don’t have a large backyard? No problem! Kohlrabi thrives in containers, making it perfect for balconies and patios. Just ensure you use a pot that’s at least 12 inches in diameter.
Beyond the basic growing techniques, experiment with companion planting. Marigolds can deter pests, while dill can attract beneficial insects. These small additions can make a big difference in the health and productivity of your kohlrabi plants.
Growing kohlrabi in your backyard is more than just a gardening project; it’s an investment in your health, your well-being, and your connection to the natural world. It’s a chance to learn, to experiment, and to enjoy the simple pleasures of homegrown food.
We wholeheartedly encourage you to give this DIY trick a try. Start small, learn as you go, and don’t be afraid to make mistakes. Gardening is a journey, and every challenge is an opportunity to grow, both literally and figuratively.
Once you’ve harvested your first kohlrabi, we’d love to hear about your experience! Share your photos, tips, and recipes in the comments below. Let’s create a community of kohlrabi enthusiasts and inspire others to discover the joys of growing their own food. Happy gardening!
Frequently Asked Questions (FAQ)
What is kohlrabi, and what does it taste like?
Kohlrabi is a member of the cabbage family, known for its bulbous stem that grows above ground. It has a mild, slightly sweet, and subtly peppery flavor, often compared to a cross between a turnip and a cabbage. The texture is crisp and refreshing, making it a versatile vegetable for both raw and cooked dishes.
When is the best time to plant kohlrabi?
The best time to plant kohlrabi depends on your climate. In cooler regions, you can start seeds indoors 4-6 weeks before the last expected frost and transplant them outdoors a few weeks after the frost has passed. For warmer climates, plant kohlrabi in the fall for a winter harvest. Kohlrabi prefers cooler temperatures, so avoid planting during the hottest months of the year. Succession planting, where you sow seeds every 2-3 weeks, can ensure a continuous harvest throughout the growing season.
How much sunlight does kohlrabi need?
Kohlrabi thrives in full sun, requiring at least 6 hours of direct sunlight per day. However, in hotter climates, some afternoon shade can be beneficial to prevent the plants from bolting (going to seed prematurely). If you’re growing kohlrabi indoors under grow lights, ensure the lights are positioned close enough to the plants and provide sufficient intensity.
What kind of soil is best for growing kohlrabi?
Kohlrabi prefers well-drained, fertile soil with a pH between 6.0 and 7.5. Amend the soil with compost or other organic matter before planting to improve drainage and nutrient content. Avoid heavy clay soils, as they can retain too much moisture and lead to root rot. A soil test can help you determine the pH and nutrient levels of your soil and guide you on any necessary amendments.
How often should I water kohlrabi?
Kohlrabi needs consistent moisture to thrive. Water deeply and regularly, especially during dry periods. Aim to keep the soil consistently moist but not waterlogged. Mulching around the plants can help retain moisture and suppress weeds. Check the soil moisture regularly by sticking your finger about an inch deep into the soil. If it feels dry, it’s time to water.
What are some common pests and diseases that affect kohlrabi?
Common pests that affect kohlrabi include cabbage worms, aphids, and flea beetles. Diseases can include clubroot and black rot. To prevent pest and disease problems, practice crop rotation, keep the garden clean and free of debris, and use row covers to protect the plants from insects. Organic pest control methods, such as insecticidal soap or neem oil, can be effective for controlling infestations. Ensure good air circulation around the plants to prevent fungal diseases.
How do I know when kohlrabi is ready to harvest?
Kohlrabi is typically ready to harvest when the bulb reaches about 2-3 inches in diameter. Larger bulbs can become tough and woody. Check the variety you are growing, as some varieties are meant to be harvested at a larger size. Gently pull the kohlrabi from the ground, or use a knife to cut it at the base of the stem.
Can I eat the leaves of kohlrabi?
Yes, the leaves of kohlrabi are edible and nutritious. They can be cooked like spinach or kale. Harvest young, tender leaves for the best flavor and texture. Older leaves can be tougher and more fibrous.
How do I store kohlrabi after harvesting?
Remove the leaves from the kohlrabi bulb and store them separately in the refrigerator. The bulb can be stored in the refrigerator for several weeks. Wrap the bulb in a damp paper towel and place it in a plastic bag to help retain moisture.
Can I grow kohlrabi in containers?
Yes, kohlrabi grows well in containers. Choose a pot that is at least 12 inches in diameter and fill it with well-draining potting mix. Ensure the container has drainage holes to prevent waterlogging. Place the container in a sunny location and water regularly.
What are some ways to use kohlrabi in cooking?
Kohlrabi can be eaten raw or cooked. It can be sliced and added to salads, grated into coleslaw, or roasted, steamed, or stir-fried. The leaves can be cooked like spinach or kale. Kohlrabi is a versatile vegetable that can be used in a variety of dishes.
Is growing kohlrabi in my backyard organic?
Growing kohlrabi organically in your backyard is possible by using organic soil amendments, pest control methods, and fertilizers. Avoid using synthetic pesticides, herbicides, and fertilizers. Choose organic seeds and practice crop rotation to maintain soil health.
How do I prevent kohlrabi from bolting (going to seed prematurely)?
Bolting can be caused by stress, such as extreme temperatures or inconsistent watering. To prevent bolting, plant kohlrabi at the appropriate time of year, provide consistent moisture, and protect the plants from extreme heat. Choose bolt-resistant varieties if you live in a warmer climate.
What are the nutritional benefits of kohlrabi?
Kohlrabi is a good source of vitamin C, fiber, and potassium. It is also low in calories and fat. The leaves are a good source of vitamin A and calcium. Including kohlrabi in your diet can contribute to overall health and well-being.
Leave a Comment