
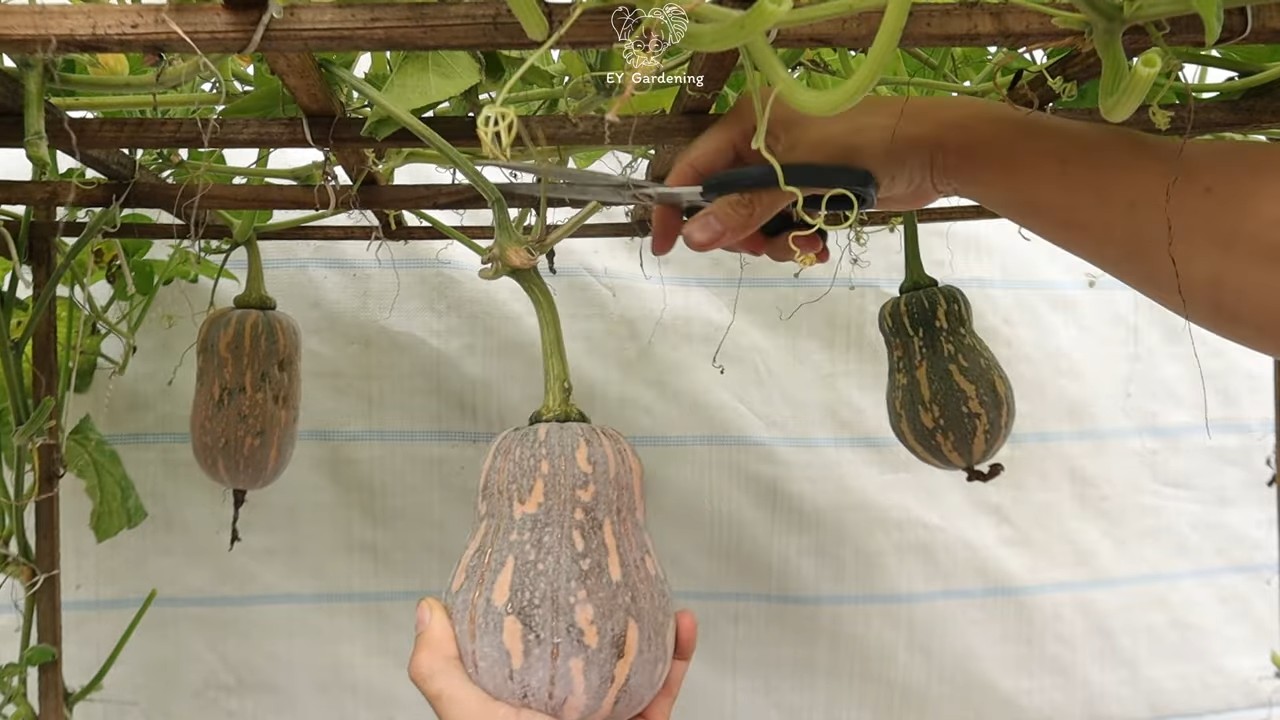
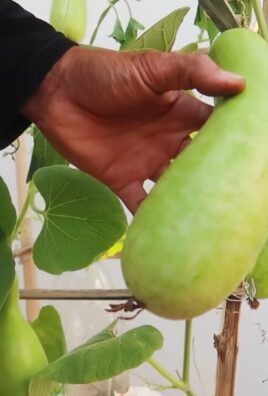
DIY pumpkin drip irrigation – sounds like a mouthful, right? But trust me, it’s a game-changer for your pumpkin patch! Are you tired of lugging heavy watering cans or hoses around, only to find your precious pumpkins still thirsty? I know I was! That’s why I dove headfirst into creating a simple, effective, and frankly, adorable, watering system using something we often toss away: pumpkins themselves!
While drip irrigation has been around for centuries, with evidence suggesting its use in ancient China and other early agricultural societies, the idea of using a pumpkin as the delivery system is a fun, modern twist. Think of it as a quirky homage to the resourcefulness of gardeners throughout history. We’ve always looked for innovative ways to nurture our plants, and this DIY pumpkin drip irrigation method is just another example of that ingenuity.
But why go to all this trouble? Well, pumpkins are thirsty plants, and consistent watering is crucial for healthy growth and a bountiful harvest. This DIY trick not only saves you time and effort, but it also delivers water directly to the roots, minimizing water waste and reducing the risk of fungal diseases. Plus, let’s be honest, a pumpkin watering a pumpkin? It’s just plain cute! So, if you’re ready to take your pumpkin growing game to the next level, keep reading – I’m going to show you exactly how to create your own pumpkin-powered irrigation system!
DIY Pumpkin Drip Irrigation: A Thirsty Pumpkin’s Best Friend
Hey there, fellow pumpkin enthusiasts! Are you tired of lugging heavy watering cans to your pumpkin patch, especially when those gourds start getting HUGE? I know I was! That’s why I developed this super simple, super effective DIY drip irrigation system specifically designed for pumpkins. It’s cheap, easy to build, and will keep your pumpkins happy and hydrated all season long. Let’s get started!
What You’ll Need
Before we dive in, let’s gather our supplies. The beauty of this project is that you probably have a lot of this stuff lying around already!
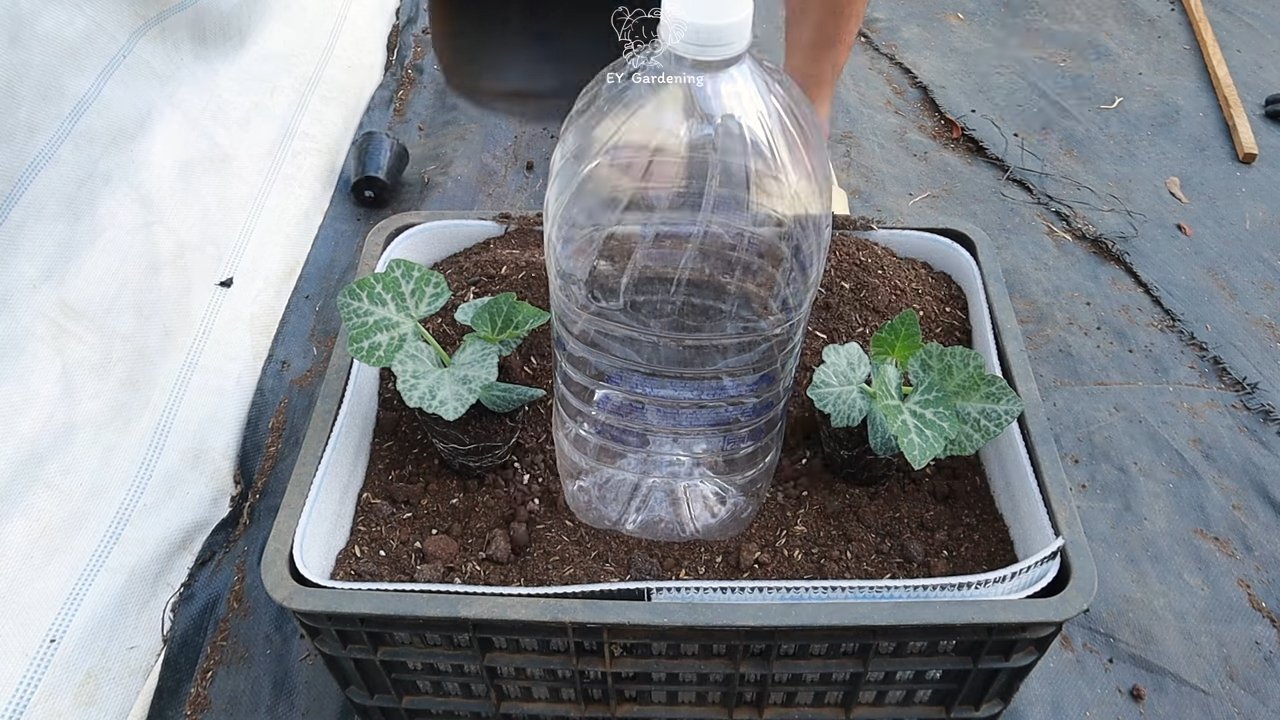
* A large plastic container: Think a 5-gallon bucket, a storage tote, or even a repurposed trash can (just make sure it’s clean!). The bigger, the better, as it’ll require less frequent refilling.
* Drip irrigation tubing: You can find this at any garden supply store. I recommend getting at least 50 feet, as you can always cut it down, but you can’t add more!
* Drip emitters: These little guys control the flow of water. I prefer adjustable emitters so I can fine-tune the watering for each plant. Get one emitter per pumpkin plant.
* A drill with various sized drill bits: We’ll need these to make holes in our container and tubing.
* A rubber grommet or sealant: This will help create a watertight seal where the tubing exits the container.
* Scissors or a utility knife: For cutting the tubing.
* Optional: A timer: This is a game-changer! It automates the whole process, so you don’t even have to think about watering.
* Optional: Landscape staples: To secure the tubing to the ground.
* Optional: A filter: If you’re using well water or water with a lot of sediment, a filter will prevent clogging.
Building Your Pumpkin Drip Irrigation System
Okay, now for the fun part! We’re going to transform that plastic container into a pumpkin-watering powerhouse.
1. Prepare the Container:
* First, decide where you want the drip irrigation tubing to exit the container. I usually choose a spot near the bottom, but high enough that sediment won’t clog the opening.
* Using a drill bit slightly smaller than the diameter of your drip irrigation tubing, drill a hole at your chosen location.
* Insert the rubber grommet into the hole. If you don’t have a grommet, you can use a waterproof sealant like silicone caulk. Apply the sealant around the hole and let it dry completely before moving on. This step is crucial for preventing leaks!
2. Connect the Tubing:
* Push one end of the drip irrigation tubing through the grommet or sealed hole. Make sure it’s a snug fit!
* If you’re using a timer, connect it to the other end of the tubing. Follow the timer’s instructions for connecting to a water source (like a garden hose).
* If you’re not using a timer, simply leave the other end of the tubing open. You’ll be filling the container manually.
3. Lay Out the Tubing in Your Pumpkin Patch:
* Now, it’s time to run the tubing to each of your pumpkin plants. Lay the tubing along the ground, positioning it so that it reaches each plant’s base.
* Use landscape staples to secure the tubing to the ground. This will prevent it from shifting around and getting tangled.
4. Install the Drip Emitters:
* This is where the magic happens! At each pumpkin plant, use your scissors or utility knife to cut the drip irrigation tubing.
* Insert a drip emitter into each end of the cut tubing. Make sure the emitter is securely attached.
* Position the emitter close to the base of the pumpkin plant, but not directly touching the stem. You want the water to soak into the soil around the roots.
5. Test and Adjust:
* Fill the container with water. If you’re using a timer, set it to water for a short period (e.g., 15 minutes) and observe the emitters. If you’re not using a timer, simply fill the container and watch the emitters.
* Adjust the drip emitters to control the flow of water. You want each plant to receive enough water to keep the soil consistently moist, but not waterlogged.
* Check for leaks. If you find any leaks, tighten the connections or apply more sealant.
Fine-Tuning Your System for Optimal Pumpkin Growth
Now that your basic system is set up, let’s talk about how to fine-tune it for maximum pumpkin-growing success!
Watering Frequency and Duration
This is where observation comes in. The ideal watering frequency and duration will depend on several factors, including:
* Weather: Hot, sunny weather will require more frequent watering than cool, cloudy weather.
* Soil type: Sandy soil drains quickly and will require more frequent watering than clay soil.
* Plant size: As your pumpkins grow, they’ll need more water.
As a general rule, I recommend watering deeply but infrequently. This encourages the roots to grow deeper, making the plants more drought-tolerant. Check the soil moisture regularly by sticking your finger into the soil near the base of the plant. If the soil feels dry an inch or two below the surface, it’s time to water.
Adjusting Emitter Flow Rates
Adjustable drip emitters are a lifesaver! They allow you to customize the watering for each plant based on its individual needs.
* Young plants: Start with a low flow rate and gradually increase it as the plants grow.
* Large plants: May need a higher flow rate to keep the soil consistently moist.
* Plants in sunny locations: May need more water than plants in shady locations.
Don’t be afraid to experiment! It’s better to underwater than overwater, as overwatering can lead to root rot.
Dealing with Clogs
Even with a filter, drip emitters can sometimes get clogged. Here’s how to deal with it:
* Remove the emitter: Unscrew the emitter from the tubing.
* Clean the emitter: Use a small brush or needle to remove any debris from the emitter. You can also soak the emitter in vinegar to dissolve mineral deposits.
* Reinstall the emitter: Screw the emitter back into the tubing.
If the emitter is severely clogged and can’t be cleaned, simply replace it with a new one.
Winterizing Your System
When the growing season is over, it’s important to winterize your drip irrigation system to prevent damage from freezing temperatures.
* Drain the system: Disconnect the tubing from the water source and drain all the water out of the system.
* Store the tubing: Coil up the tubing and store it in a dry place, such as a garage or shed.
* Protect the emitters: Remove the emitters from the tubing and store them in a container.
By taking these simple steps, you can extend the life of your drip irrigation system and ensure that it’s ready to go next season.
Troubleshooting Common Issues
Even with the best-laid plans, things can sometimes go wrong. Here are some common issues you might encounter and how to fix them:
* Leaks: Check all connections for leaks. Tighten the connections or apply more sealant if necessary. If the tubing is damaged, replace it.
* Clogged emitters: Clean or replace the clogged emitters as described above.
* Uneven watering: Make sure all the emitters are functioning properly and that the flow rates are adjusted correctly. Check for kinks or blockages in the tubing.
* Waterlogged soil: Reduce the watering frequency or duration. Adjust the emitter flow rates to deliver less water.
* Dry soil: Increase the watering frequency or duration. Adjust the emitter flow rates to deliver more water.
Why This System Works So Well for Pumpkins
Pumpkins are thirsty plants, especially when they’re producing those massive fruits. Drip irrigation delivers water directly to the roots, minimizing water waste and ensuring that the plants get the moisture they need. Here’s why it’s so effective:
* Efficient water use: Drip irrigation reduces water loss from evaporation and runoff.
* Consistent moisture: Keeps the soil consistently moist, which is essential for healthy pumpkin growth.
* Reduced weed growth: By delivering water directly to the plants, drip irrigation helps to suppress weed growth.
* Disease prevention: Keeps the foliage dry, which helps to prevent fungal diseases.
So there you have it! A simple, effective, and affordable DIY drip irrigation system that will keep your pumpkins happy and hydrated all season long. Happy growing!
Conclusion
So, there you have it! Transforming a humble pumpkin into a surprisingly effective and charming drip irrigation system is not just a fun fall activity; it’s a genuinely practical way to nourish your plants while reducing water waste. This DIY pumpkin drip irrigation method offers a slow, consistent release of water directly to the roots, minimizing evaporation and maximizing absorption – a win-win for both your garden and the environment.
But why is this a must-try? Beyond the undeniable novelty factor, this method offers several key advantages. Firstly, it’s incredibly cost-effective. Instead of investing in expensive irrigation systems, you’re repurposing a seasonal item that would otherwise end up in the compost (or worse, the landfill). Secondly, the slow-release nature of the pumpkin drip ensures that your plants receive a steady supply of moisture, promoting healthy growth and reducing the risk of overwatering or underwatering. Thirdly, the pumpkin itself decomposes over time, adding valuable organic matter to the soil, further enriching the growing environment.
Think of the possibilities! While we’ve focused on pumpkins, you can experiment with other gourds or even large squashes. The key is to choose a variety with a thick rind that will decompose slowly. You can also adjust the size and number of drainage holes to control the water flow, tailoring the system to the specific needs of your plants. For larger plants or drier climates, consider using multiple pumpkin drips strategically placed around the root zone.
Don’t be afraid to get creative! Add a touch of whimsy to your garden by painting or carving your pumpkin drip with fun designs. Just be sure to use non-toxic paints that won’t harm your plants. You can also experiment with different types of soil amendments around the pumpkin to further enhance its effectiveness. For example, adding a layer of compost or mulch will help retain moisture and suppress weeds.
We wholeheartedly encourage you to give this DIY pumpkin drip irrigation trick a try. It’s a simple, sustainable, and surprisingly effective way to water your plants while adding a touch of autumnal charm to your garden. We’re confident that you’ll be amazed by the results.
But the real magic happens when we share our experiences. We’d love to hear about your own pumpkin drip irrigation adventures! Did you try a different type of gourd? Did you encounter any challenges or discover any helpful tips? Share your photos, stories, and insights in the comments below. Let’s learn from each other and inspire others to embrace this eco-friendly gardening technique. Together, we can make a difference, one pumpkin drip at a time!
Frequently Asked Questions (FAQ)
What types of plants are best suited for pumpkin drip irrigation?
Pumpkin drip irrigation is generally suitable for a wide range of plants, especially those that benefit from consistent moisture and are not overly sensitive to wet foliage. This includes vegetables like tomatoes, peppers, cucumbers, and squash, as well as herbs like basil, oregano, and thyme. Flowers like zinnias, marigolds, and petunias also thrive with this method. However, it’s important to consider the specific needs of each plant. Plants that prefer drier conditions, such as succulents or cacti, may not be ideal candidates. Also, avoid using it on plants susceptible to fungal diseases if the humidity is already high. Observe your plants closely and adjust the water flow as needed.
How long will a pumpkin drip irrigation system last?
The lifespan of a pumpkin drip irrigation system depends on several factors, including the size and thickness of the pumpkin, the climate, and the type of soil. In general, you can expect a pumpkin drip to last anywhere from two to four weeks. In hotter, drier climates, the pumpkin will decompose more quickly. Similarly, pumpkins with thinner rinds will break down faster than those with thicker rinds. To extend the lifespan of your pumpkin drip, consider placing it in a shaded area and avoiding direct sunlight. You can also add a layer of mulch around the base of the pumpkin to help retain moisture and slow down decomposition. Regularly inspect the pumpkin for signs of rot or decay, and replace it as needed.
How do I control the water flow from the pumpkin drip?
Controlling the water flow is crucial for ensuring that your plants receive the right amount of moisture. The primary way to control the flow is by adjusting the size and number of drainage holes. Smaller holes will result in a slower, more gradual release of water, while larger holes will allow for a faster flow. Start with a few small holes and gradually increase the size or number as needed. You can also use a small piece of tape or a plug to temporarily block some of the holes if you need to reduce the flow. Another factor to consider is the placement of the holes. Holes placed closer to the bottom of the pumpkin will release water more quickly than those placed higher up. Experiment with different hole configurations to find what works best for your plants and your climate.
Will the pumpkin attract pests or insects?
While pumpkins are generally resistant to pests, they can attract certain insects, especially as they begin to decompose. To minimize the risk of attracting unwanted visitors, choose a pumpkin that is free from blemishes or signs of damage. Regularly inspect the pumpkin for signs of infestation, such as holes or tunnels. You can also apply a natural insect repellent around the base of the pumpkin to deter pests. Consider using diatomaceous earth, neem oil, or a homemade garlic spray. Avoid using harsh chemical pesticides, as these can harm your plants and the environment. If you notice a significant infestation, it’s best to replace the pumpkin with a fresh one.
Can I use a pumpkin that has already been carved for Halloween?
While it’s tempting to repurpose a carved Halloween pumpkin for drip irrigation, it’s generally not recommended. Carved pumpkins decompose much more quickly than uncarved pumpkins, as the exposed flesh is more susceptible to rot and decay. Additionally, carved pumpkins may have been treated with preservatives or other chemicals that could be harmful to your plants. If you do choose to use a carved pumpkin, be sure to remove any remaining pulp or seeds and rinse it thoroughly with water. Monitor it closely for signs of decomposition and replace it as needed. For best results, stick to using fresh, uncarved pumpkins for your drip irrigation system.
What should I do with the pumpkin after it has fully decomposed?
Once the pumpkin has fully decomposed, it will essentially become a nutrient-rich addition to your soil. You can simply leave the remaining pieces in place, allowing them to break down further and enrich the surrounding soil. Alternatively, you can remove the larger pieces and add them to your compost pile. The decomposed pumpkin will provide valuable organic matter and nutrients to your compost, helping to create a rich and fertile soil amendment for your garden. Avoid throwing the decomposed pumpkin in the trash, as it will contribute to landfill waste. Instead, embrace its natural decomposition process and use it to benefit your garden.
Is this method suitable for container gardening?
Yes, DIY pumpkin drip irrigation is perfectly suitable for container gardening! In fact, it can be particularly beneficial for container plants, as they tend to dry out more quickly than plants in the ground. Simply place the pumpkin drip in the center of the container, ensuring that the drainage holes are positioned to water the plant’s roots. Adjust the size and number of holes as needed to control the water flow. Be sure to choose a pumpkin that is appropriately sized for the container. A smaller pumpkin will be sufficient for a smaller container, while a larger container may require a larger pumpkin or multiple pumpkin drips. This method is a great way to provide consistent moisture to your container plants while adding a touch of seasonal charm to your patio or balcony.
Leave a Comment