
Grow More Bananas than you ever thought possible, right in your own backyard! Imagine stepping outside and harvesting your own sweet, creamy bananas – a tropical treat without the tropical travel. Sounds like a dream, right? Well, it doesn’t have to be! This DIY guide is packed with simple, effective tricks and hacks to help you maximize your banana yield, even if you’re a beginner gardener.
Bananas have a rich history, dating back thousands of years and holding significant cultural importance in many societies. From being a staple food source to symbolizing prosperity and good fortune, these fruits have woven themselves into the fabric of cultures worldwide. Now, you can bring a piece of that history and abundance into your own life.
Let’s face it, store-bought bananas are great, but nothing beats the taste of a homegrown, perfectly ripened banana. Plus, with rising grocery costs, learning how to grow more bananas at home is not only rewarding but also a smart way to save money and enjoy fresh, healthy produce. This article will provide you with the knowledge and confidence to cultivate a thriving banana patch, regardless of your experience level. Get ready to unlock the secrets to a bountiful banana harvest!
DIY Banana Bonanza: Supercharge Your Banana Tree for Maximum Fruit!
Hey there, fellow fruit fanatics! Ever dreamt of having a banana tree overflowing with delicious, homegrown bananas? I know I have! And after a lot of research and experimentation, I’ve cracked the code to significantly boosting banana production. It’s not just about planting a tree and hoping for the best; it’s about understanding your banana’s needs and giving it a little extra TLC. So, grab your gardening gloves, and let’s dive into this DIY banana-boosting adventure!
Understanding Your Banana Tree’s Needs
Before we get our hands dirty, let’s talk banana basics. Knowing what your banana tree craves is half the battle.
* Sunlight: Bananas are sun-worshippers! They need at least 6-8 hours of direct sunlight daily. The more sun, the more fruit!
* Water: These tropical beauties love water, but they hate being waterlogged. Good drainage is crucial.
* Soil: Rich, well-draining soil is a must. Think loamy soil with plenty of organic matter.
* Nutrients: Bananas are heavy feeders, especially when fruiting. They need a steady supply of nitrogen, phosphorus, and potassium.
* Protection: Young banana trees are susceptible to frost and strong winds. Protect them accordingly.
The Secret Weapon: Banana Circle Composting
This is where the magic happens! A banana circle is essentially a self-sustaining ecosystem that provides your banana tree with everything it needs to thrive. It’s a fantastic way to recycle kitchen scraps, improve soil health, and dramatically increase banana production.
Building Your Banana Circle
1. Choose Your Location: Pick a sunny spot with good drainage. Remember, at least 6-8 hours of direct sunlight!
2. Mark the Circle: Decide on the size of your circle. I recommend a diameter of about 6-8 feet. Use a rope and a stake to mark the circle on the ground.
3. Dig the Trench: Dig a trench around the perimeter of the circle, about 1-2 feet deep and 1-2 feet wide. This trench will act as a composting pit.
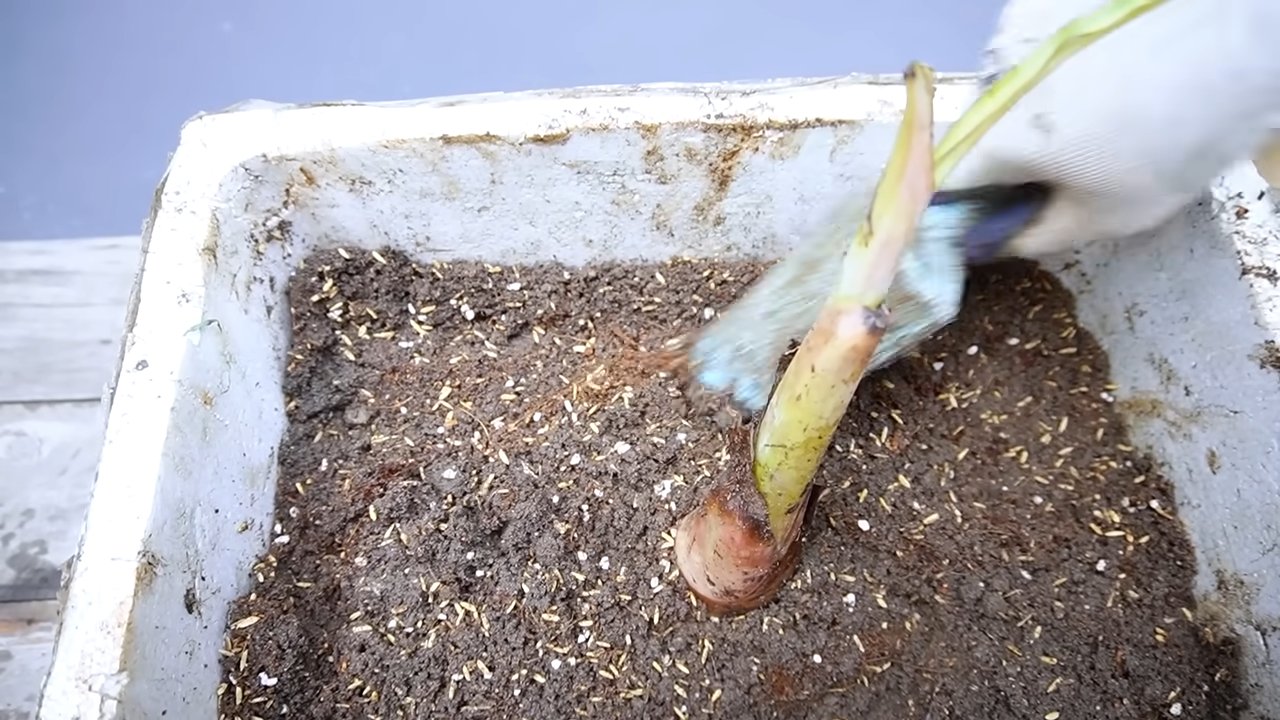
4. Plant Your Banana Tree: Plant your banana tree in the center of the circle. Make sure the planting hole is large enough to accommodate the root ball.
5. Build the Berm: Use the soil you dug from the trench to create a berm (a raised mound) around the outside of the trench. This will help retain water and nutrients.
6. Line the Trench: Line the bottom of the trench with cardboard or newspaper. This will help suppress weeds and provide a carbon-rich base for composting.
7. Start Composting: Now, the fun begins! Start filling the trench with your kitchen scraps, yard waste, and other organic materials. Think vegetable peels, coffee grounds, eggshells, grass clippings, leaves, and even shredded paper.
8. Cover the Compost: Cover each layer of compost with a layer of soil or mulch. This will help retain moisture, reduce odors, and speed up decomposition.
9. Water Regularly: Water the banana tree and the compost circle regularly, especially during dry periods. The water will help break down the compost and deliver nutrients to the tree.
10. Mulch, Mulch, Mulch!: Add a thick layer of mulch around the base of the banana tree and in the compost circle. This will help retain moisture, suppress weeds, and regulate soil temperature. I like to use banana leaves from the tree itself as mulch – it’s a perfect way to recycle!
Boosting Growth with Epsom Salts
Epsom salts (magnesium sulfate) are a gardener’s secret weapon! Magnesium is essential for chlorophyll production, which is crucial for photosynthesis. It also helps the banana tree absorb other nutrients more effectively.
1. Epsom Salt Solution: Mix 1 tablespoon of Epsom salts per gallon of water.
2. Application: Apply the Epsom salt solution to the base of the banana tree every 2-4 weeks during the growing season. You can also spray the leaves with the solution for foliar feeding.
3. Watch for Results: You should start to see a noticeable improvement in the health and vigor of your banana tree within a few weeks. The leaves will be greener, and the tree will grow faster.
Fertilizing for Fruiting Power
Bananas are heavy feeders, especially when they’re producing fruit. A balanced fertilizer is essential for maximizing your harvest.
1. Choose a Fertilizer: Look for a fertilizer with a high potassium content (the “K” in NPK). A fertilizer with an NPK ratio of 6-6-12 or 8-10-10 is a good choice.
2. Fertilizing Schedule: Fertilize your banana tree every 4-6 weeks during the growing season.
3. Application: Follow the instructions on the fertilizer package for application rates. Generally, you’ll want to sprinkle the fertilizer around the base of the tree, avoiding direct contact with the trunk. Water thoroughly after applying the fertilizer.
4. Organic Options: If you prefer organic fertilizers, you can use compost tea, fish emulsion, or bone meal. These are all excellent sources of nutrients for banana trees.
Pruning for Productivity
Pruning your banana tree is essential for maintaining its health and maximizing fruit production.
1. Remove Suckers: Banana trees produce suckers (small shoots that grow from the base of the tree). These suckers can compete with the main plant for resources, so it’s important to remove them regularly. Keep only one or two of the strongest suckers to replace the main plant after it fruits.
2. Cut Off Dead or Damaged Leaves: Remove any dead, damaged, or diseased leaves. This will help prevent the spread of disease and improve air circulation.
3. Remove the Flower Stalk After Fruiting: After the banana bunch has been harvested, cut off the flower stalk. The main plant will die back after fruiting, so you’ll want to allow the suckers to take over.
4. Tools: Use sharp, clean pruning shears or a saw to prune your banana tree. This will help prevent the spread of disease.
Protecting Your Precious Bananas
Protecting your banana tree from pests and diseases is crucial for ensuring a bountiful harvest.
1. Pest Control: Common banana pests include aphids, spider mites, and nematodes. Inspect your banana tree regularly for signs of infestation. You can control these pests with insecticidal soap, neem oil, or beneficial insects.
2. Disease Prevention: Common banana diseases include Panama disease, black Sigatoka, and banana bunchy top virus. Prevent these diseases by planting disease-resistant varieties, maintaining good sanitation, and avoiding overwatering.
3. Frost Protection: If you live in an area with frost, you’ll need to protect your banana tree during the winter months. You can wrap the trunk with burlap or blankets, or you can move the tree indoors if it’s in a container.
4. Wind Protection: Strong winds can damage banana trees, especially when they’re laden with fruit. Provide wind protection by planting your banana tree in a sheltered location or by building a windbreak.
Harvesting Your Homegrown Bananas
Harvesting your own bananas is the ultimate reward for all your hard work!
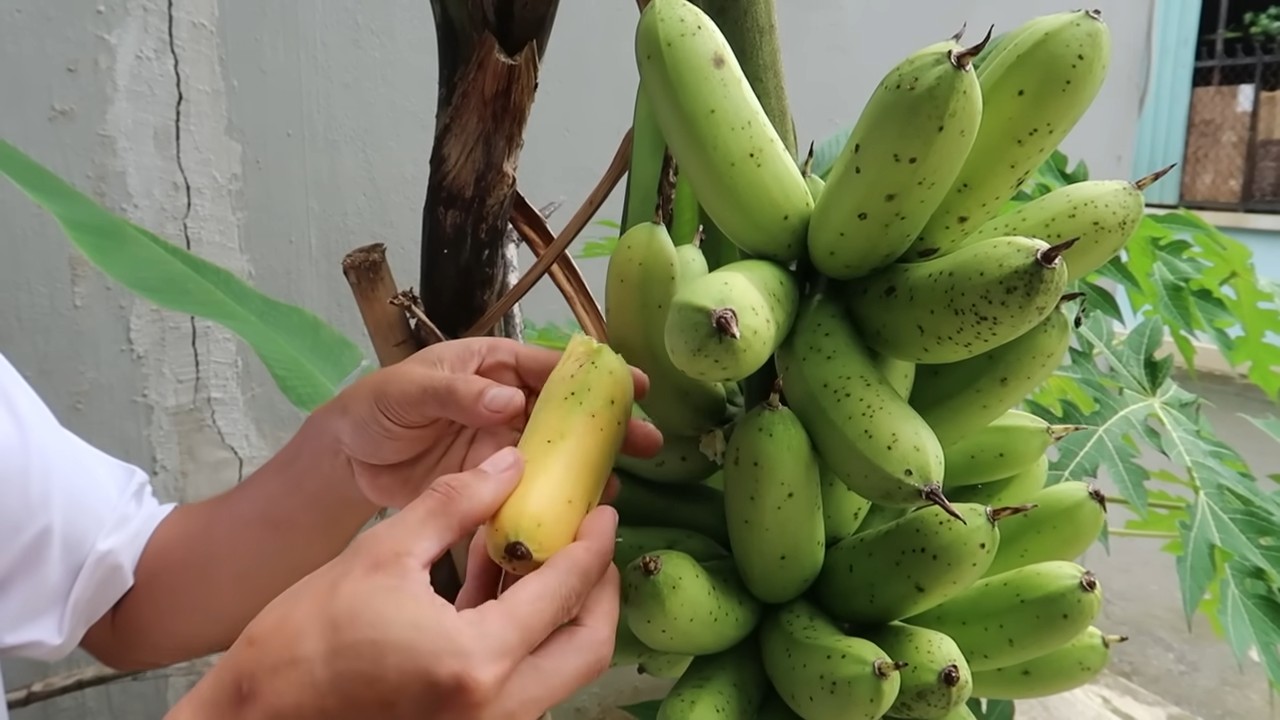
1. Harvest Time: Bananas are ready to harvest when they are plump and rounded, and the ridges on the fruit have started to disappear. The color of the fruit will also change from green to yellow.
2. Cutting the Bunch: Use a sharp knife or machete to cut the banana bunch from the tree. Cut the stalk at an angle, leaving a few inches of stem attached to the bunch.
3. Ripening: Hang the banana bunch in a cool, dry place to ripen. You can also place the bananas in a paper bag with an apple or banana to speed up the ripening process.
4. Enjoy!: Once the bananas are ripe, enjoy them fresh, in smoothies, or in your favorite banana recipes!
Troubleshooting Tips
Even with the best care, you might encounter some challenges along the way. Here are a few common problems and how to fix them:
* Yellowing Leaves: This could be a sign of nutrient deficiency, overwatering, or underwatering. Check the soil moisture and adjust your watering schedule accordingly. Fertilize your banana tree with a balanced fertilizer.
* Slow Growth: This could be due to insufficient sunlight, poor soil, or pest infestation. Make sure your banana tree is getting enough sunlight, and amend the soil with compost or other organic matter. Check for pests and treat them accordingly.
* No Fruit: This could be due to a lack of nutrients, insufficient sunlight, or cold temperatures. Fertilize your banana tree with a fertilizer high in potassium. Make sure your banana tree is getting enough sunlight, and protect it from cold temperatures.
* Fruit Splitting: This can
Conclusion
So, there you have it! Unlocking the secret to a more bountiful banana harvest isn’t about expensive fertilizers or complicated gardening techniques. It’s about harnessing the power of readily available resources and understanding the needs of your banana plants. This simple, yet effective, DIY trick to grow more bananas is a game-changer for both novice and experienced gardeners alike.
Why is this a must-try? Because it’s sustainable, cost-effective, and genuinely works! Imagine the satisfaction of harvesting a significantly larger bunch of sweet, delicious bananas from your own backyard. No more relying solely on store-bought fruit; you’ll have a steady supply of homegrown goodness, all thanks to a little bit of ingenuity and effort.
But the beauty of this method lies in its adaptability. Feel free to experiment with variations to suit your specific climate and soil conditions. For instance, if you live in a particularly dry area, consider adding water-retaining crystals to the soil mix to help maintain moisture levels. Or, if your soil is naturally acidic, you might want to incorporate some lime to balance the pH.
Don’t be afraid to get creative! You could even try adding different types of organic matter to the mix, such as composted coffee grounds or eggshells, to further enrich the soil and provide your banana plants with a wider range of nutrients. The possibilities are endless!
Ultimately, the key to success is observation. Pay close attention to your banana plants and adjust your approach as needed. Are the leaves looking vibrant and healthy? Are the pseudostems strong and sturdy? Are you seeing signs of fruit development? These are all important indicators of how well your plants are responding to the treatment.
We are confident that this DIY trick will transform your banana-growing experience. It’s a simple, practical, and rewarding way to boost your harvest and enjoy the fruits (literally!) of your labor.
Now, it’s your turn! We encourage you to try this method and see the amazing results for yourself. Don’t forget to document your progress and share your experiences with us. We’d love to hear about your successes, challenges, and any variations you’ve tried. Together, we can learn and grow even more bananas! Share your photos and stories on our social media pages using #GrowMoreBananas and let’s create a community of thriving banana growers. Let’s make the world a more banana-filled place, one backyard at a time!
Frequently Asked Questions (FAQ)
Q: How often should I apply this DIY trick to my banana plants?
A: The frequency of application depends on several factors, including the age of your plants, the climate, and the soil conditions. As a general rule, you can apply the DIY mixture every 2-3 months during the growing season (typically spring and summer). For younger plants, you might want to apply it more frequently, perhaps every month, but in smaller quantities. Observe your plants closely. If you notice signs of nutrient deficiency, such as yellowing leaves or stunted growth, you may need to increase the frequency of application. Conversely, if your plants are thriving, you can reduce the frequency. During the dormant season (typically fall and winter), you can reduce or even stop applying the mixture altogether.
Q: What if I don’t have access to all the ingredients listed in the recipe? Can I substitute them with something else?
A: While the specific ingredients listed in the recipe are ideal, you can certainly make substitutions based on what you have available. The key is to understand the purpose of each ingredient and find a suitable alternative that provides similar benefits. For example, if you don’t have access to Epsom salts (magnesium sulfate), you can try using other sources of magnesium, such as dolomite lime. If you don’t have bone meal (phosphorus), you can use rock phosphate or even composted chicken manure. For potassium, wood ash is an excellent substitute. The most important thing is to ensure that your banana plants are receiving a balanced supply of essential nutrients. When making substitutions, start with smaller quantities and observe your plants closely to see how they respond.
Q: My banana plants are already producing fruit. Is it still safe to apply this DIY trick?
A: Yes, it is generally safe to apply this DIY trick to banana plants that are already producing fruit. In fact, it can even help to improve the quality and size of the fruit. However, it’s important to be mindful of the timing and quantity of application. Avoid applying the mixture directly to the fruit, as this could potentially cause discoloration or damage. Instead, focus on applying it to the soil around the base of the plant. Also, reduce the quantity of the mixture slightly to avoid over-fertilizing the plants. Remember, the goal is to provide a gentle boost of nutrients, not to overload the plants with excessive amounts.
Q: I live in a cold climate. Can I still grow bananas using this DIY trick?
A: Growing bananas in cold climates can be challenging, but it’s not impossible. The key is to choose cold-hardy banana varieties and provide them with adequate protection during the winter months. This DIY trick can certainly help to improve the overall health and vigor of your banana plants, making them more resilient to cold temperatures. However, it’s important to supplement this with other cold-weather protection measures, such as mulching around the base of the plants, wrapping the pseudostems with burlap, or even moving the plants indoors during the coldest periods. You might also consider growing your bananas in containers, which allows you to easily move them indoors or to a more sheltered location when the weather turns cold.
Q: I’ve noticed some pests on my banana plants. Will this DIY trick help to get rid of them?
A: While this DIY trick is primarily designed to improve the nutrient content of the soil and promote healthy growth, it can indirectly help to deter pests. Healthy, vigorous plants are generally more resistant to pests and diseases. However, this DIY trick is not a substitute for proper pest control measures. If you’re dealing with a significant pest infestation, you’ll need to take additional steps to address the problem. This might involve using organic pesticides, introducing beneficial insects, or manually removing the pests from the plants. It’s also important to identify the specific type of pest you’re dealing with so that you can choose the most effective treatment method.
Q: How do I know if I’m over-fertilizing my banana plants? What are the signs?
A: Over-fertilizing can be just as harmful as under-fertilizing. Signs of over-fertilization in banana plants include:
* **Leaf burn:** The tips and edges of the leaves may turn brown and crispy.
* **Stunted growth:** The plants may stop growing or grow very slowly.
* **Salt buildup:** A white crust may form on the surface of the soil.
* **Root damage:** The roots may become brown and mushy.
* **Nutrient imbalances:** Over-fertilization with one nutrient can interfere with the uptake of other nutrients.
If you notice any of these signs, stop applying the DIY mixture immediately and flush the soil with plenty of water to remove excess nutrients. You may also need to repot the plants with fresh soil if the salt buildup is severe. In the future, be sure to apply the DIY mixture in smaller quantities and less frequently to avoid over-fertilizing.
Q: Can I use this DIY trick on other types of plants besides bananas?
A: While this DIY trick is specifically formulated for banana plants, it can potentially be used on other types of plants as well. The ingredients in the mixture provide a balanced supply of essential nutrients that are beneficial to most plants. However, it’s important to consider the specific needs of each plant species before applying the mixture. Some plants may require different nutrient ratios or have different pH preferences. It’s always a good idea to do some research and test the mixture on a small area of the plant before applying it to the entire plant. You may also need to adjust the quantity and frequency of application based on the specific needs of the plant.


Leave a Comment