
Baking Soda Frying Pan Hack: Is your trusty frying pan looking less “trusty” and more like a burnt offering? Don’t despair! We’ve all been there, staring into the abyss of a blackened, greasy pan, wondering if it’s time to throw in the towel (or the pan, rather). But before you resign yourself to a life of takeout, let me introduce you to a game-changing, budget-friendly solution: the baking soda frying pan hack!
For generations, resourceful cooks have relied on simple, natural ingredients to tackle tough cleaning challenges. Baking soda, a humble kitchen staple, has a surprisingly powerful cleaning ability. Think of it as a gentle giant, ready to scrub away stubborn grime without harsh chemicals. This isn’t just about cleaning; it’s about preserving your cookware and saving money in the long run.
Why do you need this baking soda frying pan hack? Because nobody wants to spend hours scrubbing, and nobody wants to replace their favorite pan prematurely. Burnt food and grease buildup can affect the taste of your cooking and even be a health hazard. I’m going to show you a simple, effective method that will have your frying pans looking sparkling clean with minimal effort. Get ready to say goodbye to stubborn stains and hello to a gleaming, like-new frying pan!
Revive Your Scorched Frying Pan with Baking Soda: A DIY Miracle!
Okay, friends, let’s talk about something we’ve all faced: the dreaded burnt frying pan. You’re cooking up a storm, maybe get distracted for a minute (or ten!), and BAM! You’ve got a layer of blackened, stuck-on gunk that seems impossible to remove. Before you resign yourself to scrubbing until your arms fall off, or worse, tossing the pan in the trash, let me share my absolute favorite DIY hack: the baking soda frying pan revival!
This method is gentle, effective, and uses ingredients you probably already have in your pantry. Trust me, it’s a game-changer!
What You’ll Need:
* Baking Soda (the star of the show!)
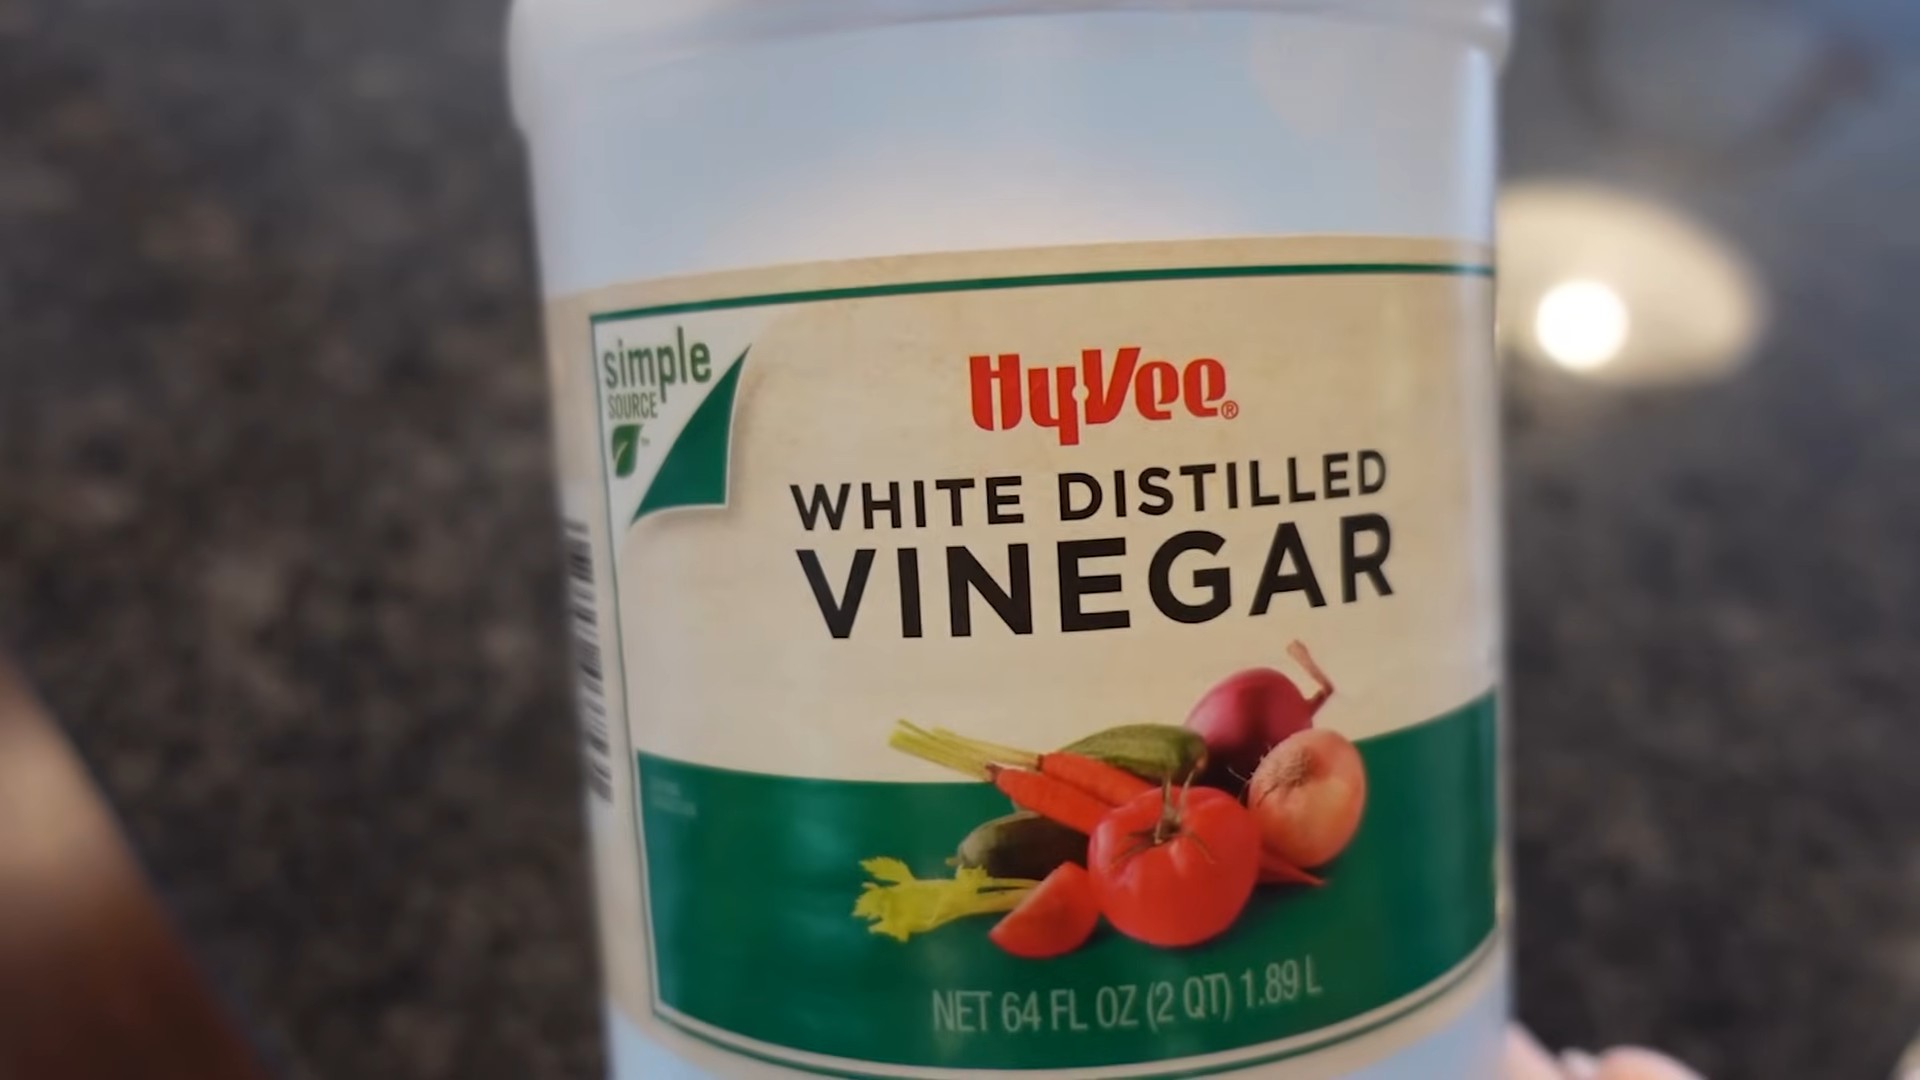
* White Vinegar (for that bubbly, cleaning action)
* Water
* Dish Soap (for a final clean)
* A Non-Abrasive Sponge or Scrubber (avoid steel wool or anything too harsh)
* A Large Pot or Sink (big enough to submerge your pan)
* Optional: Rubber Gloves (to protect your hands)
The Magic Formula: Baking Soda Paste
Before we dive into the full soak, let’s tackle the worst of the burnt bits with a powerful baking soda paste.
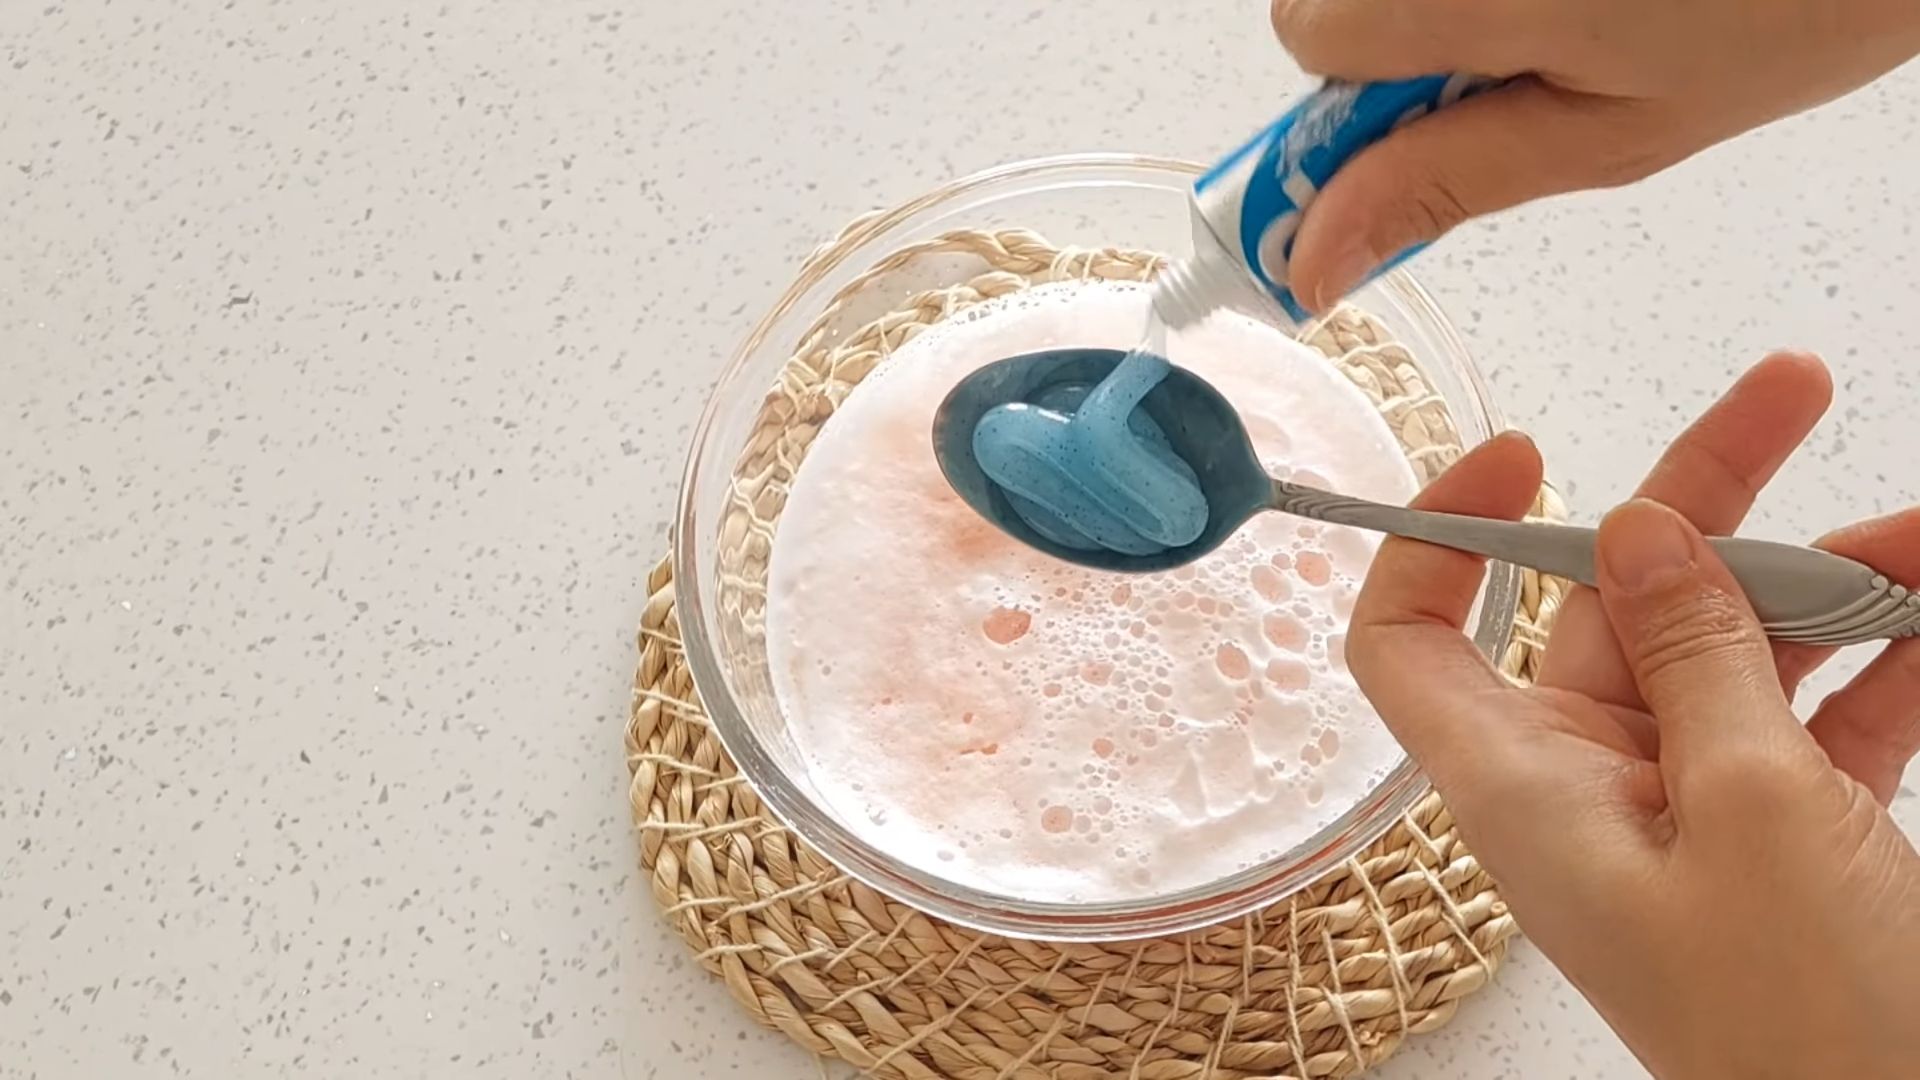
1. Create the Paste: In a small bowl, mix together baking soda and a little bit of water. You want a thick, spreadable paste, similar to toothpaste consistency. Start with a few tablespoons of baking soda and add water a teaspoon at a time until you reach the right consistency.
2. Apply the Paste: Generously apply the baking soda paste to all the burnt areas of your frying pan. Make sure you cover every single spot! Don’t be shy; the thicker the layer, the better.
3. Let it Sit: This is the crucial part! Let the baking soda paste sit on the burnt areas for at least 30 minutes. For really stubborn burns, you can even leave it overnight. The baking soda will work its magic, loosening the burnt food particles.
The Deep Soak: Vinegar and Baking Soda Power!
Now, for the main event: the deep soak that will really loosen up that stubborn grime.
1. Prepare the Soaking Solution: Fill your large pot or sink with enough water to completely submerge your frying pan.
2. Add the Vinegar: Pour in about one cup of white vinegar. The vinegar will react with the baking soda, creating a bubbly, fizzing action that helps to lift the burnt food.
3. Add More Baking Soda: Sprinkle about half a cup of baking soda into the water. You’ll see it fizz and bubble even more when it comes into contact with the vinegar.
4. Submerge the Pan: Carefully place your frying pan into the water, making sure all the burnt areas are completely submerged.
5. Bring to a Simmer: Place the pot on the stove and bring the water to a simmer over medium heat. Let it simmer for about 30 minutes. Keep an eye on it to make sure the water doesn’t boil over. The simmering action will further loosen the burnt food particles.
6. Turn off the Heat and Let it Cool: After 30 minutes, turn off the heat and let the water cool down completely. This is important to avoid burning yourself.
7. Drain the Water: Once the water is cool enough to handle, carefully drain it from the pot or sink.
Scrub-a-Dub-Dub: The Final Clean
Now that the baking soda and vinegar have done their work, it’s time for the final scrub.
1. Apply Dish Soap: Squirt a generous amount of dish soap onto your non-abrasive sponge or scrubber.
2. Scrub Gently: Gently scrub the burnt areas of the frying pan. You should find that the burnt food particles are now much easier to remove. Avoid using excessive force, as you don’t want to scratch the surface of your pan.
3. Rinse Thoroughly: Rinse the frying pan thoroughly with warm water to remove all traces of soap and baking soda residue.
4. Inspect and Repeat (If Necessary): Inspect the frying pan to see if there are any remaining burnt areas. If so, repeat the baking soda paste and deep soak steps as needed. For really stubborn burns, you might need to repeat the process a couple of times.
5. Dry Completely: Once you’re satisfied with the cleanliness of your frying pan, dry it completely with a clean towel. This will help prevent rust and water spots.
Tips and Tricks for Extra Cleaning Power:
* For Extra Stubborn Burns: If you’re dealing with a particularly stubborn burnt mess, try adding a few tablespoons of salt to the baking soda paste. The salt will act as a gentle abrasive, helping to scrub away the burnt food particles.
* Lemon Juice Boost: For an extra cleaning boost, add a few tablespoons of lemon juice to the soaking solution. The acidity of the lemon juice will help to break down the burnt food particles.
* Prevention is Key: Of course, the best way to avoid burnt frying pans is to prevent them in the first place! Keep a close eye on your cooking, use the correct heat settings, and avoid leaving food unattended for too long.
* Cast Iron Care: If you’re using this method on a cast iron skillet, be sure to re-season it afterward. The baking soda and vinegar can strip away the seasoning, so it’s important to reapply it to protect the pan and prevent rust.
* Don’t Use Abrasive Cleaners: Avoid using steel wool, scouring pads, or other abrasive cleaners on your frying pan, as these can scratch the surface and damage the non-stick coating.
* Test in an Inconspicuous Area: Before applying the baking soda paste to the entire pan, test it in a small, inconspicuous area to make sure it doesn’t damage the surface. This is especially important for delicate or antique pans.
* Ventilation is Important: When simmering the vinegar and baking soda solution, make sure to have good ventilation in your kitchen. The fumes can be a bit strong, so open a window or turn on your exhaust fan.
* Patience is a Virtue: Remember that this method may take some time and effort, especially for heavily burnt pans. Be patient and persistent, and you’ll eventually be able to revive your frying pan.
* Consider the Pan’s Material: While this method is generally safe for most types of frying pans, it’s always a good idea to consider the material of your pan before using it. For example, some delicate non-stick coatings may be more susceptible to damage from the baking soda and vinegar.
* Don’t Overfill the Pot: When simmering the water, make sure not to overfill the pot. You want to leave enough room so that the water doesn’t boil over and create a mess.
* Use Hot Water: When rinsing the frying pan, use hot water to help remove any remaining grease or food particles.
* Store Properly: After drying the frying pan, store it properly to prevent it from getting scratched or damaged. Hang it on a hook or store it in a cabinet with other cookware.
Why This Works: The Science Behind the Sparkle
So, what’s the magic behind this baking soda and vinegar combo? It’s all about chemistry! Baking soda (sodium bicarbonate) is a mild alkali, while vinegar (acetic acid) is a mild acid. When they combine, they create a chemical reaction that produces carbon dioxide gas (those bubbles you see!) and other compounds. This fizzing action helps to lift and loosen the burnt food particles from the surface of the pan. The baking soda also acts as a gentle abrasive, helping to scrub away the stubborn grime without scratching the pan.
The heat from the simmering water further accelerates the cleaning process by softening the burnt food and making it easier to remove. It’s a powerful combination that’s both effective and gentle on your cookware.
Beyond Frying Pans: Other Uses for This Hack
The beauty of this baking soda and vinegar cleaning method is that it’s not just limited to frying pans! You can use it to clean other burnt cookware, such as pots, baking sheets, and even oven racks. Just adjust the amount of baking soda and vinegar according to the size of the item you’re cleaning.
I’ve even used this method to clean burnt food off the bottom of my oven! Just be sure to turn off the oven and let it cool completely before applying the baking soda paste.
So there you have it! My go-to DIY hack for reviving scorched frying pans. Give it a try, and I promise you’ll be amazed at the results. Happy cleaning!
Conclusion
So, there you have it! The baking soda frying pan hack – a simple, effective, and surprisingly powerful way to breathe new life into your cookware. We’ve walked through the steps, highlighted the benefits, and hopefully, dispelled any doubts you might have had. But why is this DIY trick a must-try?
Firstly, it’s incredibly cost-effective. Instead of shelling out money for expensive cleaning products or, worse, replacing your favorite frying pan, you can utilize a common household ingredient that you likely already have in your pantry. Baking soda is inexpensive and readily available, making this a budget-friendly solution for tackling stubborn food residue and burnt-on messes.
Secondly, it’s a safer alternative to harsh chemicals. Many commercial oven cleaners and scouring pads contain abrasive substances that can damage the non-stick coating of your pans or leave behind harmful residues. Baking soda, on the other hand, is a gentle yet effective cleaning agent that won’t compromise the integrity of your cookware or pose a risk to your health.
Thirdly, it’s remarkably versatile. While we’ve focused on frying pans, this method can also be used to clean other cookware items, such as pots, baking sheets, and even oven racks. The power of baking soda extends beyond just removing burnt food; it can also help to eliminate odors and restore the shine to your kitchen essentials.
But the real magic lies in its effectiveness. The combination of baking soda, water, and heat creates a powerful cleaning action that loosens even the most stubborn grime. You’ll be amazed at how easily the burnt-on food lifts away, leaving you with a clean and revitalized frying pan.
Ready to take your cleaning game to the next level?
Here are a few suggestions and variations to consider:
* For extra stubborn messes: Add a splash of white vinegar to the baking soda paste for an added boost of cleaning power. The fizzing action will help to lift away even the most difficult residue.
* For stainless steel pans: You can use a slightly more abrasive scrubbing pad, but always test it in an inconspicuous area first to avoid scratching.
* For cast iron pans: After cleaning, be sure to re-season your cast iron pan to protect it from rust.
* Preventative measures: To prevent future build-up, try cleaning your frying pan with baking soda and water after each use. This will help to keep it in top condition and extend its lifespan.
We’re confident that this baking soda frying pan hack will become a staple in your cleaning routine. It’s a simple, effective, and eco-friendly way to keep your cookware looking its best.
Now, it’s your turn! We encourage you to try this DIY trick and share your experience with us. Did it work for you? Did you discover any variations that worked particularly well? Let us know in the comments below! We’re always eager to hear from our readers and learn from your experiences. Your feedback will not only help us improve our content but also inspire others to embrace the power of simple, natural cleaning solutions. So, go ahead, give your frying pan some love with the baking soda frying pan hack, and let us know what you think!
Frequently Asked Questions (FAQ)
Q: Is baking soda safe to use on all types of frying pans?
A: Generally, yes, baking soda is safe for most types of frying pans, including non-stick, stainless steel, and cast iron. However, it’s always a good idea to test it in an inconspicuous area first, especially if you’re unsure about the material of your pan. For non-stick pans, avoid using abrasive scrubbing pads, as they can damage the coating. For cast iron pans, remember to re-season them after cleaning to prevent rust.
Q: How often should I use the baking soda frying pan hack?
A: You can use this method as often as needed, depending on how frequently you use your frying pan and how much food residue accumulates. For preventative maintenance, cleaning your pan with baking soda and water after each use can help to prevent build-up and keep it in good condition. For heavily soiled pans, you may need to repeat the process a few times to achieve the desired results.
Q: Can I use this method on other types of cookware besides frying pans?
A: Absolutely! The baking soda frying pan hack is versatile and can be used to clean other cookware items, such as pots, baking sheets, oven racks, and even stovetop burners. The same principles apply: create a paste of baking soda and water, apply it to the affected area, let it sit for a while, and then scrub away the residue.
Q: What if the burnt-on food is extremely stubborn and doesn’t come off easily?
A: For extremely stubborn messes, try adding a splash of white vinegar to the baking soda paste. The fizzing action will help to loosen the residue. You can also try letting the paste sit for a longer period of time, even overnight, before scrubbing. If necessary, repeat the process a few times until the burnt-on food is completely removed.
Q: Will baking soda scratch my frying pan?
A: Baking soda is generally a gentle abrasive, but it’s still possible to scratch your frying pan if you use too much pressure or an overly abrasive scrubbing pad. To minimize the risk of scratching, use a soft sponge or cloth and avoid scrubbing too vigorously. Always test the method in an inconspicuous area first to ensure that it doesn’t damage the surface of your pan.
Q: Can I use this method to remove rust from my cast iron frying pan?
A: Yes, baking soda can help to remove rust from cast iron frying pans. Create a paste of baking soda and water, apply it to the rusted areas, and let it sit for a few hours. Then, scrub away the rust with a steel wool pad or a wire brush. Once the rust is removed, be sure to thoroughly clean and re-season your cast iron pan to protect it from future rust.
Q: Is there any alternative to baking soda for cleaning frying pans?
A: Yes, there are several alternatives to baking soda for cleaning frying pans. Some popular options include:
* **Dish soap and hot water:** This is a basic cleaning method that works well for removing light food residue.
* **Vinegar and water:** A mixture of vinegar and water can help to loosen grease and grime.
* **Cream of tartar:** Cream of tartar is a mild abrasive that can be used to scrub away stubborn stains.
* **Commercial cookware cleaners:** There are many commercial cookware cleaners available that are specifically designed to remove burnt-on food and grease. However, be sure to choose a cleaner that is safe for your type of frying pan.
Q: How can I prevent food from burning on my frying pan in the first place?
A: Preventing food from burning on your frying pan is the best way to avoid the need for extensive cleaning. Here are a few tips:
* **Use the right amount of oil or butter:** Make sure your pan is properly lubricated before adding food.
* **Don’t overcrowd the pan:** Overcrowding the pan can lower the temperature and cause food to steam instead of sear, which can lead to burning.
* **Use the correct heat setting:** Adjust the heat setting according to the type of food you’re cooking.
* **Stir or flip food frequently:** This will help to ensure that it cooks evenly and doesn’t burn.
* **Use a good quality frying pan:** A good quality frying pan will distribute heat evenly and prevent hot spots that can cause burning.
By following these tips, you can minimize the risk of food burning on your frying pan and keep it looking its best. And when you do need to clean it, remember the baking soda frying pan hack – it’s a simple, effective, and eco-friendly solution for tackling even the most stubborn messes.


Leave a Comment