
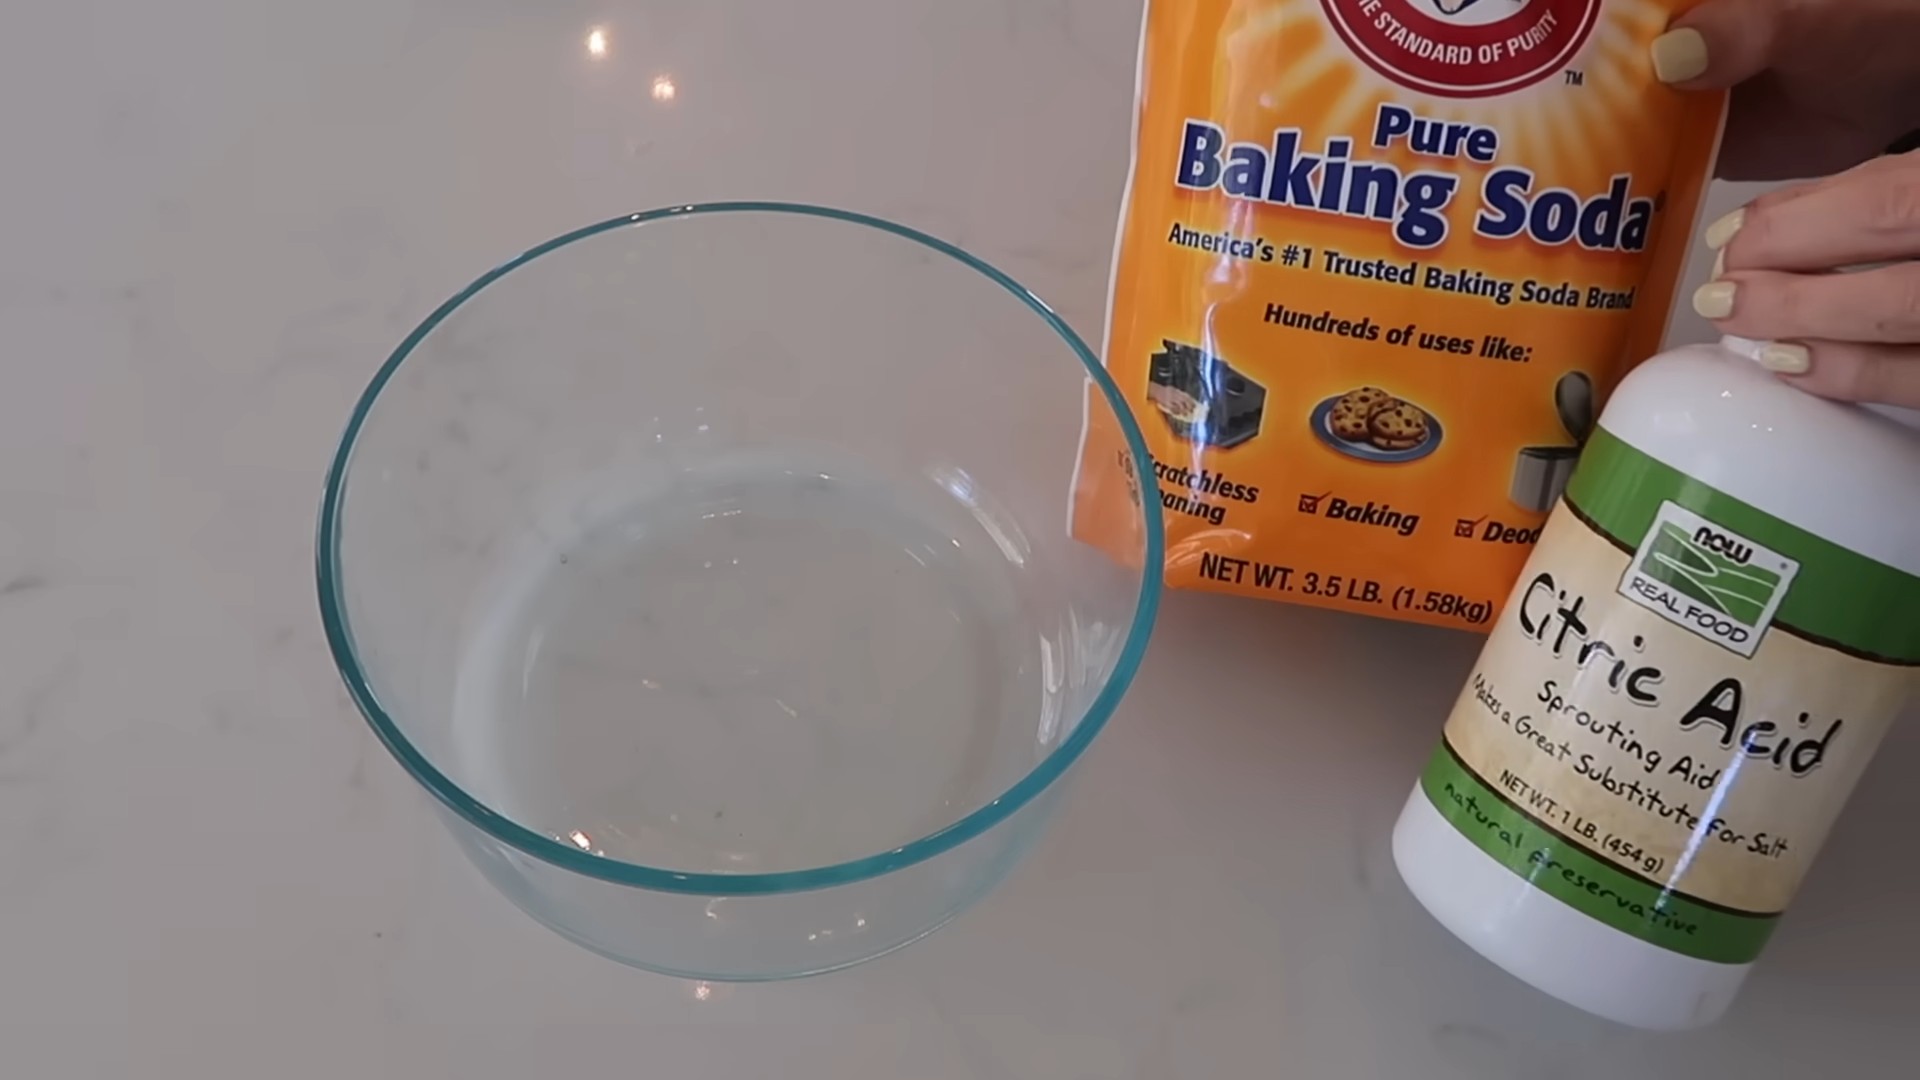
Citric Acid Cleaning Hacks: Unlock the Sparkling Secrets to a Spotless Home!
Have you ever looked around your home and felt overwhelmed by the sheer amount of cleaning that needs to be done? I know I have! From stubborn hard water stains in the bathroom to grimy buildup in the kitchen, keeping everything sparkling can feel like a never-ending battle. But what if I told you there’s a simple, natural, and incredibly effective solution hiding in plain sight?
For centuries, cultures around the world have recognized the power of citrus fruits, not just for their delicious flavor and health benefits, but also for their remarkable cleaning properties. Think about it – your grandmother probably squeezed lemon juice to brighten her whites! This tradition stems from the potent cleaning capabilities of citric acid, a naturally occurring compound found in lemons, limes, and other citrus fruits.
But why should you embrace citric acid cleaning hacks today? Because they offer a fantastic alternative to harsh chemical cleaners. Not only are they gentler on your skin and the environment, but they’re also incredibly versatile and cost-effective. In this article, I’m going to share my favorite DIY tricks and hacks using citric acid to tackle everything from limescale buildup to stubborn stains. Get ready to ditch the harsh chemicals and discover the sparkling power of nature!
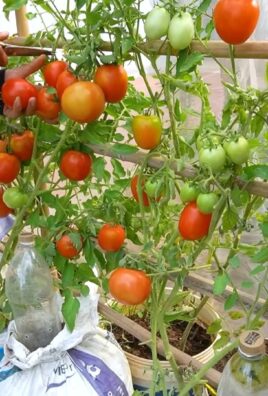
DIY Balcony Chili Plant Paradise: From Seed to Spice!
Okay, chili lovers, gather ’round! I’m going to show you how to transform your balcony into a vibrant, chili-pepper-producing paradise. Even if you’re a complete beginner, don’t worry! I’ll walk you through every step, from choosing the right seeds to harvesting your fiery bounty. Get ready to spice up your life!
Choosing Your Chili Varieties
Before we get our hands dirty, let’s talk chili types. The world of chili peppers is vast and exciting! Think about what kind of heat you like and what you’ll use the chilies for.
* For Mild Heat: Anaheim, Poblano, or even Shishito peppers are great choices. They add flavor without blowing your head off!
* For Medium Heat: Jalapeños, Serrano, or Cayenne peppers are perfect for adding a kick to your dishes.
* For Serious Heat: Habaneros, Scotch Bonnets, or Ghost Peppers (Bhut Jolokia) are for the brave! Handle these with care!
* For Ornamental Value: Some chili varieties, like Thai peppers or ornamental peppers, are beautiful and add a pop of color to your balcony.
Consider the size of your balcony too. Some chili plants can get quite large, so choose varieties that are suitable for container growing. Dwarf varieties are your best friend if space is limited.
Gathering Your Supplies
Alright, time to assemble our chili-growing arsenal! Here’s what you’ll need:
* Chili Seeds: Choose your varieties based on your heat preference and balcony space.
* Seed Starting Tray or Small Pots: These are for starting your seeds indoors.
* Seed Starting Mix: This is a light, airy soil mix specifically designed for seedlings.
* Larger Pots (5-10 gallons): These will be the permanent homes for your chili plants.
* Potting Mix: A good quality potting mix is essential for healthy growth.
* Fertilizer: A balanced fertilizer (e.g., 10-10-10) or a chili-specific fertilizer.
* Watering Can or Hose: For watering your plants.
* Spray Bottle: For misting seedlings and treating pests.
* Plant Labels: To keep track of your different chili varieties.
* Gardening Gloves: To protect your hands.
* Optional: Plant supports or stakes, insecticidal soap, neem oil.
Starting Your Chili Seeds Indoors
Starting your chili seeds indoors gives them a head start, especially if you live in a cooler climate. I usually start mine about 6-8 weeks before the last expected frost.
1. Prepare Your Seed Starting Tray: Fill your seed starting tray or small pots with seed starting mix. Moisten the mix thoroughly.
2. Sow the Seeds: Make a small indentation (about 1/4 inch deep) in the soil. Place 1-2 chili seeds in each indentation.
3. Cover the Seeds: Gently cover the seeds with seed starting mix.
4. Water Gently: Water the seeds gently using a spray bottle or a watering can with a fine rose attachment. Avoid overwatering.
5. Provide Warmth: Chili seeds need warmth to germinate. Place the seed starting tray in a warm location, such as on top of a refrigerator or on a heat mat. The ideal temperature is around 75-85°F (24-29°C).
6. Maintain Moisture: Keep the soil consistently moist, but not soggy. You can cover the seed starting tray with a clear plastic lid or plastic wrap to help retain moisture.
7. Wait for Germination: Chili seeds can take anywhere from 1-3 weeks to germinate, depending on the variety and temperature. Be patient!
8. Provide Light: Once the seedlings emerge, remove the plastic lid or wrap and provide them with plenty of light. A sunny windowsill or a grow light will work well.
9. Thin the Seedlings: If you planted more than one seed per pot, thin the seedlings to one per pot once they have a few sets of true leaves. Choose the strongest seedling and snip off the others at the soil line.
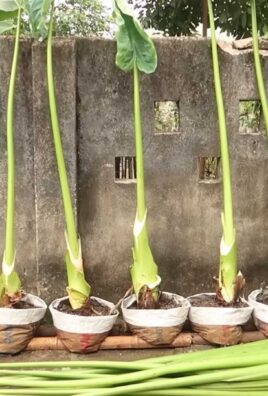
Transplanting Your Chili Seedlings
Once your seedlings have grown a few sets of true leaves and are about 4-6 inches tall, it’s time to transplant them into larger pots.
1. Harden Off the Seedlings: Before transplanting, you need to “harden off” the seedlings. This means gradually acclimating them to outdoor conditions. Start by placing the seedlings outdoors in a sheltered location for a few hours each day, gradually increasing the amount of time they spend outdoors over the course of a week.
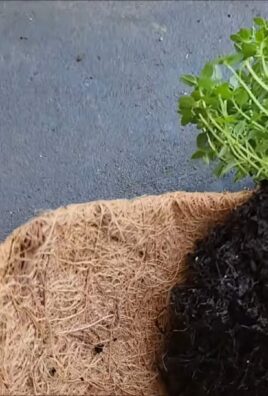
2. Prepare the Larger Pots: Fill your larger pots (5-10 gallons) with a good quality potting mix.
3. Transplant the Seedlings: Gently remove the seedlings from their seed starting trays or small pots. Be careful not to damage the roots.
4. Plant the Seedlings: Dig a hole in the potting mix that is large enough to accommodate the root ball of the seedling. Place the seedling in the hole and gently backfill with potting mix.
5. Water Thoroughly: Water the transplanted seedlings thoroughly.
6. Provide Support (Optional): If you are growing tall or heavy chili varieties, you may want to provide them with support using plant stakes or cages.
Caring for Your Chili Plants on the Balcony
Now that your chili plants are in their permanent homes, it’s time to provide them with the care they need to thrive.
* Sunlight: Chili plants need at least 6-8 hours of sunlight per day. Choose a sunny location on your balcony.
* Watering: Water your chili plants regularly, especially during hot, dry weather. Allow the soil to dry out slightly between waterings. Avoid overwatering, as this can lead to root rot.
* Fertilizing: Fertilize your chili plants every 2-3 weeks with a balanced fertilizer or a chili-specific fertilizer. Follow the instructions on the fertilizer label.
* Pruning: Pruning can help to encourage bushier growth and more fruit production. Pinch off the tips of the branches to encourage branching. Remove any yellow or dead leaves.
* Pest Control: Keep an eye out for pests such as aphids, spider mites, and whiteflies. Treat infestations with insecticidal soap or neem oil.
* Pollination: Chili plants are self-pollinating, but you can help them along by gently shaking the plants or using a small brush to transfer pollen from one flower to another. This is especially helpful if you are growing your plants indoors or in a sheltered location.
* Temperature: Chili plants prefer warm temperatures. Protect them from frost and cold temperatures. If you live in a colder climate, you may need to bring your plants indoors during the winter.
Harvesting Your Chili Peppers
The moment you’ve been waiting for! Harvesting your own homegrown chilies is incredibly rewarding.
* When to Harvest: The time to harvest your chili peppers depends on the variety and your personal preference. Generally, chili peppers are ready to harvest when they have reached their mature size and color.
* How to Harvest: Use scissors or pruning shears to cut the chili peppers from the plant. Be careful not to damage the plant.
* Handling Hot Peppers: When handling hot peppers, it’s a good idea to wear gloves to protect your skin from the capsaicin, the compound that makes chili peppers hot. Avoid touching your eyes or face after handling hot peppers.
* Storing Your Chili Peppers: You can store your chili peppers in the refrigerator for a few days. For longer storage, you can dry them, freeze them, or pickle them.
Troubleshooting Common Problems
Even with the best care, you might encounter some problems along the way. Here are a few common issues and how to address them:
* Yellowing Leaves: This could be a sign of overwatering, underwatering, nutrient deficiency, or pest infestation. Check the soil moisture, fertilize your plants, and inspect them for pests.
* Blossom Drop: This is when the flowers fall off the plant without producing fruit. This can be caused by temperature stress, lack of pollination, or nutrient deficiency. Ensure your plants are getting enough sunlight and water, and consider hand-pollinating them.
* Pest Infestations: Aphids, spider mites, and whiteflies are common pests of chili plants. Treat infestations with insecticidal soap or neem oil.
* Root Rot: This is caused by overwatering and poor drainage. Ensure your pots have drainage holes and avoid overwatering.
Enjoying Your Homegrown Chilies
Congratulations! You’ve successfully grown your own chili peppers on your balcony. Now it’s time to enjoy the fruits (or should I say, peppers?) of your labor! Use your
Conclusion
So, there you have it! Citric acid cleaning hacks are not just a trend; they’re a game-changer for a sparkling clean home without the harsh chemicals. We’ve explored how this readily available, naturally derived powder can tackle everything from stubborn hard water stains in your bathroom to grimy buildup in your kitchen appliances. The versatility and effectiveness of citric acid make it an absolute must-try for anyone looking to simplify their cleaning routine and embrace a more eco-friendly approach.
Why is this DIY trick a must-try? Because it’s effective, affordable, and environmentally conscious. Traditional cleaning products often contain harsh chemicals that can irritate skin, pollute the air, and even damage surfaces. Citric acid, on the other hand, is biodegradable and gentle, yet powerful enough to dissolve mineral deposits, cut through grease, and eliminate odors. It’s a win-win for your home and the planet.
But the beauty of citric acid cleaning doesn’t stop there. It’s incredibly adaptable. Feel free to experiment with different concentrations and applications to find what works best for your specific needs. For example, if you’re dealing with particularly stubborn stains, you can create a stronger paste by mixing citric acid with less water. Or, if you prefer a scented cleaner, add a few drops of your favorite essential oil, like lemon or lavender, to your citric acid solution.
Here are a few more suggestions and variations to get you started:
* **Citric Acid Laundry Booster:** Add a tablespoon of citric acid to your washing machine along with your regular detergent to brighten whites and remove mineral buildup that can dull colors.
* **Citric Acid Toilet Bowl Cleaner:** Sprinkle a generous amount of citric acid into your toilet bowl, let it sit for a few hours (or overnight), and then scrub and flush.
* **Citric Acid Dishwasher Rinse Aid:** Fill your dishwasher’s rinse aid dispenser with a solution of citric acid and water (1:3 ratio) for sparkling clean dishes without water spots.
* **Citric Acid Coffee Maker Descaler:** Run a solution of citric acid and water (1:4 ratio) through your coffee maker to remove mineral deposits and improve its performance. Follow with a cycle of plain water to rinse.
* **Citric Acid Kettle Descaler:** Boil a solution of citric acid and water (1:4 ratio) in your kettle, let it sit for 30 minutes, and then rinse thoroughly.
We’re confident that once you experience the cleaning power of citric acid, you’ll be hooked. It’s a simple, effective, and sustainable way to keep your home clean and fresh.
So, what are you waiting for? Grab a bag of citric acid and start experimenting! We encourage you to try these DIY tricks and share your experiences with us. Let us know what worked best for you, any variations you tried, and any other creative uses you discovered. Your feedback will help us and other readers learn even more about the amazing cleaning potential of citric acid. Share your tips and tricks in the comments below! Let’s build a community of happy, eco-conscious cleaners!
Frequently Asked Questions (FAQ)
What exactly is citric acid, and is it safe to use?
Citric acid is a naturally occurring organic acid found in citrus fruits like lemons and limes. It’s a weak acid, making it a relatively safe and effective cleaning agent. It’s biodegradable and generally considered safe for household use. However, like any cleaning product, it’s essential to handle it with care. Avoid contact with eyes and prolonged skin contact. If irritation occurs, rinse thoroughly with water. Keep out of reach of children and pets. While it’s food-grade, it’s not meant to be consumed in large quantities.
Where can I buy citric acid?
Citric acid is readily available in most grocery stores, pharmacies, and online retailers. Look for it in the baking aisle, the cleaning supplies section, or online marketplaces like Amazon. It’s often sold in powdered form, making it easy to measure and mix with water. You can also find it in some natural cleaning products.
What surfaces can I safely clean with citric acid?
Citric acid is generally safe for use on most hard, non-porous surfaces, including stainless steel, ceramic, porcelain, glass, and plastic. However, it’s always a good idea to test it in an inconspicuous area first, especially on delicate or painted surfaces. Avoid using citric acid on natural stone surfaces like marble or granite, as it can etch or damage them. Also, avoid using it on aluminum, as it can cause corrosion.
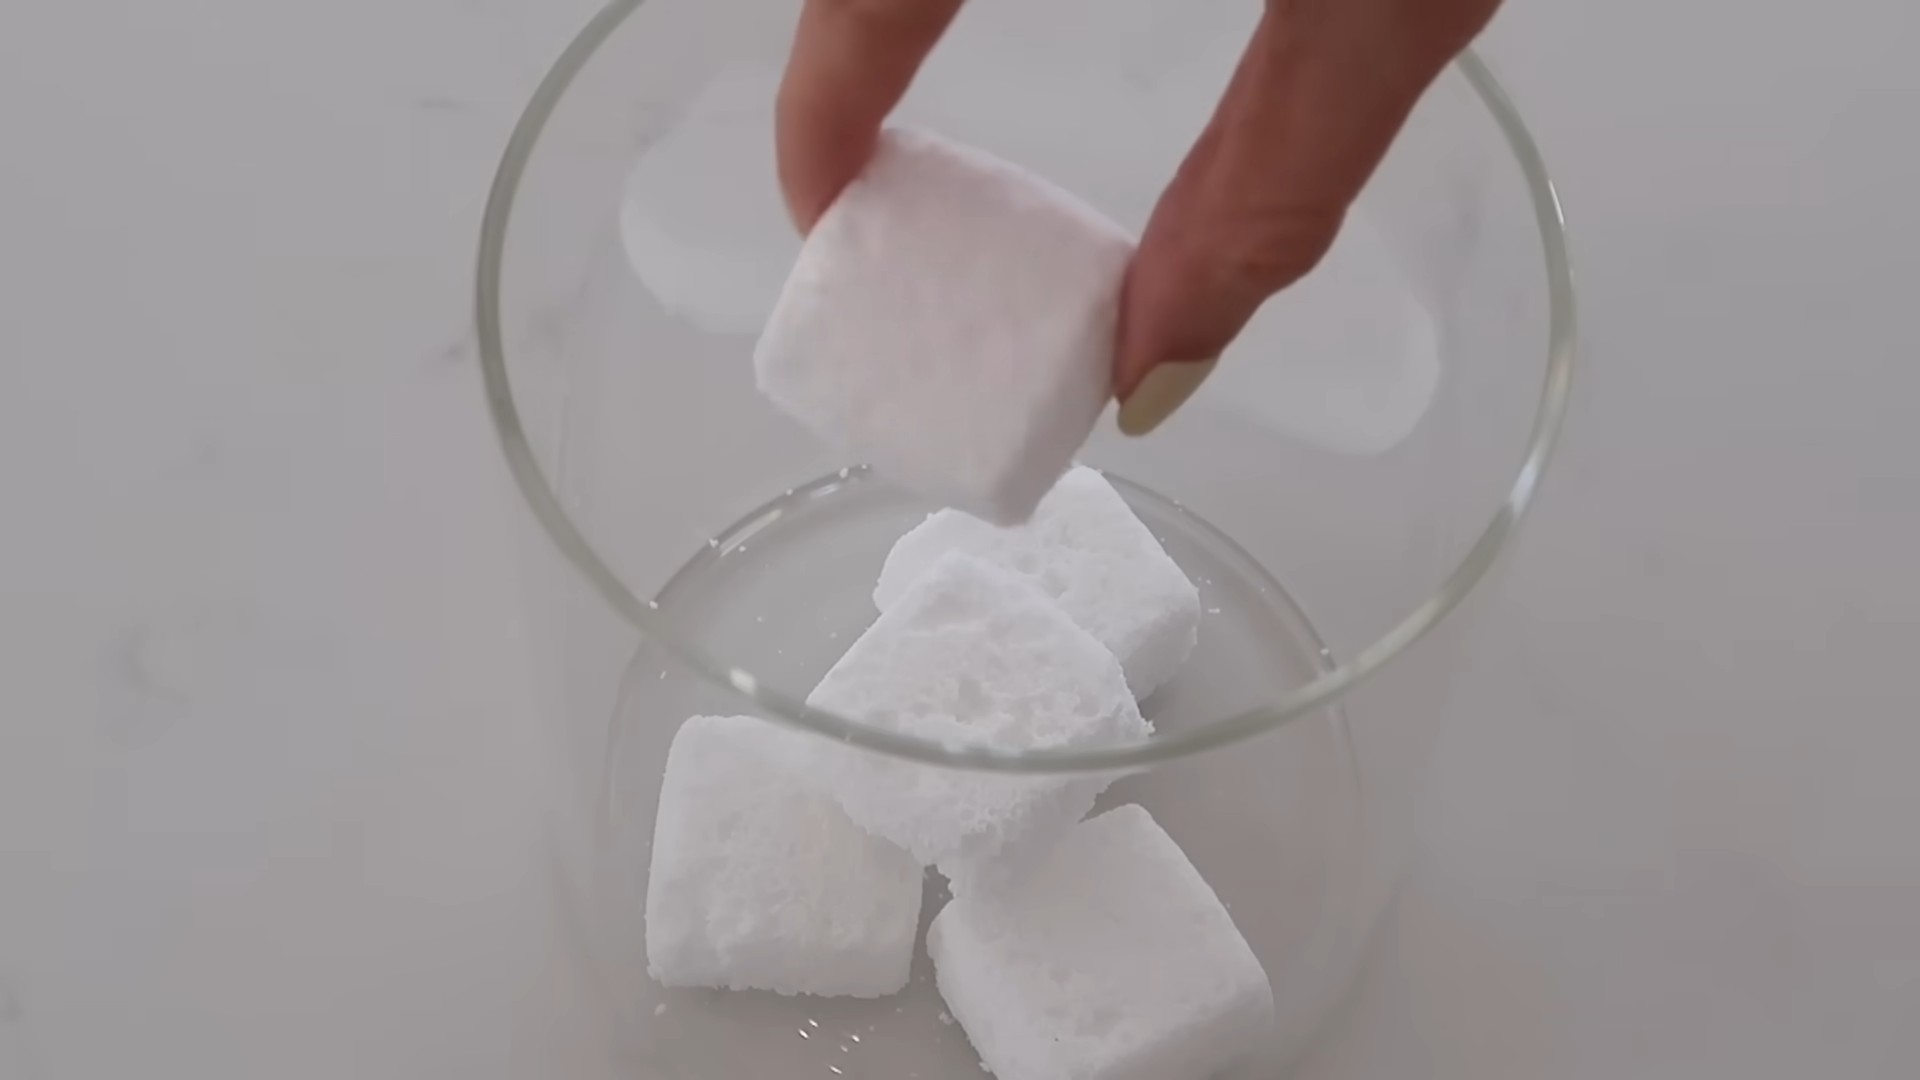
How do I make a basic citric acid cleaning solution?
A basic citric acid cleaning solution is typically made by dissolving citric acid powder in water. A common ratio is 1-2 tablespoons of citric acid per cup of water. You can adjust the concentration depending on the severity of the cleaning task. For light cleaning, use a weaker solution. For tougher stains, use a stronger solution or create a paste. Always dissolve the citric acid completely in water before applying it to the surface you want to clean.
Can I use citric acid to remove rust?
Yes, citric acid is an effective rust remover. To remove rust, create a paste by mixing citric acid with a small amount of water. Apply the paste to the rusted area and let it sit for several hours or overnight. Then, scrub the area with a brush or sponge and rinse thoroughly with water. For heavily rusted items, you can soak them in a citric acid solution for a longer period.
Will citric acid damage my appliances?
When used correctly, citric acid is generally safe for cleaning appliances. However, it’s essential to follow the manufacturer’s instructions for cleaning your specific appliance. Always dilute the citric acid properly and avoid using it on surfaces that are not recommended. After cleaning with citric acid, be sure to rinse the appliance thoroughly with water to remove any residue.
How long should I let citric acid sit on a surface before rinsing?
The amount of time you should let citric acid sit on a surface before rinsing depends on the severity of the stain or buildup. For light cleaning, a few minutes may be sufficient. For tougher stains, you may need to let it sit for several hours or even overnight. Always test the solution in an inconspicuous area first to ensure it doesn’t damage the surface.
Can I mix citric acid with other cleaning products?
It’s generally not recommended to mix citric acid with other cleaning products, especially those containing bleach or ammonia. Mixing these chemicals can create harmful fumes. Citric acid is effective on its own, so there’s usually no need to mix it with other cleaners. If you’re unsure about mixing citric acid with a particular product, it’s best to err on the side of caution and avoid it.
Is citric acid safe for septic systems?
Yes, citric acid is generally considered safe for septic systems. It’s a biodegradable and non-toxic substance that won’t harm the beneficial bacteria in your septic tank. However, it’s always a good idea to use it in moderation. Avoid pouring large amounts of citric acid down the drain at once.
How can I store citric acid?
Store citric acid in a cool, dry place in a tightly sealed container. This will help prevent it from clumping or absorbing moisture. Keep it out of reach of children and pets. Properly stored citric acid can last for several years.
Leave a Comment