
DIY Surface Cleaner: Are you tired of spending a fortune on store-bought cleaners filled with harsh chemicals? Do you dream of a sparkling clean home without the lingering artificial scents? Well, you’re in the right place! I’m about to share some amazing DIY surface cleaner recipes that are not only effective but also eco-friendly and budget-friendly.
The desire for a clean and healthy home is as old as time itself. Throughout history, different cultures have relied on natural ingredients like vinegar, lemon juice, and essential oils to disinfect and freshen their living spaces. Think about it – our grandmothers probably knew more about effective, natural cleaning than we give them credit for! They didn’t have fancy sprays, but they had sparkling homes.
In today’s world, we’re becoming increasingly aware of the impact of chemicals on our health and the environment. That’s why creating your own DIY surface cleaner is more relevant than ever. You can control exactly what goes into your cleaner, avoid harmful toxins, and save money in the process. Plus, it’s incredibly satisfying to know you’re creating a healthier and happier home for yourself and your family. So, let’s dive in and discover some simple yet powerful recipes that will transform your cleaning routine!
DIY All-Purpose Surface Cleaner: Sparkling Clean Without the Harsh Chemicals!
Hey there, fellow DIY enthusiasts! I’m so excited to share my go-to recipe for an all-purpose surface cleaner that’s not only incredibly effective but also super gentle on the environment and your wallet. Forget those expensive, chemical-laden cleaners from the store – we’re going to whip up something amazing using ingredients you probably already have in your pantry! This cleaner is perfect for countertops, sinks, appliances, and even floors (with a little tweaking, which I’ll explain later). Let’s get started!
What You’ll Need: The Essential Ingredients
Before we dive into the mixing, let’s gather our supplies. Here’s a list of everything you’ll need to create this fantastic cleaner:
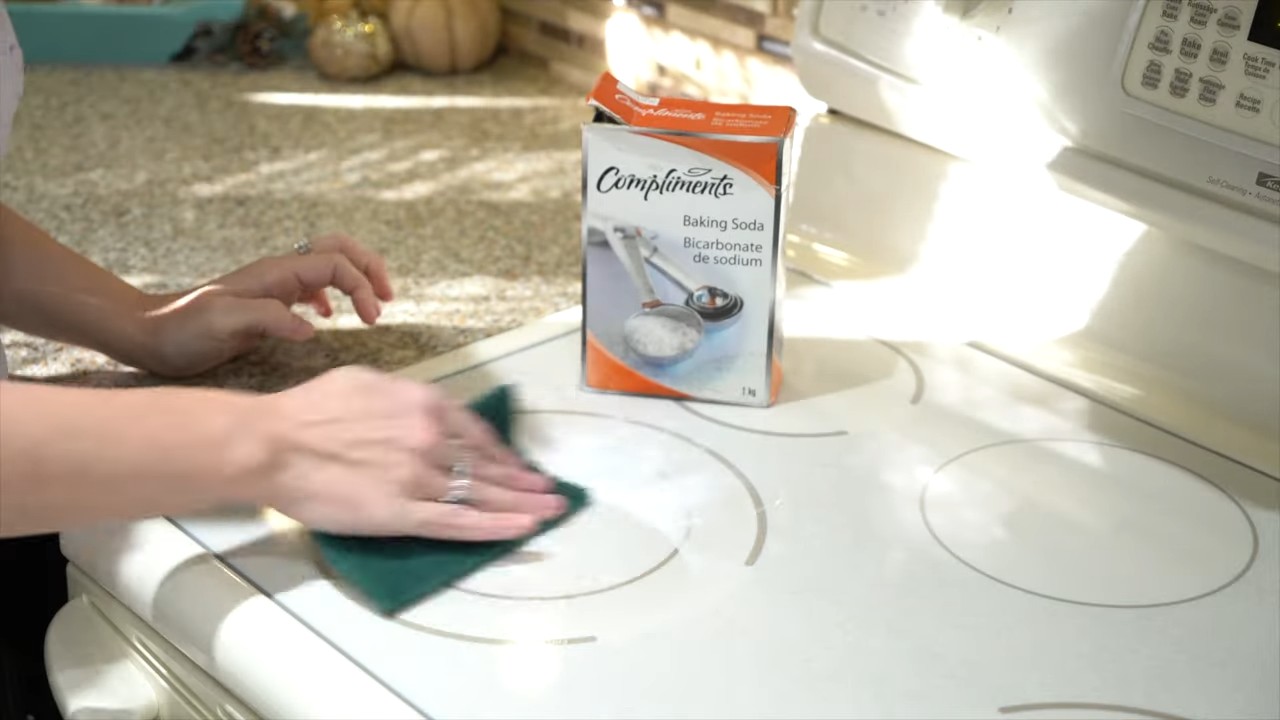
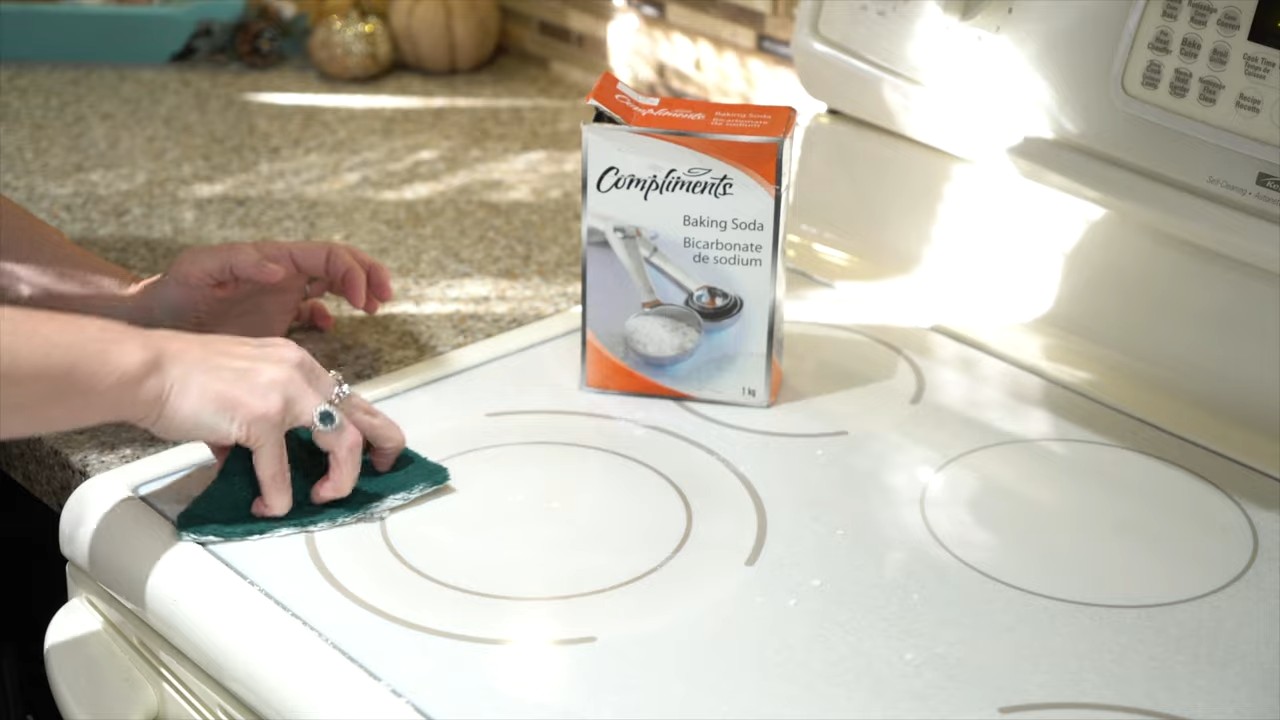
* White Vinegar: This is our star ingredient! Vinegar is a natural disinfectant and degreaser. It’s acidic, which helps to cut through grime and kill bacteria.
* Water: Distilled water is best to avoid mineral buildup, but tap water works just fine too.
* Essential Oils (Optional): These add a lovely scent and can also boost the cleaning power. Lemon, tea tree, lavender, and eucalyptus are all great choices.
* Spray Bottle: A clean, empty spray bottle is essential for dispensing the cleaner.
* Measuring Cup and Spoons: For accurate measurements.
* Funnel (Optional): Makes pouring liquids into the spray bottle easier.
Step-by-Step Instructions: Mixing Your Magic Potion
Now for the fun part! Follow these steps to create your own all-purpose surface cleaner:
1. Prepare Your Spray Bottle: Make sure your spray bottle is clean and dry. This will prevent any unwanted contamination of your cleaner. I usually rinse mine out with hot water and a little bit of dish soap, then let it air dry completely.
2. Combine Vinegar and Water: In your measuring cup, combine equal parts white vinegar and water. A good starting point is 1 cup of vinegar and 1 cup of water. If you’re sensitive to the smell of vinegar, you can increase the water ratio slightly, but keep in mind that this will also reduce the cleaning power.
3. Add Essential Oils (Optional): This is where you can customize your cleaner to your liking! If you’re using essential oils, add about 10-20 drops per 2 cups of liquid. I personally love using a combination of lemon and tea tree oil for a fresh, clean scent and added antibacterial properties. Remember to choose essential oils that are safe for the surfaces you’ll be cleaning.
4. Mix Well: Gently stir the mixture to ensure that the vinegar, water, and essential oils (if using) are thoroughly combined.
5. Pour into Spray Bottle: Using a funnel (if desired), carefully pour the mixture into your clean spray bottle.
6. Label Your Bottle: This is important! Label your spray bottle clearly as “All-Purpose Cleaner” to avoid any confusion. You might also want to include the date you made it.
7. Shake Before Each Use: Give the bottle a good shake before each use to ensure that the ingredients are well mixed.
Using Your DIY Cleaner: Tips and Tricks for Sparkling Results
Now that you have your amazing DIY cleaner, let’s talk about how to use it effectively:
1. Spray and Wipe: Simply spray the cleaner onto the surface you want to clean and wipe it down with a clean cloth or sponge. For tougher stains, let the cleaner sit for a few minutes before wiping.
2. Test in an Inconspicuous Area: Before using the cleaner on a large or delicate surface, always test it in a small, inconspicuous area first to make sure it doesn’t cause any discoloration or damage. This is especially important for painted surfaces and natural stone.
3. Rinse if Necessary: For some surfaces, like countertops where you prepare food, you may want to rinse with clean water after wiping with the cleaner.
4. Avoid Certain Surfaces: While this cleaner is generally safe for most surfaces, avoid using it on marble, granite, and other natural stone surfaces, as the vinegar can etch the stone over time. Also, avoid using it on waxed wood furniture, as it can strip the wax.
Adapting the Recipe: Customizing for Different Needs
The beauty of DIY is that you can customize recipes to suit your specific needs and preferences. Here are a few ways you can adapt this all-purpose cleaner:
* For Greasy Surfaces: Add a teaspoon of dish soap to the mixture for extra degreasing power. Just be sure to rinse well after cleaning.
* For Floors: Dilute the cleaner further with water. A good ratio is 1/4 cup of cleaner per gallon of water. This will prevent the vinegar from damaging your floors. Always test in an inconspicuous area first!
* For a Stronger Disinfectant: Increase the amount of vinegar in the mixture. You can use a 2:1 ratio of vinegar to water for a stronger disinfectant.
* For a Pleasant Scent: Experiment with different essential oil combinations to find your favorite scent. Lavender and chamomile are great for a calming scent, while peppermint and rosemary are invigorating.
Troubleshooting: Addressing Common Issues
Sometimes, things don’t go exactly as planned. Here are a few common issues you might encounter and how to address them:
* Strong Vinegar Smell: If you find the vinegar smell too strong, try adding more essential oils or increasing the water ratio. The smell will dissipate quickly after the surface dries.
* Streaking: Streaking can occur if you’re using too much cleaner or if your cloth is dirty. Try using less cleaner and wiping with a clean, dry cloth.
* Cloudy Cleaner: If your cleaner becomes cloudy, it’s likely due to mineral buildup from your tap water. Try using distilled water instead.
Essential Oil Blends: My Favorite Combinations
I love experimenting with different essential oil blends to create unique and effective cleaners. Here are a few of my favorite combinations:
* Lemon and Tea Tree: This is my go-to blend for general cleaning. Lemon is a powerful degreaser and has a bright, uplifting scent, while tea tree is a natural antiseptic and antifungal.
* Lavender and Eucalyptus: This blend is perfect for cleaning bathrooms. Lavender has a calming scent, while eucalyptus is a natural decongestant and antibacterial.
* Orange and Clove: This blend is great for cleaning kitchens. Orange is a natural degreaser and has a cheerful scent, while clove is a natural antiseptic and has a warm, spicy aroma.
* Peppermint and Rosemary: This blend is invigorating and refreshing. Peppermint is a natural stimulant and has a cooling effect, while rosemary is a natural antiseptic and has a herbaceous scent.
Safety First: Important Precautions
While this DIY cleaner is generally safe, it’s important to take a few precautions:
* Keep Out of Reach of Children and Pets: As with any cleaning product, keep this cleaner out of reach of children and pets.
* Avoid Contact with Eyes: Avoid contact with eyes. If contact occurs, rinse thoroughly with water.
* Do Not Mix with Bleach: Never mix vinegar with bleach, as this can create toxic fumes.
* Use in a Well-Ventilated Area: Use the cleaner in a well-ventilated area to avoid inhaling the vinegar fumes.
Storage: Keeping Your Cleaner Fresh
Store your DIY cleaner in a cool, dark place away from direct sunlight. The cleaner should last for several months. If you notice any changes in color or odor, discard the cleaner and make a fresh batch.
Why DIY? The Benefits of Making Your Own Cleaner
I’m a huge advocate for DIY cleaning products, and for good reason! Here are just a few of the benefits:
* Cost-Effective: Making your own cleaner is much cheaper than buying store-bought cleaners.
* Environmentally Friendly: DIY cleaners are often made with natural, biodegradable ingredients, which are better for the environment.
* Chemical-Free: You can avoid harsh chemicals and toxins that are often found in store-bought cleaners.
* Customizable: You can customize the cleaner to suit your specific needs and preferences.
* Empowering: Making your own cleaner is empowering and gives you control over the products you use in your home.
So there you have it! My ultimate guide to making your own all-purpose surface cleaner. I hope you enjoy making and using this cleaner as much as I do. Happy cleaning!
Conclusion
So, there you have it! Ditching the store-bought chemicals and embracing this DIY Surface Cleaner is more than just a trend; it’s a conscious choice for a healthier home, a happier planet, and a lighter wallet. We’ve walked you through the simple steps, highlighting the versatility and cost-effectiveness of creating your own cleaning solution. But why is this a must-try?
Firstly, you gain complete control over the ingredients. No more squinting at labels filled with unpronounceable chemicals and worrying about their potential impact on your family’s health or the environment. You know exactly what’s going into your cleaner – natural, readily available ingredients that are gentle yet effective. This is especially crucial for households with children, pets, or individuals with sensitivities.
Secondly, the customization options are endless. While our base recipe is a fantastic starting point, feel free to experiment with different essential oils to create your signature scent. Love the invigorating aroma of citrus? Add a few extra drops of lemon or orange essential oil. Prefer a calming and relaxing atmosphere? Lavender or chamomile essential oil might be your go-to. You can even tailor the scent to the specific room you’re cleaning – a refreshing peppermint scent for the bathroom or a warm cinnamon scent for the kitchen.
Beyond scent, you can also adjust the strength of the cleaner to suit your needs. For heavily soiled surfaces, increase the amount of vinegar or add a tablespoon of borax for extra cleaning power. For delicate surfaces, dilute the solution further with water. The beauty of this DIY approach is its adaptability.
Consider these variations:
* For Granite and Marble: While vinegar is generally safe for most surfaces, it’s best to avoid it on granite and marble. Instead, use a mixture of mild dish soap and water. A few drops of rubbing alcohol can also be added for extra shine.
* For Wood Floors: A diluted solution of castile soap and water works wonders on wood floors. Be sure to wring out your mop thoroughly to avoid excessive moisture.
* For Glass and Mirrors: A simple mixture of water and rubbing alcohol is all you need for streak-free glass and mirrors.
But the benefits extend beyond just a clean home. By making your own cleaning products, you’re reducing your reliance on plastic bottles and contributing to a more sustainable lifestyle. You’re also saving money in the long run, as the ingredients for this DIY cleaner are significantly cheaper than their commercial counterparts.
We truly believe that this DIY Surface Cleaner is a game-changer. It’s easy to make, effective, and environmentally friendly. So, we encourage you to give it a try! We’re confident that you’ll be amazed by the results.
Don’t just take our word for it, though. Experiment with different variations, find your favorite scent combinations, and discover the joy of creating your own cleaning products.
And most importantly, share your experience with us! We’d love to hear your feedback, tips, and tricks. Let us know what works best for you and how this DIY cleaner has transformed your cleaning routine. Share your photos and stories on social media using #DIYSurfaceCleaner and join our community of eco-conscious cleaners. Together, we can create a cleaner, healthier, and more sustainable world, one homemade cleaning solution at a time.
Frequently Asked Questions (FAQ)
Is vinegar safe to use on all surfaces?
Vinegar is a fantastic natural cleaner, but it’s not suitable for all surfaces. Avoid using vinegar on natural stone surfaces like granite, marble, and travertine, as the acidity can etch and damage them over time. It’s also best to avoid using vinegar on waxed furniture, as it can strip the wax finish. For these surfaces, opt for a mild dish soap and water solution. Always test any cleaning solution in an inconspicuous area first to ensure it doesn’t cause any damage or discoloration.
Can I use essential oils other than the ones suggested?
Absolutely! The beauty of this DIY cleaner is its versatility. Feel free to experiment with different essential oils to create your desired scent and benefit. Some popular options include tea tree oil (known for its antibacterial properties), eucalyptus oil (great for respiratory support), and lavender oil (for a calming and relaxing aroma). Just be sure to use pure, high-quality essential oils for the best results. Also, be mindful of pets, as some essential oils can be harmful to them. Always research the safety of essential oils before using them around animals.
How long will the DIY surface cleaner last?
This DIY surface cleaner typically lasts for several weeks when stored properly in an airtight container. The vinegar acts as a natural preservative, helping to prevent bacterial growth. However, it’s always a good idea to make a fresh batch every month or so to ensure optimal effectiveness. Store the cleaner in a cool, dark place away from direct sunlight to prolong its shelf life. If you notice any changes in color, odor, or consistency, it’s best to discard the cleaner and make a new batch.
Can I use this cleaner on my electronics?
No, this DIY surface cleaner is not recommended for use on electronics. The liquid can seep into the delicate components and cause damage. Instead, use a microfiber cloth lightly dampened with water to clean your electronic screens and surfaces. You can also purchase specialized electronic cleaning solutions that are designed to be safe and effective. Always unplug your electronics before cleaning them and avoid spraying any liquid directly onto the device.
What if I don’t have essential oils? Can I still make the cleaner?
Yes, you can definitely make the cleaner without essential oils! The vinegar and water mixture is still an effective cleaning solution on its own. The essential oils primarily add fragrance and some additional antibacterial properties, but they are not essential for the cleaner to work. If you don’t have essential oils, simply omit them from the recipe. You can also add a few drops of lemon juice for a fresh, citrusy scent.
Is this cleaner safe for septic systems?
Yes, this DIY surface cleaner is generally considered safe for septic systems. The ingredients are biodegradable and won’t harm the beneficial bacteria that are essential for the proper functioning of your septic system. However, it’s always a good idea to use cleaning products sparingly, regardless of whether they are store-bought or homemade. Avoid pouring large amounts of any cleaning solution down the drain, as this can disrupt the balance of your septic system.
Can I use this cleaner on painted surfaces?
This DIY surface cleaner is generally safe for use on painted surfaces, but it’s always a good idea to test it in an inconspicuous area first to ensure it doesn’t damage the paint. Some types of paint may be more sensitive to vinegar than others. If you’re concerned about damaging the paint, dilute the solution further with water or use a milder cleaning solution, such as a mixture of mild dish soap and water. Avoid using abrasive sponges or scrub brushes on painted surfaces, as they can scratch the paint.
What is the best way to store the DIY surface cleaner?
The best way to store your DIY surface cleaner is in a clean, airtight spray bottle. This will help to prevent evaporation and contamination. Label the bottle clearly with the contents and the date it was made. Store the cleaner in a cool, dark place away from direct sunlight. Avoid storing the cleaner in metal containers, as the vinegar can react with the metal and cause corrosion. Glass or plastic spray bottles are the best options.
How often should I clean my surfaces with this DIY cleaner?
The frequency of cleaning depends on the surface and the level of use. High-traffic areas like kitchens and bathrooms may need to be cleaned daily or every other day, while other surfaces may only need to be cleaned weekly or monthly. Use your judgment and clean surfaces as needed to maintain a clean and hygienic environment. Regular cleaning can help to prevent the buildup of dirt, grime, and bacteria.
Leave a Comment