
DIY wrinkle release spray: Ever find yourself staring into your closet, desperately needing to wear that favorite shirt, only to discover it’s a crumpled mess? We’ve all been there! Ironing can be a drag, especially when you’re short on time or traveling. But what if I told you there’s a super easy, inexpensive way to banish those pesky wrinkles without even plugging in an iron?
The quest for wrinkle-free clothing is nothing new. Historically, people have used everything from heavy stones to elaborate pressing machines to achieve a smooth, polished look. While those methods might be fascinating, they’re hardly practical for our busy modern lives. That’s where this amazing DIY wrinkle release spray comes in!
This simple hack is a game-changer for anyone who wants to look their best without the hassle of ironing. Whether you’re a frequent traveler, a busy parent, or simply someone who dislikes ironing, this DIY spray will save you time and effort. Plus, it’s a fantastic way to reduce your reliance on harsh chemicals found in commercial wrinkle releasers. I’m excited to share this easy and effective solution with you, so you can say goodbye to wrinkles and hello to effortless style!
DIY Wrinkle Release Spray: Say Goodbye to Ironing!
Okay, let’s be honest, who actually *enjoys* ironing? I know I don’t! That’s why I’m so excited to share my super easy and effective DIY wrinkle release spray recipe. This stuff is a lifesaver when you’re in a hurry, traveling, or just plain don’t feel like hauling out the ironing board. It’s also much gentler on your clothes than constant ironing. Trust me, once you try this, you’ll wonder how you ever lived without it!
What You’ll Need: The Wrinkle-Fighting Arsenal
Before we dive in, let’s gather our supplies. The best part? You probably already have most of these things lying around your house!
* Spray Bottle: A clean, empty spray bottle is essential. I recommend a 16-ounce bottle, but anything close to that will work. Make sure it sprays a fine mist, not a jet stream.
* Distilled Water: This is important! Tap water can contain minerals that can leave residue on your clothes, especially dark fabrics. Distilled water is pure and clean.
* White Vinegar: Don’t worry, the vinegar smell dissipates quickly! It’s the magic ingredient that helps relax the fibers in your clothes, releasing those pesky wrinkles.
* Liquid Fabric Softener (Optional): This helps to soften the fabric and add a pleasant scent. If you’re sensitive to fragrances, you can skip this or use an unscented version.
* Essential Oil (Optional): If you want to customize the scent, a few drops of your favorite essential oil will do the trick. Lavender, lemon, or eucalyptus are great choices.
* Measuring Cups and Spoons: For accurate measurements, of course!
The Recipe: Mixing Up the Magic Potion
Alright, let’s get down to business! This recipe is super simple, and you can easily adjust the amounts to suit your preferences.
Basic Wrinkle Release Spray
This is the foundation. If you’re short on time or just want a simple solution, this is the way to go.
1. Pour Distilled Water: Fill your spray bottle with 14 ounces of distilled water. Leave some room at the top for the other ingredients.
2. Add White Vinegar: Add 2 tablespoons of white vinegar to the water.
3. Shake Well: Close the spray bottle tightly and shake vigorously to combine the water and vinegar.
Enhanced Wrinkle Release Spray (with Fabric Softener and Essential Oil)
This version adds extra softening power and a lovely scent.
1. Pour Distilled Water: Fill your spray bottle with 13 ounces of distilled water.
2. Add White Vinegar: Add 2 tablespoons of white vinegar.
3. Add Liquid Fabric Softener: Add 1 tablespoon of liquid fabric softener.
4. Add Essential Oil (Optional): Add 5-10 drops of your favorite essential oil. Start with less and add more if you want a stronger scent.
5. Shake Well: Close the spray bottle tightly and shake vigorously to combine all the ingredients.
How to Use Your DIY Wrinkle Release Spray: Wrinkle-Free in Minutes!
Now that you’ve made your wrinkle release spray, let’s put it to work!
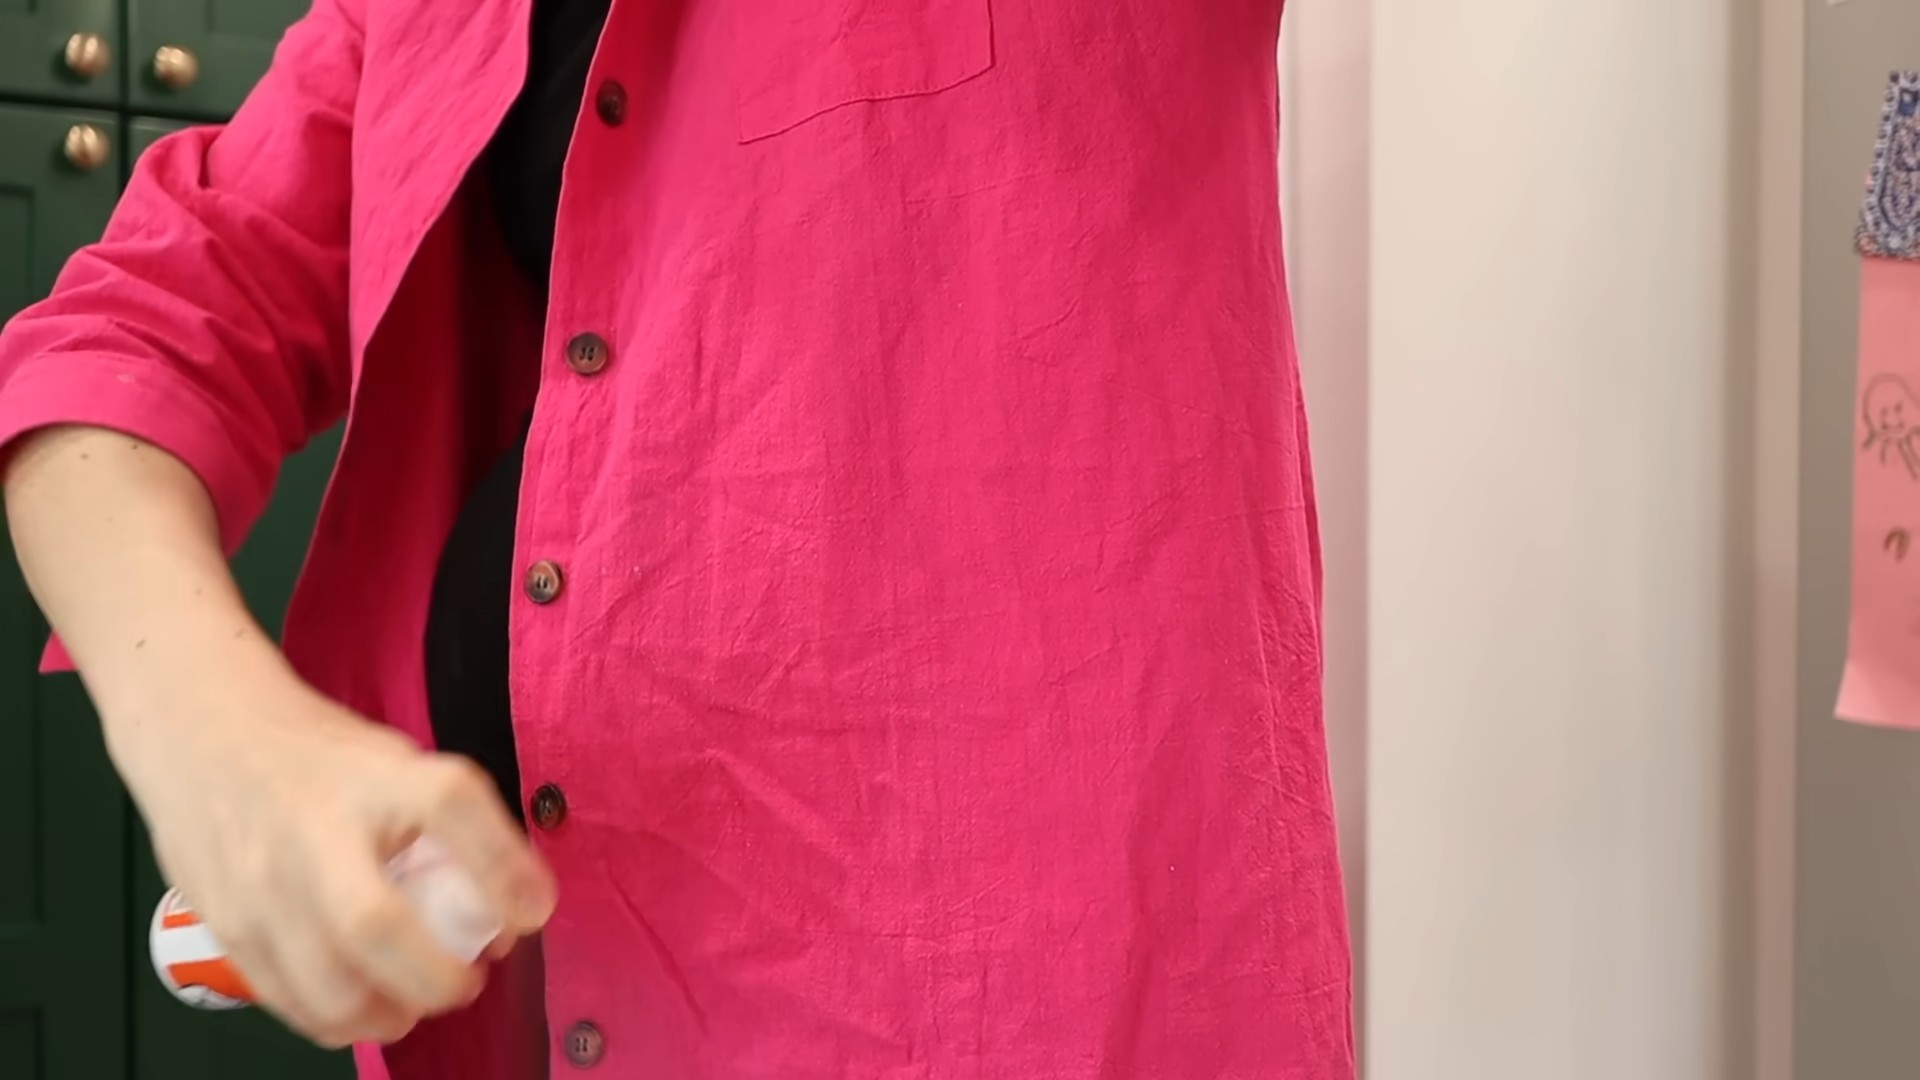
1. Hang the Garment: Hang the wrinkled garment on a hanger. This allows the spray to work its magic evenly.
2. Spray Lightly: Hold the spray bottle about 6-8 inches away from the garment and spray lightly. Don’t saturate the fabric; you just want to dampen it. Focus on the wrinkled areas.
3. Smooth and Stretch: Gently smooth out the fabric with your hands, paying attention to the wrinkles. You can also gently stretch the fabric to help release the wrinkles.
4. Let it Dry: Allow the garment to air dry completely. This usually takes about 15-30 minutes, depending on the fabric and humidity. You can speed up the process by using a fan or hanging the garment in a well-ventilated area.
5. Enjoy Wrinkle-Free Clothes! Once the garment is dry, it should be significantly less wrinkled. If there are still some stubborn wrinkles, repeat the process.
Tips and Tricks for Wrinkle-Releasing Success
Here are a few extra tips to help you get the best results from your DIY wrinkle release spray:
* Test on a Small Area First: Before spraying the entire garment, test the spray on a small, inconspicuous area to make sure it doesn’t cause any discoloration or damage. This is especially important for delicate fabrics.
* Use on Clean Clothes: Wrinkle release spray works best on clean clothes. If your clothes are dirty, the spray may not be as effective.
* Don’t Over-Saturate: Too much spray can leave your clothes feeling stiff or sticky. A light mist is all you need.
* Shake Before Each Use: The ingredients in the spray may separate over time, so shake the bottle well before each use to ensure they are properly mixed.
* Store in a Cool, Dark Place: Store your wrinkle release spray in a cool, dark place to prolong its shelf life.
* Experiment with Scents: Feel free to experiment with different essential oils to find your favorite scent. Just be sure to use high-quality essential oils.
* For Stubborn Wrinkles: If you have some really stubborn wrinkles, you can try using a hair dryer on a low setting to help speed up the drying process and further relax the fibers.
* Travel-Friendly: This spray is perfect for travel! Just pour some into a smaller travel-sized spray bottle and you’re good to go.
* Use on Curtains and Linens: Don’t just limit this spray to your clothes! You can also use it on curtains, linens, and other fabrics around your home.
* Adjust the Recipe: If you find that the spray is too strong or not strong enough, you can adjust the recipe to suit your needs. For example, if you have very delicate fabrics, you may want to use less vinegar.
Troubleshooting: What to Do If Things Go Wrong
Even with the best instructions, sometimes things don’t go exactly as planned. Here are a few common problems and how to fix them:
* Vinegar Smell: Don’t worry, the vinegar smell will dissipate quickly. If you’re still concerned, add a few more drops of essential oil to the spray.
* Stiff Fabric: If your fabric feels stiff after using the spray, you may have used too much. Try using less spray next time. You can also try washing the garment again with a small amount of fabric softener.
* Residue on Clothes: If you notice a residue on your clothes, it could be due to using tap water or too much fabric softener. Try using distilled water and less fabric softener next time.
* Spray Not Working: If the spray doesn’t seem to be working, make sure you’re using enough spray and that you’re smoothing and stretching the fabric properly. You may also need to repeat the process.
Why This Works: The Science Behind the Spray
So, what makes this simple spray so effective? It all comes down to the science of fabric and wrinkles.
* Water: Water helps to relax the fibers in the fabric, making them more pliable and easier to smooth out.
* Vinegar: Vinegar is a mild acid that helps to break down the bonds that hold wrinkles in place. It also acts as a natural fabric softener.
* Fabric Softener: Fabric softener adds extra softening power and helps to reduce static cling.
* Essential Oils: Essential oils add a pleasant scent and can also have some fabric-softening properties.
Beyond the Basics: Other Uses for Your Wrinkle Release Spray
This spray isn’t just for clothes! Here are a few other ways you can use it:
* Freshening Up Fabrics: Use it to freshen up curtains, upholstery, and other fabrics around your home.
* Removing Static Cling: Spray it on your clothes to reduce static cling.
* De-Wrinkling Travel Clothes: Pack it in your suitcase to de-wrinkle your clothes after they’ve been packed.
* Ironing Aid: Use it as an ironing aid to help smooth out stubborn wrinkles.
Final Thoughts: Embrace the Wrinkle-Free Life!
I hope you enjoy this DIY wrinkle release spray as much as I do! It’s a simple, effective, and affordable way to keep your clothes looking their best without the hassle of ironing. Give it a try and let me know what you think! Happy wrinkle-releasing!
Conclusion
So, there you have it! This DIY wrinkle release spray is more than just a quick fix; it’s a game-changer for anyone who wants to look polished and put-together without the hassle of ironing. We’ve all been there 鈥?rushing out the door, only to realize our favorite shirt looks like it’s been slept in (because, let’s be honest, sometimes it has!). This simple solution transforms those moments of panic into moments of confidence.
Why is this DIY trick a must-try? Because it’s effective, affordable, and incredibly convenient. Forget lugging out the ironing board and waiting for it to heat up. Forget the dry cleaner bills piling up. This spray takes mere minutes to prepare and even less time to use. It鈥檚 a time-saver, a money-saver, and a wardrobe-saver all rolled into one. Plus, you control the ingredients, avoiding harsh chemicals often found in commercial wrinkle releasers.
But the best part? It’s customizable! Feel free to experiment with different essential oils to create a scent that you love. Lavender for a calming effect, citrus for a burst of energy, or cedarwood for a sophisticated touch 鈥?the possibilities are endless. You can also adjust the ratio of ingredients to suit your specific fabric needs. Delicate fabrics might benefit from a slightly more diluted solution, while heavier fabrics might require a bit more vinegar.
Consider these variations to personalize your DIY wrinkle release spray:
* Scent Boost: Add a few drops of your favorite essential oil blend. Think peppermint and rosemary for a refreshing pick-me-up, or chamomile and lavender for a relaxing evening.
* Fabric Softener: For an extra touch of softness, add a teaspoon of vegetable glycerin to the mixture. This will help to condition the fibers and leave your clothes feeling extra smooth.
* Travel Size: Create a smaller batch in a travel-sized spray bottle for on-the-go wrinkle emergencies. Perfect for business trips or vacations!
* Starch Alternative: For a crisper finish, dissolve a very small amount of cornstarch (about 1/4 teaspoon) in warm water before adding it to the spray. Be careful not to use too much, as it can leave a residue.
We’re confident that once you try this DIY wrinkle release spray, you’ll wonder how you ever lived without it. It’s a simple, effective, and eco-friendly way to keep your clothes looking their best. So, ditch the iron (at least some of the time!) and embrace the ease and convenience of this homemade solution.
We encourage you to give this DIY wrinkle release spray a try and share your experience with us! Let us know what variations you’ve tried, what scents you love, and how it’s transformed your laundry routine. Share your tips and tricks in the comments below 鈥?we can’t wait to hear from you! Your feedback will not only help us improve the recipe but also inspire others to discover the magic of this simple yet effective solution. Let’s revolutionize the way we care for our clothes, one spray at a time!
Frequently Asked Questions
Will this spray work on all fabrics?
While this DIY wrinkle release spray is generally safe for most fabrics, it’s always a good idea to test it on an inconspicuous area first, especially for delicate materials like silk or rayon. Avoid using it on fabrics that are water-sensitive or require dry cleaning only. For these types of garments, professional cleaning is always the best option. If you’re unsure, err on the side of caution and consult the garment’s care label.
How long will the spray last?
The shelf life of this DIY wrinkle release spray depends on the ingredients you use. If you’re using distilled water and high-quality essential oils, it should last for several months. However, it’s best to store it in a cool, dark place to prevent the essential oils from degrading. If you notice any changes in color, scent, or consistency, it’s time to make a fresh batch. To maximize its shelf life, consider adding a natural preservative like grapefruit seed extract.
Can I use tap water instead of distilled water?
While you can use tap water, distilled water is highly recommended. Tap water often contains minerals and impurities that can leave residue on your clothes or even clog the spray bottle. Distilled water is pure and free of these contaminants, ensuring a cleaner and more effective spray. It’s a small investment that can make a big difference in the performance and longevity of your DIY wrinkle release spray.
How much vinegar should I use?
The amount of vinegar you use will depend on the severity of the wrinkles and the type of fabric. A good starting point is a 1:3 ratio of vinegar to water (e.g., 1 tablespoon of vinegar for every 3 tablespoons of water). For more stubborn wrinkles, you can increase the amount of vinegar slightly. However, be careful not to use too much, as it can leave a vinegar smell on your clothes. If you’re concerned about the smell, you can add a few drops of essential oil to mask it. The vinegar smell will dissipate as the fabric dries.
Will the vinegar smell linger on my clothes?
No, the vinegar smell should dissipate completely as the fabric dries. The small amount of vinegar used in the spray is enough to relax the fibers and release wrinkles, but not enough to leave a lingering odor. If you’re particularly sensitive to smells, you can add a few drops of your favorite essential oil to the mixture to mask the vinegar scent.
How often can I use this spray?
You can use this DIY wrinkle release spray as often as needed. It’s a gentle and effective way to refresh your clothes between washes or to quickly remove wrinkles before heading out the door. However, avoid oversaturating the fabric, as this can lead to stiffness or residue. A light mist is all you need to achieve the desired results.
Can I use this spray on dry-clean-only items?
No, this spray is not recommended for dry-clean-only items. These fabrics require special care and should be cleaned by a professional. Using this spray on dry-clean-only items could damage the fabric or leave a residue that is difficult to remove. Always follow the care instructions on the garment label.
What type of spray bottle should I use?
A fine-mist spray bottle is ideal for this DIY wrinkle release spray. This type of bottle will distribute the solution evenly and prevent oversaturation. You can find fine-mist spray bottles at most drugstores or online retailers. Make sure the bottle is clean and free of any residue before using it. A dark-colored bottle can also help to protect the essential oils from light degradation.
How do I store the spray?
Store your DIY wrinkle release spray in a cool, dark place away from direct sunlight and heat. This will help to preserve the quality of the ingredients and extend the shelf life of the spray. A pantry or linen closet is a good option. Make sure the bottle is tightly sealed to prevent evaporation.
Is this spray safe for sensitive skin?
While the ingredients in this DIY wrinkle release spray are generally considered safe, individuals with sensitive skin may experience irritation. It’s always a good idea to test the spray on a small, inconspicuous area of skin before using it on your clothes. If you experience any redness, itching, or burning, discontinue use. You can also try diluting the spray further or using a gentler essential oil, such as chamomile or lavender.

Leave a Comment