
Easy crops for profit – that’s the dream, isn’t it? Imagine turning your green thumb into a green wallet! For centuries, cultivating the land has been a source of sustenance and income. From ancient civilizations trading spices and herbs to modern-day farmers markets overflowing with fresh produce, the connection between gardening and profit is deeply rooted in our history.
But let’s be honest, not everyone has acres of land or years of experience. That’s where this DIY guide comes in! I’m going to share some simple, yet effective, tricks and hacks to help you grow easy crops for profit, even if you’re a beginner with limited space.
Why do you need these DIY tricks? Because time is money! These strategies will help you maximize your yield, minimize your effort, and ultimately, boost your earnings. Forget complicated techniques and expensive equipment. We’re focusing on practical, budget-friendly solutions that anyone can implement. Get ready to discover the secrets to a thriving and profitable home garden!
Grow Your Way to Green: Easy Crops for Profit – A Beginner’s Guide
Hey there, fellow gardening enthusiasts! Ever dreamt of turning your green thumb into a little extra green in your wallet? Well, you’re in the right place! I’m going to walk you through some super easy, high-demand crops that you can grow, even if you’re a complete beginner, and sell for a profit. We’ll cover everything from choosing the right crops to getting them ready for market. Let’s get started!
Choosing Your Crops: The Profitable Picks
Before you even think about digging in the dirt, it’s crucial to choose crops that are both easy to grow in your climate and have a good market demand. Here are a few of my top recommendations:
* Microgreens: These tiny greens are packed with flavor and nutrients, and they’re incredibly popular with restaurants and health-conscious consumers. Plus, they grow quickly indoors, making them perfect for year-round production.
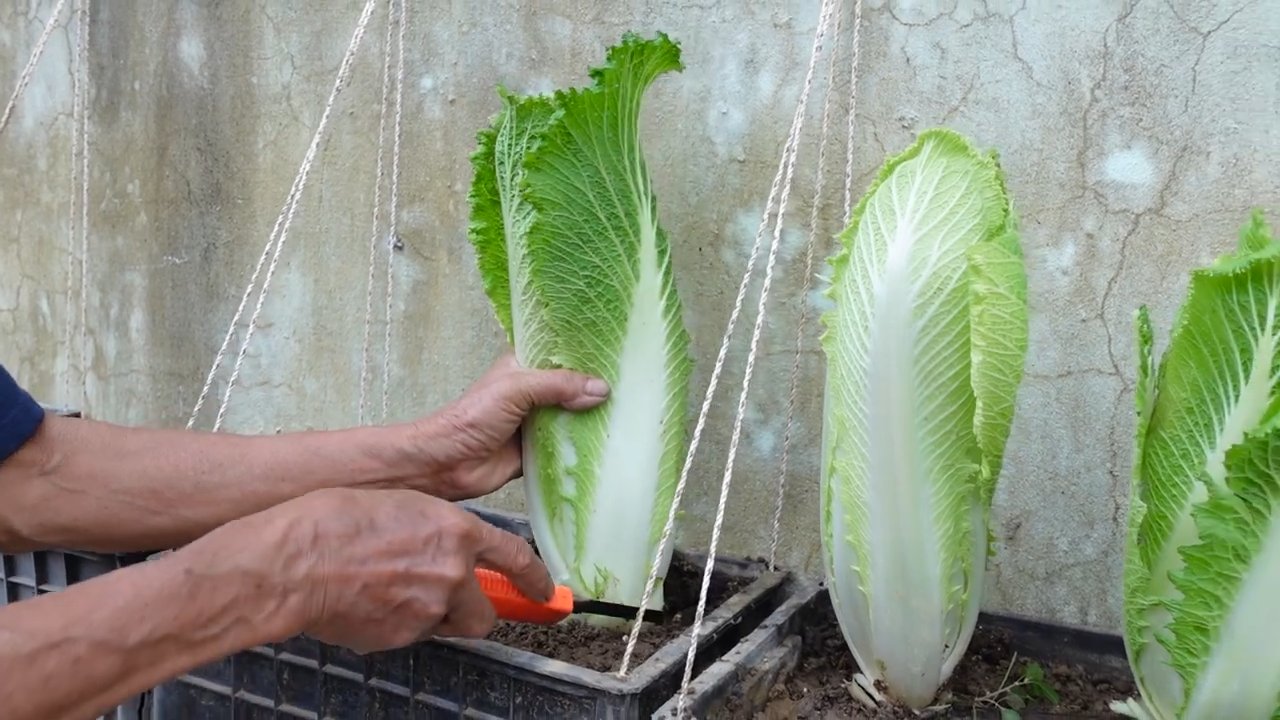
* Salad Greens (Lettuce, Spinach, Arugula): Everyone loves a fresh salad! These greens are relatively easy to grow, especially in cooler weather, and they have a consistent demand.
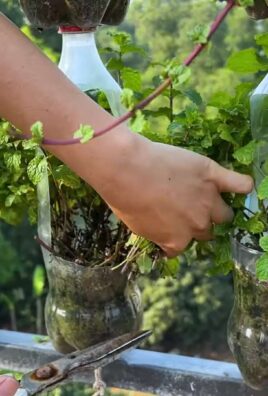
* Herbs (Basil, Mint, Parsley, Cilantro): Fresh herbs are a staple in many kitchens, and they’re surprisingly easy to grow, even in small spaces.
* Radishes: These little guys are super fast-growing and add a peppery kick to salads and other dishes.
* Cherry Tomatoes: These sweet and juicy tomatoes are always a hit, and they’re relatively easy to grow in containers or in the ground.
* Edible Flowers (Nasturtiums, Pansies, Violets): These add a beautiful and unique touch to salads and desserts, and they’re becoming increasingly popular with chefs and home cooks.
* Garlic: Plant in the fall, harvest in the summer. It practically grows itself!
* Mushrooms (Oyster Mushrooms): While requiring a bit more specialized setup, oyster mushrooms are fast-growing and can be quite profitable.
Getting Started: Setting Up Your Growing Space
Okay, now that we’ve chosen our crops, let’s talk about setting up your growing space. The beauty of these crops is that you don’t need acres of land to get started. You can start small and scale up as you gain experience and confidence.
* Location, Location, Location: Choose a spot that gets at least 6 hours of sunlight per day for most of these crops. If you’re growing indoors, you’ll need grow lights.
* Soil Preparation: Good soil is essential for healthy plants. Amend your soil with compost or other organic matter to improve drainage and fertility. For container gardening, use a high-quality potting mix.
* Containers vs. In-Ground: Decide whether you want to grow in containers or directly in the ground. Containers are great for small spaces and allow you to move plants around as needed. In-ground gardening is more suitable for larger-scale production.
* Irrigation: Make sure you have a reliable water source and a way to water your plants regularly. A simple watering can or hose will do for small-scale gardening. For larger areas, consider a drip irrigation system.
Step-by-Step Growing Guides: From Seed to Sale
Alright, let’s dive into the nitty-gritty of growing each of these crops. I’ll break it down step-by-step for each one.
Microgreens: Tiny Greens, Big Profits
1. Gather Your Supplies: You’ll need seeds (choose a variety of microgreen mixes or single varieties like radish, broccoli, or sunflower), shallow trays with drainage holes, a growing medium (like coconut coir or seed starting mix), a spray bottle, and a dark cover (like a towel or lid).
2. Prepare the Trays: Moisten the growing medium and spread it evenly in the trays.
3. Sow the Seeds: Sprinkle the seeds densely over the surface of the growing medium. Don’t worry about spacing them perfectly.
4. Cover and Mist: Gently mist the seeds with water and cover the trays with the dark cover. This helps to keep the seeds moist and encourages germination.
5. Germination: Check the trays daily and mist as needed to keep the growing medium moist. The seeds should germinate within a few days.
6. Expose to Light: Once the seeds have germinated, remove the dark cover and expose the seedlings to light. If you’re growing indoors, use grow lights.
7. Watering: Water the microgreens regularly, keeping the growing medium moist but not soggy.
8. Harvest: Harvest the microgreens when they are about 1-3 inches tall, usually within 7-14 days. Use scissors to cut the stems just above the growing medium.
9. Packaging: Gently wash and dry the microgreens, then package them in clamshell containers or bags.
Salad Greens: Fresh and Flavorful
1. Choose Your Varieties: Select lettuce, spinach, or arugula varieties that are well-suited to your climate.
2. Prepare the Soil: Amend your soil with compost or other organic matter to improve drainage and fertility.
3. Sow the Seeds: Sow the seeds directly in the ground or in seed trays. Follow the spacing recommendations on the seed packet.
4. Watering: Water the seeds regularly, keeping the soil moist but not soggy.
5. Thinning: Once the seedlings have emerged, thin them out to the recommended spacing.
6. Fertilizing: Fertilize the plants with a balanced fertilizer every few weeks.
7. Harvesting: Harvest the leaves when they are young and tender. You can harvest individual leaves or cut the entire plant.
8. Washing and Packaging: Wash the greens thoroughly and dry them before packaging them in bags or containers.
Herbs: Aromatic and Versatile
1. Choose Your Herbs: Select herbs that are popular in your area, such as basil, mint, parsley, or cilantro.
2. Start from Seed or Cuttings: You can start herbs from seed or from cuttings. Cuttings are a faster way to get established plants.
3. Planting: Plant the herbs in well-drained soil in a sunny location.
4. Watering: Water the herbs regularly, keeping the soil moist but not soggy.
5. Fertilizing: Fertilize the herbs with a balanced fertilizer every few weeks.
6. Pruning: Prune the herbs regularly to encourage bushy growth.
7. Harvesting: Harvest the leaves as needed.
8. Drying or Selling Fresh: You can sell the herbs fresh or dry them for later use. To dry herbs, hang them upside down in a cool, dry place.
Radishes: Quick and Easy
1. Prepare the Soil: Radishes prefer loose, well-drained soil.
2. Sow the Seeds: Sow the seeds directly in the ground, about ½ inch deep and 1 inch apart.
3. Watering: Keep the soil consistently moist.
4. Harvesting: Radishes are ready to harvest in as little as 3-4 weeks. Harvest them when they are about 1 inch in diameter.
Cherry Tomatoes: Sweet and Juicy
1. Start Indoors: Start cherry tomato seeds indoors 6-8 weeks before the last frost.
2. Transplant: Transplant the seedlings outdoors after the last frost, spacing them about 2-3 feet apart.
3. Support: Provide support for the plants with stakes or cages.
4. Watering: Water the plants regularly, especially during hot weather.
5. Fertilizing: Fertilize the plants with a tomato fertilizer every few weeks.
6. Harvesting: Harvest the tomatoes when they are fully ripe and red.
Edible Flowers: Beautiful and Unique
1. Choose Your Flowers: Select edible flowers that are safe to eat and have a pleasant flavor, such as nasturtiums, pansies, or violets.
2. Planting: Plant the flowers in well-drained soil in a sunny location.
3. Watering: Water the flowers regularly, keeping the soil moist but not soggy.
4. Fertilizing: Fertilize the flowers with a balanced fertilizer every few weeks.
5. Harvesting: Harvest the flowers in the morning, after the dew has dried.
6. Handling: Handle the flowers gently to avoid bruising them.
Garlic: The Stinking Rose
1. Planting: Plant garlic cloves in the fall, about 6-8 weeks before the first frost. Plant them about 2 inches deep and 6 inches apart.
2.
Conclusion
So, there you have it! Transforming your garden into a profitable venture with these easy crops is more achievable than you might think. We’ve explored some of the most rewarding and low-maintenance options, from the vibrant hues of sunflowers to the ever-popular, versatile zucchini. The beauty of this approach lies not only in the potential for financial gain but also in the satisfaction of nurturing life from seed to harvest.
This isn’t just about growing vegetables or flowers; it’s about creating a sustainable system that benefits you, your community, and the environment. Imagine the joy of sharing your homegrown bounty with neighbors, selling at local farmers’ markets, or even supplying restaurants with fresh, organic produce. The possibilities are truly endless.
Why is this DIY trick a must-try? Because it empowers you to take control of your food source, generate income from your passion, and contribute to a more sustainable future. It’s a win-win-win situation! Plus, it’s incredibly rewarding to see the fruits (and vegetables!) of your labor.
But don’t just take our word for it. We encourage you to experiment with different varieties, adapt the techniques to your specific climate and soil conditions, and discover what works best for you. Perhaps you’ll find that heirloom tomatoes are your niche, or maybe you’ll become known for your exceptional cut flowers. The journey of a gardener is one of constant learning and discovery.
Suggestions and Variations:
* Vertical Gardening: If space is limited, consider vertical gardening techniques. Strawberries, herbs, and even some vegetables can thrive in vertical planters, maximizing your yield in a small area.
* Succession Planting: Extend your harvest season by practicing succession planting. Plant new crops every few weeks to ensure a continuous supply throughout the growing season.
* Companion Planting: Utilize companion planting to naturally deter pests and improve the health of your crops. For example, basil repels pests that attack tomatoes, and marigolds deter nematodes.
* Value-Added Products: Think beyond selling raw produce. Consider creating value-added products like jams, pickles, dried herbs, or flower arrangements to increase your profit margin.
* Community Supported Agriculture (CSA): Explore the possibility of starting a CSA program, where members pay a subscription fee in exchange for a weekly share of your harvest. This provides a guaranteed income stream and fosters a strong connection with your community.
We are confident that with a little planning and effort, you can successfully cultivate these easy crops for profit. So, grab your gardening gloves, get your hands dirty, and embark on this exciting adventure. We can’t wait to hear about your successes!
Don’t forget to share your experiences, tips, and photos with us in the comments below. Let’s create a community of thriving gardeners who are passionate about growing their own food and making a positive impact on the world. Your insights could inspire others to take the plunge and discover the joys of profitable gardening. Let’s all learn together how to make the most of these easy crops for profit.
Frequently Asked Questions (FAQ)
Q1: What are the absolute easiest crops to start with for someone with no gardening experience?
A1: For beginners, we highly recommend starting with zucchini, radishes, lettuce, and sunflowers. Zucchini is incredibly prolific and requires minimal care. Radishes sprout quickly and are ready to harvest in just a few weeks. Lettuce is easy to grow from seed and can be harvested continuously. Sunflowers are not only beautiful but also relatively low-maintenance and can be sold as cut flowers or for their seeds. These crops are forgiving and will provide a quick sense of accomplishment, encouraging you to continue your gardening journey.
Q2: How much space do I need to start growing crops for profit?
A2: The amount of space you need depends on the scale of your operation and the crops you choose to grow. Even a small backyard or balcony can be sufficient for growing herbs, lettuce, or strawberries. However, if you’re planning to grow larger crops like zucchini or tomatoes, you’ll need more space. As a general rule, start small and gradually expand as you gain experience and confidence. Consider using raised beds or containers to maximize your space and improve soil drainage. Vertical gardening is also a great option for small spaces.
Q3: What are the most important factors to consider when choosing crops to grow for profit?
A3: Several factors should influence your crop selection. First, consider your local climate and growing season. Choose crops that are well-suited to your region and can thrive in your specific conditions. Second, research the demand for different crops in your area. Visit local farmers’ markets, talk to restaurant owners, and identify any gaps in the market. Third, consider your own interests and skills. Choose crops that you enjoy growing and that you have the knowledge and resources to cultivate successfully. Finally, factor in the cost of inputs, such as seeds, fertilizer, and water, and calculate your potential profit margin.
Q4: How do I determine the best way to sell my crops?
A4: There are several avenues for selling your crops, each with its own advantages and disadvantages. Farmers’ markets are a great way to connect with customers directly and build relationships. Selling to local restaurants can provide a steady stream of income. Community Supported Agriculture (CSA) programs offer a guaranteed income stream and foster a strong connection with your community. You can also sell your crops online through platforms like Etsy or local food marketplaces. Consider your target market, the volume of crops you’re producing, and your available time and resources when choosing the best sales channel for you.
Q5: What are some common mistakes to avoid when growing crops for profit?
A5: One common mistake is neglecting soil health. Healthy soil is essential for healthy plants. Amend your soil with compost and other organic matter to improve its fertility and drainage. Another mistake is overwatering or underwatering. Monitor your soil moisture levels and water accordingly. Pest and disease control is also crucial. Implement preventative measures, such as companion planting and crop rotation, and address any problems promptly. Finally, don’t underestimate the importance of marketing and promotion. Let people know what you’re growing and how to buy it.
Q6: How can I protect my crops from pests and diseases without using harmful chemicals?
A6: There are many natural and organic methods for pest and disease control. Companion planting can deter pests and attract beneficial insects. Crop rotation can help prevent soilborne diseases. Neem oil is a natural insecticide and fungicide that is effective against a wide range of pests and diseases. Diatomaceous earth is a natural powder that can kill insects by dehydrating them. You can also use row covers to protect your crops from pests. Regularly inspect your plants for signs of pests or diseases and address any problems promptly.
Q7: What are some tips for maximizing my yield and profit?
A7: To maximize your yield, choose high-yielding varieties of your chosen crops. Provide your plants with adequate sunlight, water, and nutrients. Practice succession planting to extend your harvest season. Use vertical gardening techniques to maximize your space. To increase your profit, consider creating value-added products, such as jams, pickles, or dried herbs. Market your crops effectively and build relationships with your customers. Track your expenses and income to identify areas where you can improve your efficiency and profitability.
Q8: How do I handle crop failures or unexpected challenges?
A8: Crop failures are a part of gardening, even for experienced growers. Don’t get discouraged! Learn from your mistakes and adapt your strategies for the next season. Have a backup plan in place, such as planting a variety of crops or having a source of supplemental income. Network with other gardeners and share your experiences and challenges. Remember that gardening is a journey, and there will be ups and downs along the way.
Q9: What resources are available to help me learn more about growing crops for profit?
A9: There are many resources available to help you learn more about growing crops for profit. Your local extension office is a great source of information and advice. They can provide you with information on soil testing, pest and disease control, and other gardening topics. There are also many books, websites, and online courses that can teach you about gardening and small-scale farming. Consider joining a local gardening club or association to connect with other gardeners and learn from their experiences.
Leave a Comment