
Easy Home Cleaning Tips – who doesn’t want them? Let’s be honest, cleaning isn’t usually anyone’s favorite pastime. But what if I told you that keeping your home sparkling could be easier, faster, and even…dare I say…enjoyable? For centuries, cultures around the world have developed ingenious methods for maintaining clean and healthy living spaces, often relying on natural ingredients and clever techniques passed down through generations. Think of your grandmother’s secret weapon against stubborn stains or your great-aunt’s foolproof dusting method – these aren’t just anecdotes; they’re time-tested solutions!
In today’s busy world, we’re all looking for ways to streamline our routines and reclaim our precious free time. That’s where these easy home cleaning tips come in. This article is packed with DIY hacks and tricks that will transform your cleaning routine from a dreaded chore into a manageable and even satisfying task. We’ll explore simple, effective methods using everyday items you probably already have in your pantry. Forget spending hours scrubbing and stressing – let’s unlock the secrets to a cleaner, happier home, together!
Easy Home Cleaning Tips: A DIY Guide to a Sparkling Home
Hey everyone! I’m so excited to share some of my favorite DIY home cleaning tips and tricks with you. I’ve learned these over the years, and they’ve seriously saved me time, money, and a whole lot of elbow grease. Let’s get started!
All-Purpose Cleaner: Your New Best Friend
Forget those expensive store-bought cleaners! You can whip up an amazing all-purpose cleaner with just a few simple ingredients. This stuff works wonders on countertops, sinks, and even floors (just be sure to test it in an inconspicuous area first!).
What you’ll need:
* Spray bottle
* 1/2 cup white vinegar
* 1/4 cup baking soda
* 1 liter hot water
* 10-15 drops of your favorite essential oil (lemon, lavender, and tea tree are great choices!)
Step-by-step instructions:
1. Combine the ingredients: In a large bowl or pitcher, slowly mix the baking soda and white vinegar. It will fizz, so be patient!
2. Add the water: Once the fizzing subsides, gradually add the hot water, stirring gently to combine.
3. Add essential oils: Now, add your essential oils. This will not only make your cleaner smell amazing but also add some extra cleaning power (tea tree is naturally antibacterial!).
4. Pour into the spray bottle: Carefully pour the mixture into your spray bottle.
5. Start cleaning! Spray the cleaner onto the surface you want to clean, let it sit for a minute or two, and then wipe it clean with a damp cloth.
Streak-Free Window Cleaner: Say Goodbye to Smudges
Nothing’s worse than streaky windows after you’ve spent time cleaning them. This DIY window cleaner is super effective and uses ingredients you probably already have.
What you’ll need:
* Spray bottle
* 2 cups water
* 1/4 cup white vinegar
* 1/2 teaspoon liquid dish soap (Dawn works great!)
* Microfiber cloths
Step-by-step instructions:
1. Mix the ingredients: In your spray bottle, combine the water, white vinegar, and dish soap. Gently swirl to mix. Avoid shaking vigorously, as this can create too many bubbles.
2. Spray and wipe: Spray the window cleaner onto your windows.
3. Wipe with a microfiber cloth: Use a clean, dry microfiber cloth to wipe the windows clean. For best results, use one cloth to wipe the cleaner off and another dry cloth to buff the windows to a streak-free shine.
4. Enjoy sparkling windows!
DIY Oven Cleaner: No More Harsh Chemicals
Oven cleaning is the worst, right? But it doesn’t have to be! This DIY oven cleaner uses just two ingredients and is much safer than those harsh chemical cleaners.
What you’ll need:
* Baking soda
* Water
* Spray bottle
* Spatula or scraper
* Gloves
Step-by-step instructions:
1. Make a baking soda paste: In a bowl, mix together 1/2 cup of baking soda with enough water to form a thick paste.
2. Coat the oven: Wearing gloves, spread the baking soda paste all over the inside of your oven, avoiding the heating elements. Be generous with the paste, especially on stubborn stains.
3. Let it sit overnight: This is the key! Let the baking soda paste sit in your oven overnight (or for at least 12 hours). This will give it time to loosen the baked-on grime.
4. Scrub and wipe: The next day, use a spatula or scraper to scrape away the loosened grime. Then, use a damp cloth to wipe away any remaining baking soda paste.
5. Spray with vinegar: Fill a spray bottle with white vinegar and spray it all over the inside of your oven. The vinegar will react with any remaining baking soda, creating a fizzing action that helps to further loosen any stubborn grime.
6. Wipe again: Wipe the oven clean with a damp cloth. You may need to repeat this process a few times to remove all the residue.
7. Enjoy a clean oven!
Cleaning Your Microwave: The Easy Way
Microwaves can get pretty gross, pretty quickly. But cleaning them doesn’t have to be a chore. This simple trick will have your microwave sparkling in minutes.
What you’ll need:
* Microwave-safe bowl
* 1 cup water
* 1/2 lemon, sliced
Step-by-step instructions:
1. Combine water and lemon: Fill the microwave-safe bowl with water and add the lemon slices.
2. Microwave for 3-5 minutes: Microwave the water and lemon mixture on high for 3-5 minutes, or until the water is boiling and the microwave is filled with steam.
3. Let it sit: Leave the microwave door closed for another 5-10 minutes. This will allow the steam to loosen any splattered food.
4. Wipe clean: Carefully remove the bowl (it will be hot!) and wipe the inside of the microwave clean with a damp cloth or sponge. The grime should wipe away easily.
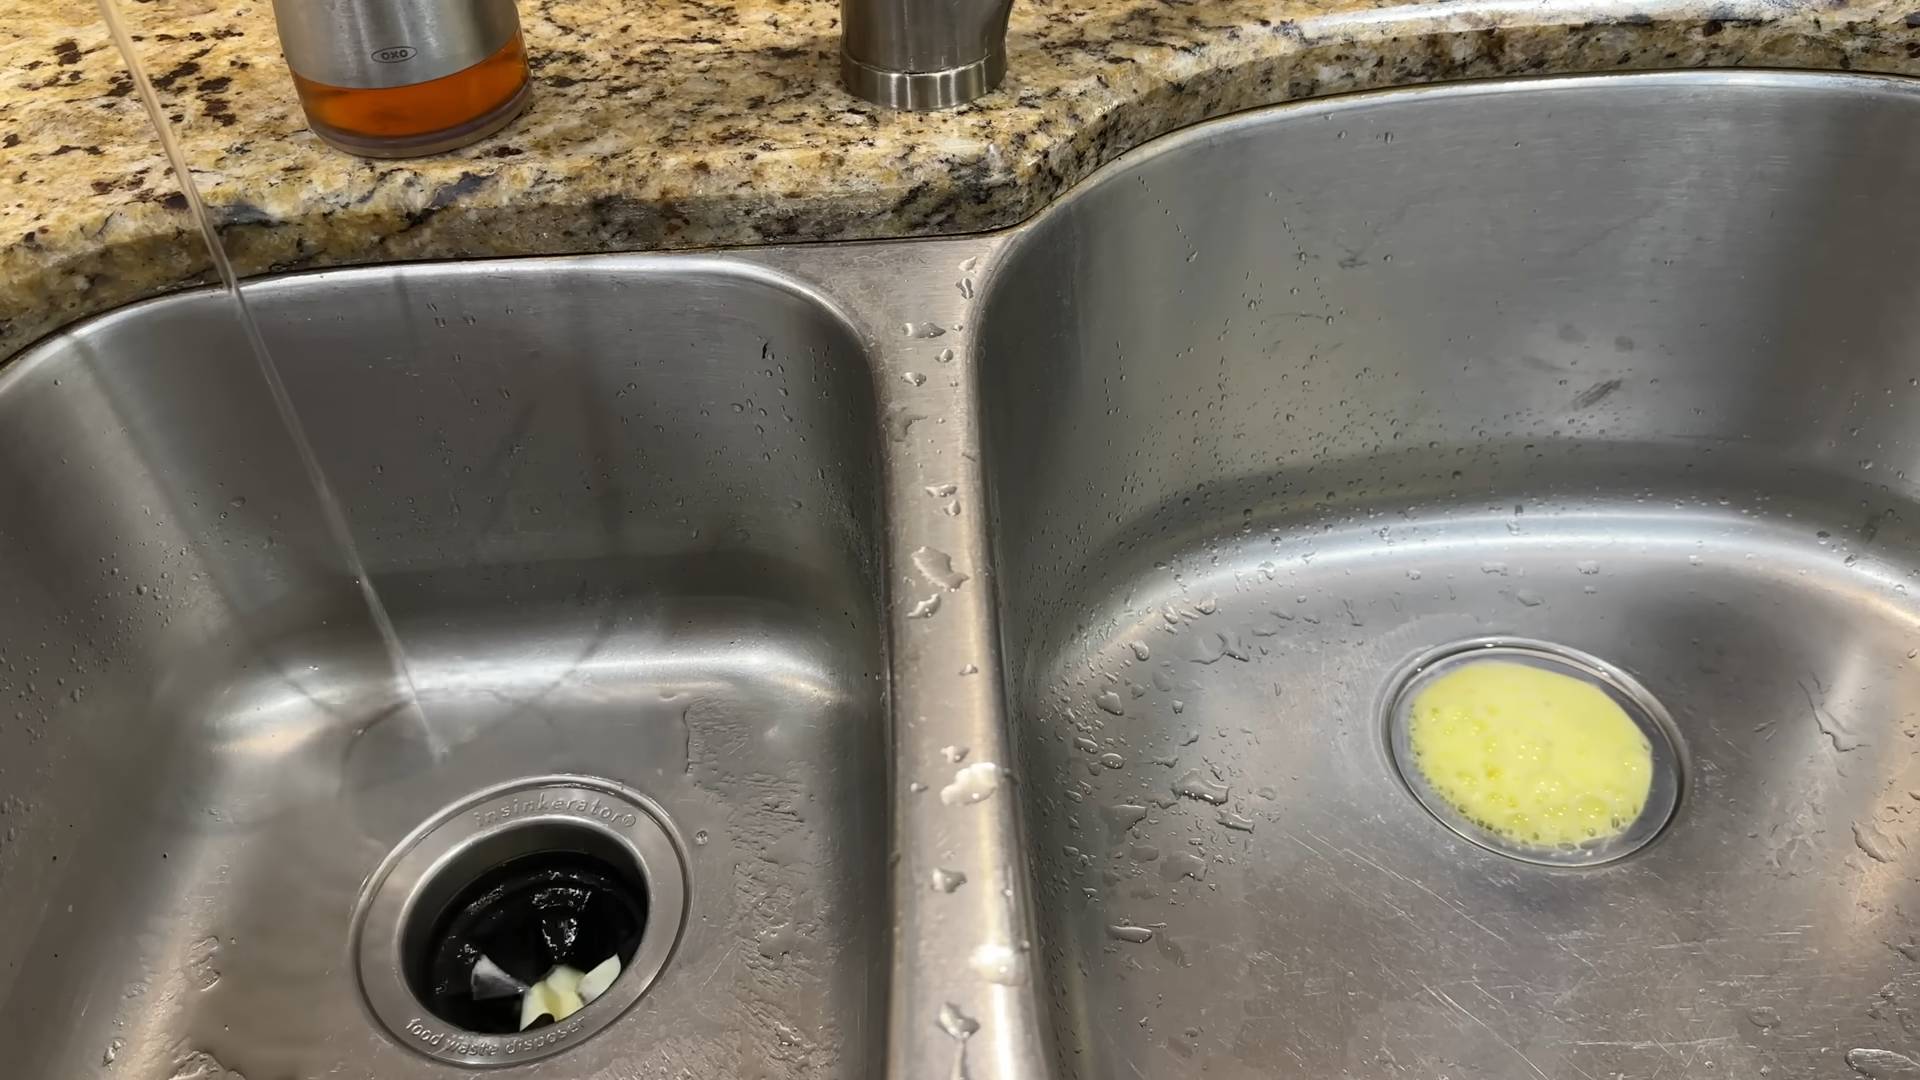
Freshening Your Garbage Disposal: No More Stinky Sink
A stinky garbage disposal can make your whole kitchen smell unpleasant. Here’s how to freshen it up naturally.
What you’ll need:
* Ice cubes
* Lemon or lime wedges
* Salt
Step-by-step instructions:
1. Run cold water: Turn on the cold water in your sink.
2. Add ice and salt: Pour a cup of ice cubes and a handful of salt into the garbage disposal.
3. Turn on the disposal: Turn on the garbage disposal for about 30 seconds. The ice and salt will help to scrub the disposal blades and remove any built-up grime.
4. Add citrus: Turn off the disposal and add a few lemon or lime wedges.
5. Turn on the disposal again: Turn on the disposal again for a few seconds to grind up the citrus wedges. This will release a fresh, clean scent.
6. Rinse: Run cold water through the disposal for another minute to rinse away any remaining debris.
Cleaning Grout: Brighten Up Your Tiles
Dirty grout can make your tiles look dull and dingy. This DIY grout cleaner is a game-changer.
What you’ll need:
* Baking soda
* White vinegar
* Old toothbrush or grout brush
* Spray bottle
* Water
Step-by-step instructions:
1. Make a baking soda paste: In a bowl, mix together baking soda and water to form a thick paste.
2. Apply the paste: Apply the baking soda paste to the grout lines.
3. Spray with vinegar: Fill a spray bottle with white vinegar and spray it onto the baking soda paste. The vinegar will react with the baking soda, creating a fizzing action that helps to loosen the dirt and grime.
4. Scrub: Let the mixture sit for a few minutes, then scrub the grout lines with an old toothbrush or grout brush.
5. Rinse: Rinse the grout lines with water. You may need to repeat this process a few times to remove all the dirt and grime.
Cleaning Stainless Steel Appliances: No More Fingerprints
Stainless steel appliances look great, but they’re notorious for showing fingerprints and smudges. This simple trick will keep them looking their best.
What you’ll need:
* Microfiber cloth
* White vinegar
* Olive oil
Step-by-step instructions:
1. Wipe with vinegar: Dampen a microfiber cloth with white vinegar and wipe down your stainless steel appliances, following the grain of the metal. This will remove fingerprints and smudges.
2. Buff with olive oil: Put a few drops of olive oil on a clean microfiber cloth and buff the stainless steel appliances, again following the grain of the metal. This will help to protect the surface and prevent future fingerprints.
Cleaning Your Shower Head: Restore Water Pressure
A clogged shower head can reduce water pressure and make showering less enjoyable. Here’s how to clean it easily.
What you’ll need:
* Plastic bag
* White vinegar
* Rubber band or twist tie
Step-by-step instructions:
1. Fill the bag with vinegar: Fill the plastic bag with white vinegar.
2. Attach the bag to the shower head: Place the bag over the shower head, making sure the shower head is completely submerged in the vinegar. Secure the bag with a rubber band or twist tie.
3. Let it
Conclusion
So, there you have it! These easy home cleaning tips aren’t just about tidying up; they’re about reclaiming your time, saving money, and creating a healthier, happier living space. We’ve explored simple yet effective methods, from harnessing the power of vinegar and baking soda to repurposing everyday items for cleaning tasks. The beauty of these DIY approaches lies in their adaptability. Feel free to experiment with essential oil blends to personalize your cleaning solutions and create a signature scent for your home. Lavender, lemon, and tea tree oil are all excellent choices, known for their antibacterial and mood-boosting properties.
Why is this a must-try? Because it’s empowering! You’re taking control of the ingredients you use in your home, avoiding harsh chemicals, and reducing your environmental footprint. Plus, the satisfaction of creating your own cleaning products and seeing them work wonders is incredibly rewarding. Imagine the peace of mind knowing exactly what you’re spraying on your surfaces and breathing into your lungs.
Consider these variations to tailor these easy home cleaning tips to your specific needs:
* **For stubborn stains:** Create a paste of baking soda and water, apply it to the stain, let it sit for a few minutes, and then scrub gently.
* **For a natural air freshener:** Simmer a pot of water with citrus peels, cinnamon sticks, and cloves for a fragrant and inviting aroma.
* **For cleaning wooden furniture:** Mix olive oil and lemon juice for a nourishing and polishing treatment.
* **For cleaning grout:** Make a paste of baking soda and hydrogen peroxide, apply it to the grout, let it sit for a few minutes, and then scrub with an old toothbrush.
We’re confident that these easy home cleaning tips will revolutionize your cleaning routine. They’re simple, effective, and budget-friendly. But the real magic happens when you put them into practice.
We wholeheartedly encourage you to try these DIY cleaning methods and discover the difference they can make in your home and your well-being. Don’t be afraid to get creative and adapt the recipes to suit your preferences.
Most importantly, we want to hear about your experience! Share your successes, your challenges, and your unique variations in the comments below. Let’s build a community of DIY cleaning enthusiasts who are passionate about creating clean, healthy, and sustainable homes. Your insights could inspire others to embrace these easy home cleaning tips and transform their own cleaning routines. So, go ahead, give it a try, and let us know what you think! We can’t wait to hear from you.
Frequently Asked Questions (FAQ)
Q1: Are these DIY cleaning solutions as effective as store-bought cleaners?
A: In many cases, yes! The effectiveness of DIY cleaning solutions often surprises people. Ingredients like vinegar, baking soda, and lemon juice possess powerful cleaning properties. Vinegar is a natural disinfectant and degreaser, baking soda is a mild abrasive and deodorizer, and lemon juice is a natural antiseptic and brightener. While some heavy-duty cleaning tasks might require specialized products, these DIY solutions are excellent for everyday cleaning and maintenance. The key is to use the right solution for the right task and to allow sufficient contact time for the ingredients to work their magic. For example, allowing a vinegar solution to sit on a surface for a few minutes before wiping it clean will enhance its disinfecting power.
Q2: Are these cleaning tips safe for all surfaces?
A: While most of these easy home cleaning tips are safe for a wide range of surfaces, it’s always a good idea to test them in an inconspicuous area first, especially on delicate or sensitive materials. For example, vinegar can be too acidic for marble, granite, and some types of stone countertops. Similarly, abrasive cleaners like baking soda should be used with caution on easily scratched surfaces. Always read the manufacturer’s instructions for your specific surfaces and err on the side of caution. When in doubt, dilute the cleaning solution or use a gentler alternative. For instance, instead of vinegar, you could use a mild dish soap solution for cleaning delicate surfaces.
Q3: Can I use essential oils in all of these cleaning solutions?
A: Essential oils can be a wonderful addition to DIY cleaning solutions, adding fragrance and potentially enhancing their cleaning power. However, it’s important to use them safely and responsibly. Not all essential oils are created equal, so choose high-quality, pure essential oils from reputable sources. Some essential oils can be irritating to the skin or respiratory system, so always dilute them properly and avoid direct contact. Also, be mindful of pets and children, as some essential oils can be toxic to them. Common safe and effective essential oils for cleaning include lavender, lemon, tea tree, eucalyptus, and peppermint. Start with a few drops and adjust the amount to your preference.
Q4: How long do these DIY cleaning solutions last?
A: The shelf life of DIY cleaning solutions depends on the ingredients used. Solutions containing water are more prone to bacterial growth and should be used within a week or two. Solutions made with vinegar or alcohol have a longer shelf life due to their antimicrobial properties. To maximize the shelf life of your DIY cleaning solutions, store them in airtight containers in a cool, dark place. Label each container with the date it was made. If you notice any changes in color, odor, or consistency, discard the solution. It’s always best to make small batches of cleaning solutions as needed to ensure their freshness and effectiveness.
Q5: What are some alternatives to vinegar for those who don’t like the smell?
A: The smell of vinegar can be off-putting to some people, but there are several alternatives you can use in your DIY cleaning solutions. Lemon juice is a great option, as it has similar cleaning properties and a pleasant citrus scent. Another alternative is citric acid, which is a powdered form of lemon juice that can be easily dissolved in water. You can also use rubbing alcohol (isopropyl alcohol) as a disinfectant and degreaser. However, be sure to use it in a well-ventilated area, as it can be irritating to the respiratory system. Finally, a mild dish soap solution can be used for general cleaning tasks.
Q6: How can I make my own all-purpose cleaner?
A: Making your own all-purpose cleaner is incredibly simple. Here’s a basic recipe:
* 1 part white vinegar
* 1 part water
* A few drops of your favorite essential oil (optional)
Combine the ingredients in a spray bottle and shake well. You can adjust the ratio of vinegar to water depending on your preference and the surface you’re cleaning. For tougher cleaning jobs, use a higher concentration of vinegar. For more delicate surfaces, dilute the solution further. This all-purpose cleaner is effective for cleaning countertops, sinks, appliances, and other surfaces.
Q7: What is the best way to clean a dirty oven naturally?
A: Cleaning a dirty oven naturally requires a bit of patience, but it’s definitely achievable. Here’s a simple method:
1. Remove the oven racks and soak them in hot, soapy water.
2. Make a paste of baking soda and water.
3. Spread the paste all over the inside of the oven, avoiding the heating elements.
4. Let the paste sit overnight.
5. The next day, wipe out the oven with a damp cloth.
6. For stubborn spots, spray with vinegar and scrub with a sponge.
7. Rinse thoroughly with water.
8. Replace the oven racks.
This method is effective for removing baked-on grease and grime without the use of harsh chemicals.
Q8: How do I clean my microwave with natural ingredients?
A: Cleaning your microwave with natural ingredients is quick and easy. Here’s a simple method:
1. Combine 1 cup of water and 1 tablespoon of vinegar or lemon juice in a microwave-safe bowl.
2. Microwave on high for 5 minutes.
3. Let the bowl sit in the microwave for another 5 minutes, allowing the steam to loosen the grime.
4. Carefully remove the bowl and wipe down the inside of the microwave with a clean cloth.
The steam will soften the food splatters, making them easy to wipe away. The vinegar or lemon juice will help to deodorize the microwave and leave it smelling fresh.


Leave a Comment