
Easy home life hacks – who doesn’t love them? I know I do! We all crave those little nuggets of wisdom that make our daily routines smoother, more efficient, and, let’s be honest, a whole lot more enjoyable. Think of them as your secret weapon against the chaos of modern life. From decluttering tips to clever cleaning solutions, these hacks are designed to simplify your world, one small step at a time.
The concept of “hacking” everyday life isn’t entirely new. For generations, resourceful individuals have been sharing tips and tricks passed down through families and communities. Think of grandma’s stain-removal secrets or your grandpa’s ingenious way of fixing a leaky faucet. These aren’t just random ideas; they’re practical solutions born from necessity and a desire to make life a little easier.
In today’s fast-paced world, we’re constantly bombarded with information and demands on our time. That’s why easy home life hacks are more valuable than ever. They offer a way to reclaim control, reduce stress, and free up precious time for the things that truly matter. Whether you’re a busy parent, a student juggling multiple responsibilities, or simply someone who appreciates a well-organized home, these DIY tricks can be a game-changer. So, get ready to discover a treasure trove of simple yet effective solutions that will transform your home and your life!
DIY Home Hacks to Simplify Your Life
Okay, let’s dive into some super useful DIY home hacks that I’ve personally tried and tested. These aren’t just random internet fads; they’re practical solutions that have genuinely made my life a little bit easier and more organized. Get ready to roll up your sleeves and transform your space!
Hack 1: The Ultimate Cord Organizer
Tired of the tangled mess of cords behind your TV or desk? Me too! This hack will help you tame those unruly cables and create a much cleaner, more organized look.
What you’ll need:
* Toilet paper rolls (or paper towel rolls cut in half)
* A shoebox or any container that fits your needs
* Decorative paper, fabric scraps, or paint
* Scissors
* Tape or glue
* Labels (optional)
Step-by-step instructions:
1. Gather your materials: First, collect all the toilet paper rolls you’ll need. The number depends on how many cords you want to organize. Also, grab your shoebox, decorative materials, scissors, tape/glue, and labels.
2. Decorate the rolls: This is where you can get creative! I like to use decorative paper to wrap each roll. Cut the paper to size, apply glue or tape to the roll, and carefully wrap the paper around it. You can also use fabric scraps or simply paint the rolls. Let them dry completely if you’re using paint or glue.
3. Prepare the shoebox: Decorate the shoebox in a similar way to the rolls. This will make the whole organizer look cohesive. You can use the same decorative paper, fabric, or paint. Again, let it dry completely.
4. Arrange the rolls: Place the decorated rolls inside the shoebox. You might need to adjust the number of rolls depending on the size of your shoebox and the thickness of your cords.
5. Label the rolls (optional): This step is super helpful for identifying which cord belongs to which device. You can use pre-printed labels or simply write on the rolls with a marker. Label each roll with the name of the device it corresponds to (e.g., “Laptop Charger,” “TV Power Cord,” “Phone Charger”).
6. Organize your cords: Now, neatly coil each cord and place it inside its corresponding roll. This will keep the cords from tangling and make it easy to find the one you need.
7. Place the organizer: Put your newly organized cord organizer behind your TV, desk, or anywhere else where you have a lot of cords. Enjoy the clutter-free space!
Hack 2: DIY Spice Rack from Repurposed Drawers
Spice racks can be expensive, and sometimes they just don’t fit your kitchen’s aesthetic. This hack lets you create a custom spice rack using old drawers, adding a touch of rustic charm to your kitchen.
What you’ll need:
* Old drawers (from a dresser or cabinet)
* Sandpaper
* Paint or stain
* Paintbrushes
* Screws or nails
* Drill (if using screws)
* Measuring tape
* Level
* Wall anchors (if needed)
Step-by-step instructions:
1. Prepare the drawers: Start by cleaning the drawers thoroughly. Remove any hardware (knobs, pulls) and sand the surfaces to create a smooth finish. This will help the paint or stain adhere better.
2. Paint or stain the drawers: Choose a paint or stain color that complements your kitchen decor. Apply the paint or stain evenly, following the manufacturer’s instructions. You might need to apply multiple coats for full coverage. Let the drawers dry completely between coats.
3. Measure and mark the wall: Use a measuring tape and level to determine where you want to hang the spice rack. Mark the locations for the screws or nails. Make sure the drawers are evenly spaced and level.
4. Install wall anchors (if needed): If you’re hanging the spice rack on drywall, you’ll need to use wall anchors to provide extra support. Follow the instructions that come with the wall anchors to install them properly.
5. Attach the drawers to the wall: Using screws or nails, attach the drawers to the wall at the marked locations. Make sure the drawers are securely fastened and level. If you’re using screws, pre-drill pilot holes to prevent the wood from splitting.
6. Load up your spices: Once the drawers are securely attached to the wall, you can start filling them with your spices. Arrange the spices in a way that makes it easy to find what you need.
7. Admire your handiwork: Step back and admire your new, custom-made spice rack! It’s a functional and stylish addition to your kitchen.
Hack 3: Turn Old T-Shirts into Reusable Shopping Bags
Reduce waste and create a unique shopping bag with this simple hack. It’s a great way to repurpose old t-shirts that you no longer wear.
What you’ll need:
* An old t-shirt
* Scissors
* A plate or bowl (for tracing)
* Sewing machine or needle and thread (optional)
Step-by-step instructions:
1. Prepare the t-shirt: Lay the t-shirt flat on a table. Smooth out any wrinkles.
2. Cut off the sleeves and neckline: Using scissors, cut off the sleeves of the t-shirt, following the seam. Then, cut off the neckline, creating a wide U-shape.
3. Create the handles: Cut deeper into the armholes to create wider straps for the bag handles. Make sure the straps are wide enough to be comfortable to carry.
4. Create the bottom of the bag: Turn the t-shirt inside out. Using a plate or bowl as a guide, trace a semi-circle at the bottom corners of the t-shirt.
5. Sew the bottom (optional): If you have a sewing machine or are comfortable sewing by hand, sew along the semi-circle you traced. This will create a more durable bottom for the bag. If you don’t want to sew, you can simply tie the bottom corners together with knots.
6. Reinforce the handles (optional): For extra durability, you can reinforce the handles by sewing along the edges of the straps.
7. Turn the bag right side out: Turn the t-shirt right side out. Your reusable shopping bag is now ready to use!
8. Go shopping!: Take your new bag to the grocery store, farmer’s market, or anywhere else you need a reusable bag.
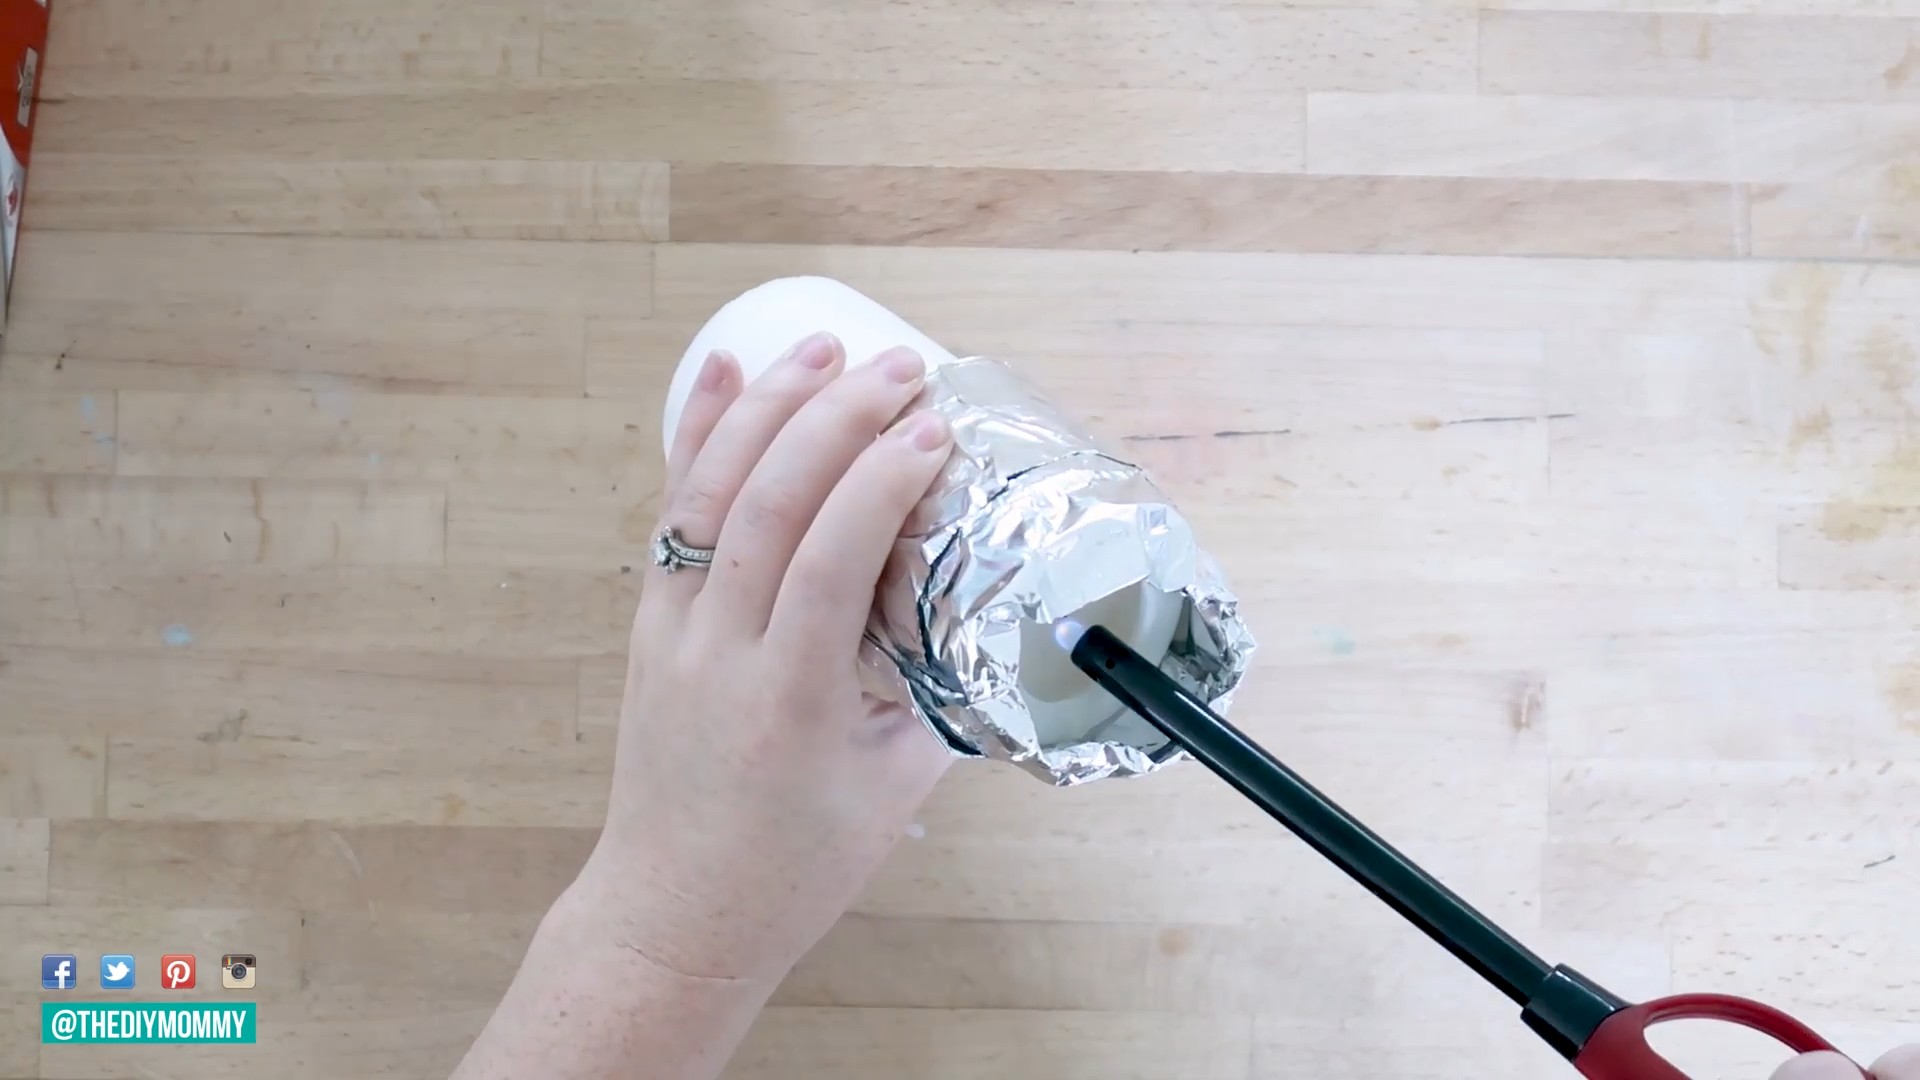
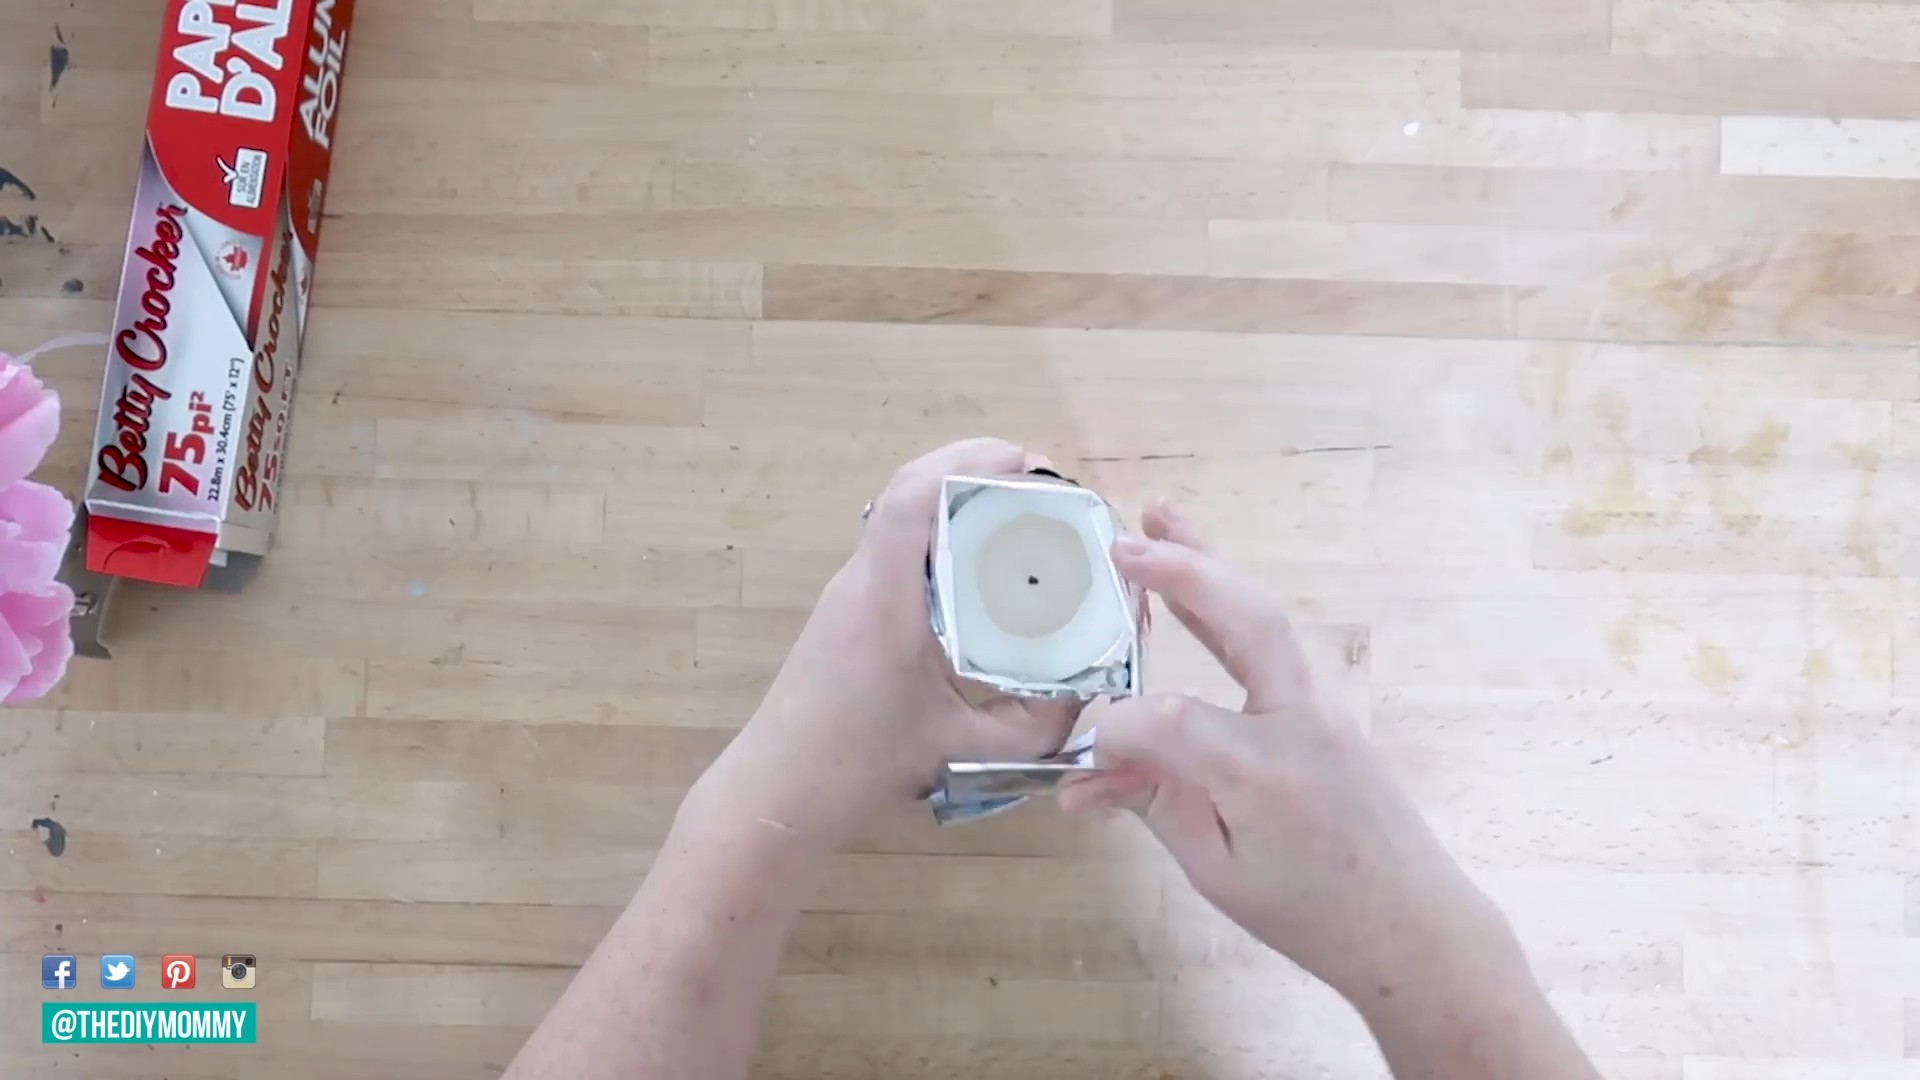
Hack 4: DIY Coffee Can Storage Containers
Don’t throw away those empty coffee cans! They can be transformed into stylish and functional storage containers.
What you’ll need:
* Empty coffee cans (cleaned and dried)
* Sandpaper
* Primer (optional)
* Paint, decorative paper, fabric, or twine
* Glue or tape
* Scissors
* Labels (optional)
Step-by-step instructions:
1. Prepare the cans: Clean the coffee cans thoroughly with soap and water. Remove any labels and dry the cans completely. Use sandpaper to smooth out any rough edges.
2. Prime the cans (optional): If you’re planning to paint the cans, applying a primer first will help the paint adhere better and create a more even finish.
3. Decorate the cans: This is where you can get creative! You can paint the cans with your favorite colors, wrap them with decorative paper or fabric, or even wrap them with twine for a rustic look.
* Painting: Apply the paint evenly, following the manufacturer’s instructions. You might need to apply multiple coats for full coverage. Let the cans dry completely between coats.
* Decorative paper or fabric: Cut the paper or fabric to size, apply glue or tape to the can, and carefully wrap the paper or fabric around it. Smooth out any wrinkles or bubbles.
* Twine: Apply glue to the can and start wrapping the twine around it, working your way from the bottom to the top. Overlap the twine slightly to create a secure and even covering.
4. Add labels (optional): Label the cans to identify what’s inside. You can use pre-printed labels or simply write on the cans with a marker.
5. Use your storage containers: Use your newly decorated coffee can storage containers to organize your pantry, craft supplies, office supplies, or anything else you need to store.
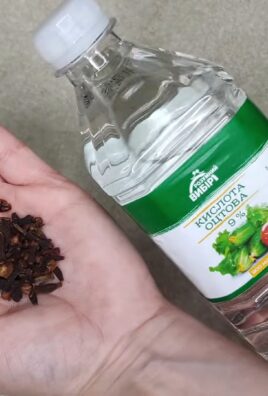
Hack 5: Make Your Own Dryer Sheets
Save money and reduce chemicals with this easy DIY dryer sheet recipe.
What you’ll need:
* Clean cloths (old t-shirts, towels, or washcloths cut into squares)
* White vinegar
* Essential oils (optional, for fragrance)
* An airtight container
Conclusion
So, there you have it! This simple yet effective DIY trick is more than just a clever shortcut; it’s a game-changer for streamlining your daily routine and reclaiming precious time and energy. We’ve explored how this method can transform a mundane task into something almost effortless, saving you money and reducing waste in the process. The beauty of this particular home life hack lies in its adaptability.
Think about the possibilities! You could infuse your solution with essential oils for a refreshing scent, experiment with different ratios to find the perfect consistency for your needs, or even tailor the ingredients to suit specific allergies or sensitivities. Don’t be afraid to get creative and personalize this trick to truly make it your own.
Why is this a must-try? Because it’s efficient, cost-effective, and environmentally conscious. In a world where we’re constantly bombarded with products promising to simplify our lives, this DIY approach empowers you to take control and create a solution that’s perfectly tailored to your needs. It’s about embracing a more mindful and sustainable way of living, one small hack at a time.
We genuinely believe that this easy home life hack will make a significant difference in your daily life. It’s not just about saving time; it’s about creating a more enjoyable and less stressful home environment. Imagine the satisfaction of knowing you’ve created something useful and effective with your own two hands, using simple ingredients you probably already have in your pantry.
Now, it’s your turn! We wholeheartedly encourage you to give this DIY trick a try. Don’t be intimidated by the idea of making something yourself; the process is surprisingly simple and rewarding. Once you’ve experienced the benefits firsthand, we’re confident you’ll be hooked.
But don’t just take our word for it! We’re eager to hear about your experiences. Did you find this trick as helpful as we did? Did you experiment with any variations or modifications? What challenges did you encounter, and how did you overcome them? Share your thoughts, tips, and tricks in the comments below. Let’s create a community of DIY enthusiasts who are passionate about simplifying their lives and making the most of what they have. Your feedback is invaluable, and it will help us refine and improve this guide for future readers. Together, we can unlock the full potential of this amazing home life hack and inspire others to embrace the power of DIY. So go ahead, give it a whirl, and let us know what you think! We can’t wait to hear from you.
Frequently Asked Questions
What exactly is a “home life hack,” and why should I care?
A home life hack is essentially a clever shortcut or trick that simplifies everyday tasks and makes your life easier. They often involve using common household items in unconventional ways to solve problems or improve efficiency. You should care because these hacks can save you time, money, and stress, allowing you to focus on the things that truly matter. This particular hack focuses on [mention the specific task the hack addresses, e.g., cleaning, organizing, etc.], which is a common source of frustration for many people.
What if I don’t have all the ingredients listed? Can I substitute anything?
Absolutely! One of the great things about DIY solutions is their flexibility. While the recommended ingredients are generally the most effective, you can often substitute them based on what you have on hand. For example, if the recipe calls for [ingredient A], you might be able to use [substitute A] as an alternative. Just be aware that the results may vary slightly. It’s always a good idea to test a small batch first to ensure you’re happy with the outcome. If you are missing a key ingredient, consider researching online for suitable alternatives specific to the function of that ingredient in the recipe.
Is this DIY trick safe to use around children and pets?
Safety is always a top priority. Before using any DIY solution, it’s crucial to consider its potential impact on children and pets. If the recipe contains any ingredients that could be harmful if ingested or come into contact with skin, take extra precautions. Store the solution out of reach of children and pets, and always supervise them when using it. Consider using natural and non-toxic alternatives whenever possible to minimize any potential risks. If you have any concerns, consult with a healthcare professional or veterinarian before using the solution.
How long will this DIY solution last? Does it need to be refrigerated?
The shelf life of your DIY solution will depend on the ingredients used. Generally, solutions made with fresh ingredients will have a shorter shelf life than those made with shelf-stable ingredients. To maximize the lifespan of your solution, store it in an airtight container in a cool, dark place. Refrigeration can also help to extend its shelf life, especially for solutions containing perishable ingredients. Be sure to label the container with the date you made the solution so you can keep track of its freshness. If you notice any signs of spoilage, such as changes in color, odor, or texture, discard the solution immediately.
I tried the DIY trick, but it didn’t work as well as I expected. What could I have done wrong?
There are several factors that could affect the effectiveness of your DIY solution. First, double-check that you followed the recipe instructions carefully and used the correct measurements. Even slight variations in the ingredients or proportions can impact the results. Second, consider the quality of the ingredients you used. Using lower-quality ingredients may result in a less effective solution. Finally, think about the specific application of the solution. It may not be suitable for all situations or surfaces. If you’re still having trouble, try experimenting with different variations or modifications to see if you can improve the results. Don’t be afraid to adjust the recipe to suit your specific needs and preferences.
Can I scale this recipe up or down?
Yes, you can easily scale this recipe up or down to make a larger or smaller batch. Simply adjust the quantities of each ingredient proportionally. For example, if you want to double the recipe, multiply each ingredient by two. If you want to halve the recipe, divide each ingredient by two. Keep in mind that scaling up or down may slightly affect the consistency or effectiveness of the solution, so it’s always a good idea to test a small batch first before making a large quantity.
What are some other easy home life hacks that I can try?
There are countless easy home life hacks out there! Some popular examples include using vinegar to clean various surfaces, using baking soda to deodorize your refrigerator, and using dryer sheets to remove static cling from clothes. The internet is a treasure trove of DIY tips and tricks, so do some research and find hacks that address your specific needs and interests. Remember to always prioritize safety and use caution when trying new hacks.
How can I share my own DIY home life hack ideas with others?
Sharing your own DIY home life hack ideas is a great way to contribute to the community and help others simplify their lives. You can share your ideas on social media, in online forums, or on your own blog or website. Be sure to provide clear and concise instructions, along with photos or videos to illustrate the process. Encourage others to try your hack and share their feedback. By sharing your knowledge and experiences, you can inspire others to embrace the power of DIY and create a more efficient and enjoyable home environment.


Leave a Comment