
Grow Broccoli at Home: Your Guide to a Bountiful Harvest
Have you ever dreamed of biting into a crisp, tender broccoli floret, knowing you grew it yourself, from seed to plate? That dream is closer than you think! This article is your complete guide to Grow Broccoli at Home, packed with simple, effective DIY tricks and hacks to help you cultivate a thriving broccoli patch, even if you’ve never gardened before.
For centuries, broccoli has held a place of honor in culinary traditions across the globe, from ancient Roman times to its modern-day popularity. Its versatility in the kitchen, combined with its impressive nutritional profile, makes it a prized vegetable. But the cost of high-quality broccoli at the grocery store can be surprisingly high. That’s where the magic of home gardening comes in!
Why Grow Your Own Broccoli?
Growing your own broccoli offers numerous advantages. You’ll enjoy fresher, tastier broccoli than anything you can buy, free from pesticides and chemicals. Plus, you’ll have the immense satisfaction of nurturing a plant from a tiny seed to a flourishing head of broccoli. It’s a rewarding experience for the whole family, and a fantastic way to connect with nature. And let’s be honest, nothing beats the taste of homegrown vegetables!
This guide will walk you through every step of the process, from selecting the right seeds and preparing your soil to harvesting your delicious, homegrown broccoli. We’ll cover everything you need to know to successfully grow broccoli at home, including troubleshooting common problems and maximizing your yield. Get ready to transform your backyard into a broccoli paradise!
Growing Broccoli at Home: A Step-by-Step Guide
I’ve always loved the taste of fresh broccoli, and nothing beats the satisfaction of harvesting your own. This guide will walk you through growing your broccoli from seed, right to your dinner plate. It’s easier than you think!
Phase 1: Planning and Preparation
- Choose your broccoli variety: Research different broccoli varieties to find one that suits your climate and growing season. Consider factors like size, maturity time, and disease resistance. Some popular choices include Waltham 29, Green Comet, and De Cicco.
- Select a suitable location: Broccoli needs at least six hours of sunlight per day. Choose a spot in your garden that receives ample sunlight and has well-drained soil. Avoid areas prone to frost or strong winds.
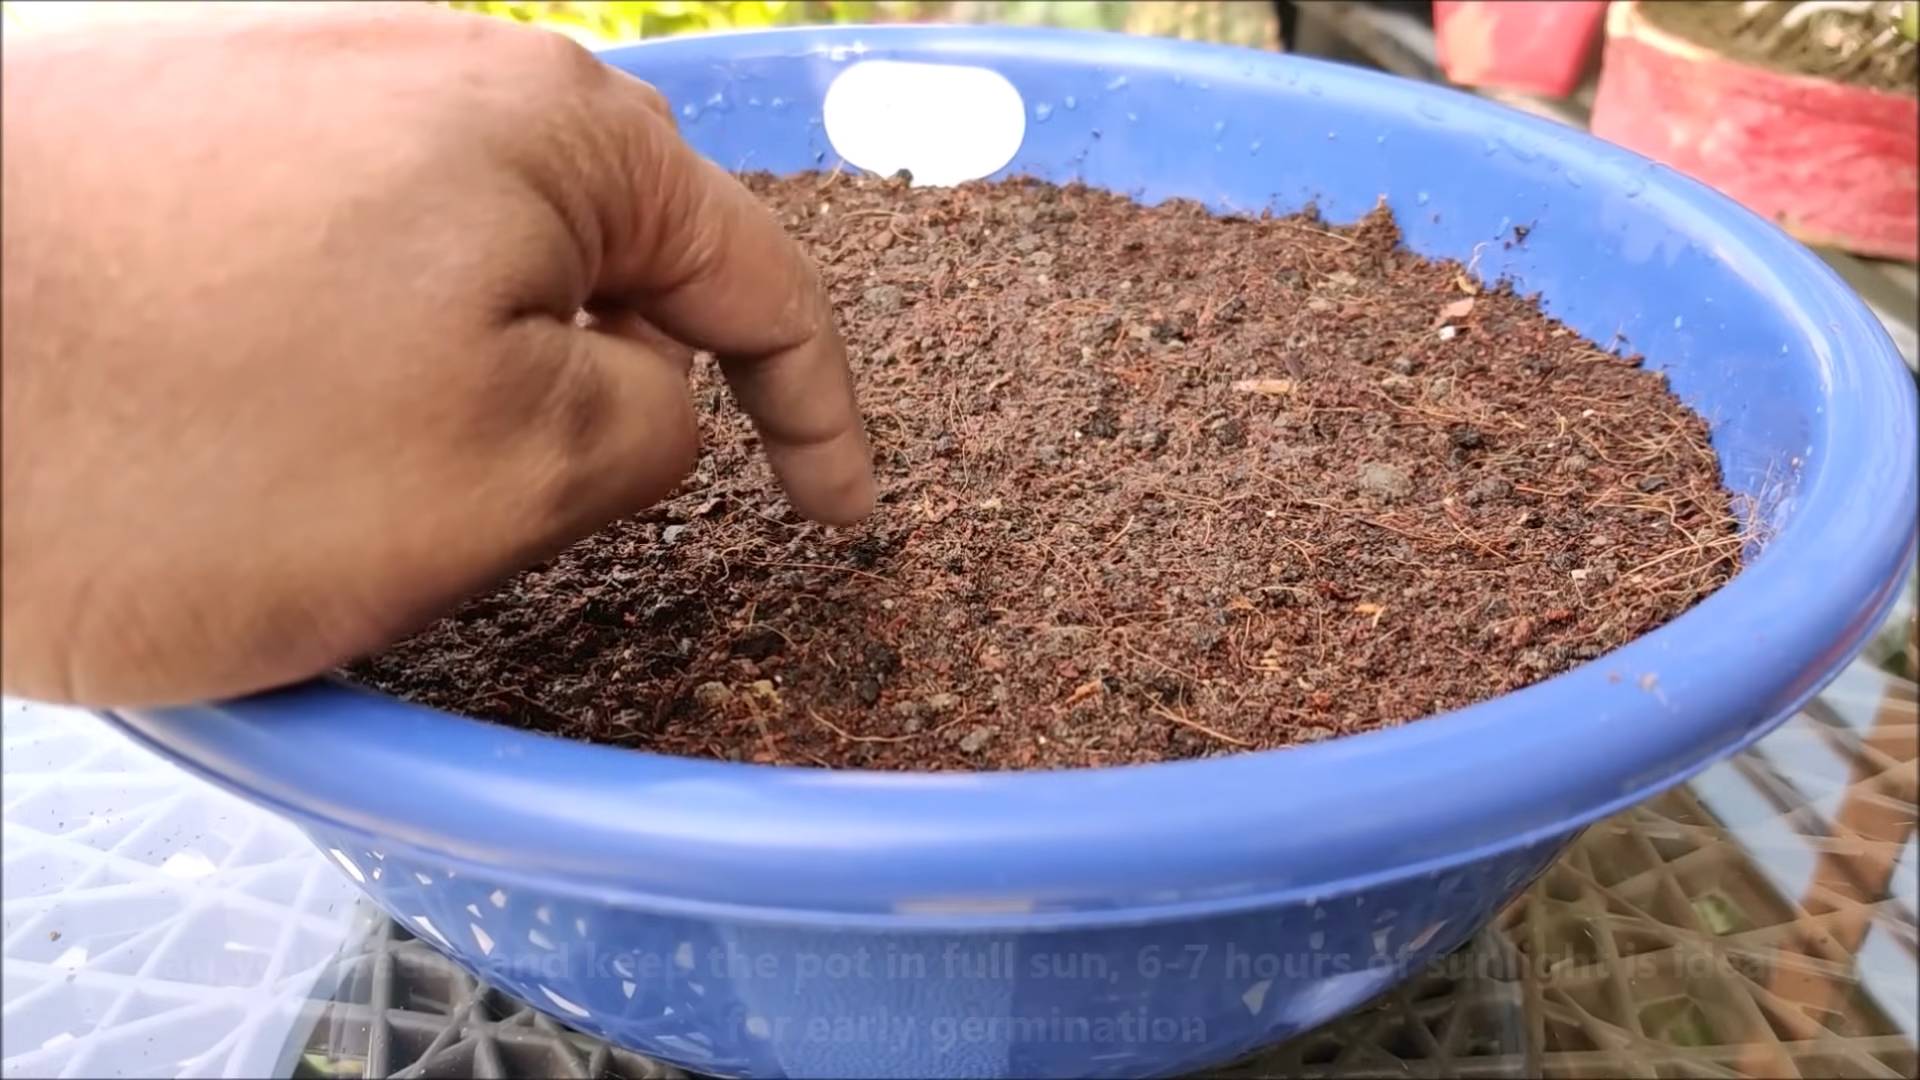
- Prepare the soil: Broccoli thrives in fertile, well-drained soil. Amend your soil with compost or other organic matter to improve its structure and nutrient content. A soil test can help determine if you need to add any specific nutrients.
- Gather your supplies: You’ll need broccoli seeds, seed starting trays or pots, potting mix, gardening gloves, a watering can, and garden tools (e.g., trowel, hand rake).
Phase 2: Starting Seeds Indoors (Optional but Recommended)
- Start seeds indoors 6-8 weeks before the last expected frost: This gives your plants a head start and increases your chances of a successful harvest. Fill your seed starting trays or pots with a high-quality seed starting mix.
- Sow the seeds: Plant broccoli seeds about ¼ inch deep and about 1 inch apart. Gently firm the soil around the seeds.
- Water gently: Use a watering can with a fine rose to avoid washing away the seeds. Keep the soil consistently moist but not soggy.
- Provide adequate light: Place the seed trays in a sunny location or under grow lights. Broccoli seedlings need at least 12-14 hours of light per day.
- Maintain optimal temperature: The ideal temperature for broccoli seedlings is between 65-75°F (18-24°C). Avoid placing them in areas that are too hot or too cold.
- Thin seedlings: Once the seedlings have developed their first true leaves (the leaves that appear after the cotyledons), thin them out to give each plant enough space to grow. You can transplant the extra seedlings into other pots.
- Harden off seedlings: Before transplanting outdoors, gradually acclimate your seedlings to the outdoor environment. This process, called hardening off, helps them adjust to the changes in temperature, sunlight, and wind. Start by placing them outdoors for a few hours each day, gradually increasing the time over several days.
Phase 3: Transplanting and Growing
- Transplant seedlings outdoors after the last frost: Choose a day when the weather is mild and the soil is workable. Space your broccoli plants 18-24 inches apart, depending on the variety.
- Dig holes: Dig holes slightly larger than the root balls of your seedlings.
- Plant the seedlings: Carefully remove the seedlings from their pots and place them in the holes. Fill the holes with soil, gently firming it around the roots.
- Water thoroughly: Water deeply after transplanting to help the seedlings settle in.
- Mulch around the plants: Applying a layer of mulch helps retain moisture, suppress weeds, and regulate soil temperature.
- Water regularly: Keep the soil consistently moist, especially during dry periods. Water deeply and less frequently rather than shallowly and often.
- Fertilize as needed: A balanced fertilizer can help promote healthy growth. Follow the instructions on the fertilizer package for application rates.
- Monitor for pests and diseases: Regularly inspect your plants for signs of pests or diseases. Take appropriate action if necessary, such as using insecticidal soap or neem oil for pests.
Phase 4: Harvesting
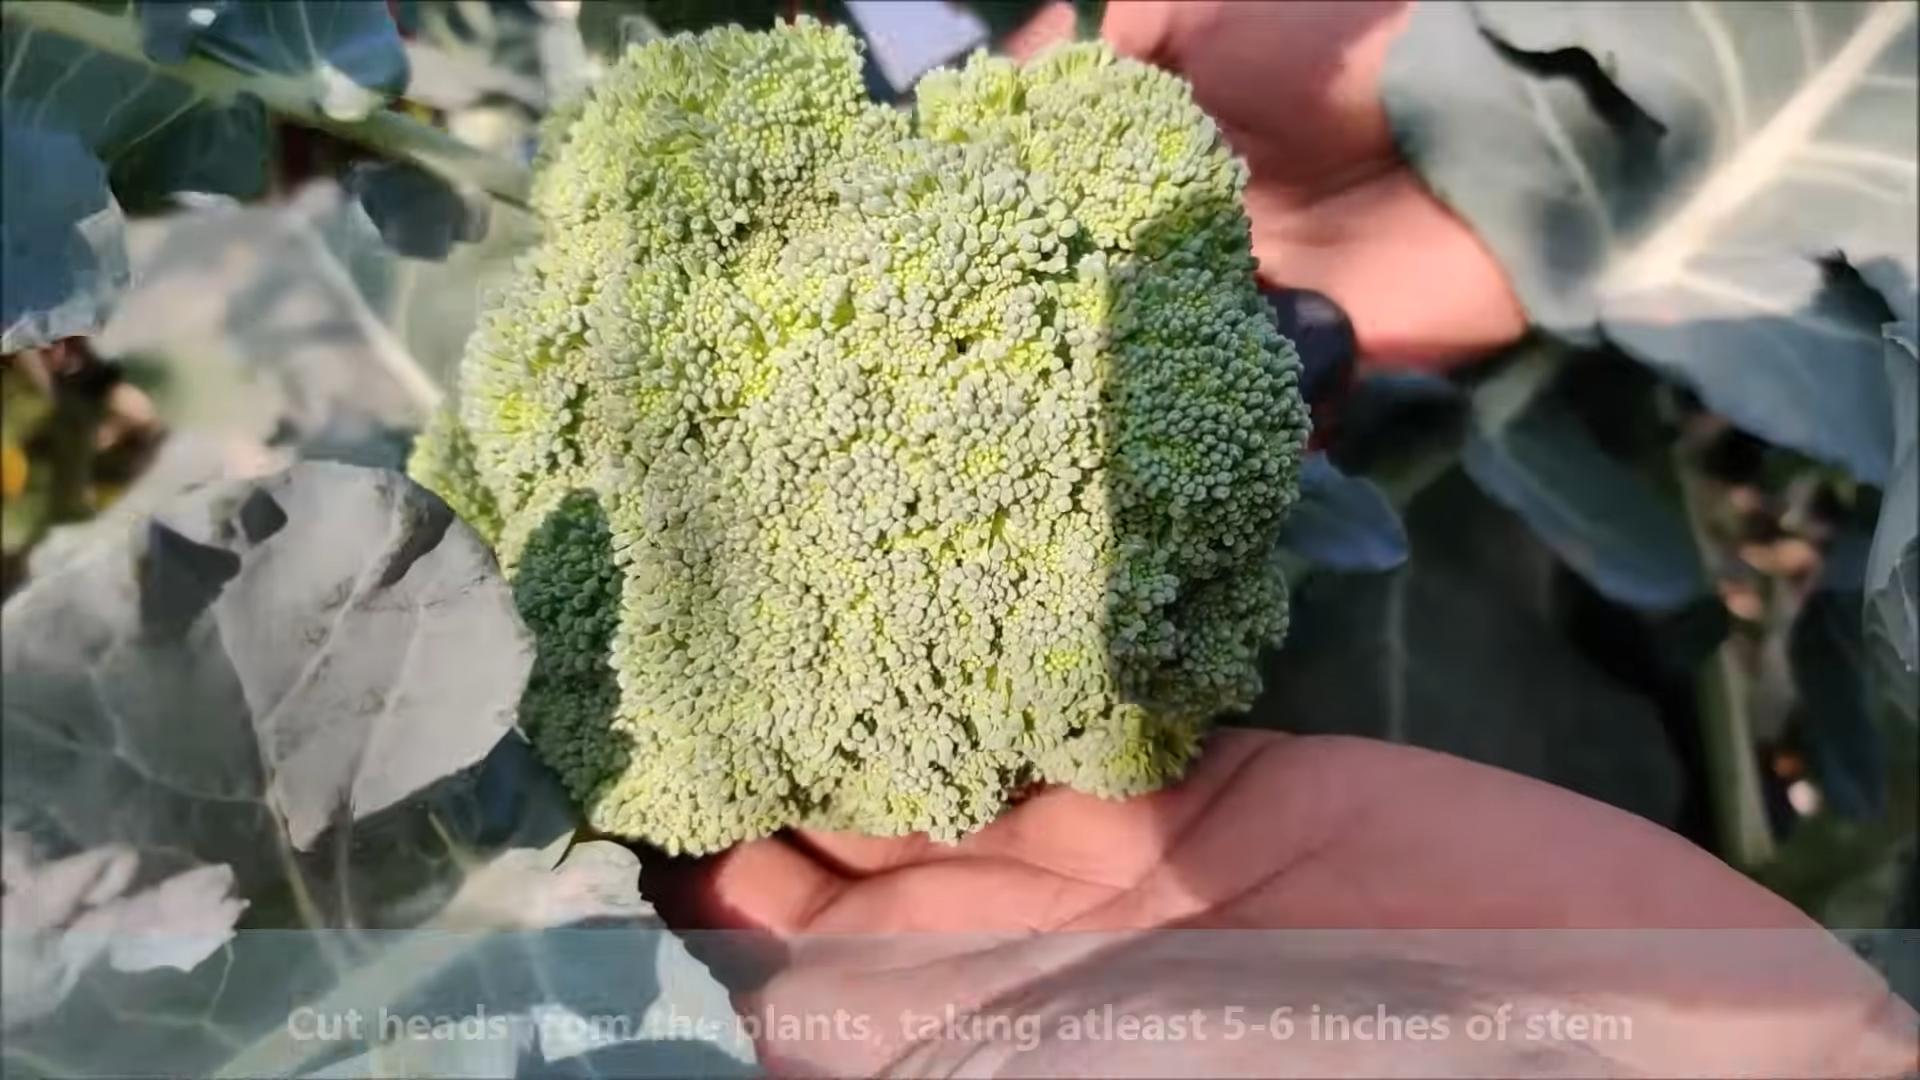
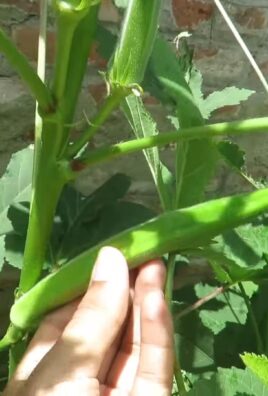
- Harvest broccoli heads when they are firm and dark green: The heads should be compact and tightly closed. Avoid harvesting when the heads are too small or have started to flower.
- Cut the heads with a sharp knife: Cut the heads just below the main head, leaving some stem attached.
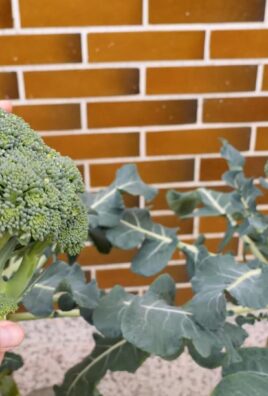
- Harvest side shoots: After harvesting the main head, smaller side shoots will often develop. These can also be harvested.
- Enjoy your fresh broccoli: Broccoli is best enjoyed fresh, but you can also freeze it for later use.
Phase 5: Troubleshooting
Common Problems and Solutions
- Yellowing leaves: This could indicate nutrient deficiencies, overwatering, or pests. Check your soil’s nutrient levels and adjust watering accordingly. Inspect for pests and treat if necessary.
- Bolting: Bolting (premature flowering) can occur if the plants are exposed to stress, such as extreme heat or cold. Choose a heat-tolerant variety and ensure consistent watering.
- Pests: Aphids, cabbage worms, and flea beetles are common broccoli pests. Use insecticidal soap or neem oil to control them.
- Diseases: Fungal diseases like downy mildew can affect broccoli. Ensure good air circulation and avoid overhead watering.
Remember to always research specific solutions for your region and the specific issues you encounter.
Conclusion
So there you have it! A comprehensive guide to growing your own broccoli at home. This DIY trick isn’t just about saving money on groceries; it’s about experiencing the unparalleled satisfaction of nurturing a plant from seed to harvest. The taste of homegrown broccoli, bursting with freshness and flavor, is simply unmatched. You’ll be amazed by the vibrant green heads you cultivate, far surpassing anything you can find in the supermarket. This method of growing broccoli at home is a must-try for anyone with even a small patch of land, a balcony, or even a sunny windowsill. It’s a rewarding experience that connects you to the source of your food, teaching you about the natural world and providing a delicious, healthy reward for your efforts.
Beyond the basic method outlined, there are numerous ways to personalize your broccoli-growing journey. Experiment with different broccoli varieties – from the classic green to the vibrant purple Romanesco – to discover your favorites. Consider companion planting, incorporating herbs like chamomile or dill nearby to deter pests and improve soil health. If space is limited, explore vertical gardening techniques or try growing broccoli in containers. For those in colder climates, consider starting your seeds indoors several weeks before the last expected frost to give your plants a head start. And don’t be afraid to get creative! The possibilities are endless.
We encourage you to embark on this exciting adventure of growing your own broccoli. Share your experiences with us! Post pictures of your thriving broccoli plants on social media using #GrowBroccoliAtHome and tag us. We’d love to see your successes and learn from your experiences. Whether you’re a seasoned gardener or a complete beginner, growing your own broccoli is a surprisingly accessible and deeply satisfying endeavor. It’s a journey of discovery, a testament to the power of nature, and a delicious treat waiting to be harvested. So, grab some seeds, get your hands dirty, and prepare to be amazed by the bounty you can cultivate right in your own backyard (or window box!).
Frequently Asked Questions
What type of soil is best for growing broccoli?
Broccoli thrives in well-drained, fertile soil with a slightly acidic pH level (between 6.0 and 6.8). Amend heavy clay soils with compost or other organic matter to improve drainage and aeration. Sandy soils may benefit from the addition of peat moss or other organic materials to retain moisture.
How much sunlight does broccoli need?
Broccoli needs at least six to eight hours of direct sunlight per day to grow properly. Choose a location in your garden or on your balcony that receives ample sunlight. If you’re growing broccoli indoors, place it near a sunny window or supplement with grow lights.
How often should I water my broccoli plants?
Water your broccoli plants regularly, keeping the soil consistently moist but not waterlogged. The frequency of watering will depend on your climate and soil type. Aim to water deeply and less frequently rather than shallowly and often. Check the soil moisture before watering; if the top inch feels dry, it’s time to water.
What are some common pests and diseases that affect broccoli?
Broccoli can be susceptible to pests such as aphids, cabbage worms, and flea beetles. Regularly inspect your plants for signs of infestation and take appropriate action, such as handpicking pests or using insecticidal soap. Diseases like downy mildew and black rot can also affect broccoli. Ensure good air circulation around your plants and avoid overhead watering to minimize the risk of disease.
When is the best time to harvest broccoli?
Broccoli is ready for harvest when the heads are firm and tightly formed, typically 60-70 days after transplanting seedlings or 80-100 days from seed. Harvest the heads by cutting them with a sharp knife, leaving a few inches of stem attached. You can also harvest the smaller side shoots that develop after the main head is harvested for an extended harvest period.
Can I grow broccoli in containers?
Absolutely! Growing broccoli in containers is a great option for those with limited space. Choose large containers (at least 12 inches in diameter) with drainage holes to ensure proper root development and prevent waterlogging. Use a high-quality potting mix and provide adequate sunlight and water.
What should I do with my harvested broccoli?
Enjoy your fresh, homegrown broccoli! You can eat it raw in salads, steam it, roast it, or use it in stir-fries and other dishes. For longer storage, you can blanch and freeze your broccoli to preserve its freshness and nutrients.
What if my broccoli plants don’t produce heads?
Several factors can affect broccoli head formation, including insufficient sunlight, inconsistent watering, nutrient deficiencies, or pest infestations. Ensure your plants are receiving adequate sunlight and water, and consider soil testing to check for nutrient levels. Address any pest or disease problems promptly.
Leave a Comment