
Grow Celery at Home? Absolutely! Forget those limp, flavorless stalks from the grocery store. I’m going to show you how to cultivate crisp, vibrant celery right in your own backyard (or even on your balcony!). For centuries, celery has been more than just a crunchy snack; it was prized by the ancient Greeks and Romans for its medicinal properties and used in victory wreaths.
But let’s be honest, most of us just want fresh, delicious celery for our soups, salads, and, of course, peanut butter! The problem is, store-bought celery often lacks that intense flavor and satisfying crunch. Plus, who knows what kind of chemicals were used to grow it? That’s where this DIY guide comes in.
I’m going to share some simple, yet effective, tricks and hacks that will empower you to grow celery at home like a pro, even if you’re a complete beginner. Imagine the satisfaction of harvesting your own organic celery, knowing exactly where it came from and how it was grown. Get ready to ditch the store-bought stuff and embrace the joy of homegrown goodness!
Grow Celery From Kitchen Scraps: A Beginner’s Guide
Hey there, fellow gardening enthusiasts! Ever thought about growing your own celery? It’s surprisingly easy, and you can start right from the leftover base you’d normally toss in the compost. I’m going to walk you through the whole process, from rescuing that celery stump to harvesting your own crisp stalks. Get ready to impress your friends with your resourcefulness!
What You’ll Need
Before we dive in, let’s gather our supplies. This is a pretty low-cost project, which is always a win in my book!
* Celery Base: The star of the show! Choose a healthy-looking base with the roots still attached.
* Shallow Dish or Jar: Something to hold water and the celery base.
* Water: Tap water is perfectly fine.
* Potting Soil: A good quality potting mix will give your celery a great start.
* Pot with Drainage Holes: Choose a pot that’s at least 6 inches in diameter. Celery needs room to grow.
* Spray Bottle (Optional): For misting the celery leaves.
* Fertilizer (Optional): A balanced liquid fertilizer can boost growth.
Phase 1: Rooting the Celery Base
This is where the magic happens! We’re going to coax those roots back to life.
1. Prepare the Celery Base: Carefully trim the celery stalks, leaving about 1-2 inches above the base. You can use these stalks for cooking, snacking, or juicing – no waste here!
2. Place in Water: Put the celery base in your shallow dish or jar. Add enough water to cover the bottom inch or two of the base, making sure the cut end is submerged.
3. Find a Sunny Spot: Place the dish in a bright, sunny location, like a windowsill. Celery loves sunlight!
4. Change the Water Regularly: Refresh the water every 1-2 days to prevent bacteria growth and keep the water clean. This is crucial for healthy root development.
5. Observe and Wait: Within a few days to a week, you should start to see new roots emerging from the bottom of the base and new leaves sprouting from the top. This is so exciting!
Phase 2: Planting in Soil
Once your celery has established some roots, it’s time to move it to a pot with soil.
1. Prepare the Pot: Fill your pot with potting soil, leaving about an inch of space at the top.
2. Create a Hole: Make a hole in the center of the soil large enough to accommodate the celery base.
3. Carefully Transplant: Gently remove the celery base from the water and place it in the hole. Make sure the roots are spread out and covered with soil.
4. Water Thoroughly: Water the soil until it’s evenly moist, but not soggy.
5. Choose a Sunny Location: Place the pot in a sunny location, ideally one that gets at least 6 hours of sunlight per day.
6. Monitor and Water: Keep the soil consistently moist, watering whenever the top inch of soil feels dry to the touch. Celery needs plenty of water.
Phase 3: Caring for Your Celery Plant
Now that your celery is planted, it’s time to give it some TLC.
1. Watering: As I mentioned before, celery needs consistent moisture. Check the soil daily and water as needed. Avoid letting the soil dry out completely.
2. Sunlight: Celery thrives in full sun, so make sure it’s getting plenty of light. If you don’t have a sunny spot indoors, you might consider using a grow light.
3. Fertilizing (Optional): To give your celery a boost, you can fertilize it every 2-3 weeks with a balanced liquid fertilizer. Follow the instructions on the fertilizer package.
4. Misting (Optional): Celery also appreciates humidity. You can mist the leaves with water every few days, especially if you live in a dry climate.
5. Pest Control: Keep an eye out for pests like aphids or spider mites. If you spot any, you can try spraying them with insecticidal soap or neem oil.
6. Blanching (Optional): If you prefer milder-tasting celery, you can blanch it a week or two before harvesting. To blanch, simply wrap the stalks with newspaper or cardboard, leaving the top leaves exposed. This will block sunlight and reduce the bitterness of the stalks.
Phase 4: Harvesting Your Celery
The moment you’ve been waiting for!
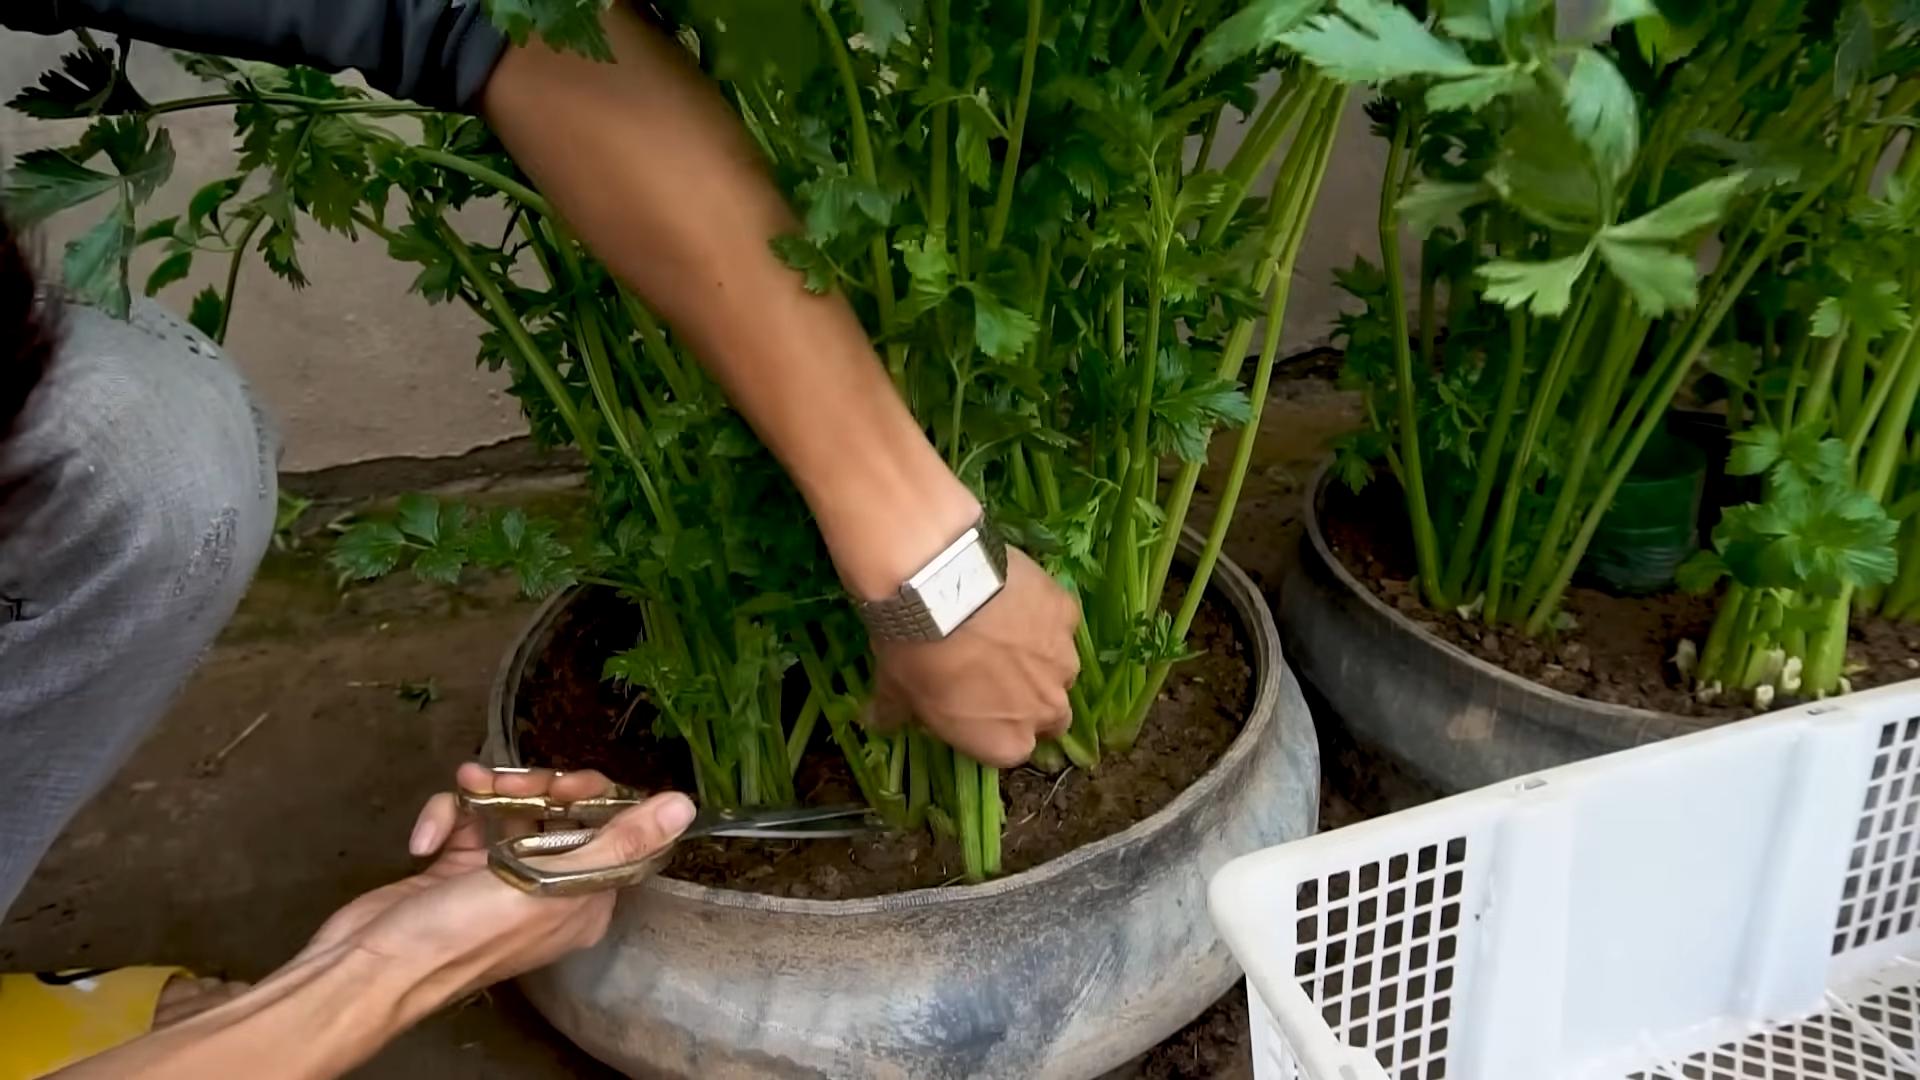
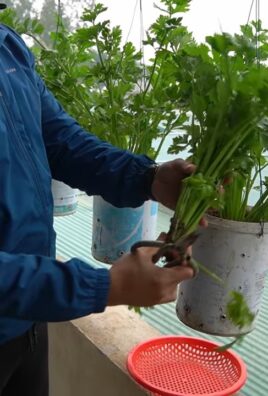
1. Harvesting Stalks: You can harvest individual stalks as needed, starting with the outer ones. Simply cut the stalks at the base with a sharp knife.
2. Harvesting the Whole Plant: If you want to harvest the entire plant, cut it off at the base.
3. Enjoy Your Harvest: Wash the celery stalks thoroughly and enjoy them in salads, soups, stews, or as a healthy snack.
Troubleshooting
Sometimes things don’t go exactly as planned. Here are a few common issues you might encounter and how to fix them:
* Celery isn’t growing: Make sure it’s getting enough sunlight and water. You might also consider fertilizing it.
* Leaves are turning yellow: This could be a sign of overwatering or underwatering. Check the soil moisture and adjust your watering accordingly.
* Pests: As mentioned earlier, keep an eye out for pests and treat them promptly.
* Celery is bitter: This is often due to lack of water or too much sunlight. Make sure it’s getting enough water and consider blanching the stalks before harvesting.
Tips for Success
Here are a few extra tips to help you grow the best celery possible:
* Start with a healthy celery base: The healthier the base, the better the chances of success.
* Use good quality potting soil: This will provide your celery with the nutrients it needs to grow.
* Don’t overwater: While celery needs consistent moisture, overwatering can lead to root rot.
* Be patient: It takes time for celery to grow, so don’t get discouraged if you don’t see results immediately.
* Experiment: Try different varieties of celery to see which ones you like best.
Why Grow Celery From Scraps?
Besides being a fun and rewarding project, growing celery from scraps is also a great way to:
* Reduce waste: You’re giving a new life to something that would otherwise be thrown away.
* Save money: You’re growing your own food, which can save you money at the grocery store.
* Eat healthier: You’re growing your own fresh, organic celery, free from pesticides and other harmful chemicals.
* Learn about gardening: It’s a great way to learn about plant propagation and gardening in general.
Frequently Asked Questions (FAQs)
* How long does it take to grow celery from scraps? It can take anywhere from 2-4 months to grow a full-sized celery plant from a base.
* Can I grow celery indoors? Yes, you can grow celery indoors, as long as it gets enough sunlight.
* What kind of soil should I use? Use a good quality potting mix that drains well.
* How often should I water my celery plant? Water whenever the top inch of soil feels dry to the touch.
* Can I grow celery in a container? Yes, you can grow celery in a container, as long as it’s large enough to accommodate the plant’s roots.
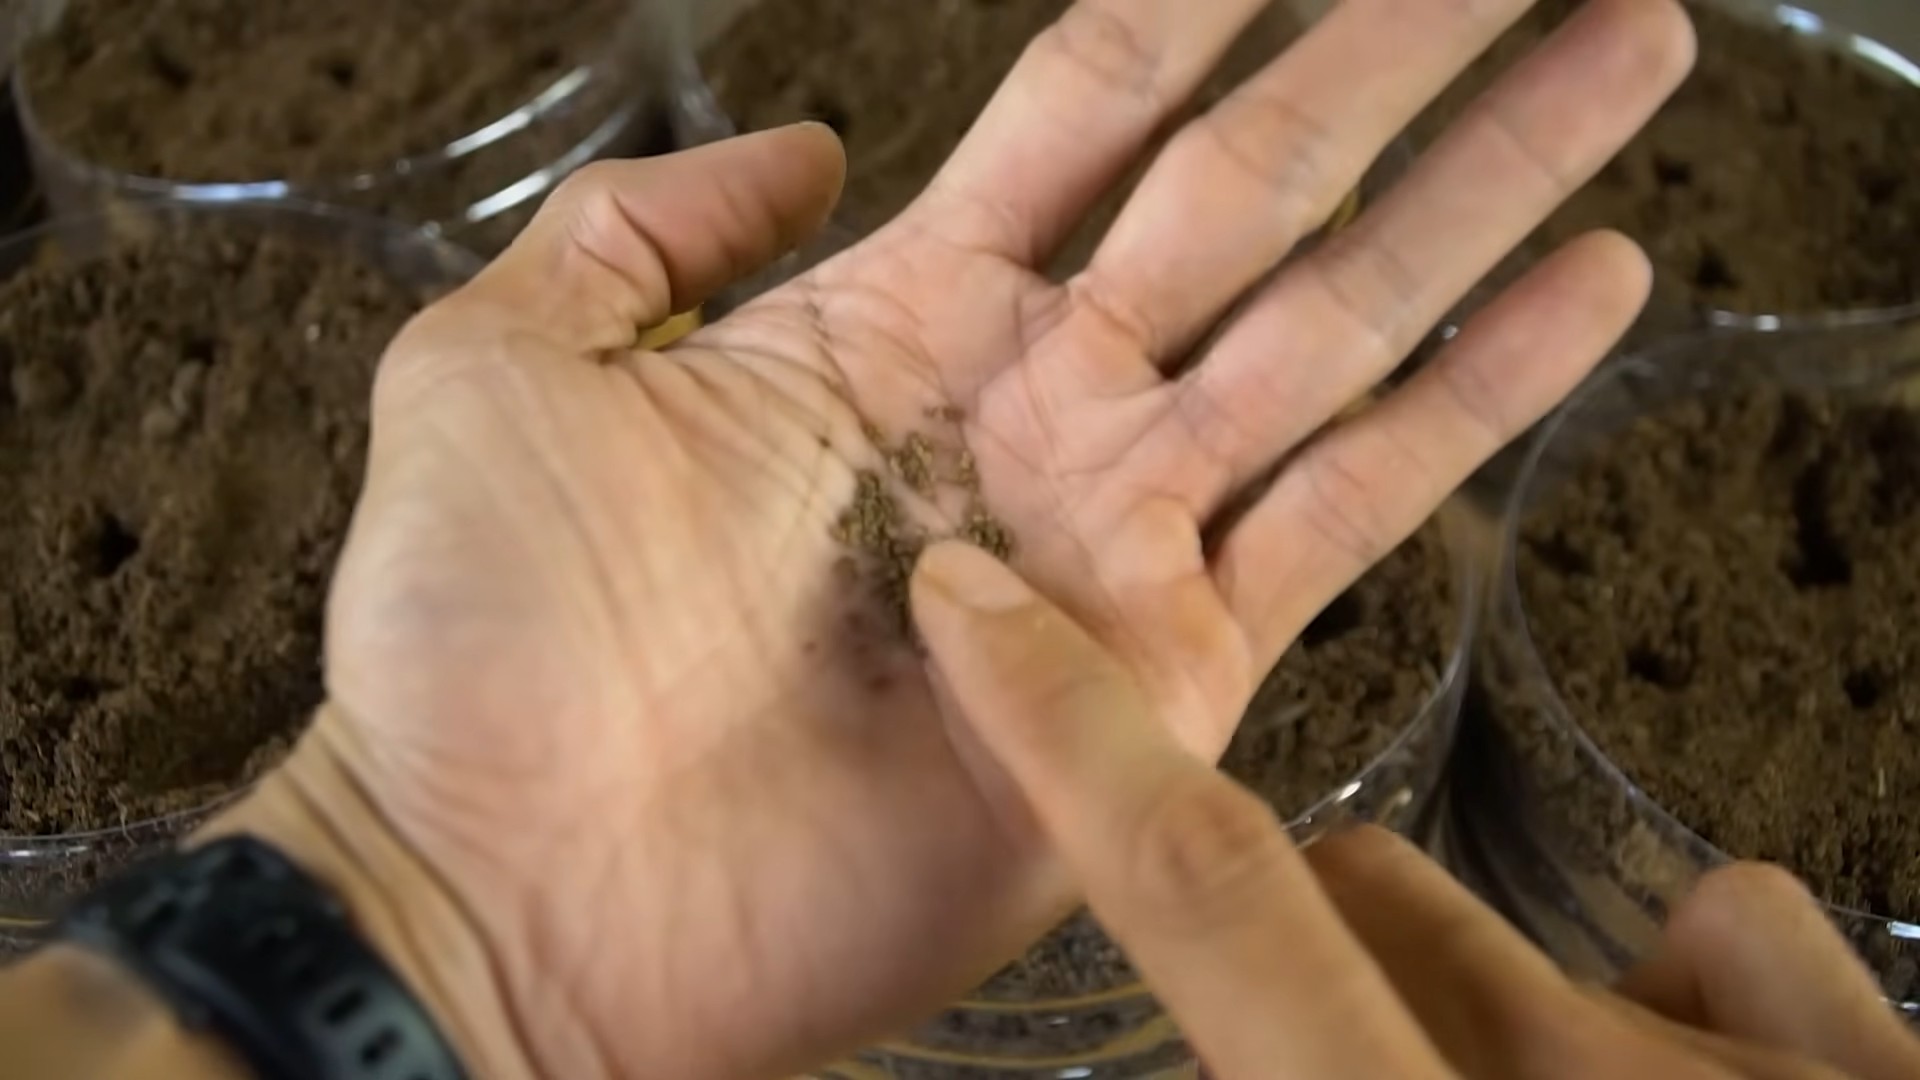
* Is it better to grow celery from seed or from scraps? Growing from scraps is faster and easier, but growing from seed allows you to choose from a wider variety of celery types.
So there you have it! Growing celery from kitchen scraps is a simple and satisfying way to add fresh, homegrown goodness to your meals. Give it a try, and I think you’ll be surprised at how easy it is. Happy gardening!
Conclusion
So, there you have it! Growing celery at home from kitchen scraps is not just a fun experiment; it’s a sustainable way to reduce food waste, enjoy fresh, crisp celery, and even impress your friends and family with your green thumb. This simple DIY trick transforms what would normally be discarded into a thriving plant, offering a continuous supply of this versatile vegetable.
Why is this a must-try? Because it’s incredibly easy, cost-effective, and environmentally friendly. You’re essentially getting free celery, reducing your grocery bill, and minimizing your contribution to landfill waste. Plus, the satisfaction of watching something grow from seemingly nothing is immensely rewarding. Imagine the pride you’ll feel when you harvest your first stalks, knowing you nurtured them from a humble celery base.
But the fun doesn’t stop there! Once you’ve mastered the basic technique, you can explore variations. Try different types of celery, such as Pascal or Utah varieties, to see which grows best in your climate and soil. Experiment with different potting mixes to optimize growth. You can even try growing celery in a hydroponic system for a faster, more controlled environment. Consider companion planting with herbs like parsley or basil to deter pests and enhance flavor.
Don’t be afraid to get creative! You can even use the celery leaves, which are often discarded, in soups, salads, or as a garnish. They have a more intense flavor than the stalks and add a delightful zest to any dish. Think of all the delicious celery soup, crunchy salads, and flavorful stir-fries you can create with your homegrown celery.
We wholeheartedly encourage you to try this DIY trick. It’s a fantastic project for gardeners of all levels, from beginners to seasoned pros. It’s also a great way to get kids involved in gardening and teach them about the life cycle of plants. Imagine the excitement on their faces as they watch their celery grow taller each day!
And most importantly, we want to hear about your experience! Share your photos, tips, and challenges in the comments below. Let us know what worked for you, what didn’t, and any creative variations you tried. Together, we can create a community of celery-growing enthusiasts and learn from each other’s successes and failures. So, grab a celery base, get your hands dirty, and start growing your own delicious, homegrown celery today! This method of growing celery at home is a game changer.
Frequently Asked Questions (FAQ)
How long does it take to grow celery from a base?
The initial regrowth from the base can be seen within a week or two. You’ll notice new leaves sprouting from the center. However, to grow a full-sized celery stalk suitable for harvesting, it typically takes around 3-4 months, depending on the growing conditions, climate, and care provided. Be patient and consistent with watering and sunlight, and you’ll be rewarded with a bountiful harvest.
What kind of soil is best for growing celery?
Celery thrives in rich, well-draining soil that is high in organic matter. A good mix would be equal parts of potting soil, compost, and peat moss. The compost provides essential nutrients, while the peat moss helps retain moisture. Ensure the soil is loose and airy to allow for proper root development. You can also amend the soil with slow-release fertilizer to provide a steady supply of nutrients throughout the growing season.
How much sunlight does celery need?
Celery needs at least 6 hours of sunlight per day to thrive. Choose a location in your garden or on your patio that receives ample sunlight. If you’re growing celery indoors, place it near a sunny window or use grow lights to supplement natural light. Insufficient sunlight can result in leggy growth and smaller, less flavorful stalks.
How often should I water my celery?
Celery needs consistent moisture to grow properly. Water deeply and regularly, especially during hot, dry weather. Aim to keep the soil consistently moist but not waterlogged. Overwatering can lead to root rot, so ensure the pot has good drainage. A good rule of thumb is to water when the top inch of soil feels dry to the touch.
What are some common pests and diseases that affect celery?
Celery can be susceptible to pests such as aphids, celery leaf tiers, and carrot weevils. Regularly inspect your plants for signs of infestation and take appropriate action, such as spraying with insecticidal soap or neem oil. Diseases like early blight and late blight can also affect celery. Ensure good air circulation around the plants and avoid overhead watering to prevent fungal diseases. If you notice any signs of disease, remove the affected leaves immediately.
Can I grow celery indoors year-round?
Yes, you can grow celery indoors year-round, provided you have adequate light and space. Use grow lights to supplement natural light, especially during the winter months. Choose a large pot to accommodate the growing roots. Maintain a consistent temperature and humidity level. With proper care, you can enjoy fresh, homegrown celery even in the dead of winter.
How do I harvest celery?
You can harvest celery when the stalks are at least 6-8 inches tall. Use a sharp knife to cut the stalks at the base of the plant. You can harvest individual stalks as needed or harvest the entire plant at once. After harvesting, store the celery in the refrigerator to keep it fresh.
Can I regrow celery from the same base multiple times?
While you can regrow celery from the same base multiple times, the subsequent harvests may be smaller and less vigorous. The initial regrowth is usually the most productive. After a few cycles, the base may become exhausted. It’s best to start with a fresh celery base for optimal results.
What can I do with the celery leaves?
Don’t throw away the celery leaves! They are packed with flavor and nutrients. Use them in soups, salads, stir-fries, or as a garnish. They have a more intense flavor than the stalks and add a delightful zest to any dish. You can also dry the leaves and use them as a seasoning.
Is growing celery at home organic?
Growing celery at home allows you to control the growing environment and avoid the use of harmful pesticides and herbicides. By using organic potting mix, compost, and natural pest control methods, you can ensure that your homegrown celery is truly organic. This is a great way to enjoy fresh, healthy celery without worrying about harmful chemicals.


Leave a Comment