
Grow Celery at Home? Absolutely! Forget those limp, flavorless stalks from the grocery store. I’m going to show you how to cultivate crisp, vibrant celery right in your own backyard (or even on your balcony!). For centuries, celery has been more than just a crunchy snack. Originating in the Mediterranean, it was initially valued for its medicinal properties before becoming a culinary staple. Think about it – from soups and salads to crudités and even cocktails, celery adds a unique freshness that’s hard to beat.
But let’s be honest, store-bought celery can be a real letdown. It’s often expensive, and the quality can be inconsistent. That’s where the magic of DIY comes in! Learning to grow celery at home is not only incredibly rewarding, but it also gives you complete control over the growing process. You’ll know exactly what’s going into your food, and you’ll be amazed by the difference in taste and texture. Plus, it’s a fantastic way to reduce your environmental impact and connect with nature. So, are you ready to ditch the store-bought stuff and embark on a celery-growing adventure with me? Let’s get started!
Grow Your Own Celery: A Beginner’s Guide
Hey there, fellow gardening enthusiasts! Have you ever thought about growing your own celery? It’s surprisingly easy and rewarding, and nothing beats the fresh, crisp taste of homegrown celery. Plus, you’ll always have it on hand for soups, salads, or just a healthy snack. I’m going to walk you through the whole process, from starting with scraps to harvesting your own stalks. Let’s get started!
What You’ll Need
Before we dive in, let’s gather our supplies. Here’s a list of everything you’ll need to successfully grow celery at home:
* Celery Stalk with Base: This is the most important ingredient! Choose a healthy-looking celery stalk from the grocery store with the root end (the base) intact.
* Shallow Dish or Bowl: Something to hold water and the celery base.
* Water: Tap water is fine.
* Potting Soil: A good quality potting mix is essential for healthy growth.
* Pot or Container: Choose a pot that’s at least 8 inches in diameter and 8 inches deep. Celery needs room for its roots to grow.
* Sunny Location: Celery loves sunlight, so find a spot that gets at least 6 hours of direct sunlight per day.
* Spray Bottle (Optional): For misting the celery leaves.
* Fertilizer (Optional): A balanced liquid fertilizer can help boost growth.
Regrowing Celery from a Base: The First Steps
This is where the magic begins! We’re going to coax a new celery plant from the leftover base of a store-bought stalk.
1. Prepare the Celery Base: After you’ve used the celery stalks, don’t throw away the base! Carefully cut off the stalks about 2 inches from the bottom. You should be left with a solid base with the root end still attached.
2. Place in Water: Put the celery base in your shallow dish or bowl. Add enough water to cover the bottom inch or so of the base. Be careful not to submerge the entire base, as this can cause it to rot.
3. Find a Sunny Spot: Place the dish with the celery base in a sunny windowsill or another location that gets plenty of light.
4. Change the Water Regularly: Change the water every day or two to keep it fresh and prevent bacteria from growing. This is crucial for healthy root development.
5. Observe Root Growth: Over the next few days, you should start to see small roots emerging from the bottom of the celery base. You might also notice new green shoots sprouting from the top. This is a sign that your celery is coming back to life!
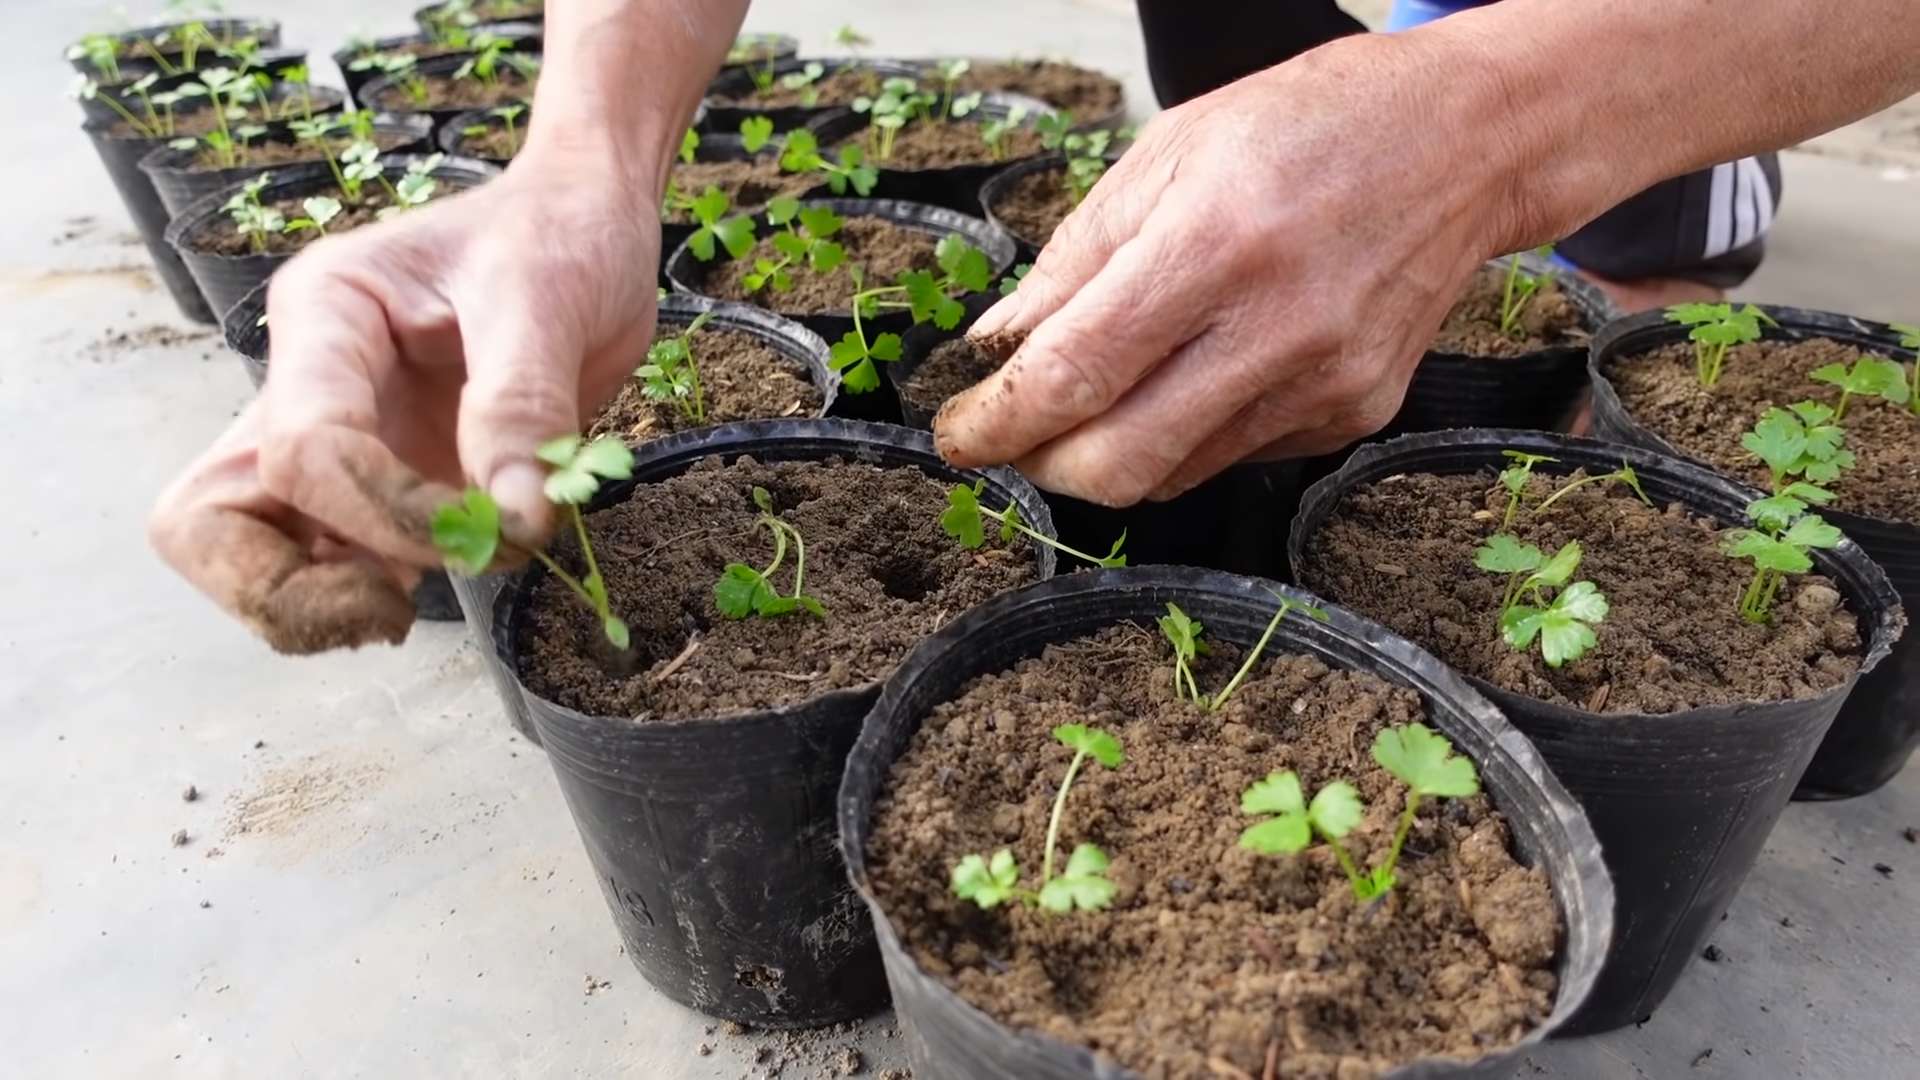
Planting Your Celery Seedling
Once your celery base has developed a good root system (about an inch or two long), it’s time to plant it in soil.
1. Prepare the Pot: Fill your pot with potting soil, leaving about an inch of space at the top.
2. Create a Hole: Make a hole in the center of the soil that’s large enough to accommodate the celery base and its roots.
3. Carefully Plant the Celery: Gently remove the celery base from the water and place it in the hole. Cover the roots with soil, making sure the top of the base is still exposed.
4. Water Thoroughly: Water the soil well after planting. The soil should be moist but not soggy.
5. Return to Sunny Location: Place the pot in a sunny location where it will receive at least 6 hours of direct sunlight per day.
Caring for Your Growing Celery
Now that your celery is planted, it’s time to provide it with the care it needs to thrive.
1. Watering: Celery needs consistent moisture to grow well. Water your plant regularly, keeping the soil consistently moist but not waterlogged. Check the soil moisture by sticking your finger into the soil. If the top inch feels dry, it’s time to water.
2. Sunlight: As mentioned before, celery loves sunlight. Make sure your plant is getting at least 6 hours of direct sunlight per day. If you don’t have a sunny spot indoors, you can use a grow light.
3. Fertilizing (Optional): To give your celery a boost, you can fertilize it every two weeks with a balanced liquid fertilizer. Follow the instructions on the fertilizer label. I usually dilute the fertilizer to half strength to avoid burning the roots.
4. Misting (Optional): Celery also appreciates humidity. You can mist the leaves with water every day or two to increase the humidity around the plant. This is especially helpful if you live in a dry climate.
5. Pest Control: Keep an eye out for pests like aphids or spider mites. If you notice any pests, you can try spraying them off with a strong stream of water or using an insecticidal soap.
6. Weeding: If you’re growing your celery outdoors, be sure to remove any weeds that pop up around the plant. Weeds can compete with your celery for nutrients and water.
Harvesting Your Homegrown Celery
After a few months of care, your celery should be ready to harvest!
1. Harvest Time: Celery is typically ready to harvest when the stalks are about 6-8 inches long.
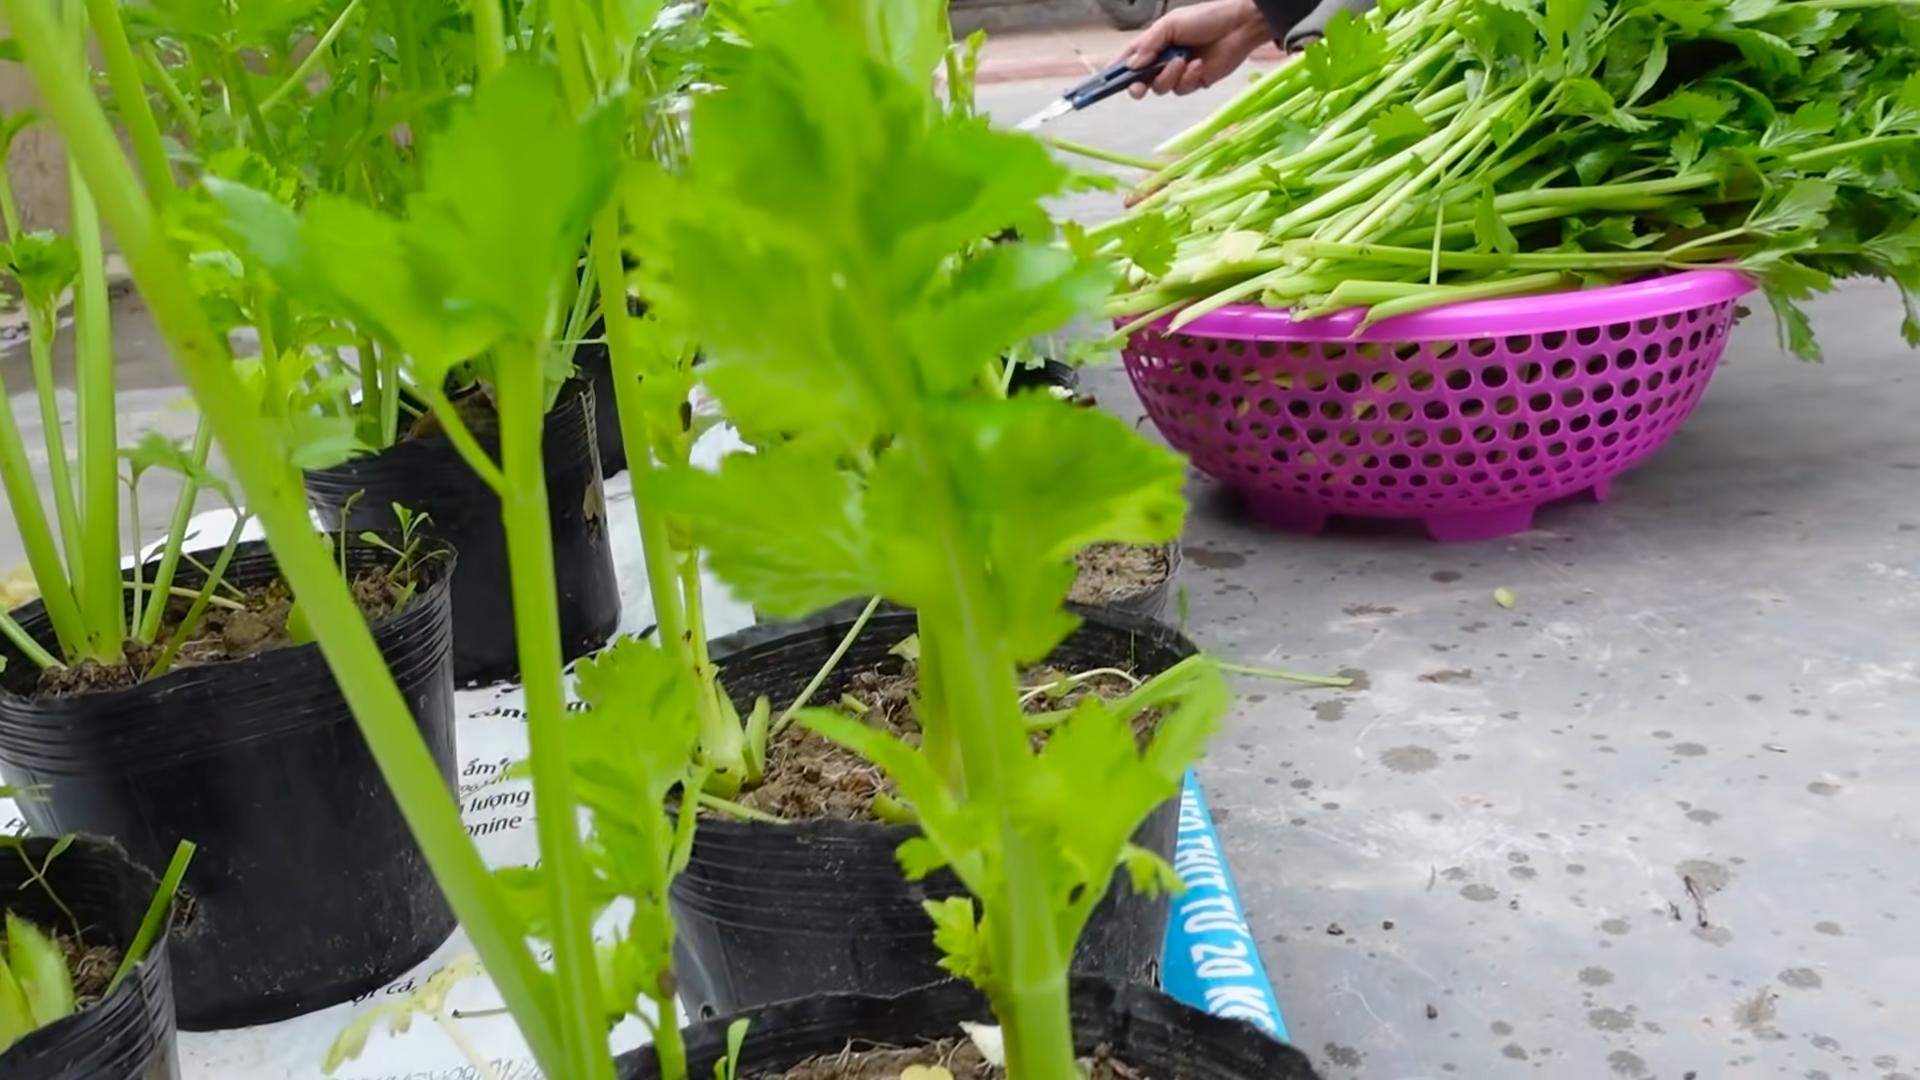
2. Harvesting Method: You can harvest the entire plant at once, or you can harvest individual stalks as needed. To harvest the entire plant, simply cut it off at the base with a sharp knife. To harvest individual stalks, cut them off at the base of the plant.
3. Enjoy Your Harvest: Wash your harvested celery thoroughly and enjoy it in your favorite recipes! Freshly grown celery is so much more flavorful than store-bought.
Troubleshooting Common Celery Growing Problems
Even with the best care, you might encounter some problems while growing celery. Here are a few common issues and how to address them:
* Yellowing Leaves: Yellowing leaves can be a sign of overwatering, underwatering, or nutrient deficiency. Check the soil moisture and adjust your watering accordingly. If the soil is consistently moist, you might be overwatering. If the soil is dry, you need to water more often. You can also try fertilizing your plant to provide it with the nutrients it needs.
* Stunted Growth: Stunted growth can be caused by a lack of sunlight, poor soil, or pests. Make sure your plant is getting enough sunlight and that the soil is well-draining and nutrient-rich. Check for pests and treat them accordingly.
* Bolting: Bolting is when the celery plant starts to produce flowers and seeds prematurely. This can be caused by stress, such as extreme temperatures or inconsistent watering. To prevent bolting, try to keep your celery plant consistently watered and protected from extreme temperatures.
* Celery is Bitter: Bitterness in celery can be caused by a lack of water or nutrients, or by exposure to high temperatures. Make sure your celery is getting enough water and nutrients, and try to protect it from extreme heat.
Tips for Success
Here are a few extra tips to help you succeed in growing your own celery:
* Start with a Healthy Base: Choose a celery stalk with a firm, healthy base. Avoid stalks that are wilted or discolored.
* Be Patient: Growing celery takes time and patience. Don’t get discouraged if you don’t see results immediately.
* Provide Consistent Care: Celery needs consistent moisture, sunlight, and nutrients to thrive.
* Experiment: Don’t be afraid to experiment with different growing techniques and fertilizers to see what works best for you.
* Enjoy the Process: Growing your own celery can be a fun and rewarding experience. Enjoy the process and don’t be afraid to learn along the way!
Expanding Your Celery Growing Adventures
Once you’ve mastered growing celery from a base, you might want to try growing it from seeds! It’s a bit more challenging, but it’s also very rewarding. You can find celery seeds at most garden centers or online.
Here’s a quick overview of how to grow celery from seeds:
1. Start Seeds Indoors: Celery seeds need to be started indoors about 10-12 weeks before the last expected frost.
2. Sow Seeds: Sow the seeds in a seed-starting tray or small pots filled with seed-starting mix. Sprinkle the seeds on the surface of the soil and gently press them down. Celery seeds need light to germinate, so don’t cover them with soil.
3. Keep Moist: Keep the soil consistently moist by misting it with water regularly.
4. Provide Light: Place the seed-starting tray or pots under a grow light or in a sunny windowsill.
5. Transplant Seedlings: Once the seedlings have developed a few sets of true leaves
Conclusion
So, there you have it! Growing celery at home from scraps isn’t just a fun experiment; it’s a sustainable way to reduce food waste, enjoy fresh, flavorful celery, and connect with the natural world. It’s a simple process that yields surprisingly rewarding results. Forget those limp, store-bought stalks – imagine the crisp, vibrant celery you can harvest right from your own kitchen or garden.
This DIY trick is a must-try for several compelling reasons. First, it’s incredibly cost-effective. Instead of tossing the celery base into the compost bin, you’re essentially getting a free head of celery. Second, it’s environmentally friendly. By regrowing your own celery, you’re reducing your reliance on commercially grown produce, which often involves significant transportation and packaging. Third, it’s a fantastic learning experience, especially for children. It teaches them about plant life cycles and the importance of sustainability. Finally, and perhaps most importantly, homegrown celery simply tastes better. It’s fresher, crisper, and more flavorful than anything you can buy at the grocery store.
Looking to take your celery growing game to the next level? Consider these variations and suggestions:
* Experiment with different celery varieties: While standard celery is the easiest to regrow, you can also try regrowing other varieties, such as celeriac (celery root).
* Enhance the soil: Adding compost or other organic matter to the soil will provide your celery with the nutrients it needs to thrive.
* Provide adequate sunlight: Celery needs at least six hours of sunlight per day, so choose a sunny location for your plant.
* Protect from pests: Keep an eye out for common celery pests, such as aphids and slugs, and take steps to control them if necessary.
* Hydroponic celery: For those with limited space or who prefer a soil-free approach, celery can also be grown hydroponically.
Don’t be intimidated by the idea of growing your own celery. It’s a surprisingly easy and rewarding process. With a little patience and care, you’ll be enjoying fresh, homegrown celery in no time. So, grab that celery base, follow the simple steps outlined above, and get ready to witness the magic of regrowth.
We’re confident that you’ll love this DIY trick as much as we do. It’s a fun, sustainable, and delicious way to enjoy fresh celery. Now it’s your turn! Give it a try and share your experience with us. We’d love to hear about your successes, challenges, and any tips you’ve learned along the way. Post pictures of your regrown celery on social media using [Your Hashtag] and let’s inspire others to embrace the joy of growing their own food. Happy growing!
Frequently Asked Questions (FAQ)
How long does it take to regrow celery from a base?
The time it takes to regrow celery from a base can vary depending on several factors, including the variety of celery, the growing conditions, and the climate. Generally, you can expect to see new growth within a week or two of placing the celery base in water. However, it may take several months for the celery to fully mature and be ready for harvest.
Initially, you’ll notice small leaves sprouting from the center of the base. As these leaves grow, you can transplant the celery into soil. Once transplanted, it will continue to grow and develop into a full-sized celery plant. Be patient and provide your celery with the proper care, and you’ll be rewarded with fresh, homegrown celery in due time.
What kind of water should I use to regrow celery?
The best type of water to use for regrowing celery is clean, fresh water. Tap water is generally fine, but if your tap water is heavily chlorinated, it’s best to let it sit out for a few hours to allow the chlorine to dissipate before using it. Alternatively, you can use filtered water or bottled water.
Avoid using water that is too hot or too cold, as this can shock the celery base and hinder its growth. Room temperature water is ideal. Also, be sure to change the water every day or two to prevent the growth of bacteria and keep the celery base healthy.
How much sunlight does regrown celery need?
Celery requires a significant amount of sunlight to thrive. Aim for at least six hours of direct sunlight per day. If you’re growing your celery indoors, place it near a sunny window or use a grow light to supplement the natural light.
If you’re growing your celery outdoors, choose a location that receives full sun for most of the day. However, in very hot climates, it’s best to provide some afternoon shade to prevent the celery from getting scorched.
Insufficient sunlight can lead to leggy growth and a lack of flavor in your celery. So, be sure to provide your celery with plenty of sunshine to ensure healthy growth and a delicious harvest.
What kind of soil is best for growing celery?
Celery prefers rich, well-draining soil that is high in organic matter. A good soil mix for celery should be loose and airy, allowing for good root development. You can amend your garden soil with compost, aged manure, or other organic materials to improve its fertility and drainage.
The ideal soil pH for celery is between 6.0 and 6.8. You can test your soil pH using a soil testing kit and adjust it accordingly. If your soil is too acidic, you can add lime to raise the pH. If it’s too alkaline, you can add sulfur to lower the pH.
When is the best time to harvest regrown celery?
You can harvest your regrown celery when the stalks are at least 6-8 inches long and have reached the desired thickness. The exact time will depend on the variety of celery and the growing conditions.
To harvest, simply cut the stalks at the base of the plant using a sharp knife. You can harvest individual stalks as needed, or you can harvest the entire plant at once.
After harvesting, store your celery in the refrigerator to keep it fresh. It will last for several weeks if stored properly.
Can I grow celery indoors year-round?
Yes, you can grow celery indoors year-round, provided you have the right conditions. Celery needs plenty of sunlight, so you’ll need to place it near a sunny window or use a grow light. You’ll also need to provide it with consistent moisture and humidity.
Growing celery indoors can be a great way to enjoy fresh, homegrown celery even during the winter months. It’s also a fun and rewarding project for gardeners of all skill levels.
My celery is bolting (going to seed). What should I do?
Bolting, or going to seed, can occur when celery is exposed to stress, such as extreme temperatures or inconsistent watering. Once celery bolts, the stalks become bitter and less palatable.
To prevent bolting, try to provide your celery with consistent growing conditions. Water it regularly, protect it from extreme temperatures, and fertilize it as needed.
If your celery does bolt, you can still harvest the seeds for future planting. However, the stalks will likely be too bitter to eat.
Why is my regrown celery not as thick as store-bought celery?
Regrown celery may not be as thick as store-bought celery for several reasons. First, commercially grown celery is often bred for size and uniformity. Second, it is grown under optimal conditions with plenty of fertilizer and water. Third, the regrown celery is starting from a small base and needs time to develop.
While your regrown celery may not be as thick as store-bought celery, it will still be delicious and flavorful. And, you’ll have the satisfaction of knowing that you grew it yourself from scraps!
Can I use the celery leaves?
Absolutely! Celery leaves are often overlooked, but they are packed with flavor and nutrients. You can use them in a variety of ways, such as adding them to salads, soups, stews, or stir-fries. They can also be used to make celery salt or celery pesto.
Don’t let those celery leaves go to waste! They are a valuable addition to any kitchen.


Leave a Comment