
Grow Kalamansi in Containers and unlock a world of citrusy delight right on your patio! Imagine stepping outside and plucking fresh, tangy kalamansi to brighten your dishes, drinks, and even your day. Forget those bland, store-bought limes – with a little know-how, you can cultivate your own miniature citrus orchard, no matter how limited your space.
For generations, the kalamansi, also known as calamondin, has been a beloved staple in Southeast Asian cuisine and culture. From the Philippines, where it’s practically a national treasure, to Indonesia and beyond, this vibrant fruit has been used in everything from marinades and sauces to refreshing beverages and traditional remedies. Its unique flavor profile, a delightful blend of sweet and sour, adds a zesty kick that’s simply irresistible.
But why should you bother learning to grow kalamansi in containers? Well, for starters, it’s incredibly rewarding! There’s something truly special about nurturing a plant from seedling to fruit-bearing beauty. Plus, it’s a fantastic way to add a touch of the exotic to your home, even if you don’t have a sprawling garden. More practically, having your own supply of fresh kalamansi means you’ll always have that perfect ingredient on hand to elevate your cooking. And let’s be honest, who wouldn’t love to impress their friends with homegrown citrus? So, let’s dive in and discover the secrets to successfully growing these little citrus gems in pots!
Growing Kalamansi in Containers: A Comprehensive DIY Guide
Hey there, fellow gardening enthusiasts! I’m so excited to share my experience growing kalamansi (also known as calamondin) in containers. It’s a rewarding project that brings a burst of citrusy sunshine right to your home, even if you don’t have a sprawling garden. Kalamansi is a versatile fruit, perfect for juices, cooking, and even as a decorative plant. Let’s dive into how you can successfully grow your own kalamansi tree in a pot!
Choosing the Right Container and Soil
First things first, let’s talk about the foundation of your kalamansi’s happy home: the container and the soil.
* Container Size: Opt for a pot that’s at least 12 inches in diameter and depth to start. As your tree grows, you’ll likely need to repot it into a larger container, perhaps 18-24 inches in diameter. Make sure the pot has drainage holes! This is crucial to prevent root rot.
* Container Material: Terracotta, plastic, or even resin containers work well. Terracotta pots are porous, which helps with drainage and aeration, but they also dry out faster. Plastic pots retain moisture better, which can be beneficial in hotter climates.
* Soil Mix: Kalamansi trees thrive in well-draining, slightly acidic soil. Avoid using garden soil, as it tends to compact and doesn’t provide adequate drainage. I highly recommend a citrus potting mix, which is specifically formulated for citrus trees. Alternatively, you can create your own mix by combining:
* 1 part potting soil
* 1 part perlite or vermiculite (for drainage)
* 1 part compost or well-rotted manure (for nutrients)
Planting Your Kalamansi Tree
Now for the fun part: planting your kalamansi!
1. Prepare the Container: Before adding soil, place a layer of gravel or broken pottery at the bottom of the pot to further improve drainage. This prevents the drainage holes from getting clogged.
2. Add Soil: Fill the container about one-third full with your chosen potting mix.
3. Remove the Tree from its Nursery Pot: Gently loosen the soil around the root ball of your kalamansi tree. If the roots are tightly bound (root-bound), carefully tease them apart with your fingers. This encourages the roots to spread out and establish themselves in the new container.
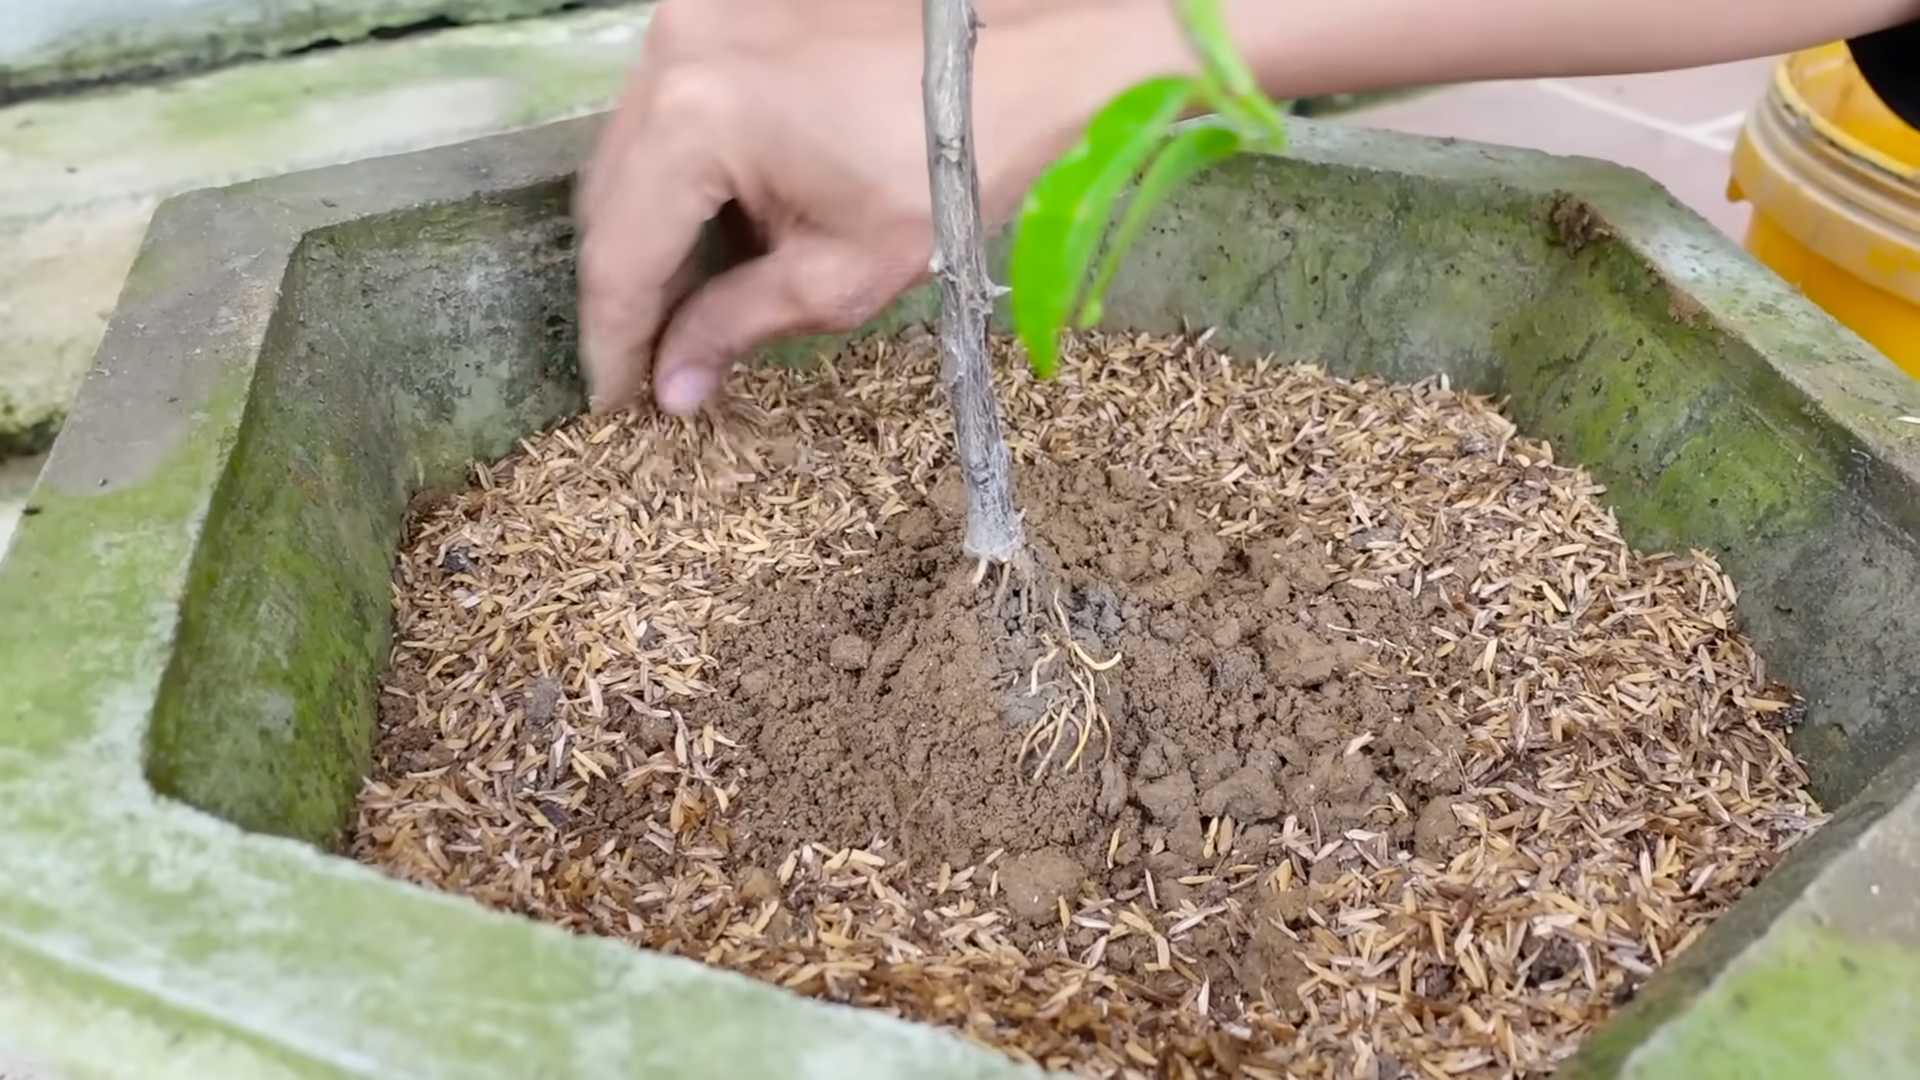
4. Position the Tree: Place the kalamansi tree in the center of the container, ensuring that the top of the root ball is level with the soil surface.
5. Fill with Soil: Add more potting mix around the root ball, gently pressing down to eliminate air pockets. Leave about an inch or two of space between the soil surface and the rim of the pot.
6. Water Thoroughly: Water the newly planted tree thoroughly until water drains out of the drainage holes. This helps settle the soil and ensures that the roots are well-hydrated.
7. Add Mulch (Optional): You can add a thin layer of organic mulch, such as wood chips or shredded bark, around the base of the tree. Mulch helps retain moisture, suppress weeds, and regulate soil temperature. Be sure to keep the mulch a few inches away from the trunk to prevent rot.
Caring for Your Kalamansi Tree
Once your kalamansi is planted, proper care is essential for its health and fruit production.
* Sunlight: Kalamansi trees need at least 6-8 hours of direct sunlight per day. Place your container in a sunny location, such as a south-facing balcony or patio. If you live in a region with intense summer heat, provide some afternoon shade to prevent leaf scorch.
* Watering: Water your kalamansi tree deeply whenever the top inch of soil feels dry to the touch. Avoid overwatering, as this can lead to root rot. During the growing season (spring and summer), you’ll likely need to water more frequently than during the dormant season (fall and winter).
* Fertilizing: Kalamansi trees are heavy feeders and benefit from regular fertilization. Use a citrus fertilizer according to the package instructions. I prefer to fertilize every 4-6 weeks during the growing season. Look for a fertilizer that contains micronutrients like iron, zinc, and manganese, which are essential for citrus health.
* Pruning: Prune your kalamansi tree to maintain its shape, remove dead or diseased branches, and encourage fruit production. The best time to prune is in late winter or early spring, before new growth begins.
* Pest and Disease Control: Keep an eye out for common citrus pests, such as aphids, scale, and spider mites. Inspect your tree regularly and treat any infestations promptly with insecticidal soap or neem oil. Good air circulation and proper watering practices can help prevent fungal diseases.
* Temperature: Kalamansi trees are relatively cold-hardy, but they can be damaged by frost. If you live in a region with cold winters, bring your container indoors before the first frost. Place it in a bright, cool location, such as a sunroom or near a window. Reduce watering during the winter months.
* Pollination: Kalamansi trees are self-pollinating, meaning they don’t need another tree to produce fruit. However, you can improve fruit set by hand-pollinating the flowers. Use a small paintbrush to transfer pollen from one flower to another.
Repotting Your Kalamansi Tree
As your kalamansi tree grows, it will eventually outgrow its container. Repotting is necessary to provide the roots with more space and fresh soil.
1. When to Repot: Repot your kalamansi tree when you notice roots circling the bottom of the pot or when the tree becomes root-bound. This typically happens every 2-3 years.
2. Choose a Larger Container: Select a container that is 2-4 inches larger in diameter than the current pot.
3. Prepare the New Container: Add a layer of gravel or broken pottery to the bottom of the new container for drainage.
4. Remove the Tree from its Old Container: Gently loosen the soil around the root ball and carefully lift the tree out of its old container.
5. Inspect the Roots: Examine the roots for any signs of rot or disease. Trim away any damaged or circling roots.
6. Position the Tree: Place the tree in the center of the new container, ensuring that the top of the root ball is level with the soil surface.
7. Fill with Soil: Add fresh potting mix around the root ball, gently pressing down to eliminate air pockets.
8. Water Thoroughly: Water the newly repotted tree thoroughly until water drains out of the drainage holes.
Harvesting Your Kalamansi
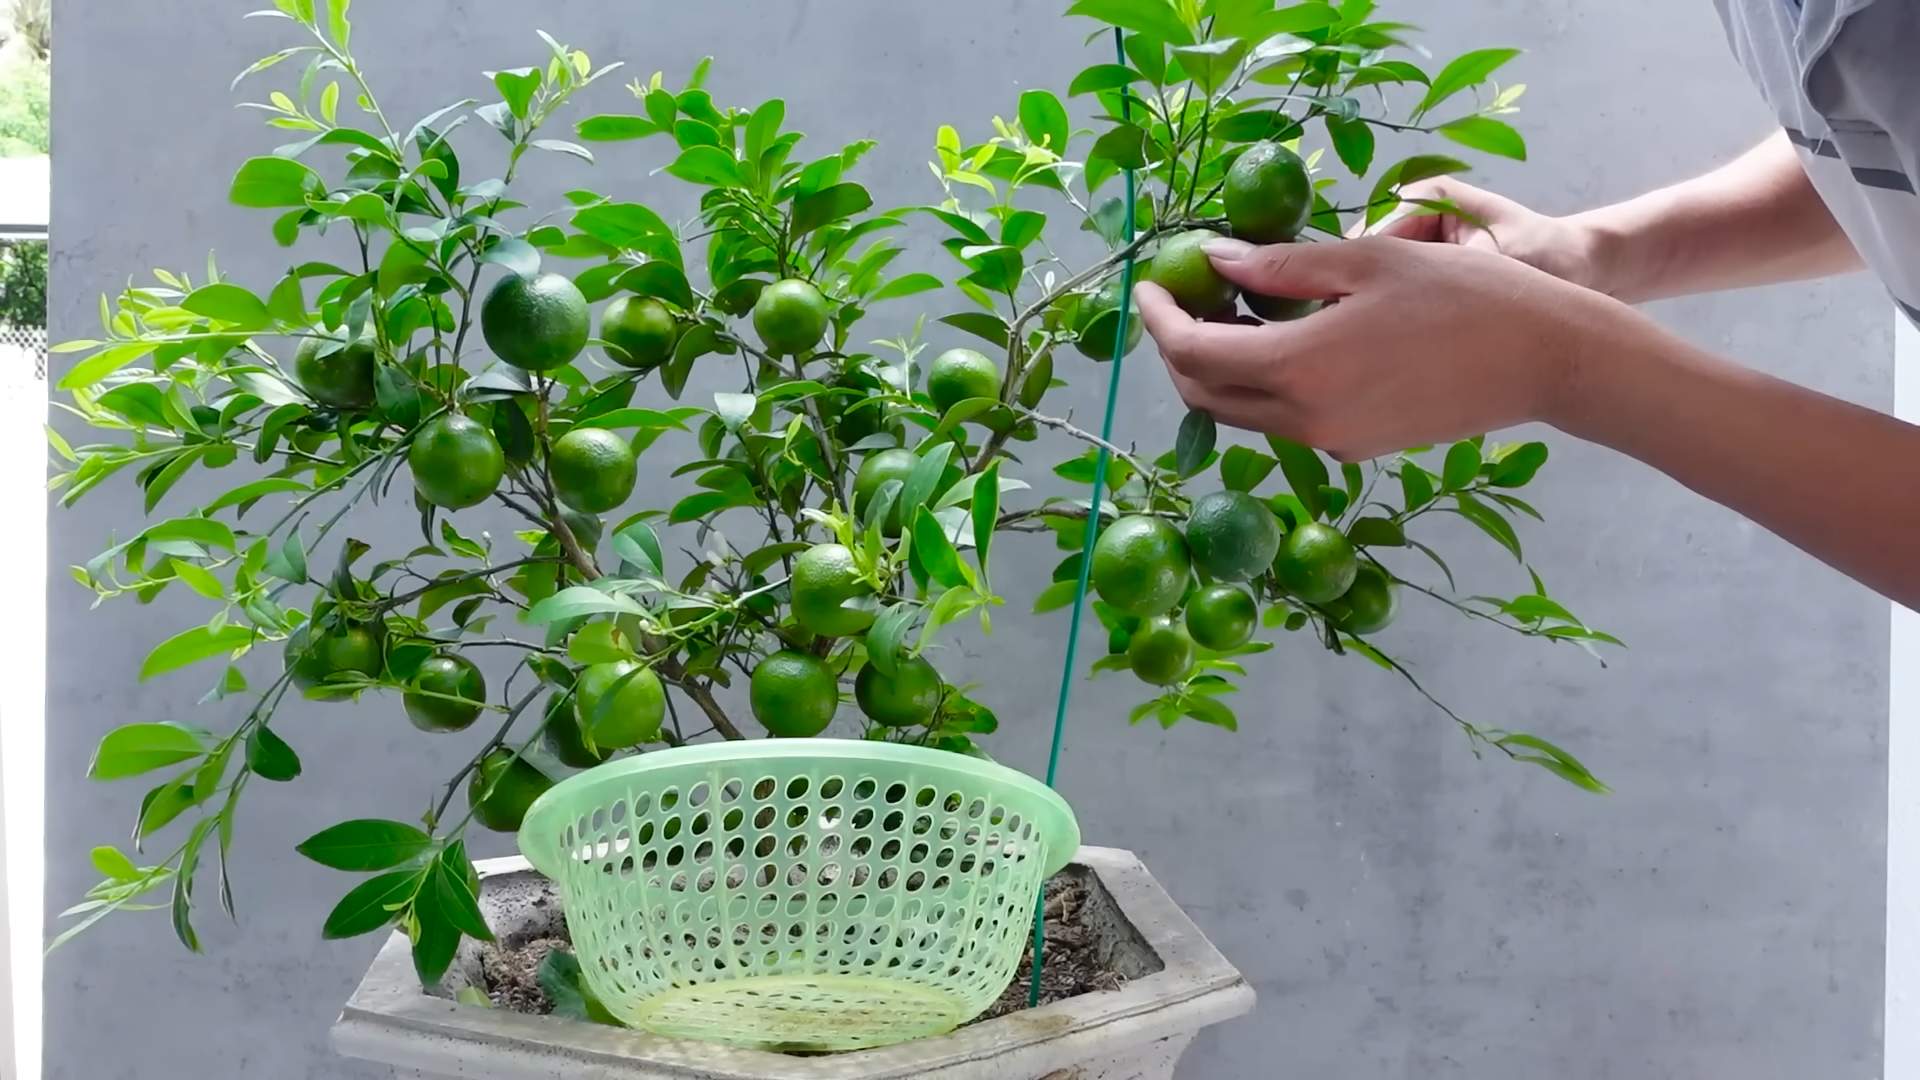
The moment you’ve been waiting for! Harvesting your own homegrown kalamansi.
* When to Harvest: Kalamansi fruits are typically ready to harvest when they turn from green to orange. The fruit should be slightly soft to the touch.
* How to Harvest: Use pruning shears or scissors to cut the fruit from the tree, leaving a small stem attached.
* Storage: Kalamansi fruits can be stored in the refrigerator for several weeks.
Troubleshooting Common Problems
Even with the best care, you might encounter some challenges along the way. Here are some common problems and how to address them:
* Yellowing Leaves: Yellowing leaves can be caused by a variety of factors, including overwatering, underwatering, nutrient deficiencies, or pest infestations. Check the soil moisture, fertilize regularly, and inspect for pests.
* Leaf Drop: Leaf drop can be caused by sudden changes in temperature, overwatering, underwatering, or stress. Ensure that your tree is receiving adequate sunlight and water, and protect it from extreme temperature fluctuations.
* Lack of Fruit: Lack of fruit can be caused by insufficient sunlight, improper fertilization, or lack of pollination. Ensure that your tree is receiving at least 6-8 hours of direct sunlight per day, fertilize regularly, and consider hand-pollinating the flowers.
* Pest Infestations: Regularly inspect your tree for pests and treat any infestations promptly with insecticidal soap or neem oil.
Enjoying Your Homegrown Kalamansi
Congratulations! You’ve successfully grown your own kalamansi tree in a container. Now it’s time to enjoy the fruits of your labor. Kalamansi fruits are incredibly versatile and can be used in a variety of ways:
* Juice: Squeeze the juice from the fruits and mix it with water and sugar to make a refreshing kalamansi juice.
* Cooking: Use the juice and zest of kalamansi in marinades, sauces, and desserts.
* Cocktails: Add kalamansi juice to cocktails for a tangy twist.
* Garnish: Use slices of kalamansi as a garnish for drinks and dishes.
* Marmalade: Make homemade kalamansi marmalade.
Growing kalamansi in containers is a rewarding experience that brings a touch of the tropics to your home. With
Conclusion
So, there you have it! Growing your own calamansi in containers is not just a fun project; it’s a gateway to a world of fresh, tangy flavor right at your fingertips. Forget those expensive, often lackluster calamansi you find at the grocery store. Imagine plucking perfectly ripe, juicy calamansi straight from your own plant, ready to zest into your favorite dishes, squeeze into refreshing drinks, or transform into delectable desserts. This DIY trick is a must-try for anyone who appreciates fresh ingredients and the satisfaction of nurturing something from seed (or seedling!) to harvest.
But the beauty of container gardening lies in its adaptability. Feel free to experiment! Perhaps you want to try different soil mixes to see which yields the most prolific fruit. Or maybe you’d like to explore different container sizes and materials. Consider adding companion plants like marigolds around the base of your calamansi to deter pests naturally. You could even try grafting different citrus varieties onto your calamansi rootstock for a truly unique and personalized citrus experience.
Don’t be afraid to get creative with your calamansi cultivation. You can train your plant into a specific shape through pruning, creating a beautiful and functional addition to your patio or balcony. Think about using a trellis to support the branches as they become laden with fruit. And for those in colder climates, remember that container gardening allows you to easily move your calamansi indoors during the winter months, ensuring its survival and continued fruit production.
The possibilities are endless, and the rewards are immense. The vibrant green foliage, the fragrant blossoms, and the abundance of tangy fruit – all these make growing calamansi in containers a truly rewarding experience.
We wholeheartedly encourage you to give this DIY trick a try. It’s easier than you might think, and the payoff is well worth the effort. Once you’ve tasted the difference between homegrown calamansi and store-bought, you’ll never go back.
And most importantly, we want to hear about your journey! Share your experiences, your successes, and even your challenges in the comments below. Let’s build a community of calamansi enthusiasts, sharing tips and tricks to help each other grow the best possible fruit. Post pictures of your plants, your harvests, and your delicious calamansi creations. Let’s inspire each other to embrace the joy of homegrown citrus! Your insights could be invaluable to someone just starting out, and together, we can all become expert calamansi growers. So, grab a pot, some soil, and a calamansi seedling, and let the adventure begin! Let us know how your **calamansi** growing journey unfolds.
Frequently Asked Questions (FAQ)
1. What is the best type of container to use for growing calamansi?
The ideal container for growing calamansi should be large enough to accommodate the root system as the plant matures. A pot that is at least 12-18 inches in diameter and depth is a good starting point. As the plant grows, you may need to repot it into a larger container. Terracotta pots are a good choice because they allow for good drainage and aeration, but plastic pots are also suitable and tend to retain moisture better. Make sure the container has drainage holes to prevent waterlogging, which can lead to root rot.
2. What kind of soil is best for calamansi?
Calamansi plants thrive in well-draining, slightly acidic soil. A good potting mix for calamansi should consist of a blend of peat moss, perlite, and vermiculite. You can also add some compost or aged manure to provide additional nutrients. Avoid using heavy clay soil, as it can retain too much water and suffocate the roots. A pH level between 6.0 and 7.0 is ideal for calamansi. You can test the soil pH using a soil testing kit and amend it if necessary.
3. How much sunlight does calamansi need?
Calamansi plants need at least 6-8 hours of direct sunlight per day to thrive and produce fruit. If you are growing calamansi indoors, place it near a sunny window or supplement with grow lights. Insufficient sunlight can lead to weak growth, reduced flowering, and poor fruit production. Rotate the plant regularly to ensure that all sides receive adequate sunlight.
4. How often should I water my calamansi plant?
Water your calamansi plant when the top inch of soil feels dry to the touch. Water thoroughly until water drains out of the drainage holes. Avoid overwatering, as this can lead to root rot. During the growing season (spring and summer), you may need to water more frequently than during the dormant season (fall and winter). Adjust your watering schedule based on the weather conditions and the plant’s needs.
5. What kind of fertilizer should I use for calamansi?
Feed your calamansi plant with a balanced citrus fertilizer every 4-6 weeks during the growing season. Look for a fertilizer that contains nitrogen, phosphorus, and potassium, as well as micronutrients like iron, zinc, and manganese. Follow the instructions on the fertilizer label for proper application rates. Avoid over-fertilizing, as this can burn the roots. You can also use organic fertilizers like compost tea or fish emulsion.
6. How do I prune my calamansi plant?
Prune your calamansi plant in late winter or early spring, before new growth begins. Remove any dead, damaged, or crossing branches. Prune to maintain a desired shape and size. You can also prune to encourage branching and fruit production. Pinch back the tips of new growth to promote bushier growth. Use clean, sharp pruning shears to avoid spreading diseases.
7. How do I protect my calamansi plant from pests and diseases?
Inspect your calamansi plant regularly for signs of pests and diseases. Common pests that can affect calamansi include aphids, scale, and spider mites. You can control these pests with insecticidal soap or neem oil. Diseases that can affect calamansi include root rot, citrus canker, and greasy spot. Prevent these diseases by providing good drainage, proper air circulation, and avoiding overwatering. If you notice any signs of disease, treat the plant with an appropriate fungicide.
8. How do I overwinter my calamansi plant in cold climates?
If you live in a cold climate, you will need to bring your calamansi plant indoors before the first frost. Place the plant in a bright, sunny location, such as near a south-facing window. Reduce watering and fertilization during the winter months. Keep the plant away from drafts and heat sources. You may need to supplement with grow lights if the plant is not getting enough sunlight. Once the weather warms up in the spring, gradually acclimate the plant to outdoor conditions before moving it back outside.
9. How long does it take for a calamansi plant to produce fruit?
Calamansi plants typically start producing fruit within 1-2 years of planting, if grown from a grafted seedling. Plants grown from seed may take longer to fruit, sometimes up to 5 years. The time it takes for a calamansi plant to fruit depends on several factors, including the plant’s age, size, health, and growing conditions. Providing the plant with proper care, including adequate sunlight, water, and fertilizer, will help it to fruit sooner.
10. Can I grow calamansi from seed?
Yes, you can grow calamansi from seed, but it is not the preferred method. Plants grown from seed may not be true to type, meaning they may not produce fruit that is identical to the parent plant. They also take longer to fruit than grafted plants. If you want to grow calamansi from seed, collect seeds from ripe fruit and wash them thoroughly. Plant the seeds in a well-draining potting mix and keep them moist. Germination typically takes 2-4 weeks. Once the seedlings are large enough to handle, transplant them into individual pots.

Leave a Comment