
Grow More Watermelons: Dreaming of juicy, homegrown watermelons bursting with flavor? I know I am! There’s nothing quite like the satisfaction of biting into a watermelon you’ve nurtured from a tiny seed to a sprawling vine laden with fruit. But let’s be honest, sometimes getting those watermelons to actually *grow* can feel like a real challenge.
Watermelons have a rich history, dating back thousands of years to Africa, where they were prized for their hydrating properties in arid climates. Over time, different varieties spread across the globe, becoming a symbol of summer and refreshment in countless cultures. But even with centuries of cultivation under our belts, maximizing watermelon yields can still feel like a bit of a mystery.
That’s where these DIY tricks and hacks come in! If you’re tired of small, disappointing watermelons or struggling to get any fruit at all, you’re in the right place. I’m going to share some simple, yet effective, techniques that will help you grow more watermelons than you ever thought possible. These aren’t complicated or expensive methods; they’re practical tips that anyone, regardless of their gardening experience, can implement to boost their watermelon harvest. Get ready to transform your watermelon patch into a thriving oasis of sweet, summery goodness!
Wassermelonen-Anbau: So erntest du eine reiche Ernte!
Hey Leute! Ich liebe Wassermelonen, und ich wette, ihr auch! Es gibt nichts Besseres als eine saftige, süße Wassermelone an einem heißen Sommertag. Aber anstatt sie immer nur im Supermarkt zu kaufen, warum nicht versuchen, sie selbst anzubauen? Es ist einfacher, als du denkst, und die Belohnung ist unbezahlbar! In diesem Artikel zeige ich dir, wie du deine eigenen Wassermelonen erfolgreich anbauen kannst, damit du eine reiche Ernte genießen kannst.
Die Grundlagen: Was Wassermelonen lieben
Bevor wir loslegen, lass uns kurz überlegen, was Wassermelonen wirklich brauchen, um zu gedeihen.
* Sonne, Sonne, Sonne: Wassermelonen sind Sonnenanbeter! Sie brauchen mindestens 6-8 Stunden direkte Sonneneinstrahlung pro Tag. Je mehr, desto besser!
* Warme Temperaturen: Wassermelonen lieben Wärme. Die Bodentemperatur sollte idealerweise zwischen 21°C und 32°C liegen. Warte also, bis die Frostgefahr vorbei ist, bevor du sie pflanzt.
* Gut durchlässiger Boden: Wassermelonen mögen keinen nassen Boden. Stelle sicher, dass dein Boden gut durchlässig ist, damit das Wasser nicht stehen bleibt.
* Nährstoffreicher Boden: Wassermelonen sind hungrig! Sie brauchen einen Boden, der reich an Nährstoffen ist. Kompost und gut verrotteter Mist sind deine besten Freunde.
* Ausreichend Platz: Wassermelonenpflanzen brauchen viel Platz, um sich auszubreiten. Plane genügend Raum ein, damit sie sich wohlfühlen.
Schritt-für-Schritt-Anleitung zum Wassermelonen-Anbau
Okay, jetzt sind wir bereit, loszulegen! Hier ist eine detaillierte Anleitung, wie du deine eigenen Wassermelonen anbauen kannst:
1. Die Vorbereitung: Samen oder Setzlinge?
Du hast zwei Möglichkeiten, Wassermelonen anzubauen: aus Samen oder aus Setzlingen. Beide haben ihre Vor- und Nachteile.
* Samen: Das Anziehen aus Samen ist günstiger, aber es dauert länger, bis du ernten kannst. Du musst die Samen etwa 4-6 Wochen vor dem letzten Frost im Haus vorziehen.
* Setzlinge: Setzlinge sind teurer, aber sie sparen dir Zeit und Mühe. Du kannst sie direkt nach dem letzten Frost ins Freie pflanzen.
Ich persönlich ziehe es vor, mit Samen zu beginnen, weil ich den ganzen Prozess von Anfang an liebe. Aber wenn du es eilig hast, sind Setzlinge eine gute Option.
2. Samen vorziehen (optional):
Wenn du dich für Samen entschieden hast, hier ist, wie du sie vorziehst:
1. Wähle das richtige Saatgut: Es gibt viele verschiedene Wassermelonensorten. Informiere dich, welche Sorten in deiner Region gut wachsen und welche dir am besten schmecken.
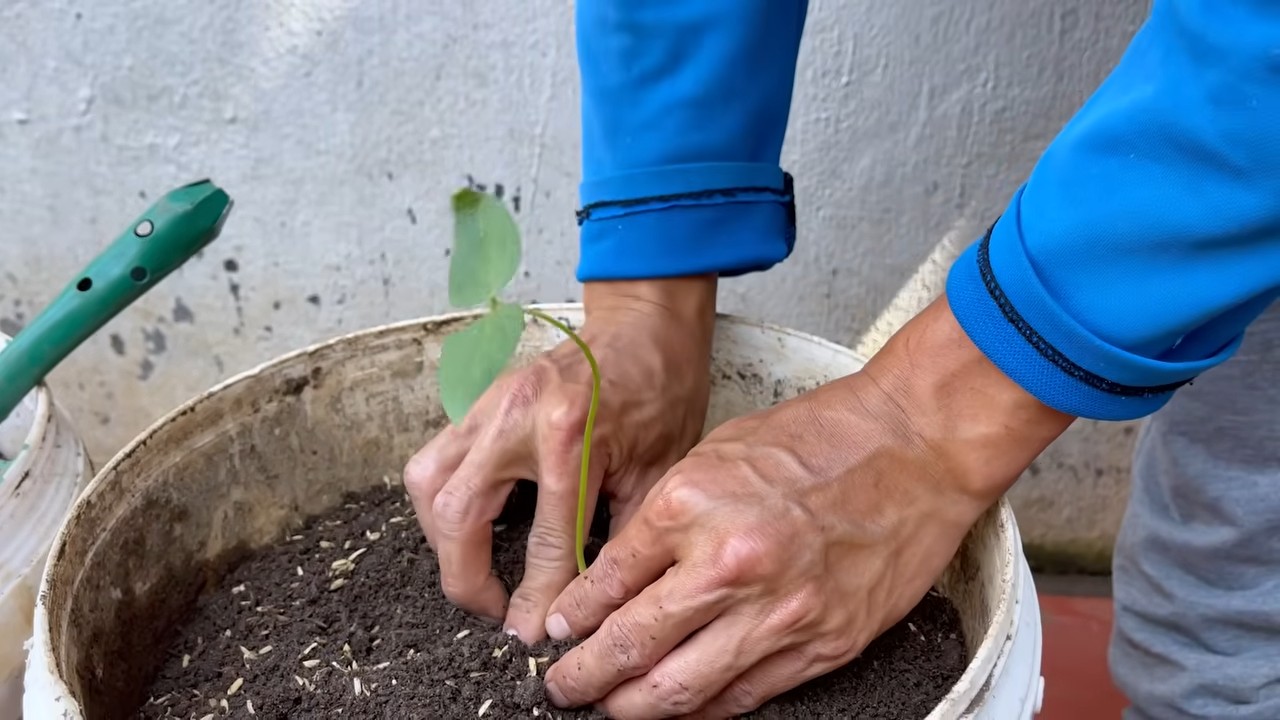
2. Bereite die Anzuchttöpfe vor: Fülle kleine Anzuchttöpfe mit Anzuchterde.
3. Säe die Samen: Lege 2-3 Samen pro Topf etwa 2 cm tief in die Erde.
4. Gieße die Samen: Befeuchte die Erde vorsichtig mit einer Sprühflasche.
5. Stelle die Töpfe an einen warmen, hellen Ort: Ein sonniges Fensterbrett oder eine Anzuchtlampe sind ideal.
6. Halte die Erde feucht: Gieße die Erde regelmäßig, aber vermeide Staunässe.
7. Pikiere die Sämlinge: Wenn die Sämlinge 2-3 echte Blätter haben, kannst du sie in größere Töpfe pikieren.
3. Den Boden vorbereiten:
Egal, ob du Samen oder Setzlinge verwendest, die Bodenvorbereitung ist entscheidend.
1. Wähle einen sonnigen Standort: Suche einen Platz in deinem Garten, der mindestens 6-8 Stunden Sonne pro Tag bekommt.
2. Lockere den Boden auf: Grabe den Boden um und lockere ihn auf, um die Drainage zu verbessern.
3. Verbessere den Boden: Mische reichlich Kompost oder gut verrotteten Mist in den Boden, um ihn mit Nährstoffen anzureichern.
4. Teste den pH-Wert: Wassermelonen bevorzugen einen leicht sauren Boden mit einem pH-Wert zwischen 6,0 und 6,8. Du kannst den pH-Wert mit einem Bodentestkit überprüfen und gegebenenfalls anpassen.
5. Erstelle Hügel: Wassermelonen wachsen gut auf Hügeln, da diese die Drainage verbessern und den Boden schneller erwärmen. Erstelle Hügel mit einem Durchmesser von etwa 90 cm und einem Abstand von 1,2 bis 1,8 Metern zueinander.
4. Pflanzen: Der große Tag!
Jetzt kommt der aufregende Teil: das Pflanzen!
1. Warte auf warmes Wetter: Pflanze die Samen oder Setzlinge erst, wenn die Frostgefahr vorbei ist und die Bodentemperatur mindestens 21°C beträgt.
2. Härte die Setzlinge ab: Wenn du Setzlinge gekauft hast, härte sie ab, indem du sie eine Woche lang tagsüber ins Freie stellst und sie nachts wieder hereinholst.
3. Pflanze die Samen oder Setzlinge: Grabe ein Loch in die Mitte jedes Hügels, das groß genug ist, um den Wurzelballen der Setzlinge aufzunehmen. Wenn du Samen verwendest, säe 3-4 Samen pro Hügel etwa 2 cm tief in die Erde.
4. Gieße die Pflanzen: Gieße die Pflanzen gründlich, nachdem du sie gepflanzt hast.
5. Pflege: Gießen, Düngen, Unkraut jäten
Nach dem Pflanzen ist die richtige Pflege entscheidend für eine erfolgreiche Ernte.
1. Gießen: Wassermelonen brauchen viel Wasser, besonders während der Fruchtbildung. Gieße die Pflanzen regelmäßig, besonders bei trockenem Wetter. Achte darauf, den Boden feucht zu halten, aber vermeide Staunässe. Am besten gießt du am Morgen, damit die Blätter Zeit haben, vor der Nacht zu trocknen.
2. Düngen: Dünge die Pflanzen alle 2-3 Wochen mit einem ausgewogenen Dünger. Du kannst auch Komposttee oder verdünnten Fischdünger verwenden.
3. Unkraut jäten: Halte den Bereich um die Pflanzen herum unkrautfrei, um die Konkurrenz um Nährstoffe und Wasser zu reduzieren.
4. Mulchen: Mulche den Boden um die Pflanzen herum mit Stroh oder Holzhackschnitzeln, um die Feuchtigkeit zu speichern, Unkraut zu unterdrücken und den Boden kühl zu halten.
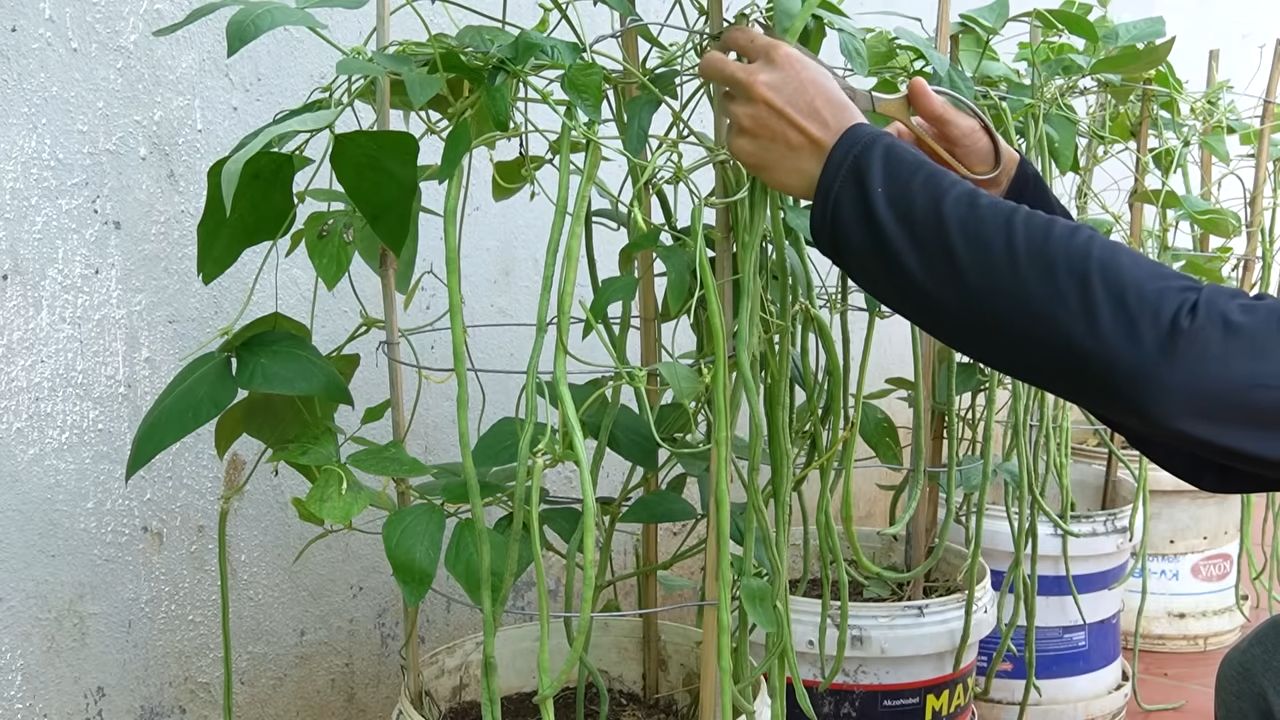
5. Ranken leiten: Wassermelonenranken können sich weit ausbreiten. Du kannst sie leiten, indem du sie in die gewünschte Richtung lenkst oder sie an einem Rankgitter befestigst.
6. Schädlinge und Krankheiten: Achte auf Schädlinge wie Blattläuse, Gurkenkäfer und Spinnmilben. Du kannst sie mit Insektizidseife oder Neemöl bekämpfen. Achte auch auf Krankheiten wie Mehltau und Fusariumwelke. Sorge für eine gute Belüftung und vermeide es, die Blätter zu benetzen, um Krankheiten vorzubeugen.
6. Bestäubung: Hilf den Bienen!
Wassermelonen brauchen Bienen, um bestäubt zu werden. Wenn du nicht genügend Bienen in deinem Garten hast, kannst du die Bestäubung von Hand durchführen.
1. Identifiziere die weiblichen und männlichen Blüten: Weibliche Blüten haben einen kleinen Fruchtknoten (die zukünftige Wassermelone) direkt unter der Blüte. Männliche Blüten haben keinen Fruchtknoten.
2. Bestäube die weiblichen Blüten: Nimm einen Pinsel und sammle Pollen von einer männlichen Blüte. Übertrage den Pollen auf die Narbe einer weiblichen Blüte. Mache das am besten am frühen Morgen, wenn die Blüten geöffnet sind.
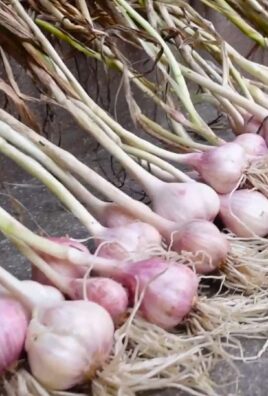
7. Ernte: Der süße Lohn!
Die Ernte ist der aufregendste Teil! Aber wie weißt du, wann eine Wassermelone reif ist?
1. Achte auf die Ranke: Die Ranke
Conclusion
So, there you have it! Unlocking the secret to a bountiful watermelon harvest isn’t about expensive fertilizers or complicated techniques. It’s about understanding the plant’s needs and providing a simple, targeted boost right where it counts. This DIY trick, focusing on strategic pollination enhancement, is a game-changer for anyone serious about growing more watermelons.
Why is this a must-try? Because it addresses a common bottleneck in watermelon production: insufficient pollination. Watermelons, unlike some self-pollinating plants, rely heavily on insects (primarily bees) to transfer pollen from the male flowers to the female flowers. In areas with declining bee populations or unfavorable weather conditions during flowering, natural pollination can be inadequate, leading to fewer fruits or fruits that are misshapen and underdeveloped. This DIY method bypasses those limitations, ensuring that each female flower receives the pollen it needs to develop into a juicy, delicious watermelon.
Think of it as an insurance policy for your watermelon crop. You’ve invested time, effort, and resources into planting and nurturing your vines. Why leave the final, crucial step of pollination to chance? This simple technique empowers you to take control and maximize your yield.
But the beauty of this method lies in its adaptability. Feel free to experiment with variations to suit your specific needs and environment. For instance, if you’re concerned about attracting unwanted pests, consider using a fine-mesh bag to cover the pollinated female flower after you’ve completed the hand-pollination process. This will protect the developing fruit from insects that might try to nibble on it.
Another variation involves using a small, soft paintbrush instead of a cotton swab to transfer the pollen. Some gardeners find that a paintbrush provides better coverage and is gentler on the delicate flower parts. The key is to find what works best for you and your watermelons.
Don’t be afraid to get creative! You can even track your hand-pollinated watermelons by tying a small piece of ribbon around the stem of the fruit. This will allow you to easily monitor their progress and compare their growth to naturally pollinated watermelons.
Ultimately, the goal is to increase your watermelon harvest and enjoy the fruits (literally!) of your labor. We are confident that this DIY trick will significantly improve your results.
We strongly encourage you to try this simple yet effective method for growing more watermelons. It’s easy, inexpensive, and can make a world of difference in your watermelon yield.
Once you’ve given it a try, we’d love to hear about your experience! Share your results, tips, and variations in the comments section below. Let’s build a community of watermelon enthusiasts and learn from each other’s successes. Did you notice a significant increase in the number of watermelons you harvested? Did you find a particular variation that worked exceptionally well? Your insights could help other gardeners achieve their watermelon-growing dreams.
So, grab your cotton swabs (or paintbrushes!), head out to your watermelon patch, and get ready to experience the joy of a truly bountiful harvest. Happy growing!
FAQ
What exactly is hand-pollination, and why is it necessary for watermelons?
Hand-pollination is the process of manually transferring pollen from the male flower of a plant to the female flower. Watermelons, being monoecious (having separate male and female flowers on the same plant), rely on pollinators like bees to do this naturally. However, factors like declining bee populations, unfavorable weather (rain or excessive heat), or simply a lack of pollinator activity can hinder natural pollination. When pollination is insufficient, female flowers may not develop into fruits, or they may produce small, misshapen watermelons. Hand-pollination ensures that each female flower receives adequate pollen, maximizing the chances of fruit development and a successful harvest. It’s a proactive approach to overcome potential pollination challenges.
How can I tell the difference between male and female watermelon flowers?
Identifying male and female watermelon flowers is crucial for successful hand-pollination. The easiest way to distinguish them is by looking at the base of the flower. Female flowers have a small, immature watermelon (a tiny swelling) located between the flower and the stem. This is the ovary, which will develop into the fruit if pollinated. Male flowers, on the other hand, have a simple stem connecting the flower to the vine; there is no small watermelon present. Male flowers typically appear first and in greater numbers than female flowers. Don’t be discouraged if you see lots of male flowers and only a few female flowers initially; this is normal.
When is the best time of day to hand-pollinate watermelons?
The best time to hand-pollinate watermelons is in the early morning, ideally between 6:00 AM and 10:00 AM. This is when the pollen is most viable and the flowers are fully open. Avoid hand-pollinating during the hottest part of the day, as the heat can damage the pollen and reduce its effectiveness. Also, avoid pollinating after rain or heavy dew, as the moisture can clump the pollen and make it difficult to transfer. Choose a dry, sunny morning for the best results.
How do I know if my hand-pollination was successful?
After hand-pollinating a female flower, observe it closely over the next few days. If the pollination was successful, the small watermelon at the base of the flower will begin to swell and grow larger. The flower petals will also start to wither and dry up. If the small watermelon turns yellow or brown and shrivels up, it means the pollination was unsuccessful, and the flower will eventually fall off. Don’t be discouraged if some of your hand-pollination attempts fail; it’s a normal part of the process. Simply try again with another female flower.
Can I use pollen from a different variety of watermelon to hand-pollinate my plants?
While it is technically possible to cross-pollinate different watermelon varieties, it’s generally not recommended unless you’re specifically trying to create a new hybrid. Cross-pollination will not affect the current watermelon that develops from the pollinated flower. However, if you save the seeds from that watermelon and plant them the following year, the resulting plants may exhibit characteristics from both parent varieties. For consistent results and to maintain the characteristics of your chosen watermelon variety, it’s best to use pollen from the same variety for hand-pollination.
How many times should I hand-pollinate each female flower?
Generally, one successful hand-pollination is sufficient for a female watermelon flower to develop into a fruit. However, if you’re unsure whether you transferred enough pollen on the first attempt, you can repeat the process the following morning. There’s no harm in giving the flower an extra boost of pollen to ensure successful fertilization. Just be gentle and avoid damaging the delicate flower parts.
What if I don’t have any male flowers open at the same time as the female flowers?
This can sometimes happen, especially early in the growing season. If you don’t have any male flowers open when a female flower is ready to be pollinated, you have a few options. First, you can try gently opening a male flower that looks like it’s about to bloom. Sometimes, you can carefully pry open the petals to access the pollen. Alternatively, you can collect pollen from a male flower one day and store it in a cool, dry place (like the refrigerator) until a female flower is ready. However, pollen viability decreases over time, so it’s best to use it as soon as possible. Finally, you can wait for more male flowers to open naturally. Watermelon plants typically produce a continuous supply of flowers throughout the growing season.
Are there any other tips for growing more watermelons?
Yes, in addition to hand-pollination, there are several other things you can do to improve your watermelon harvest. Choose a sunny location with well-drained soil. Watermelons need at least 6-8 hours of direct sunlight per day. Amend the soil with compost or other organic matter to improve its fertility and drainage. Water regularly, especially during dry periods. Fertilize your watermelon plants with a balanced fertilizer according to the package directions. Protect your watermelons from pests and diseases. And finally, be patient! Watermelons take time to mature, so don’t get discouraged if you don’t see results immediately. With a little care and attention, you can enjoy a bountiful harvest of delicious watermelons.
Leave a Comment