
Grow Pink Radish Container gardening is easier than you think, and I’m here to show you how! Forget those bland, store-bought radishes – imagine plucking crisp, peppery, vibrant pink radishes straight from your own container garden. Sounds amazing, right?
For centuries, radishes have been a staple in gardens worldwide, prized for their quick growth and zesty flavor. From ancient Egypt to modern-day kitchens, these root vegetables have added a delightful crunch to salads and a spicy kick to meals. But did you know you don’t need acres of land to enjoy them?
In today’s busy world, finding time for a sprawling garden can be a challenge. That’s where container gardening comes in! This DIY guide will provide you with simple, effective tricks and hacks to grow pink radish container gardens successfully, even if you have limited space. Whether you’re a seasoned gardener or a complete beginner, I’ll walk you through every step, from choosing the right container and soil to harvesting your beautiful, homegrown radishes. Get ready to add a pop of color and flavor to your life with this easy and rewarding project!
Grow Your Own Pink Radishes in a Container: A Beginner’s Guide
Hey there, fellow gardening enthusiasts! Ever wanted to add a pop of vibrant color to your salads and snacks? Well, look no further! I’m going to walk you through the super-easy process of growing your very own pink radishes in a container. Trust me, it’s way simpler than you think, and the reward of harvesting those crunchy, peppery beauties is totally worth it.
What You’ll Need
Before we dive in, let’s gather our supplies. Here’s a checklist of everything you’ll need to get started:
* A Container: Choose a container that’s at least 6 inches deep and has drainage holes. Radishes don’t need a ton of space, but they do need room for their roots to develop. A wide, shallow container works great.
* Potting Mix: Use a high-quality potting mix that’s well-draining. Avoid using garden soil, as it can compact and hinder root growth.
* Radish Seeds: Look for “Pink Beauty” or “French Breakfast” radish seeds. These varieties are known for their lovely pink hues and quick growth.
* Watering Can or Hose: You’ll need a gentle way to water your radishes without disturbing the soil.
* Optional: Organic Fertilizer: A balanced organic fertilizer can give your radishes a boost, but it’s not strictly necessary.
* Optional: Plant Labels: These are handy for keeping track of what you’ve planted, especially if you’re growing multiple varieties.
Getting Started: Planting Your Radish Seeds
Okay, let’s get our hands dirty! This is the fun part.
1. Prepare Your Container: Fill your container with potting mix, leaving about an inch of space at the top. Gently pat down the soil to create a level surface.
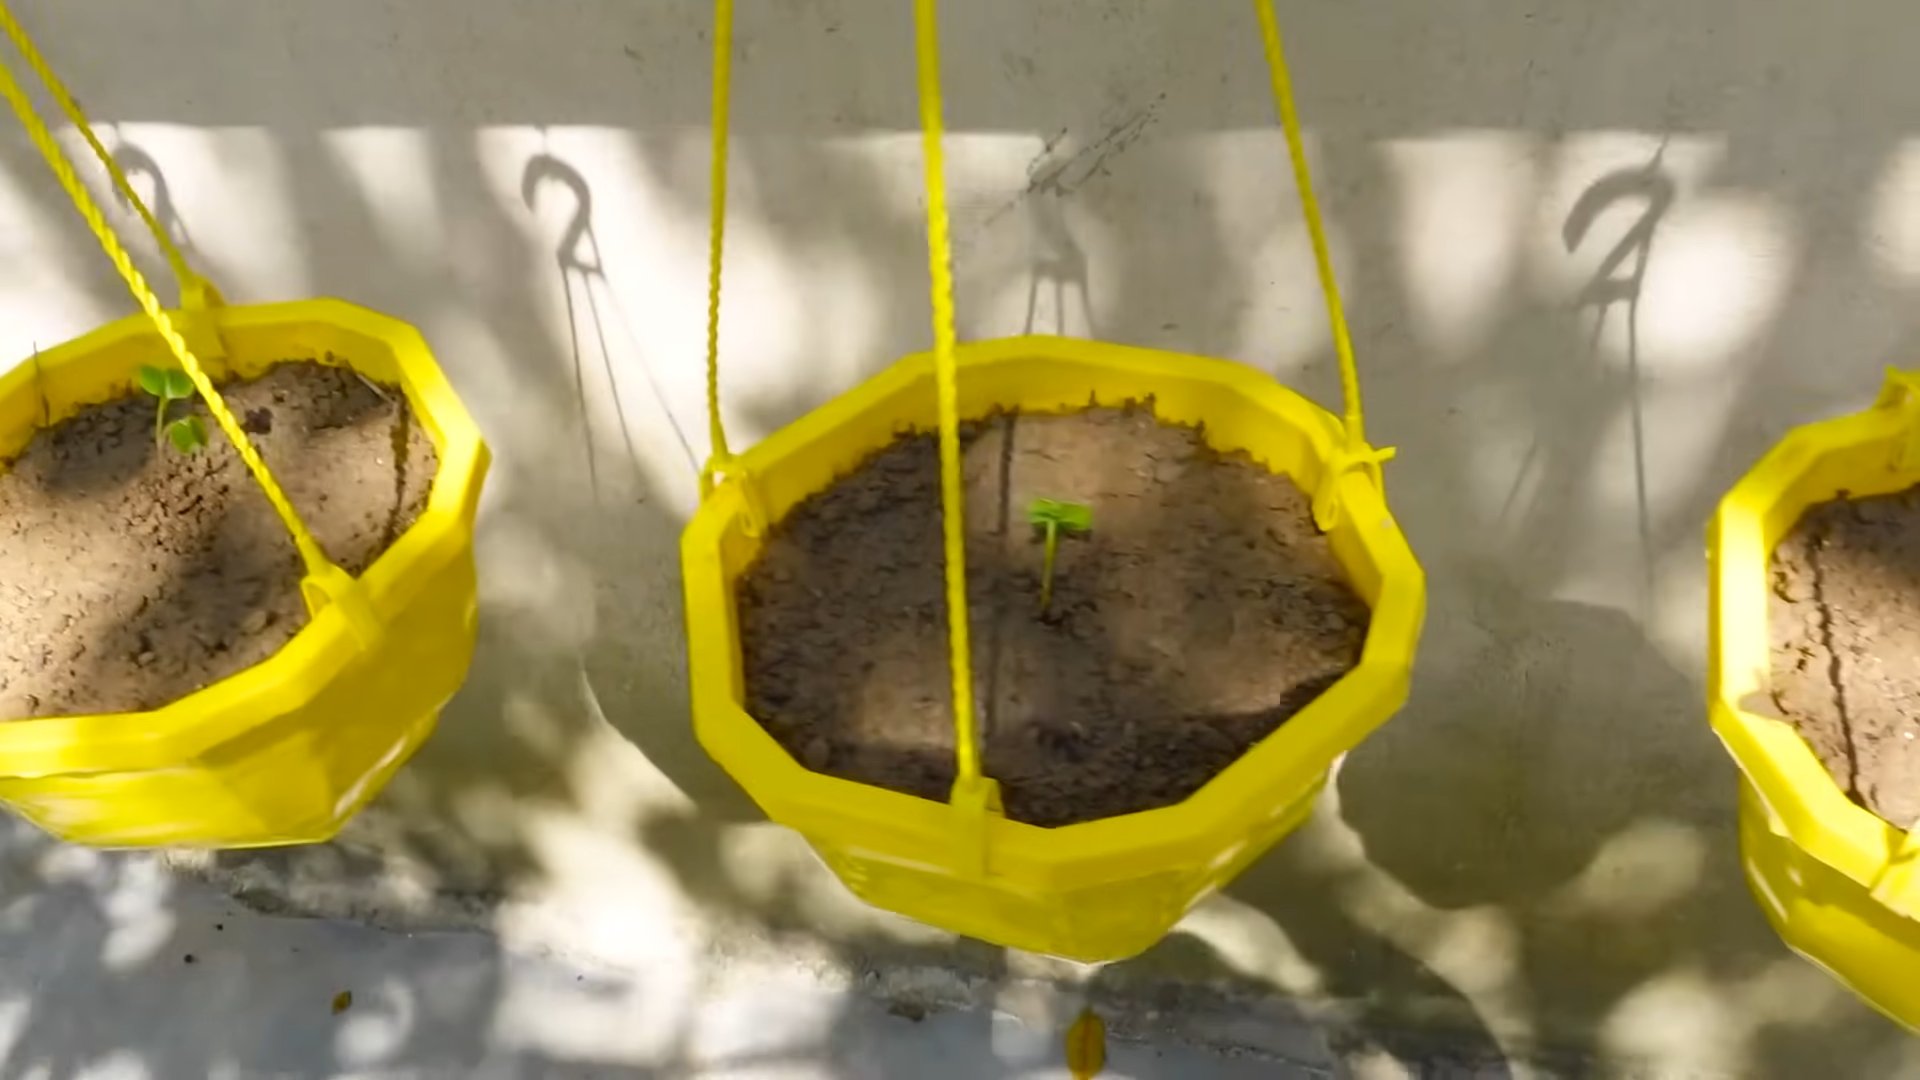
2. Sow the Seeds: Radish seeds are small, so handle them carefully. Sprinkle the seeds evenly over the surface of the soil, spacing them about an inch apart. If you’re feeling generous, you can sow a few extra seeds, just in case some don’t germinate.
3. Cover the Seeds: Lightly cover the seeds with about half an inch of potting mix. Gently pat down the soil again.
4. Water Thoroughly: Use your watering can or hose to gently water the soil until it’s evenly moist. Be careful not to overwater, as this can cause the seeds to rot.
5. Label Your Container (Optional): If you’re using plant labels, now’s the time to write “Pink Radishes” or whatever variety you’re growing and stick it in the soil.
Caring for Your Radishes: The Waiting Game (But Not for Long!)
Radishes are known for their speedy growth, so you won’t have to wait long to see results. Here’s how to keep your radishes happy and healthy:
1. Location, Location, Location: Place your container in a spot that gets at least 6 hours of sunlight per day. Radishes need plenty of light to thrive. If you don’t have a sunny spot, you can use a grow light.
2. Watering: Keep the soil consistently moist, but not soggy. Water whenever the top inch of soil feels dry to the touch. Overwatering can lead to root rot, so be mindful of your watering habits.
3. Thinning (Important!): Once your radish seedlings emerge (usually within a few days), you’ll need to thin them out. This means removing some of the seedlings to give the remaining ones enough space to grow. Aim for a spacing of about 2 inches between plants. Don’t be afraid to pull out the weaker-looking seedlings.
4. Fertilizing (Optional): If you want to give your radishes a boost, you can apply a balanced organic fertilizer every two weeks. Follow the instructions on the fertilizer package.
5. Weed Control: Keep an eye out for weeds and remove them promptly. Weeds can compete with your radishes for nutrients and water.
Harvesting Your Pink Treasures: The Moment of Truth
This is the moment you’ve been waiting for! Radishes are typically ready to harvest in about 3-4 weeks after planting.
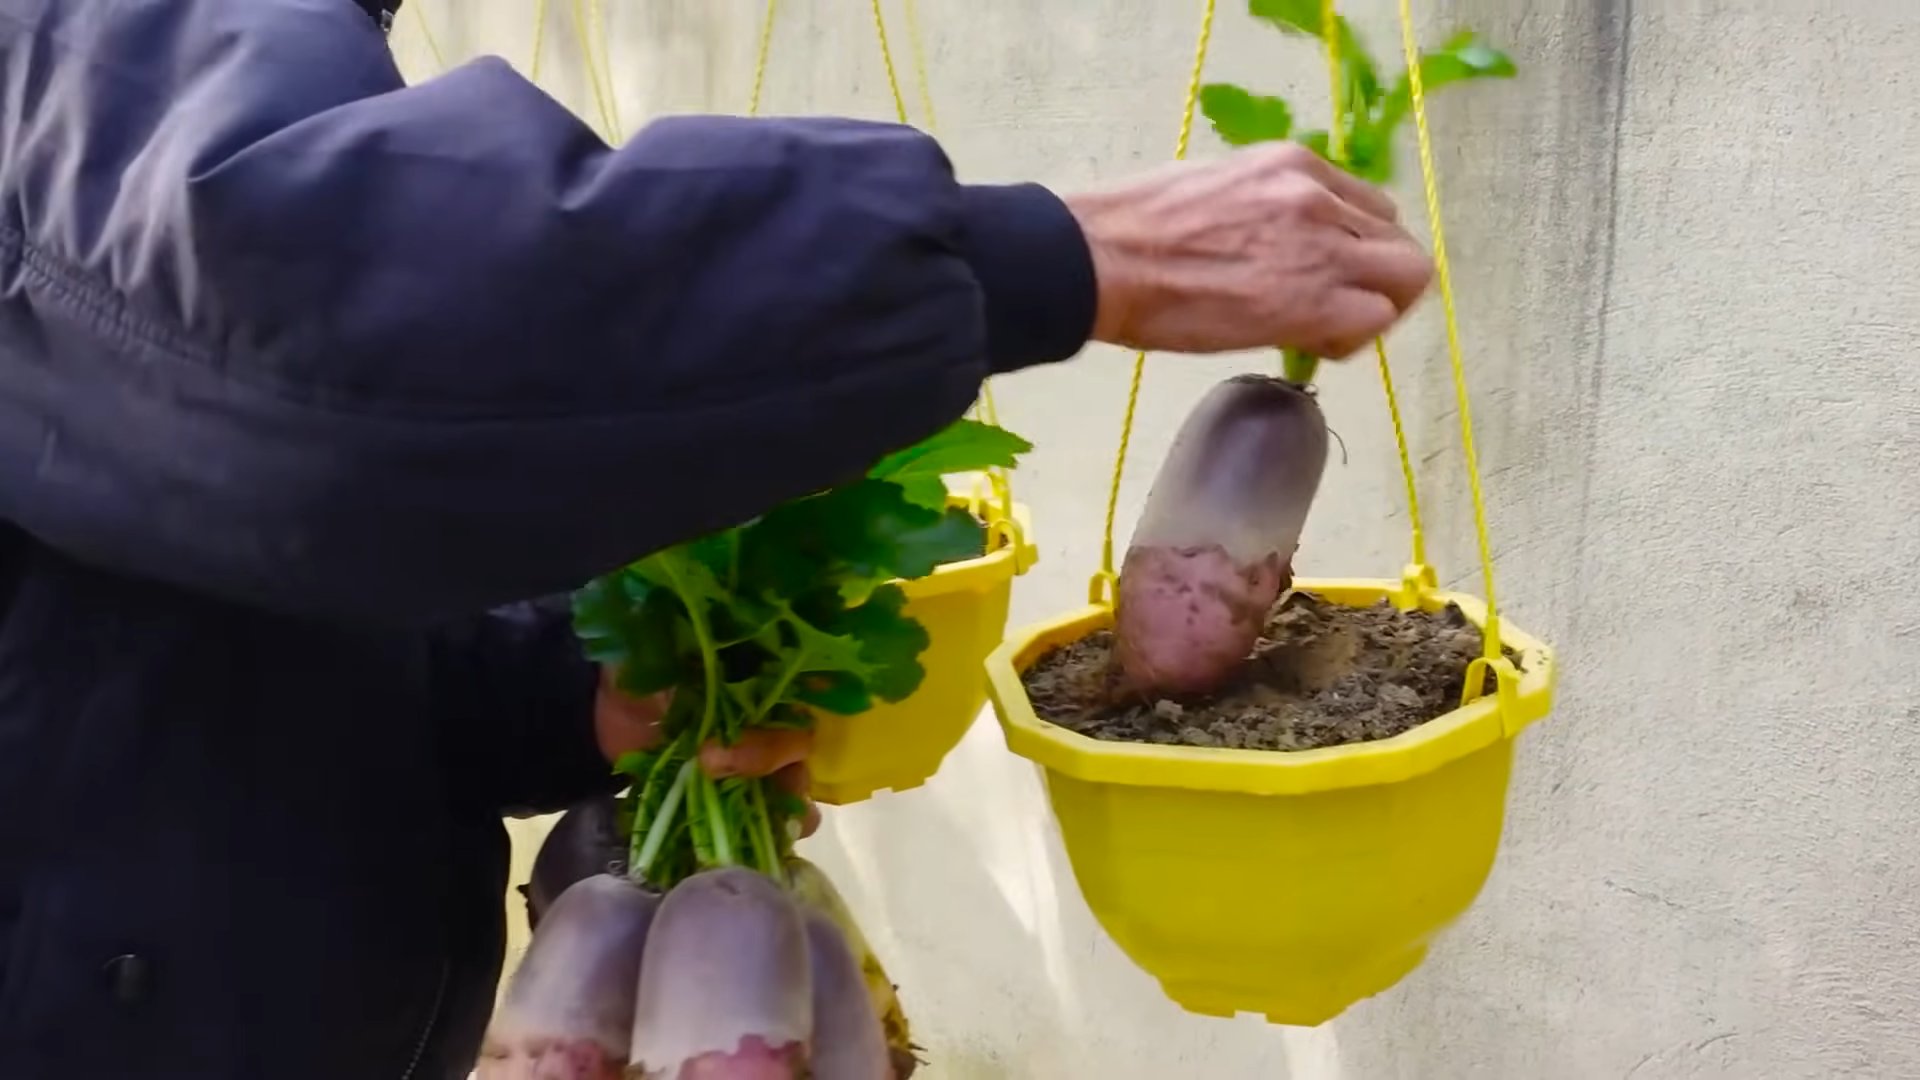
1. Check for Maturity: Gently brush away some of the soil around the base of the radish to check its size. You’re looking for radishes that are about 1 inch in diameter.
2. Harvest Carefully: To harvest, gently pull the radish from the soil, holding it by the base of the leaves. If the soil is dry, you may need to loosen it with a trowel first.
3. Wash and Enjoy: Wash your freshly harvested radishes thoroughly to remove any dirt. You can eat them raw in salads, slice them for sandwiches, or even roast them for a unique flavor.
Troubleshooting: Common Radish Problems and Solutions
Even with the best care, you might encounter a few challenges along the way. Here are some common radish problems and how to fix them:
* Radishes Not Bulbing: This is often caused by overcrowding or lack of sunlight. Make sure you’ve thinned your seedlings properly and that your radishes are getting enough light.
* Splitting Radishes: This can happen if the soil dries out and then gets heavily watered. Try to keep the soil consistently moist to prevent splitting.
* Pests: Flea beetles can sometimes attack radish leaves. You can control them with insecticidal soap or by covering your plants with row covers.
* Root Rot: This is caused by overwatering. Make sure your container has good drainage and avoid watering too frequently.
Choosing the Right Container
Selecting the right container is crucial for successful radish growing. Here’s a more detailed look at what to consider:
* Material: Plastic, terracotta, and ceramic containers all work well. Plastic is lightweight and inexpensive, while terracotta is porous and allows for better drainage. Ceramic containers are often more decorative.
* Size: As mentioned earlier, a container that’s at least 6 inches deep is ideal. The width of the container will depend on how many radishes you want to grow. A 12-inch wide container can comfortably accommodate about 6-8 radish plants.
* Drainage: Drainage holes are essential to prevent waterlogging. If your container doesn’t have drainage holes, you can drill some yourself.
* Upcycled Options: Get creative! You can use old buckets, tubs, or even repurposed containers as long as they meet the size and drainage requirements.
Selecting the Right Radish Variety
While “Pink Beauty” and “French Breakfast” are popular choices for pink radishes, there are other varieties you might want to consider:
* Cherry Belle: A classic red radish that’s easy to grow and has a mild flavor.
* Easter Egg: A mix of colorful radishes, including pink, red, purple, and white.
* White Icicle: A long, white radish with a crisp texture and a slightly spicy flavor.
* Black Spanish: A large, black radish with a strong, pungent flavor.
Experiment with different varieties to find your favorites!
Extending Your Radish Harvest
Radishes are a cool-season crop, which means they grow best in spring and fall. To extend your harvest, you can try succession planting. This involves sowing a new batch of seeds every 2-3 weeks. This way, you’ll have a continuous supply of fresh radishes throughout the growing season.
Radish Greens: Don’t Throw Them Away!
Did you know that radish greens are edible? They have a slightly peppery flavor and can be used in salads, soups, and stir-fries. Just be sure to wash them thoroughly before using them.
Final Thoughts
Growing your own pink radishes in a container is a fun and rewarding experience. With a little bit of care and attention, you can enjoy a bountiful harvest of these colorful and delicious vegetables. So, what are you waiting for? Grab your seeds, get your hands dirty, and start growing! Happy gardening!
#ERROR!
Leave a Comment