
Grow Rutabagas and Swedes, and unlock the secrets to a bountiful harvest right in your own backyard! Have you ever dreamt of pulling plump, earthy root vegetables from your garden, ready to roast, mash, or add a unique flavor to your favorite stews? Well, dream no more! This DIY guide is your passport to cultivating these often-overlooked, yet incredibly rewarding, crops.
Rutabagas and Swedes, while sometimes confused, have a rich history, particularly in Scandinavian and Northern European cuisines. They were traditionally a staple food, providing sustenance during long, harsh winters. Think of them as the unsung heroes of the vegetable world, packed with nutrients and boasting a delightfully sweet and slightly peppery flavor.
But why should you bother to grow rutabagas and swedes? In today’s world of pre-packaged produce, there’s something incredibly satisfying about growing your own food. Not only do you know exactly what’s going into your vegetables (no mystery chemicals here!), but you also get to enjoy the unparalleled taste of freshly harvested produce. Plus, these hardy root vegetables are surprisingly easy to grow, even for beginner gardeners. I’m going to show you some simple, yet effective, tricks and hacks that will help you achieve a thriving rutabaga and swede patch, regardless of your gardening experience. Get ready to dig in and discover the joy of homegrown goodness!
Growing Rutabagas and Swedes: A Gardener’s Guide
Hey there, fellow gardening enthusiasts! Today, I’m going to walk you through the wonderful world of growing rutabagas and swedes. These root vegetables are often overlooked, but trust me, they’re incredibly rewarding to grow and delicious to eat. They’re also surprisingly easy, even for beginner gardeners. Let’s dive in!
Understanding Rutabagas and Swedes
First things first, let’s clear up any confusion. Rutabagas and swedes are essentially the same thing! In North America, they’re usually called rutabagas, while in the UK and other parts of the world, they’re known as swedes. They’re a cross between a cabbage and a turnip, resulting in a hearty, slightly sweet, and earthy flavor. They’re packed with nutrients and can be used in a variety of dishes, from roasted root vegetables to creamy mashes.
Preparing for Planting
Before we get our hands dirty, let’s make sure we have everything we need.
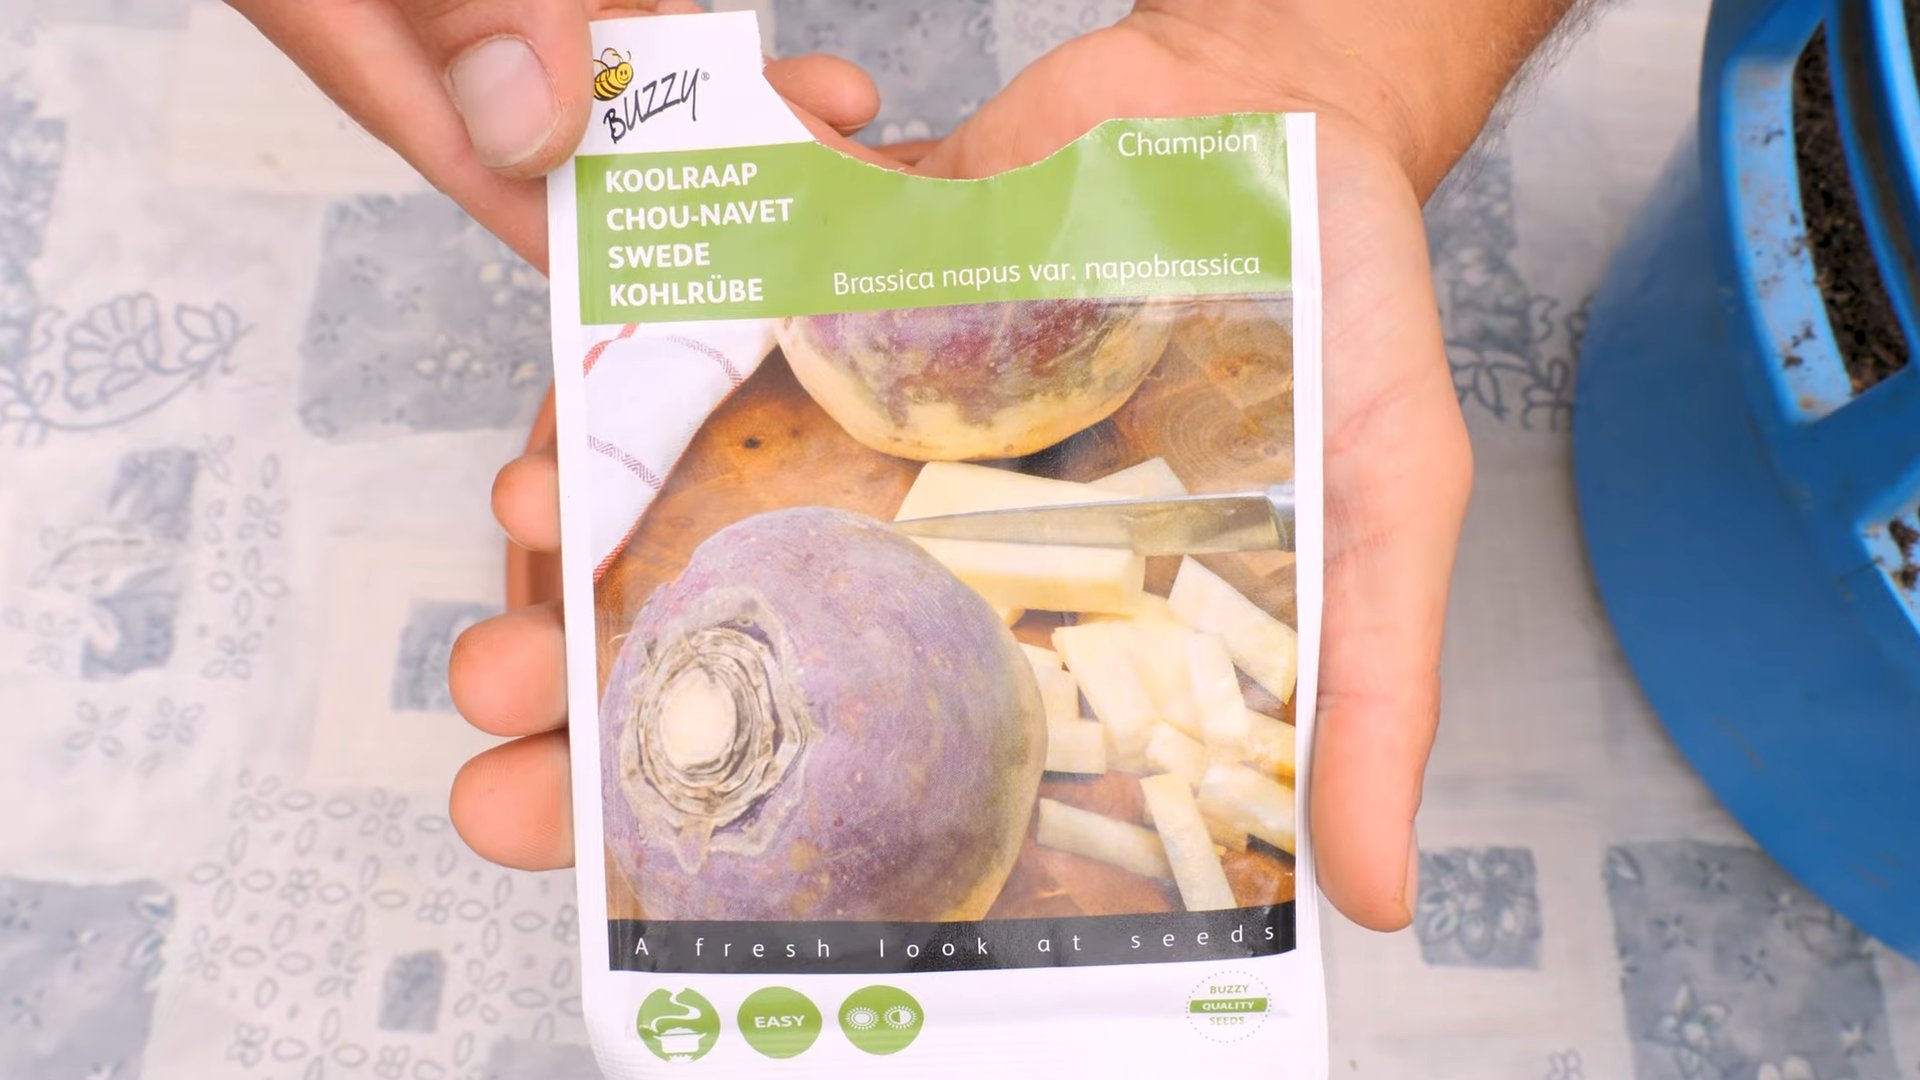
* Choosing the Right Variety: Look for varieties that are well-suited to your climate. ‘American Purple Top’ is a popular and reliable choice. ‘Laurentian’ is another good option, known for its smooth skin and good storage qualities.
* Timing is Key: Rutabagas and swedes need a long growing season, typically around 90-100 days. The best time to plant is in late spring or early summer, about 3-4 months before the first expected frost. This gives them plenty of time to mature.
* Sunlight Requirements: These veggies need at least 6 hours of sunlight per day. Choose a spot in your garden that gets plenty of sunshine.
* Soil Preparation: Rutabagas and swedes thrive in well-drained, fertile soil with a pH between 6.0 and 7.0. Amend your soil with plenty of compost or well-rotted manure to improve drainage and fertility.
* Tools and Materials: You’ll need:
* Rutabaga or swede seeds
* A garden trowel or spade
* Compost or well-rotted manure
* A rake
* Watering can or hose
* Optional: Row covers to protect seedlings from pests
Planting Your Rutabagas and Swedes
Okay, now for the fun part! Let’s get those seeds in the ground.
1. Prepare the Seedbed: Rake the soil to create a smooth, even surface. This will make it easier to sow the seeds evenly.
2. Sowing the Seeds: Sow the seeds about ½ inch deep and 1-2 inches apart in rows that are 18-24 inches apart. You can use your finger or a small trowel to make a shallow trench.
3. Cover the Seeds: Gently cover the seeds with soil and lightly pat it down.
4. Water Thoroughly: Water the seedbed gently but thoroughly. Keep the soil consistently moist until the seedlings emerge.
5. Thinning the Seedlings: Once the seedlings are a few inches tall, thin them to about 6-8 inches apart. This will give them enough room to grow and develop properly. Don’t just yank them out! Gently loosen the soil around the seedlings you want to remove and carefully pull them out. You can even transplant the thinned seedlings to another location if you have space.
Caring for Your Rutabagas and Swedes
Now that your rutabagas and swedes are planted, it’s important to provide them with the care they need to thrive.
* Watering: Water regularly, especially during dry periods. Aim for about 1 inch of water per week. Consistent watering is crucial for healthy root development.
* Weeding: Keep the area around your plants free of weeds. Weeds compete with your rutabagas and swedes for nutrients and water. Hand-weeding is usually the best option to avoid damaging the roots.
* Fertilizing: If your soil is poor, you may need to fertilize your plants. Use a balanced fertilizer, following the instructions on the package. Avoid over-fertilizing, as this can lead to excessive foliage growth at the expense of root development.
* Pest Control: Keep an eye out for pests such as flea beetles, aphids, and cabbage root flies.
* Flea Beetles: These tiny beetles can chew small holes in the leaves of your seedlings. Row covers can help protect your plants from flea beetles. You can also use insecticidal soap or diatomaceous earth.
* Aphids: These small, sap-sucking insects can weaken your plants. Spray them off with a strong stream of water or use insecticidal soap.
* Cabbage Root Flies: These flies lay their eggs at the base of the plants, and the larvae feed on the roots. Row covers can help prevent cabbage root flies from laying their eggs. You can also use nematodes to control the larvae in the soil.
* Disease Prevention: Rutabagas and swedes are generally resistant to diseases, but they can be susceptible to fungal diseases such as clubroot.
* Clubroot: This disease causes the roots to become swollen and distorted. To prevent clubroot, make sure your soil is well-drained and has a pH between 6.0 and 7.0. You can also rotate your crops to avoid planting rutabagas and swedes in the same spot year after year.
Harvesting Your Rutabagas and Swedes
The moment we’ve all been waiting for! Harvesting time!
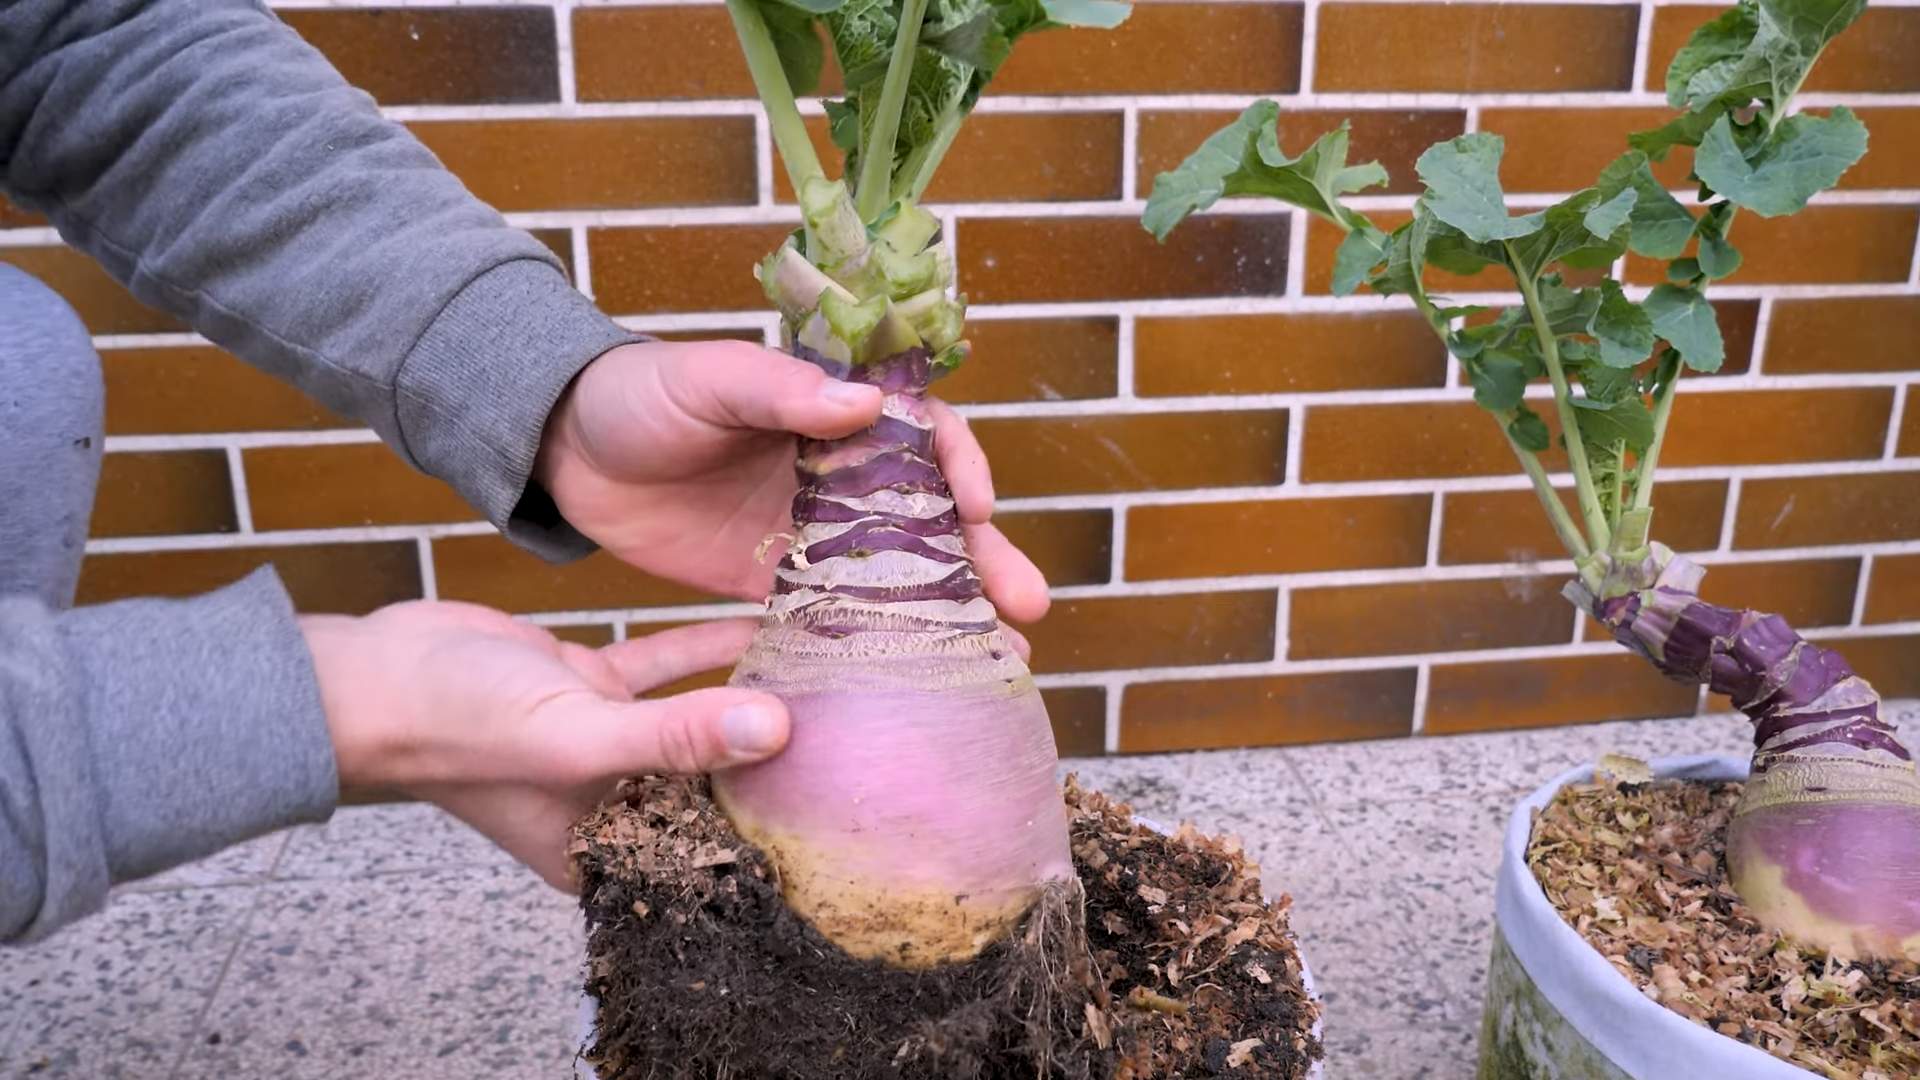
1. When to Harvest: Rutabagas and swedes are typically ready to harvest in the fall, about 90-100 days after planting. The roots should be about 4-6 inches in diameter.
2. How to Harvest: Loosen the soil around the roots with a garden fork or spade. Gently pull the roots out of the ground.
3. Preparing for Storage: Cut off the tops, leaving about 1-2 inches of stem. Brush off any excess soil.
4. Storing Your Harvest: Rutabagas and swedes can be stored for several months in a cool, dark, and humid place. The ideal storage temperature is between 32°F and 40°F. You can store them in a root cellar, a refrigerator, or even a plastic bag in the crisper drawer of your refrigerator.
Troubleshooting
Even with the best planning, things can sometimes go wrong. Here are a few common problems you might encounter and how to deal with them:
* Poor Germination: If your seeds don’t germinate, it could be due to several factors, such as poor-quality seeds, soil that is too cold or too dry, or pests that are eating the seeds. Make sure you’re using fresh, high-quality seeds and that the soil is consistently moist. You can also try starting the seeds indoors in seed trays and transplanting the seedlings to the garden once they’re a few inches tall.
* Slow Growth: If your plants are growing slowly, it could be due to poor soil, lack of sunlight, or insufficient watering. Amend your soil with compost or well-rotted manure, make sure your plants are getting at least 6 hours of sunlight per day, and water regularly.
* Splitting Roots: Splitting roots can be caused by inconsistent watering. Make sure you’re watering your plants regularly, especially during dry periods.
* Pest Infestations: As mentioned earlier, keep an eye out for pests such as flea beetles, aphids, and cabbage root flies. Use row covers to protect your plants from pests, and use insecticidal soap or diatomaceous earth to control infestations.
Enjoying Your Harvest
Now that you’ve harvested your rutabagas and swedes, it’s time to enjoy the fruits (or rather, roots!) of your labor. These versatile vegetables can be used in a variety of dishes.
* Roasted Rutabagas and Swedes: Toss them with olive oil, salt, pepper, and your favorite herbs, and roast them in the oven until they’re tender and slightly caramelized.
* Mashed Rutabagas and Swedes: Boil them until they’re tender, then mash them with butter, milk, and salt.
* Rutabaga and Swede Soup: Add them to your favorite soup recipe for a hearty and flavorful meal.
* Rutabaga and Swede Fries: Cut them into fries, toss them with olive oil and spices, and bake them in the oven until they’re crispy.
Final Thoughts
Growing rutabagas and swedes is a rewarding experience that can provide you with a delicious and nutritious harvest. With a little bit of planning and care, you can enjoy these versatile vegetables in a variety of dishes. So, get out there and start planting! Happy gardening!
Conclusion
So, there you have it! Growing your own rutabagas and swedes isn’t just about saving money at the grocery store; it’s about connecting with the earth, enjoying the satisfaction of nurturing something from seed to table, and experiencing the unparalleled flavor of freshly harvested root vegetables. We’ve walked you through the process, from selecting the right varieties and preparing your soil to warding off pests and knowing when to harvest.
This DIY trick – cultivating your own rutabagas and swedes – is a must-try for several compelling reasons. First, the taste difference between store-bought and homegrown is remarkable. The sweetness and subtle earthy notes are amplified when you harvest at peak ripeness, something you simply can’t replicate with produce that’s been shipped and stored. Second, you have complete control over the growing process. You can choose organic methods, avoid harmful pesticides, and ensure your vegetables are as healthy and nutritious as possible. Third, it’s incredibly rewarding! There’s a unique sense of accomplishment that comes from nurturing a plant from seed to harvest, and sharing your bounty with friends and family.
But don’t stop there! Experiment with different varieties of rutabagas and swedes to discover your favorites. Try ‘Laurentian’ for a classic flavor, or ‘Marian’ for its disease resistance. Consider companion planting with herbs like rosemary or thyme to deter pests and enhance the flavor of your vegetables. You can also explore different cooking methods. Roast them with olive oil and herbs for a simple side dish, mash them with potatoes for a creamy comfort food, or add them to soups and stews for a hearty and nutritious boost. Get creative and let your culinary imagination run wild!
We encourage you to embrace this DIY project and experience the joy of growing your own rutabagas and swedes. It’s a rewarding and delicious endeavor that will connect you with nature and provide you with fresh, healthy produce. Don’t be afraid to get your hands dirty and experiment. Every garden is unique, and every growing season brings new challenges and opportunities.
Most importantly, we want to hear about your experiences! Share your successes, your challenges, and your favorite recipes in the comments below. Let’s build a community of rutabaga and swede enthusiasts and learn from each other. Happy gardening!
Frequently Asked Questions (FAQs)
What are the main differences between rutabagas and swedes?
Rutabagas and swedes are often confused, and for good reason – they’re closely related! Both are root vegetables belonging to the Brassica family. However, there are some key distinctions. Rutabagas are generally larger and have a rougher skin than swedes. The flesh of a rutabaga is typically yellowish, while swedes tend to have a more orange hue. In terms of taste, rutabagas have a slightly sweeter and milder flavor compared to the more pungent and earthy taste of swedes. Think of rutabagas as the sweeter, gentler cousin of the swede.
How much space do rutabagas and swedes need to grow?
Rutabagas and swedes need ample space to develop their large roots. Aim for at least 6-8 inches between plants in a row and 18-24 inches between rows. This allows the roots to expand without being crowded. If you’re growing in raised beds or containers, ensure they are deep enough (at least 12 inches) to accommodate the root growth. Remember, these vegetables grow underground, so adequate space is crucial for a successful harvest.
What kind of soil is best for growing rutabagas and swedes?
Rutabagas and swedes thrive in well-drained, fertile soil that is rich in organic matter. Before planting, amend your soil with compost or well-rotted manure to improve drainage and nutrient content. The ideal soil pH is between 6.0 and 6.8. A soil test can help you determine the pH of your soil and whether any amendments are needed. Avoid heavy clay soils, as they can hinder root development. If you have clay soil, consider adding sand and organic matter to improve drainage.
How often should I water my rutabagas and swedes?
Consistent watering is essential for healthy rutabaga and swede growth, especially during dry periods. Aim to keep the soil consistently moist, but not waterlogged. Water deeply once or twice a week, depending on the weather conditions. A good rule of thumb is to water when the top inch of soil feels dry to the touch. Mulching around the plants can help retain moisture and suppress weeds.
What are some common pests and diseases that affect rutabagas and swedes, and how can I control them?
Common pests that can affect rutabagas and swedes include flea beetles, aphids, and root maggots. Flea beetles can be controlled with row covers or insecticidal soap. Aphids can be washed off with a strong stream of water or treated with insecticidal soap. Root maggots can be prevented by using row covers and practicing crop rotation. Common diseases include clubroot and powdery mildew. Clubroot can be prevented by maintaining a proper soil pH and practicing crop rotation. Powdery mildew can be treated with fungicides or by improving air circulation around the plants. Regularly inspect your plants for signs of pests or diseases and take action promptly to prevent them from spreading.
When is the best time to harvest rutabagas and swedes?
Rutabagas and swedes are typically ready to harvest in the fall, after the first frost. The frost helps to sweeten the roots. You can harvest them when they reach a size of 3-5 inches in diameter. To harvest, loosen the soil around the plant with a garden fork and gently pull the root out of the ground. Cut off the tops, leaving about an inch of stem. Store the roots in a cool, dry place, such as a root cellar or refrigerator.
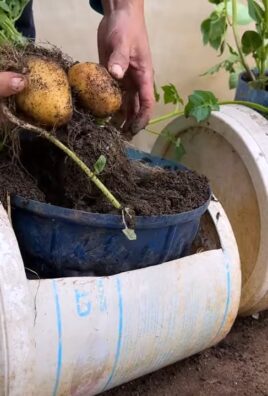
Can I grow rutabagas and swedes in containers?
Yes, you can grow rutabagas and swedes in containers, but you’ll need to choose a large container that is at least 12 inches deep and wide. Use a well-draining potting mix and provide consistent watering and fertilization. Container-grown rutabagas and swedes may not grow as large as those grown in the ground, but you can still enjoy a decent harvest.
Are the leaves of rutabagas and swedes edible?
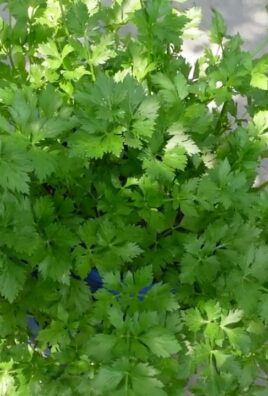
Yes, the leaves of rutabagas and swedes are edible and can be used in salads or cooked like spinach or kale. Harvest the leaves when they are young and tender for the best flavor. Be sure to wash them thoroughly before eating.
How can I store rutabagas and swedes after harvesting?
To store rutabagas and swedes, cut off the tops, leaving about an inch of stem. Brush off any excess soil, but do not wash them. Store the roots in a cool, dry, and dark place, such as a root cellar or refrigerator. The ideal storage temperature is between 32 and 40 degrees Fahrenheit. Properly stored rutabagas and swedes can last for several months.
What are some delicious ways to cook with rutabagas and swedes?
Rutabagas and swedes are incredibly versatile vegetables that can be used in a variety of dishes. They can be roasted, mashed, boiled, steamed, or added to soups and stews. Try roasting them with olive oil, herbs, and garlic for a simple side dish. Mash them with potatoes and butter for a creamy comfort food. Add them to soups and stews for a hearty and nutritious boost. You can also grate them and use them in salads or coleslaw. Get creative and experiment with different flavors and cooking methods to discover your favorite ways to enjoy these delicious root vegetables.
Leave a Comment