
Grow Tomatoes at Home, even if you think you don’t have a green thumb! Have you ever bitten into a sun-ripened, juicy tomato bursting with flavor, a taste so intense it makes store-bought tomatoes seem bland in comparison? That’s the magic of homegrown tomatoes, and I’m here to tell you that you *can* experience that deliciousness yourself, right in your own backyard (or balcony!).
For centuries, tomatoes have been a staple in cuisines around the world, from the vibrant sauces of Italy to the refreshing salsas of Mexico. Their journey from South America to our plates is a testament to their adaptability and irresistible appeal. But let’s be honest, buying perfect tomatoes can be expensive and frustrating. Often, they lack the flavor and freshness we crave. That’s where the joy of growing your own comes in!
This article is packed with simple, effective DIY tricks and hacks that will empower you to grow tomatoes at home like a pro, regardless of your experience level. We’ll cover everything from choosing the right varieties for your space to troubleshooting common problems. Imagine harvesting baskets overflowing with plump, red tomatoes, ready to be enjoyed in salads, sauces, or simply sliced and savored with a sprinkle of salt. Ready to get started? Let’s dive in!
Growing Delicious Tomatoes at Home: A DIY Guide
Hey there, fellow gardening enthusiasts! I’m so excited to share my tried-and-true method for growing juicy, flavorful tomatoes right in your own backyard (or even on your balcony!). Forget those bland, store-bought tomatoes – nothing beats the taste of homegrown goodness. This guide will walk you through every step, from choosing the right variety to harvesting your bounty. Let’s get started!
Choosing Your Tomato Varieties
Before we even think about soil, let’s talk tomatoes! The sheer variety can be overwhelming, but don’t worry, I’ll break it down. Consider these factors:
* Space: Do you have a sprawling garden or a small patio? Determinate varieties (bush tomatoes) are compact and ideal for containers, while indeterminate varieties (vining tomatoes) need more space and support.
* Climate: Different tomatoes thrive in different climates. Check your local extension office or garden center for recommendations specific to your region.
* Use: What do you plan to do with your tomatoes? Slicing tomatoes are perfect for sandwiches, while Roma tomatoes are great for sauces. Cherry tomatoes are fantastic for snacking.
* Disease Resistance: Look for varieties labeled with disease resistance codes (e.g., V, F, N, T, A). This can save you a lot of headaches later on.
Some of my personal favorites include:
* ‘Early Girl’: A reliable early producer, great for cooler climates.
* ‘Roma’: Perfect for making sauces and pastes.
* ‘Beefsteak’: Huge, juicy slices for sandwiches.
* ‘Sungold’: Incredibly sweet and flavorful cherry tomatoes.
Starting Your Tomato Seeds (or Buying Seedlings)
You have two options here: start your own seeds indoors or buy seedlings from a nursery. Starting seeds gives you more control over the varieties you grow and can save you money, but it requires a bit more effort.
Starting Seeds Indoors (Recommended for Colder Climates)
This is how I usually start my tomatoes, especially since I live in an area with a shorter growing season.
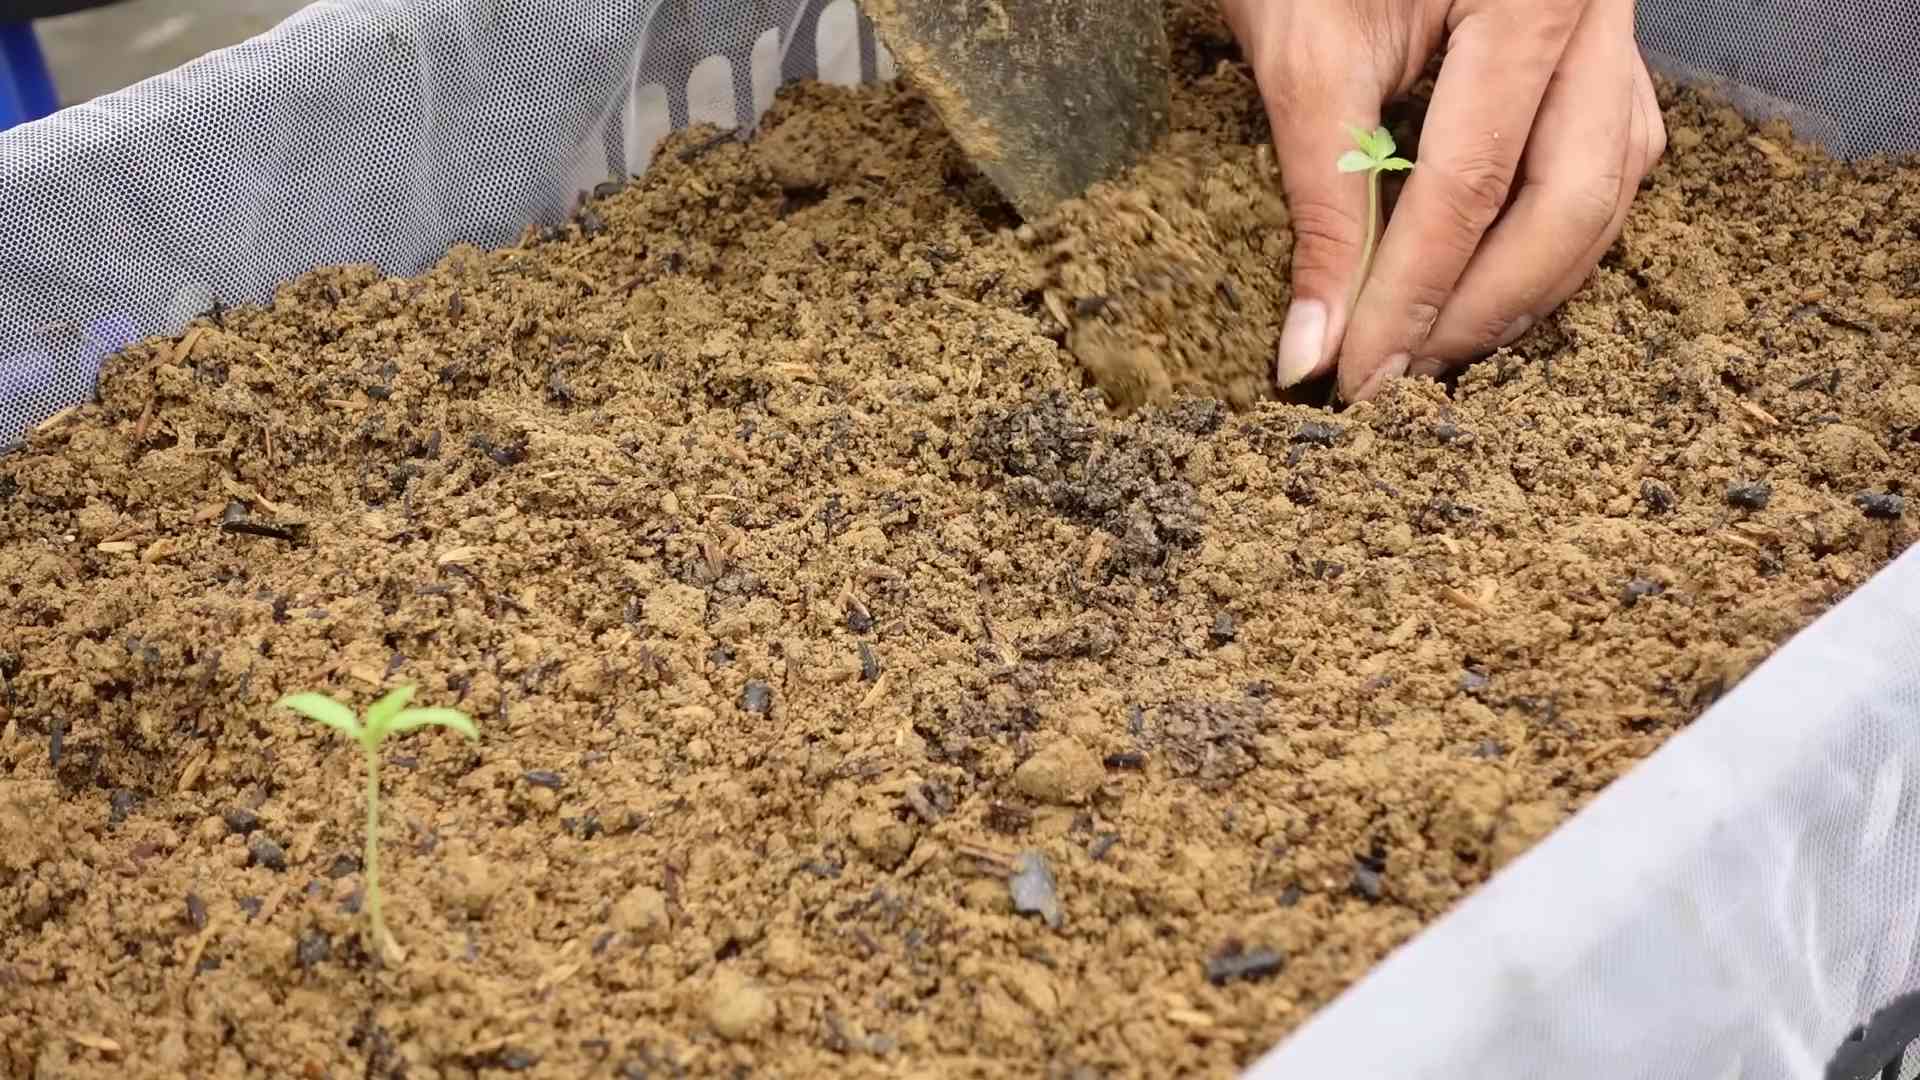
1. Gather Your Supplies: You’ll need seed starting trays or small pots, seed starting mix (not regular potting soil!), tomato seeds, a spray bottle, and a grow light (optional, but highly recommended).
2. Sow the Seeds: Moisten the seed starting mix and fill your trays or pots. Sow the seeds about ¼ inch deep, placing 2-3 seeds per cell or pot. Gently cover with more mix and lightly mist with water.
3. Provide Warmth and Light: Tomato seeds need warmth to germinate. Place the trays in a warm location (around 70-75°F) or use a heat mat. If you’re using a grow light, position it a few inches above the trays and keep it on for 14-16 hours per day.
4. Keep the Soil Moist: Don’t let the soil dry out! Mist the surface regularly with a spray bottle.
5. Thin the Seedlings: Once the seedlings emerge (usually within 5-10 days), thin them to one strong seedling per cell or pot. Snip off the weaker seedlings at the soil line with scissors.
6. Harden Off the Seedlings: Before transplanting the seedlings outdoors, you need to “harden them off” to acclimate them to the outdoor environment. Gradually expose them to increasing amounts of sunlight and wind over a period of 7-10 days. Start with an hour or two of shade and gradually increase the time and sun exposure.
Buying Seedlings
If you’re short on time or space, buying seedlings is a perfectly fine option. Just make sure to choose healthy-looking plants with sturdy stems and no signs of disease or pests. Avoid plants that are root-bound (roots circling the bottom of the pot).
Preparing Your Garden Bed or Containers
Tomatoes need plenty of sunshine and well-drained soil. Choose a location that gets at least 6-8 hours of direct sunlight per day.
Preparing the Garden Bed
1. Clear the Area: Remove any weeds, rocks, or debris from the planting area.
2. Amend the Soil: Tomatoes are heavy feeders, so it’s important to amend the soil with plenty of organic matter. I like to add compost, aged manure, and a slow-release fertilizer. Work these amendments into the soil to a depth of at least 12 inches.
3. Check the Soil pH: Tomatoes prefer a slightly acidic soil pH (around 6.0-6.8). You can test your soil pH with a soil testing kit and amend it accordingly.
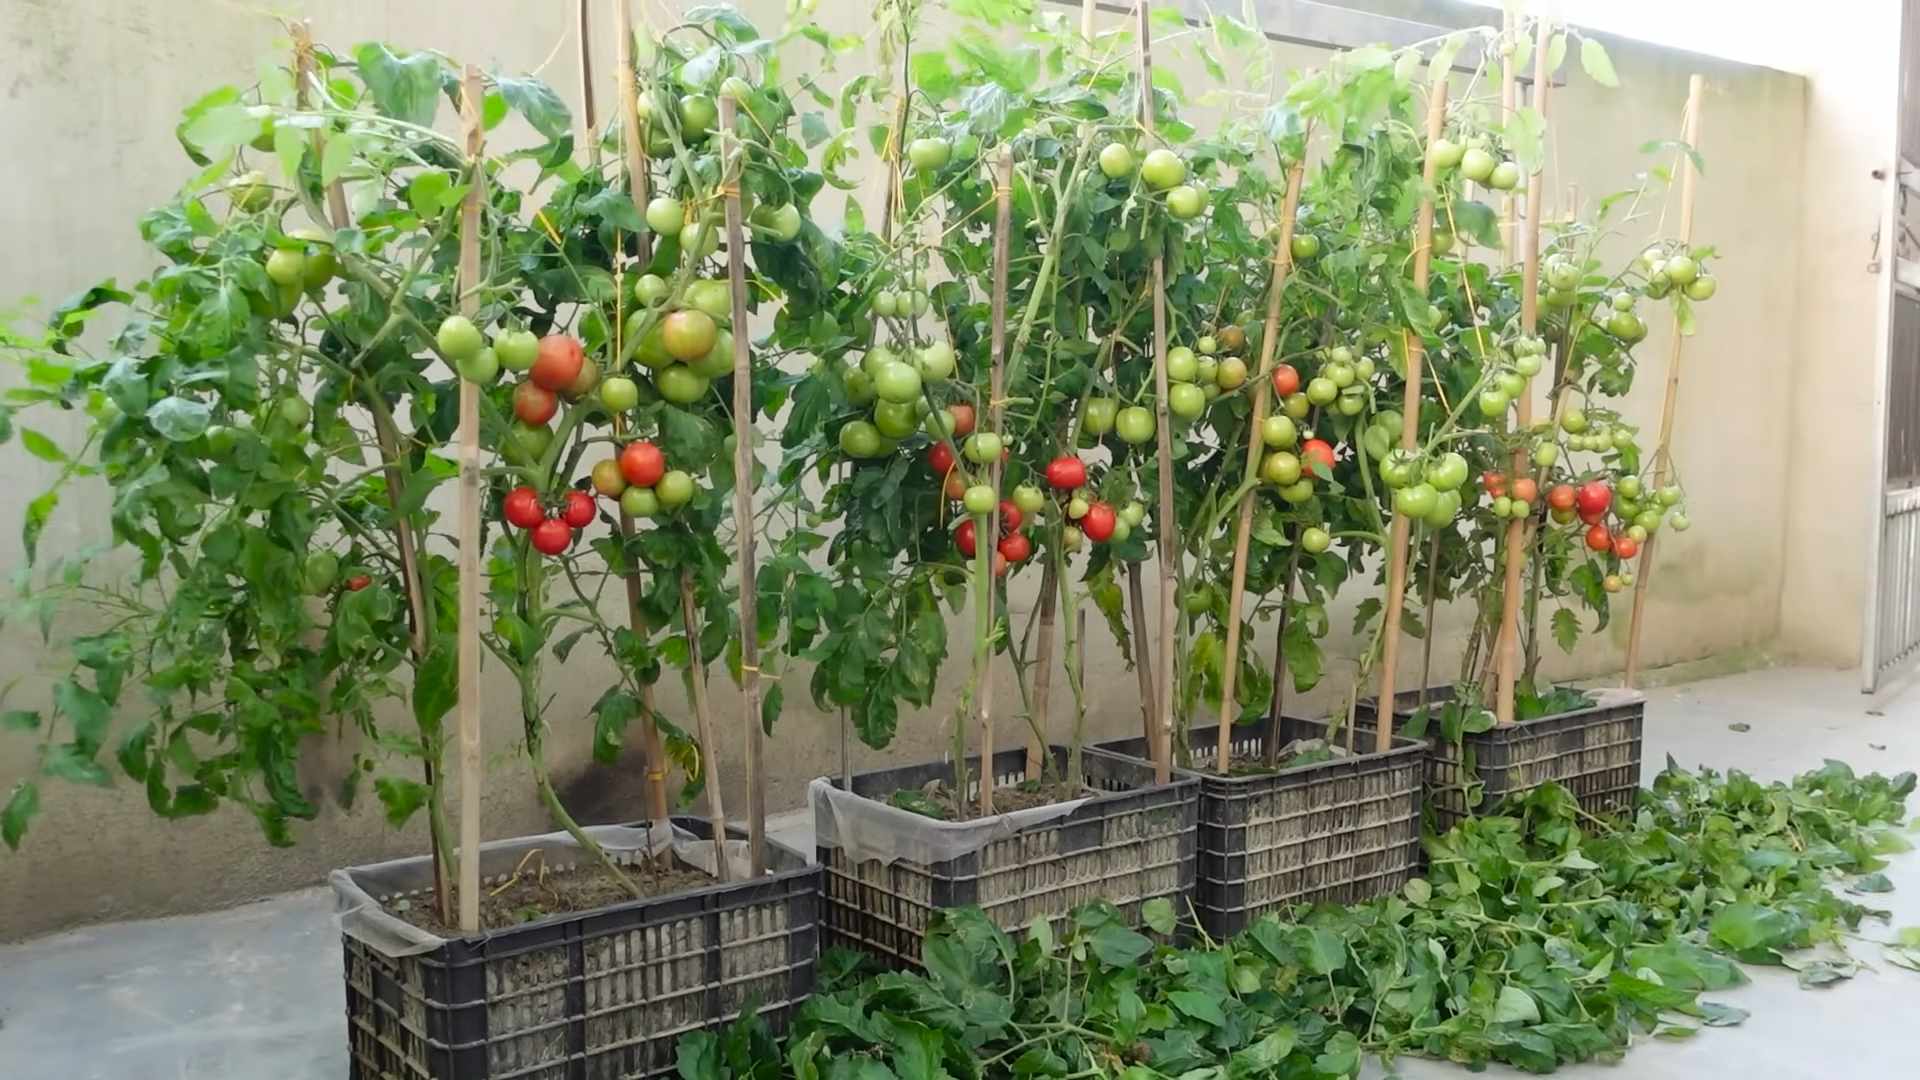
Preparing Containers
1. Choose the Right Size: Use a container that is at least 18 inches in diameter and 18 inches deep for determinate varieties, and even larger for indeterminate varieties.
2. Use High-Quality Potting Mix: Don’t use garden soil in containers! It will compact and drain poorly. Use a high-quality potting mix that is specifically formulated for containers.
3. Ensure Good Drainage: Make sure your container has drainage holes to prevent waterlogging.
Transplanting Your Tomato Plants
Now for the exciting part – getting those tomato plants into the ground!
1. Choose a Cloudy Day: Transplanting on a cloudy day will help reduce stress on the plants.
2. Dig a Hole: Dig a hole that is slightly larger than the root ball of the tomato plant.
3. Add Fertilizer: Place a small amount of slow-release fertilizer in the bottom of the hole.
4. Remove the Plant from the Container: Gently remove the tomato plant from its container, being careful not to damage the roots. If the plant is root-bound, gently loosen the roots before planting.
5. Plant Deeply: This is a crucial step! Tomatoes can develop roots along their stems, so planting them deeply will encourage a stronger root system. Remove the lower leaves and bury the stem up to the first set of leaves.
6. Water Thoroughly: Water the newly transplanted tomato plant thoroughly.
7. Add Support: Install a stake, cage, or trellis to support the tomato plant as it grows. Indeterminate varieties will need significant support.
Caring for Your Tomato Plants
Once your tomato plants are in the ground, they’ll need regular care to thrive.
* Watering: Water deeply and regularly, especially during hot, dry weather. Aim to water at the base of the plant to avoid wetting the foliage, which can lead to disease.
* Fertilizing: Fertilize your tomato plants every 2-3 weeks with a balanced fertilizer.
* Pruning: Pruning is especially important for indeterminate varieties. Remove suckers (the small shoots that grow between the main stem and the branches) to encourage more fruit production.
* Mulching: Apply a layer of mulch around the base of the plants to help retain moisture, suppress weeds, and regulate soil temperature.
* Pest and Disease Control: Keep an eye out for pests and diseases. Common tomato pests include aphids, tomato hornworms, and whiteflies. Common diseases include early blight, late blight, and blossom end rot. Treat any problems promptly with appropriate organic or chemical controls.
Dealing with Common Tomato Problems
Even with the best care, you might encounter some problems along the way. Here are a few common issues and how to address them:
* Blossom End Rot: This is caused by a calcium deficiency. Ensure consistent watering and add calcium to the soil.
* Early Blight: This fungal disease causes dark spots on the leaves. Remove infected leaves and apply a fungicide.
* Tomato Hornworms: These large green caterpillars can quickly defoliate your tomato plants. Handpick them off the plants or use Bacillus thuringiensis (Bt).
* Aphids: These small insects suck the sap from the plants. Spray them with insecticidal soap or neem oil.
Harvesting Your Tomatoes
The moment you’ve been waiting for! Tomatoes are ready to harvest when they are fully colored and slightly soft to the touch. Gently twist the tomato off the vine. The taste of a sun-ripened, homegrown tomato is simply unbeatable!
Enjoying Your Harvest
Now that you have a bounty of delicious tomatoes, it’s time to enjoy them! Eat them fresh in salads, sandwiches, or sauces. You can also can, freeze, or dry them for later use. I love making homemade tomato sauce and salsa with my homegrown tomatoes.
Growing tomatoes at home can be incredibly rewarding. With a little bit of effort and care, you can enjoy fresh, flavorful tomatoes all season long. Happy gardening!
Conclusion
So, there you have it! Growing tomatoes at home isn’t just a gardening trend; it’s a rewarding experience that brings fresh, flavorful produce right to your table. We’ve explored a simple yet effective DIY trick that can significantly boost your tomato yield and overall plant health. This method, focusing on [mention the specific DIY trick if it was detailed in the main article, e.g., “proper pruning techniques” or “creating a DIY self-watering system”], is a game-changer for both novice and experienced gardeners alike.
Why is this a must-try? Because it addresses some of the most common challenges faced when growing tomatoes: inconsistent watering, nutrient deficiencies, and susceptibility to diseases. By implementing this [DIY trick], you’re proactively creating an environment where your tomato plants can thrive. Imagine biting into a juicy, sun-ripened tomato that you nurtured from seedling to harvest – the taste is simply unmatched!
But the beauty of gardening lies in experimentation. Feel free to adapt this [DIY trick] to suit your specific needs and resources. For example, if you’re short on space, consider using smaller containers and dwarf tomato varieties. If you live in a colder climate, you might want to start your seedlings indoors and provide extra protection during cooler nights. You can also experiment with different types of fertilizer or soil amendments to see what works best for your plants.
Here are a few variations to consider:
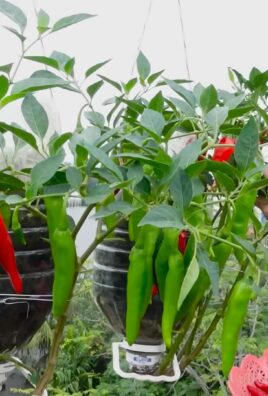
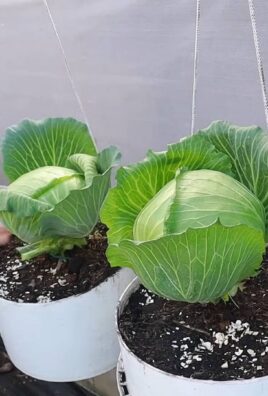
* Vertical Gardening: If space is limited, try growing your tomatoes vertically using trellises, cages, or hanging baskets. This not only saves space but also improves air circulation around the plants, reducing the risk of disease.
* Companion Planting: Plant basil, marigolds, or other beneficial herbs and flowers alongside your tomatoes. These companion plants can help deter pests, attract pollinators, and even improve the flavor of your tomatoes.
* Grafting: For more advanced gardeners, grafting can be a powerful technique to improve disease resistance and yield. Grafting involves joining a tomato scion (the top part of the plant) to a rootstock that is resistant to soilborne diseases.
* Hydroponics: For those looking for a soilless option, hydroponics can be a great way to grow tomatoes indoors or outdoors. Hydroponic systems provide plants with all the nutrients they need in a water-based solution.
Ultimately, the goal is to find a system that works best for you and your garden. Don’t be afraid to get your hands dirty, experiment with different techniques, and learn from your mistakes.
We are confident that this DIY trick will transform your tomato-growing experience. We encourage you to give it a try and share your results with us! Post pictures of your thriving tomato plants on social media using [relevant hashtag] and let us know what variations you’ve tried. We’re eager to hear your success stories and learn from your experiences. Let’s cultivate a community of passionate tomato growers and spread the joy of homegrown goodness! Remember, the key to successful tomato growing at home is patience, observation, and a willingness to learn. Happy gardening!
Frequently Asked Questions (FAQ)
What are the best tomato varieties to grow at home?
The best tomato varieties to grow at home depend on your climate, space, and personal preferences. For beginners, determinate varieties like Roma or Celebrity are a good choice because they are compact and produce a concentrated harvest. Indeterminate varieties like Beefsteak or Cherry tomatoes require more space and support but produce fruit throughout the growing season. Consider disease resistance when selecting varieties, especially if you live in an area with common tomato diseases. Heirloom varieties offer unique flavors and colors, but they may be more susceptible to diseases. Do some research and choose varieties that are well-suited to your local conditions and your taste preferences.
How often should I water my tomato plants?
Watering frequency depends on several factors, including the weather, soil type, and size of the plant. Generally, tomato plants need about 1-2 inches of water per week. Water deeply and less frequently, rather than shallowly and often. This encourages deep root growth, which makes the plants more drought-tolerant. Check the soil moisture before watering. The top inch of soil should be dry to the touch. Avoid overwatering, as this can lead to root rot and other problems. During hot, dry weather, you may need to water more frequently. Using a soaker hose or drip irrigation can help deliver water directly to the roots, minimizing water loss and reducing the risk of foliar diseases.
What kind of fertilizer should I use for my tomato plants?
Tomato plants need a balanced fertilizer that contains nitrogen, phosphorus, and potassium (NPK). A fertilizer with a higher phosphorus content is beneficial for promoting flowering and fruit development. Look for a fertilizer specifically formulated for tomatoes, or use a general-purpose fertilizer with an NPK ratio of around 5-10-5 or 10-10-10. Apply fertilizer according to the package directions. Avoid over-fertilizing, as this can lead to excessive vegetative growth and reduced fruit production. You can also supplement with organic fertilizers like compost, bone meal, or fish emulsion. These provide essential nutrients and improve soil health.
How do I prevent common tomato diseases?
Preventing tomato diseases starts with choosing disease-resistant varieties. Provide good air circulation around the plants by spacing them properly and pruning them regularly. Avoid overhead watering, as this can create a humid environment that favors disease development. Water at the base of the plants instead. Mulch around the plants to prevent soil from splashing onto the leaves. Remove any diseased leaves or fruit promptly to prevent the spread of disease. Consider using organic fungicides or copper sprays as a preventative measure, especially in areas with high humidity or a history of tomato diseases. Crop rotation can also help reduce the buildup of soilborne pathogens.
How do I deal with tomato pests?
Common tomato pests include aphids, whiteflies, tomato hornworms, and spider mites. Regularly inspect your plants for signs of pests. Handpick tomato hornworms and drop them into a bucket of soapy water. Use insecticidal soap or neem oil to control aphids, whiteflies, and spider mites. These are organic options that are effective against many common pests. You can also attract beneficial insects like ladybugs and lacewings to your garden, as they prey on tomato pests. Companion planting with herbs like basil and marigolds can also help deter pests. In severe cases, you may need to use chemical insecticides, but always follow the label directions carefully and use them as a last resort.
When is the best time to harvest tomatoes?
Tomatoes are typically ready to harvest when they are fully colored and slightly soft to the touch. The exact color depends on the variety. Gently twist the tomato from the vine. If it doesn’t come off easily, it’s not quite ripe yet. Tomatoes will continue to ripen after they are picked, so you can harvest them slightly underripe if necessary. Store ripe tomatoes at room temperature for the best flavor. Avoid refrigerating them, as this can affect their texture and taste. Overripe tomatoes can be used to make sauce or soup.

Leave a Comment