Growing Arugula Indoors can seem daunting, but trust me, it’s easier than you think! Have you ever craved a peppery, fresh salad in the dead of winter, only to be disappointed by the limp, tasteless greens at the grocery store? I have! That’s why I started exploring the world of indoor gardening, and arugula quickly became a favorite.
Arugula, also known as rocket, has a rich history dating back to ancient Rome, where it was prized for its flavor and believed to be an aphrodisiac. While I can’t promise any romantic adventures, I can guarantee that growing arugula indoors will bring a burst of flavor and freshness to your meals.
In today’s busy world, access to fresh, healthy produce can be a challenge. We’re often reliant on long supply chains and commercially grown vegetables that lack the vibrant taste and nutrients of homegrown options. This DIY guide will empower you to take control of your food source, even if you only have a small windowsill. I’ll show you simple, effective tricks and hacks to successfully cultivate your own arugula, providing you with a continuous supply of delicious, peppery greens right at your fingertips. Get ready to ditch those bland store-bought salads and embrace the joy of homegrown flavor!

Growing Arugula Indoors: A Beginner’s Guide
Hey there, fellow plant enthusiasts! Are you craving that peppery, fresh arugula flavor but don’t have a garden or the weather isn’t cooperating? No problem! I’m going to walk you through how to grow your own delicious arugula indoors, right on your windowsill or under grow lights. It’s easier than you think, and the reward of fresh salad greens is totally worth it.
What You’ll Need
Before we dive in, let’s gather our supplies. Here’s a checklist of everything you’ll need to successfully grow arugula indoors:
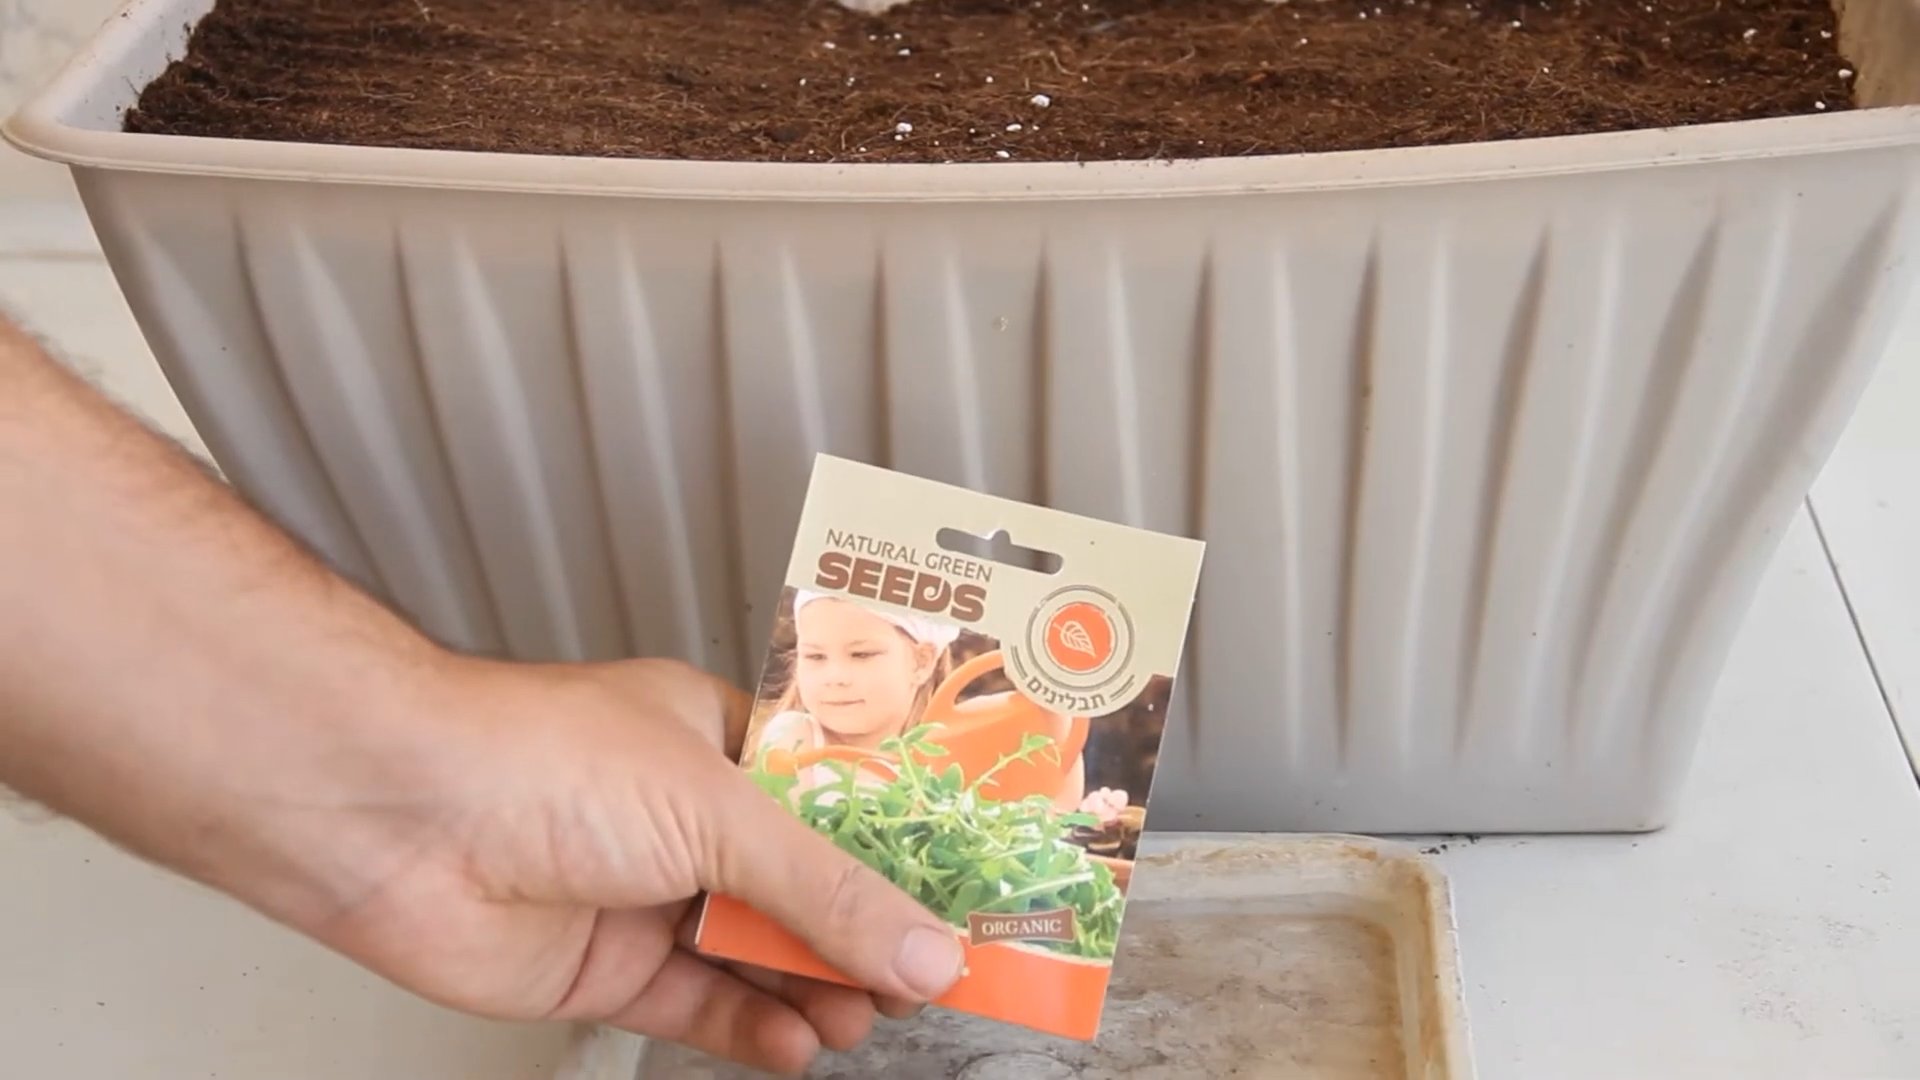
* **Arugula Seeds:** Obviously! You can find these at most garden centers or online. Look for varieties specifically suited for container gardening if possible, but honestly, most arugula seeds will work just fine.
* **Containers:** You’ll need pots or containers with drainage holes. I recommend something at least 6 inches deep to give the roots enough room to grow. You can use plastic pots, terracotta pots, or even repurposed containers like yogurt tubs (just make sure to poke drainage holes!).
* **Potting Mix:** Don’t use garden soil! It’s too heavy and doesn’t drain well in containers. Instead, opt for a good-quality potting mix specifically formulated for container gardening. This will provide the right nutrients and drainage for your arugula.
* **Watering Can or Spray Bottle:** You’ll need a gentle way to water your arugula seedlings without disturbing them.
* **Light Source:** Arugula needs plenty of light to thrive. A sunny windowsill that gets at least 6 hours of direct sunlight is ideal. If you don’t have a sunny windowsill, you can use grow lights.
* **Optional: Seed Starting Tray:** While not essential, a seed starting tray can be helpful for starting your arugula seeds indoors, especially if you want to get a head start before the weather warms up.
* **Optional: Plant Labels:** These are super helpful for keeping track of what you’ve planted, especially if you’re growing multiple types of greens.
Getting Started: Sowing Your Arugula Seeds
Now that we have our supplies, let’s get those seeds in the soil!
1. **Prepare Your Containers:** Fill your chosen containers with potting mix, leaving about an inch of space at the top. Gently pat down the soil to create a firm but not compacted surface.
2. **Sow the Seeds:** Sprinkle the arugula seeds evenly over the surface of the soil. Arugula seeds are tiny, so don’t worry about spacing them perfectly. Aim for about 1/4 inch between seeds.
3. **Cover the Seeds:** Lightly cover the seeds with a thin layer of potting mix, about 1/4 inch deep.
4. **Water Gently:** Use a watering can or spray bottle to gently water the soil until it’s evenly moist. Be careful not to overwater, as this can cause the seeds to rot.
5. **Provide Light:** Place your containers in a sunny windowsill or under grow lights. If using grow lights, position them a few inches above the soil surface.
6. **Maintain Moisture:** Keep the soil consistently moist but not soggy. Check the soil moisture daily and water as needed. You can use a spray bottle to mist the soil surface if it starts to dry out.
Caring for Your Arugula Seedlings
Once your arugula seeds have germinated (usually within 5-7 days), it’s time to focus on providing them with the care they need to thrive.
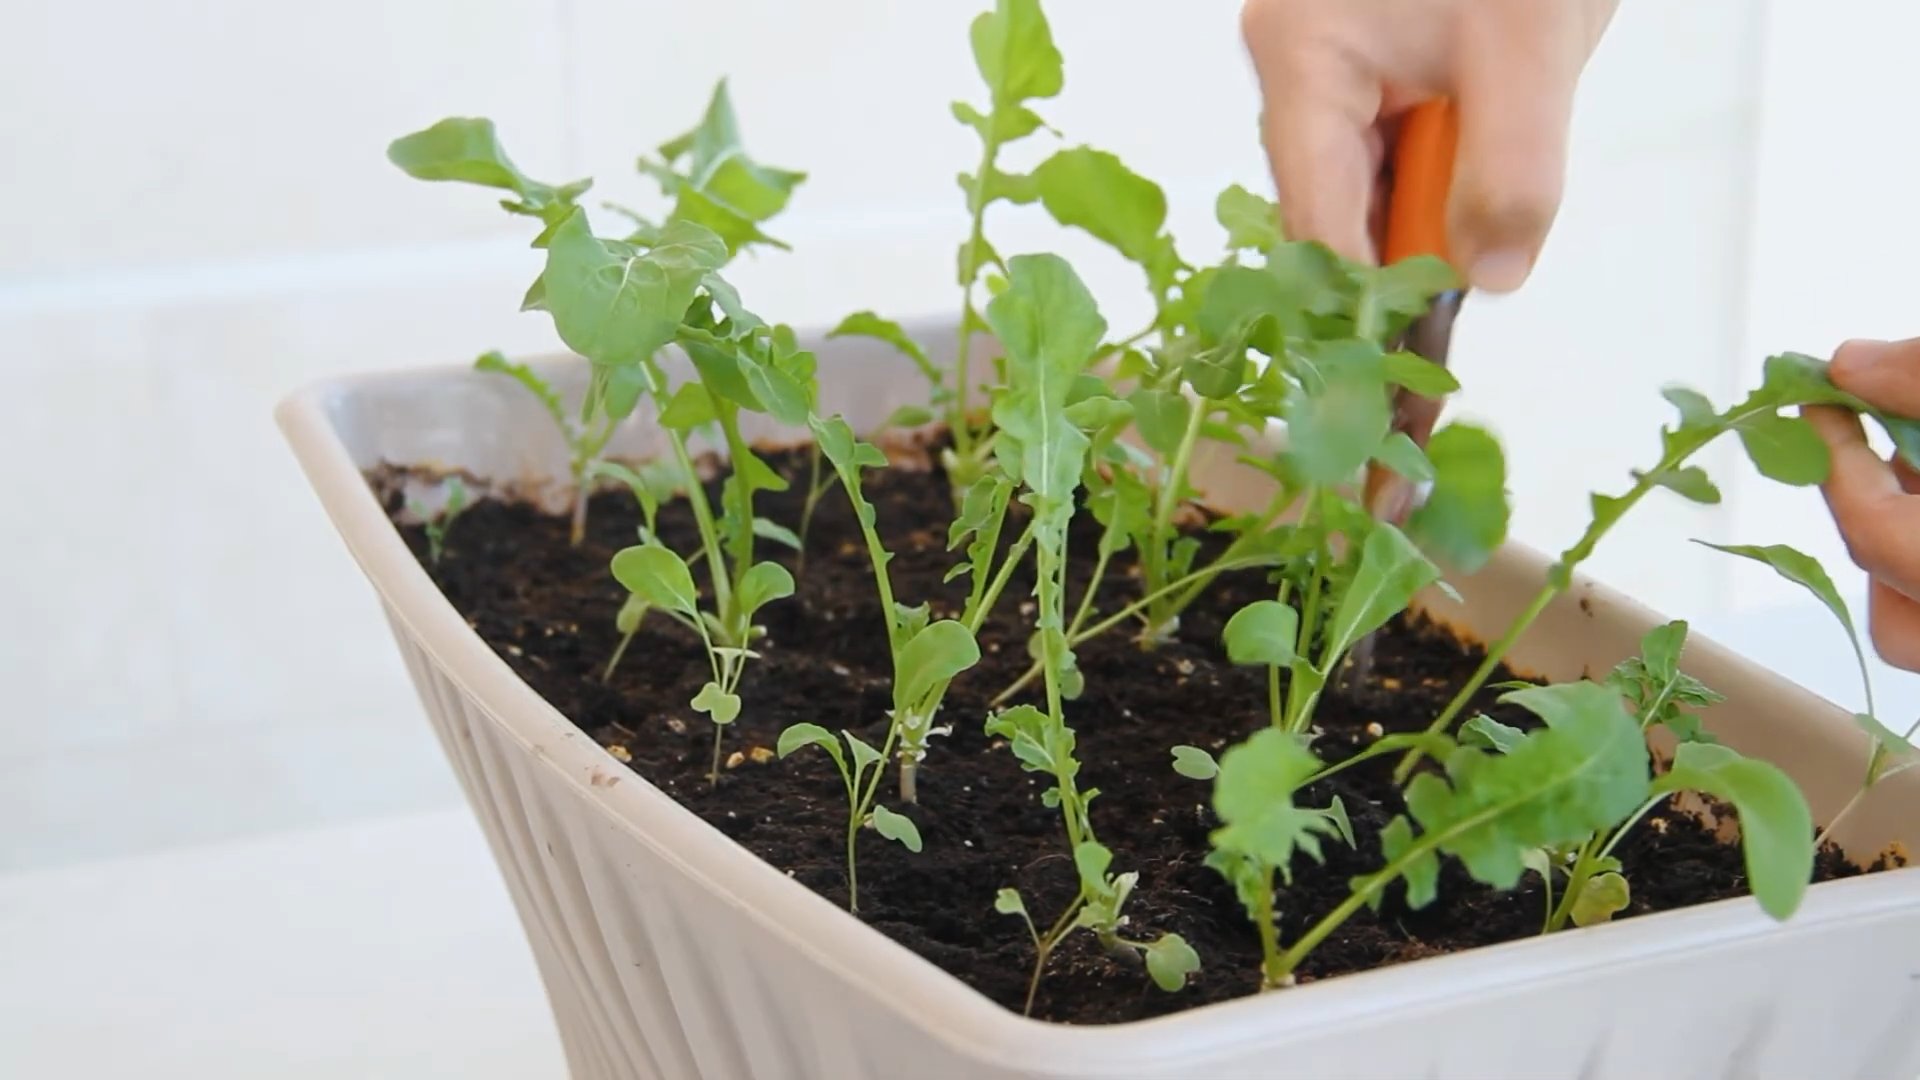
1. **Thinning (If Necessary):** If your arugula seedlings are growing too close together, you’ll need to thin them out. This will give the remaining seedlings enough space to grow and prevent overcrowding. Use small scissors to snip off the weaker seedlings at the soil line, leaving about 1-2 inches between the remaining plants.
2. **Watering:** Continue to water your arugula seedlings regularly, keeping the soil consistently moist but not soggy. Water when the top inch of soil feels dry to the touch. Avoid overwatering, as this can lead to root rot.
3. **Light:** Arugula needs plenty of light to grow well. If you’re growing your arugula on a windowsill, rotate the containers regularly to ensure that all sides of the plants receive equal sunlight. If you’re using grow lights, keep them on for at least 12-14 hours per day.
4. **Fertilizing (Optional):** Arugula doesn’t need a lot of fertilizer, but you can give it a boost by feeding it with a diluted liquid fertilizer every few weeks. Look for a fertilizer that’s specifically formulated for leafy greens. Follow the instructions on the fertilizer label carefully.
5. **Pest Control:** Arugula is generally pest-resistant, but you may occasionally encounter aphids or other small pests. If you notice any pests, you can try spraying them off with a strong stream of water or using an insecticidal soap.
Harvesting Your Arugula
The best part! You can start harvesting your arugula leaves when they are about 2-3 inches long. This usually takes about 3-4 weeks after planting.
1. **Harvesting Technique:** Use scissors or your fingers to snip off the outer leaves, leaving the inner leaves to continue growing. This is called a “cut-and-come-again” harvesting method, and it allows you to harvest arugula from the same plants for several weeks.
2. **Harvesting Frequency:** Harvest your arugula regularly to encourage continued growth. The more you harvest, the more the plants will produce.
3. **Taste Test:** Taste your arugula leaves regularly to determine when they’re at their peak flavor. Arugula leaves tend to become more peppery as they mature.
4. **Storage:** Freshly harvested arugula leaves can be stored in the refrigerator for several days. Wrap them in a damp paper towel and place them in a plastic bag or container.
Troubleshooting
Even with the best care, you might encounter a few challenges along the way. Here are some common problems and how to fix them:
* **Leggy Seedlings:** If your arugula seedlings are tall and spindly, they’re probably not getting enough light. Move them to a sunnier location or provide them with grow lights.
* **Yellowing Leaves:** Yellowing leaves can be a sign of overwatering, underwatering, or nutrient deficiency. Check the soil moisture and adjust your watering accordingly. If the problem persists, try fertilizing your arugula with a diluted liquid fertilizer.
* **Slow Growth:** Slow growth can be caused by a variety of factors, including insufficient light, poor soil, or lack of nutrients. Make sure your arugula is getting enough light and that the soil is well-draining and nutrient-rich.
* **Pests:** As mentioned earlier, aphids and other small pests can sometimes attack arugula. Spray them off with water or use an insecticidal soap.
Extending Your Harvest
Want to keep enjoying fresh arugula for as long as possible? Here are a few tips for extending your harvest:
* **Succession Planting:** Sow new arugula seeds every few weeks to ensure a continuous supply of fresh greens.
* **Cool Temperatures:** Arugula prefers cool temperatures. If you live in a warm climate, try growing your arugula in a cooler location, such as a basement or garage.
* **Bolting:** Bolting is when arugula plants start to produce flowers and seeds. This usually happens when the weather gets too hot. Once arugula bolts, the leaves become bitter. To prevent bolting, keep your arugula plants well-watered and shaded during hot weather. You can also try growing bolt-resistant varieties of arugula.
Arugula Varieties to Consider
While most arugula varieties will grow well indoors, here are a few that are particularly well-suited for container gardening:
* **Astro:** A fast-growing variety with a mild, peppery flavor.
* **Sylvetta:** A wild arugula variety with a more intense, peppery flavor.
* **Slow Bolt:** A bolt-resistant variety that’s ideal for warmer climates.
* **Garden Cress:** While technically not arugula, garden cress has a similar peppery flavor and is very easy to grow indoors. You can even grow it on a damp paper towel!
Enjoying Your Homegrown Arugula
Now that you’ve successfully grown your own arugula indoors, it’s time to enjoy the fruits (or rather, leaves!) of your labor. Here are a few ideas for using your homegrown arugula:
* **Salads:** Arugula is a classic salad green. Toss it with your favorite vegetables, cheese, and dressing.
* **Pesto:** Arugula pesto is a delicious and peppery alternative to traditional basil pesto.
* **Pizza Topping:** Sprinkle fresh arugula on top of your pizza after it comes out of the oven.
* **Sandwiches and Wraps:** Add arugula to your sandwiches and wraps for a peppery kick.
* **Soup Garnish:** Use arugula as a garnish for soups and stews.
* **Smoothies:** Add a handful of arugula to your smoothies for a boost of nutrients.
Final Thoughts
Growing arugula indoors is a rewarding and easy way to enjoy fresh, peppery greens year-round.

Conclusion
So, there you have it! Growing arugula indoors is not only achievable but also incredibly rewarding. Imagine having a constant supply of peppery, fresh arugula right at your fingertips, ready to elevate your salads, sandwiches, and pizzas. No more last-minute trips to the grocery store or settling for wilted, lackluster greens. This DIY project empowers you to control the quality and freshness of your produce, ensuring you’re always enjoying the best possible flavor.
The beauty of growing arugula indoors lies in its simplicity and adaptability. It’s a fantastic project for beginners venturing into the world of indoor gardening, requiring minimal space and equipment. Plus, it’s a sustainable way to reduce your carbon footprint and connect with the food you eat.
But the fun doesn’t stop there! Feel free to experiment with different varieties of arugula. ‘Sylvetta’ offers a more intense, wild flavor, while ‘Astro’ is known for its milder, more tender leaves. You can also try growing arugula in different containers, from repurposed yogurt containers to stylish terracotta pots. Consider companion planting with herbs like basil or chives to create a miniature indoor garden ecosystem.
For those seeking an even more hands-off approach, explore self-watering planters or hydroponic systems specifically designed for leafy greens. These options can further simplify the process and ensure consistent moisture levels, leading to even more abundant harvests. Remember to adjust your watering schedule based on the humidity levels in your home and the specific needs of your chosen arugula variety.
Growing arugula indoors is a game-changer for any food enthusiast. It’s a simple, sustainable, and satisfying way to enjoy fresh, flavorful greens year-round. Don’t be intimidated by the idea of indoor gardening. With a little bit of effort and the right information, you can easily cultivate your own thriving arugula patch.
We wholeheartedly encourage you to give this DIY trick a try. Start small, experiment with different techniques, and most importantly, have fun! Once you’ve harvested your first batch of homegrown arugula, we’d love to hear about your experience. Share your tips, tricks, and photos in the comments below. Let’s build a community of indoor arugula growers and inspire others to embrace the joys of homegrown goodness. What are you waiting for? Get planting!
Frequently Asked Questions (FAQ)
Q: How much sunlight does arugula need when grown indoors?
A: Arugula thrives in bright, indirect sunlight. Ideally, aim for at least 6 hours of sunlight per day. If you don’t have a naturally sunny spot, consider using a grow light. LED grow lights are energy-efficient and provide the full spectrum of light that arugula needs to flourish. Position the grow light a few inches above the plants and adjust as they grow. Insufficient light can lead to leggy, pale growth and a less intense flavor.
Q: What is the best type of soil for growing arugula indoors?
A: Arugula prefers well-draining soil that is rich in organic matter. A good option is a potting mix specifically formulated for vegetables or herbs. You can also create your own mix by combining equal parts of potting soil, compost, and perlite or vermiculite. The compost provides essential nutrients, while the perlite or vermiculite improves drainage and aeration. Avoid using garden soil, as it can be too heavy and may contain pests or diseases.
Q: How often should I water my indoor arugula plants?
A: Water arugula plants when the top inch of soil feels dry to the touch. Avoid overwatering, as this can lead to root rot. Water deeply, ensuring that the water drains out of the bottom of the container. During warmer months, you may need to water more frequently. Check the soil moisture regularly and adjust your watering schedule accordingly. Using a moisture meter can help you determine the moisture levels accurately.
Q: How long does it take for arugula to germinate and be ready for harvest?
A: Arugula seeds typically germinate within 5-7 days. You can start harvesting the leaves as soon as they are 2-3 inches long, usually about 3-4 weeks after planting. Harvest the outer leaves first, allowing the inner leaves to continue growing. Regular harvesting encourages continued production.
Q: Can I grow arugula indoors year-round?
A: Yes, you can absolutely grow arugula indoors year-round! The controlled environment of your home allows you to bypass seasonal limitations. Just ensure that your plants receive adequate light, water, and nutrients. You may need to adjust your care routine slightly during the winter months, as the air tends to be drier.
Q: What are some common pests and diseases that affect indoor arugula?
A: While indoor arugula is generally less susceptible to pests and diseases than outdoor plants, it can still be affected by aphids, spider mites, and fungal diseases like powdery mildew. Regularly inspect your plants for any signs of infestation or disease. If you spot pests, try washing them off with a strong stream of water or using insecticidal soap. For fungal diseases, improve air circulation and avoid overwatering.
Q: How do I harvest arugula leaves?
A: The best way to harvest arugula is to use scissors or a sharp knife to cut the outer leaves, leaving the inner leaves to continue growing. This cut-and-come-again method allows you to harvest multiple times from the same plant. Harvest in the morning when the leaves are at their freshest.
Q: Can I grow arugula from seed indoors?
A: Yes, growing arugula from seed indoors is the most common and easiest method. Sow the seeds directly into your chosen container, about ¼ inch deep. Keep the soil moist until the seeds germinate. Once the seedlings emerge, thin them out to ensure they have enough space to grow.
Q: What are some creative ways to use homegrown arugula?
A: The possibilities are endless! Arugula adds a peppery kick to salads, sandwiches, pizzas, and pasta dishes. You can also use it to make pesto, add it to smoothies, or sauté it as a side dish. Get creative and experiment with different flavor combinations.
Q: How do I prevent arugula from becoming too bitter?
A: Arugula can become more bitter as it matures or if it is stressed by heat or lack of water. To prevent bitterness, harvest the leaves when they are young and tender. Ensure that your plants receive adequate water and avoid exposing them to extreme temperatures.
Q: Is growing arugula indoors organic?
A: Yes, growing arugula indoors can be completely organic. By using organic potting mix, fertilizers, and pest control methods, you can ensure that your arugula is free from synthetic chemicals. This allows you to enjoy fresh, healthy greens that are good for you and the environment.


Leave a Comment