
Growing peanuts backyard might seem like a whimsical dream, reserved for sprawling farms and cartoon characters. But guess what? I’m here to tell you that this dream can absolutely become your reality, even if you only have a small patch of land! For centuries, peanuts have been a staple crop, not just for their delicious flavor, but also for their incredible nutritional value. Originating in South America, these little legumes have traveled the globe, becoming a beloved snack and a crucial ingredient in countless cuisines.
But why should *you* bother with the effort of growing your own peanuts? Well, imagine the satisfaction of harvesting your own homegrown snacks, knowing exactly where they came from and what went into them. Plus, growing peanuts backyard is a fantastic way to connect with nature, learn about the growing process, and even save some money on groceries. In this article, I’m going to share some simple, yet effective DIY tricks and hacks that will make your peanut-growing journey a resounding success. Get ready to roll up your sleeves and discover the joy of homegrown peanuts!
Growing Peanuts in Your Backyard: A Beginner’s Guide
Hey there, fellow gardening enthusiasts! Ever thought about growing your own peanuts? It’s surprisingly easy and incredibly rewarding. Imagine the satisfaction of harvesting your own homegrown peanuts, perfect for snacking, making peanut butter, or adding to your favorite recipes. I’m going to walk you through the entire process, from choosing the right peanuts to harvesting your bounty. Let’s get started!
Choosing Your Peanut Variety
Before you even think about planting, you need to decide which type of peanut you want to grow. There are four main types, and each has its own characteristics:
- Virginia: These are the large, often roasted in-shell peanuts you see at ballgames. They need a longer growing season (120-150 days).
- Spanish: These have smaller kernels and a reddish-brown skin. They’re often used in candies and peanut butter. They mature relatively quickly (90-110 days).
- Runner: This is the most commonly grown type in the US. They have uniform kernel size and are primarily used for peanut butter. They need about 120-130 days to mature.
- Valencia: These have three or more small kernels per shell and are known for their sweet flavor. They’re great for boiling or roasting. They also mature relatively quickly (90-110 days).
For beginners, I recommend starting with Spanish or Valencia peanuts because they have a shorter growing season. Check your local climate and growing season length to make the best choice for your area.
Preparing Your Planting Site
Peanuts need well-drained, sandy loam soil with a slightly acidic pH (around 6.0 to 6.5). They also need plenty of sunlight – at least 6-8 hours a day. Here’s how to prepare your planting site:
- Choose a sunny location: As I mentioned, peanuts are sun-loving plants. Pick a spot in your yard that gets plenty of direct sunlight.
- Test your soil: A soil test will tell you the pH and nutrient levels of your soil. You can purchase a soil testing kit at most garden centers or send a sample to your local agricultural extension office.
- Amend the soil: Based on your soil test results, you may need to amend your soil. If your soil is too alkaline, you can add sulfur to lower the pH. If it’s too acidic, you can add lime to raise the pH. You can also add compost or well-rotted manure to improve drainage and fertility. Peanuts don’t need a lot of nitrogen, so avoid using high-nitrogen fertilizers.
- Till the soil: Till the soil to a depth of at least 8-10 inches to loosen it up and improve drainage. Remove any rocks, weeds, or other debris.
- Create raised beds (optional): Raised beds can improve drainage and warm up the soil faster in the spring. This is especially helpful if you have heavy clay soil.
Planting Your Peanuts
Now comes the fun part – planting! You can start peanuts indoors or directly sow them in the ground. I prefer direct sowing because it’s less work and avoids transplant shock.
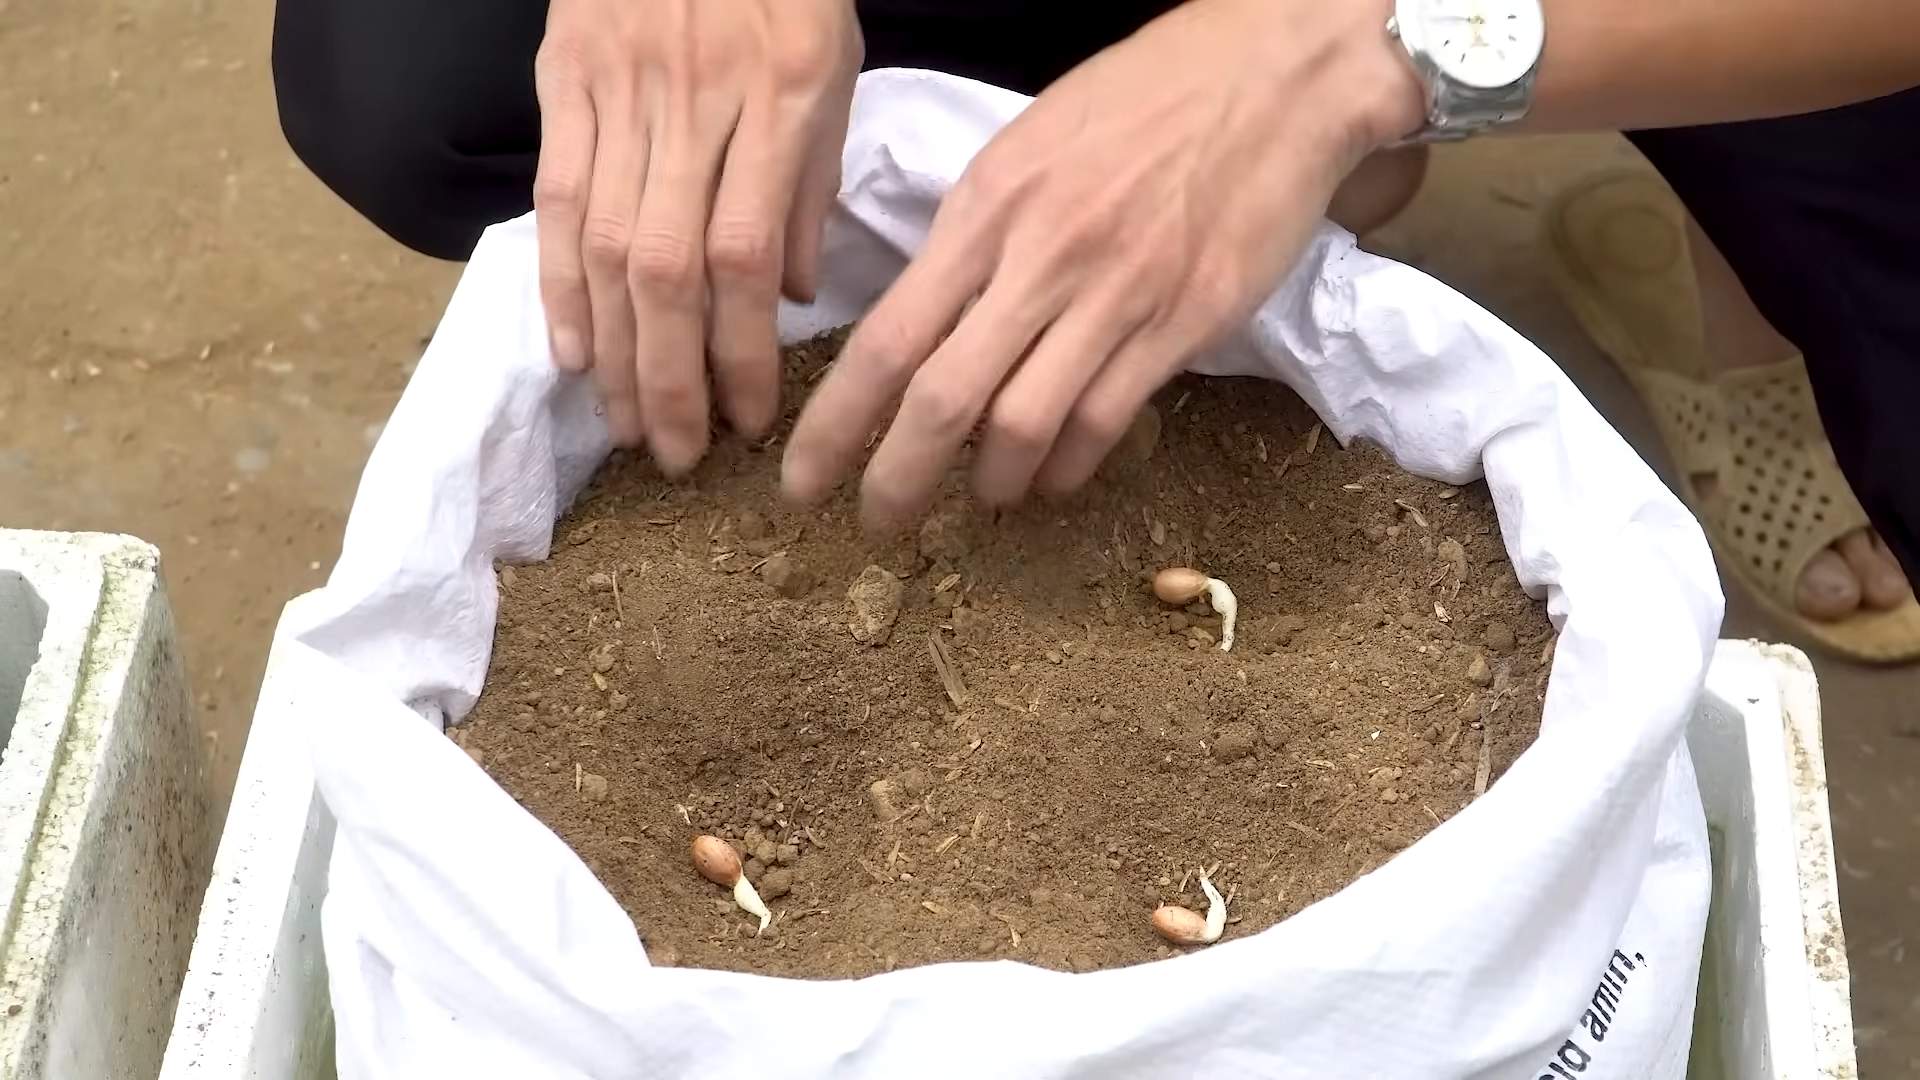
Starting from Raw Peanuts
You can actually plant raw, unsalted peanuts that you buy from the grocery store! Just make sure they are unroasted and still in their shells.
- Soak the peanuts: Soak the peanuts in water for several hours or overnight to soften the shells and speed up germination.
- Shell the peanuts: Gently crack open the shells and remove the peanuts. Be careful not to damage the kernels.
- Plant the peanuts: Plant the peanuts about 1-2 inches deep and 6-8 inches apart in rows that are 2-3 feet apart.
- Water thoroughly: Water the soil thoroughly after planting.
Direct Sowing
- Wait for warm weather: Peanuts need warm soil to germinate. Wait until the soil temperature is consistently above 65°F (18°C) before planting. This is usually a couple of weeks after the last frost.
- Plant the peanuts: Plant the peanuts about 1-2 inches deep and 6-8 inches apart in rows that are 2-3 feet apart.
- Water thoroughly: Water the soil thoroughly after planting.
Caring for Your Peanut Plants
Once your peanuts are planted, it’s important to provide them with the right care to ensure a good harvest.
- Watering: Peanuts need consistent moisture, especially during flowering and pod development. Water deeply and regularly, but avoid overwatering, which can lead to fungal diseases. Aim for about 1 inch of water per week.
- Weeding: Keep the area around your peanut plants free of weeds. Weeds compete with peanuts for water and nutrients. Hand-pull weeds or use a hoe to remove them. Be careful not to damage the peanut plants’ roots.
- Fertilizing: As I mentioned earlier, peanuts don’t need a lot of nitrogen. However, they do need phosphorus and potassium. You can apply a fertilizer that is low in nitrogen and high in phosphorus and potassium a few weeks after planting. Follow the instructions on the fertilizer label.
- Hilling: About a month after the plants start flowering, you’ll notice small pegs (or gynophores) forming at the base of the plant. These pegs are what will eventually develop into peanuts. To encourage pod development, hill the soil around the base of the plants, covering the pegs with soil. This will help protect the pegs and provide them with the moisture they need to develop into peanuts.
- Pest and Disease Control: Peanuts can be susceptible to certain pests and diseases. Common pests include aphids, spider mites, and leafhoppers. Common diseases include leaf spot and white mold. Inspect your plants regularly for signs of pests or diseases. If you find any, take action immediately. You can use insecticidal soap or neem oil to control pests. For diseases, you can use a fungicide. Always follow the instructions on the product label.
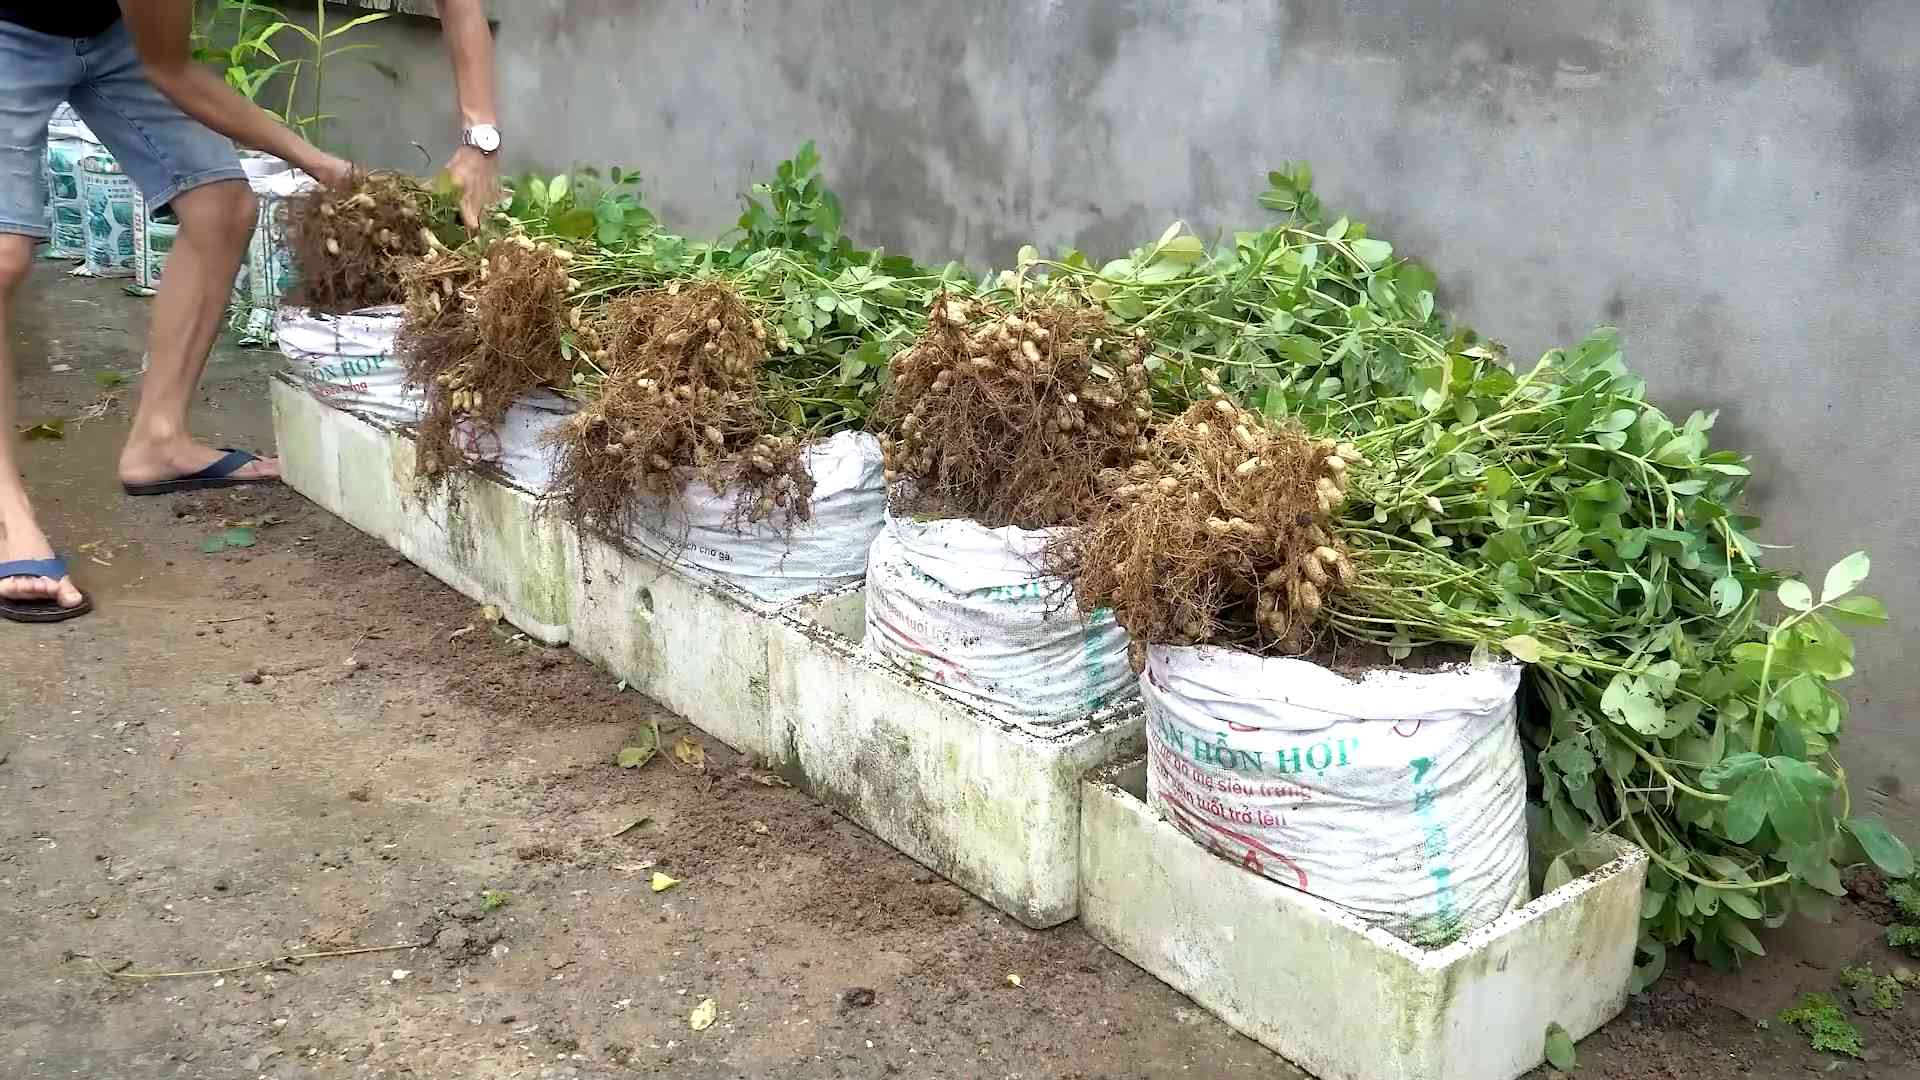
Harvesting Your Peanuts
Harvesting is the most exciting part! You’ll know your peanuts are ready to harvest when the leaves start to turn yellow and the plants begin to die back. This usually happens about 120-150 days after planting, depending on the variety.
- Dig up the plants: Use a garden fork or shovel to carefully dig up the entire plant, being careful not to damage the peanuts.
- Shake off the soil: Gently shake off any excess soil from the plants.
- Hang the plants to dry: Hang the plants upside down in a dry, well-ventilated area for 2-4 weeks. This will allow the peanuts to dry and cure.
- Remove the peanuts: Once the plants are dry, you can remove the peanuts from the vines.
- Dry the peanuts further: Spread the peanuts out in a single layer on a screen or tray and let them dry for another week or two.
Storing Your Peanuts
Once your peanuts are completely dry, you can store them in an airtight container in a cool, dry place. They should last for several months. You can also freeze them for longer storage.
Enjoying Your Homegrown Peanuts
Now that you’ve harvested and stored your peanuts, it’s time to enjoy them! You can roast them, boil them, make peanut butter, or add them to your favorite recipes. The possibilities are endless!
Roasting Peanuts
- Preheat your oven: Preheat your oven to 350°F (175°C).
- Spread the peanuts on a baking sheet: Spread the peanuts in a single layer on a baking sheet.
- Roast the peanuts: Roast the peanuts for 15-20 minutes, or until they are golden brown and fragrant.
- Let the peanuts cool: Let the peanuts cool completely before eating.
Boiling Peanuts
- Wash the peanuts: Wash the peanuts thoroughly.
- Place the peanuts in a pot: Place the peanuts in a large pot and cover them with water.
- Add salt: Add about 1/4 cup of salt per gallon of water.
- Boil the peanuts: Bring the water to a boil and then reduce the heat to a simmer. Simmer the peanuts for 2-3 hours, or until they are soft and tender.
- Drain the peanuts: Drain the peanuts and let them cool slightly before eating.
Growing peanuts in your backyard is a fun and rewarding experience. With a little bit of planning and
Conclusion
So, there you have it! Growing peanuts in your backyard isn’t just a fun gardening project; it’s a rewarding experience that connects you to your food in a tangible way. Forget the store-bought, often bland, peanuts – imagine the taste of freshly harvested, homegrown peanuts, roasted to perfection and bursting with flavor. This DIY trick is a must-try for several reasons. First, it’s surprisingly easy, even for beginner gardeners. You don’t need acres of land or specialized equipment. A sunny spot, well-drained soil, and a little patience are all you need to embark on this peanut-growing adventure.
Second, the satisfaction of nurturing a plant from seed to harvest is unparalleled. Watching those tiny seedlings emerge, then witnessing the unique process of pegging (where the peanut flowers burrow into the soil to form the peanuts) is truly fascinating. It’s a great way to learn about the life cycle of plants and appreciate the wonders of nature.
Third, and perhaps most importantly, you get to enjoy the freshest, most delicious peanuts imaginable. The flavor of homegrown peanuts is simply unmatched by anything you can buy in a store. Plus, you know exactly where your food is coming from and how it was grown, giving you peace of mind about its quality and safety.
Looking for variations? Consider trying different varieties of peanuts! Virginia peanuts are known for their large size, while Spanish peanuts are smaller and sweeter. Valencia peanuts produce multiple peanuts per plant, making them a prolific choice. Experiment with different varieties to find your favorite. You can also try growing peanuts in containers if you have limited space. Just make sure the containers are large enough to accommodate the plant’s root system.
Don’t be afraid to get creative with your peanut harvest! Roast them with different spices, like chili powder, garlic powder, or smoked paprika, for a flavorful snack. Use them to make homemade peanut butter, peanut brittle, or even peanut sauce for Asian-inspired dishes. The possibilities are endless!
We wholeheartedly encourage you to try this DIY trick and experience the joy of growing peanuts in your backyard. It’s a fun, educational, and delicious project that the whole family can enjoy. And once you’ve harvested your first crop of homegrown peanuts, be sure to share your experience with us! We’d love to hear about your successes, challenges, and favorite ways to enjoy your homegrown bounty. Share your photos and stories on social media using #HomegrownPeanuts and let’s inspire others to get their hands dirty and grow their own food! This **growing peanuts backyard** project is more than just gardening; it’s about connecting with nature, enjoying fresh food, and creating lasting memories. So, what are you waiting for? Get planting!
Frequently Asked Questions (FAQ)
What is the best time to plant peanuts?
The ideal time to plant peanuts is after the last frost in spring, when the soil temperature has warmed to at least 65 degrees Fahrenheit (around 18 degrees Celsius). Peanuts need a long growing season, typically 120-150 days, so planting early in the season is crucial for a successful harvest. In warmer climates, you may be able to plant peanuts earlier, but always check your local weather conditions and frost dates.
What kind of soil do peanuts need?
Peanuts thrive in well-drained, sandy loam soil. This type of soil allows the peanut pegs (the stems that develop after flowering and burrow into the ground to form the peanuts) to easily penetrate the soil. Avoid heavy clay soils, as they can compact and hinder peanut development. If you have clay soil, amend it with organic matter, such as compost or aged manure, to improve drainage and aeration. A slightly acidic soil pH of 6.0 to 6.5 is ideal for peanut growth.
How much sunlight do peanuts need?
Peanuts require at least 6-8 hours of direct sunlight per day to grow and produce a good yield. Choose a sunny location in your backyard for your peanut patch. If you’re growing peanuts in containers, make sure to place them in a spot that receives plenty of sunlight throughout the day. Insufficient sunlight can result in weak plants and poor peanut production.
How often should I water peanuts?
Peanuts need consistent moisture, especially during flowering and pegging. Water deeply and regularly, aiming to keep the soil consistently moist but not waterlogged. Avoid overhead watering, as it can promote fungal diseases. Instead, water at the base of the plants. During dry spells, you may need to water more frequently. As the peanuts mature and the plants begin to yellow, you can reduce watering.
How do I know when peanuts are ready to harvest?
The best way to determine when peanuts are ready to harvest is to check the maturity of the pods. Dig up a few plants and examine the peanut shells. The shells should be well-filled, and the veins on the shells should be prominent and dark. The inside of the shell should also be dark in color. Another sign of maturity is yellowing of the foliage. Typically, peanuts are ready to harvest about 120-150 days after planting.
How do I harvest peanuts?
To harvest peanuts, carefully dig up the entire plant, being careful not to damage the peanut pods. Gently shake off any excess soil. You can then hang the plants upside down in a well-ventilated area to dry for several weeks. Alternatively, you can remove the peanuts from the plants and dry them on screens or racks. Make sure the peanuts are completely dry before storing them to prevent mold growth.
Can I grow peanuts in containers?
Yes, you can grow peanuts in containers, but you’ll need to choose a large container that is at least 18 inches in diameter and 18 inches deep. Use a well-draining potting mix and make sure the container has drainage holes. Water regularly and fertilize as needed. Container-grown peanuts may not produce as many peanuts as those grown in the ground, but they can still provide a rewarding harvest.
What are some common pests and diseases that affect peanuts?
Some common pests that can affect peanuts include aphids, spider mites, and nematodes. Diseases that can affect peanuts include leaf spot, rust, and white mold. To prevent pest and disease problems, choose disease-resistant varieties, practice crop rotation, and maintain good soil health. You can also use organic pest control methods, such as insecticidal soap or neem oil, to control pests.
How do I store peanuts after harvesting?
After harvesting and drying your peanuts, store them in a cool, dry, and dark place. You can store them in airtight containers or bags. Properly stored peanuts can last for several months. You can also freeze peanuts for longer storage.
Can I roast my homegrown peanuts?
Absolutely! Roasting your homegrown peanuts is a great way to enjoy their delicious flavor. To roast peanuts, preheat your oven to 350 degrees Fahrenheit (175 degrees Celsius). Spread the peanuts in a single layer on a baking sheet and roast for 15-20 minutes, or until they are golden brown and fragrant. Be sure to stir them occasionally to ensure even roasting. Let the peanuts cool completely before enjoying them. You can also roast peanuts in a skillet on the stovetop.


Leave a Comment