
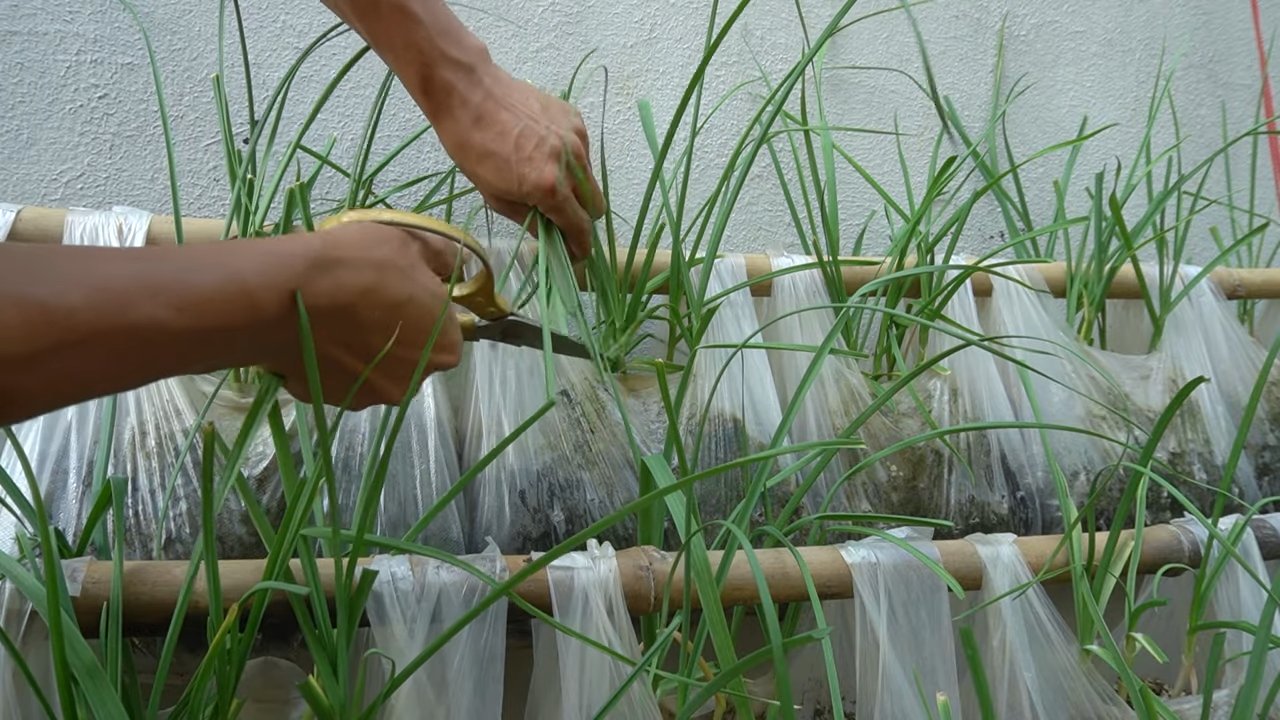
Growing Potatoes No Garden? Absolutely! Imagine harvesting a bounty of fresh, earthy potatoes right from your balcony or patio, even without a traditional garden plot. Sounds too good to be true? It’s not! This guide is packed with simple, effective DIY tricks that will have you enjoying homegrown potatoes in no time.
For centuries, potatoes have been a staple food around the world, originating in the Andes Mountains of South America. They’ve nourished civilizations and fueled culinary creativity. Now, you don’t need acres of land to participate in this rich history. Urban dwellers and apartment residents can easily join the potato-growing fun!
Why should you learn these DIY tricks for growing potatoes no garden? Well, store-bought potatoes are fine, but nothing beats the taste of freshly harvested, homegrown spuds. Plus, it’s incredibly rewarding to nurture a plant from seed (or in this case, a seed potato) to harvest. More importantly, with rising food costs and concerns about food security, learning to grow your own food, even in a small space, is becoming increasingly valuable. These methods for growing potatoes no garden are not only space-saving but also incredibly easy to implement, even for beginners. So, let’s ditch the dirt-only mindset and explore some creative ways to cultivate your own potato patch, no garden required!
Kartoffeln anbauen ohne Garten: Dein DIY-Guide für den Kartoffelturm
Hey du! Hast du keinen Garten, aber trotzdem Lust auf frische, selbst angebaute Kartoffeln? Kein Problem! Ich zeige dir, wie du mit einem Kartoffelturm auch auf dem Balkon, der Terrasse oder sogar im Hinterhof eine reiche Ernte einfahren kannst. Es ist einfacher als du denkst und macht richtig Spaß!
Was du für deinen Kartoffelturm brauchst:
* Einen großen Behälter: Das kann ein alter Mülleimer (aus Plastik oder Metall), ein großer Pflanzkübel, ein Weinfass oder sogar ein selbstgebauter Turm aus Holzpaletten sein. Wichtig ist, dass er mindestens 60 cm hoch und 40 cm im Durchmesser ist. Je größer, desto mehr Kartoffeln!
* Kartoffeln: Am besten Pflanzkartoffeln aus dem Fachhandel. Die sind speziell gezüchtet und bringen eine bessere Ernte. Du kannst aber auch Bio-Kartoffeln aus dem Supermarkt nehmen, die schon Augen (kleine Triebe) haben.
* Erde: Eine Mischung aus Gartenerde, Kompost und Sand ist ideal. Das sorgt für eine gute Drainage und ausreichend Nährstoffe.
* Stroh oder Heu: Das dient als Mulch und hält die Erde feucht.
* Gießkanne: Zum regelmäßigen Gießen.
* Schaufel oder Spaten: Zum Befüllen des Behälters.
* Optional: Dünger (organisch oder mineralisch) für eine noch bessere Ernte.
Schritt-für-Schritt-Anleitung: So baust du deinen Kartoffelturm
1. Den Behälter vorbereiten:
* Wenn du einen Mülleimer oder ein anderes Gefäß ohne Löcher verwendest, bohre ein paar Löcher in den Boden, damit das Wasser ablaufen kann. Staunässe ist Gift für Kartoffeln!
* Reinige den Behälter gründlich, falls er vorher für etwas anderes verwendet wurde.
* Platziere den Behälter an einem sonnigen Standort. Kartoffeln lieben die Sonne! Mindestens 6 Stunden Sonne pro Tag sollten es schon sein.
2. Die erste Schicht Erde einfüllen:
* Fülle den Behälter mit einer etwa 20 cm hohen Schicht Erde.
* Drücke die Erde leicht an.
3. Die Kartoffeln legen:
* Lege 3-4 Kartoffeln mit den Augen nach oben auf die Erde. Achte darauf, dass sie genügend Abstand zueinander haben (ca. 15-20 cm).
* Wenn du sehr große Kartoffeln hast, kannst du sie vorher halbieren oder vierteln. Achte aber darauf, dass jedes Stück mindestens ein Auge hat.
* Bedecke die Kartoffeln mit einer etwa 10 cm hohen Schicht Erde.
4. Gießen und Mulchen:
* Gieße die Erde vorsichtig an, sodass sie gut durchfeuchtet ist.
* Bedecke die Erde mit einer Schicht Stroh oder Heu. Das hält die Feuchtigkeit im Boden und verhindert, dass Unkraut wächst.
5. Die Kartoffeln wachsen lassen:
* Sobald die Kartoffelpflanzen etwa 20 cm hoch sind, fülle den Behälter mit einer weiteren Schicht Erde auf, sodass nur noch die obersten Blätter herausschauen. Dieser Vorgang wird als “Anhäufeln” bezeichnet.
* Wiederhole das Anhäufeln alle paar Wochen, bis der Behälter fast voll ist.
* Gieße die Kartoffeln regelmäßig, besonders an heißen Tagen. Die Erde sollte immer leicht feucht sein, aber nicht nass.
* Dünge die Kartoffeln bei Bedarf mit einem organischen oder mineralischen Dünger. Achte dabei auf die Dosierungsanleitung des Herstellers.
Die richtige Pflege für deinen Kartoffelturm
* Gießen: Wie gesagt, Kartoffeln brauchen regelmäßig Wasser. Fühle einfach mit dem Finger, ob die Erde noch feucht ist. Wenn nicht, gießen!
* Düngen: Während der Wachstumsphase kannst du deine Kartoffeln alle 2-3 Wochen mit einem Flüssigdünger düngen. Das sorgt für eine reiche Ernte.
* Schädlinge: Achte auf Schädlinge wie Kartoffelkäfer oder Blattläuse. Bei Befall kannst du biologische Schädlingsbekämpfungsmittel einsetzen.
* Unkraut: Entferne regelmäßig Unkraut, das im Behälter wächst.
Die Ernte: Wann ist es soweit?
* Die Erntezeit hängt von der Kartoffelsorte ab. In der Regel kannst du etwa 12-16 Wochen nach dem Pflanzen ernten.
* Ein Zeichen dafür, dass die Kartoffeln reif sind, ist, wenn das Kraut (die Blätter) gelb wird und abstirbt.
* Um zu ernten, kippe den Behälter einfach um und sammle die Kartoffeln auf. Du kannst auch vorsichtig mit einer Schaufel in der Erde graben.
Tipps und Tricks für eine erfolgreiche Kartoffelernte
* Vorkeimen: Lege die Kartoffeln vor dem Pflanzen an einen hellen, kühlen Ort, damit sie vorkeimen können. Das beschleunigt das Wachstum.
* Sortenwahl: Wähle Kartoffelsorten, die für den Anbau im Kübel geeignet sind. Frühkartoffeln sind oft eine gute Wahl.
* Standort: Achte auf einen sonnigen Standort. Kartoffeln brauchen viel Licht.
* Boden: Verwende eine lockere, humusreiche Erde.
* Mulchen: Mulchen hilft, die Feuchtigkeit im Boden zu halten und Unkraut zu unterdrücken.
* Anhäufeln: Das Anhäufeln fördert die Bildung von neuen Kartoffeln.
* Gießen: Gieße regelmäßig, aber vermeide Staunässe.
* Düngen: Dünge während der Wachstumsphase regelmäßig.
* Schädlinge: Kontrolliere die Pflanzen regelmäßig auf Schädlinge und bekämpfe sie bei Bedarf.
* Ernte: Ernte die Kartoffeln, sobald das Kraut abstirbt.
Alternativen zum Kartoffelturm
Wenn dir der Kartoffelturm zu aufwendig ist, gibt es auch einfachere Alternativen:
* Kartoffeln im Sack anbauen: Fülle einen Jutesack oder einen stabilen Plastiksack mit Erde und lege die Kartoffeln hinein. Anhäufeln und gießen wie beim Kartoffelturm.
* Kartoffeln im Eimer anbauen: Funktioniert genauso wie im Sack, nur mit einem Eimer.
Häufige Fehler beim Kartoffelanbau im Kübel
* Falsche Erde: Verwende keine reine Gartenerde, sondern eine Mischung aus Gartenerde, Kompost und Sand.
* Zu wenig Sonne: Kartoffeln brauchen mindestens 6 Stunden Sonne pro Tag.
* Zu viel Wasser: Vermeide Staunässe.
* Zu wenig Dünger: Dünge während der Wachstumsphase regelmäßig.
* Schädlinge: Ignoriere keine Schädlinge.
Ich hoffe, diese Anleitung hilft dir dabei, deine eigenen Kartoffeln ohne Garten anzubauen. Es ist wirklich ein tolles Gefühl, die eigenen Kartoffeln zu ernten und zu genießen! Viel Erfolg!
Conclusion
So, there you have it! Growing potatoes without a garden isn’t just a whimsical idea; it’s a genuinely achievable and rewarding experience. We’ve walked through the simple steps, highlighting how even the most space-constrained individual can enjoy the satisfaction of harvesting their own homegrown spuds. This method, focusing on container gardening, unlocks the potential for fresh, flavorful potatoes regardless of your living situation.
Why is this DIY potato growing trick a must-try? Because it democratizes gardening. It removes the barriers of needing acres of land and specialized equipment. It’s accessible, affordable, and incredibly satisfying. Imagine the pride you’ll feel serving up a dish made with potatoes you nurtured from seed to harvest, right on your balcony or patio. The taste difference alone is a compelling reason – homegrown potatoes boast a freshness and flavor profile that store-bought varieties simply can’t match. Plus, you have complete control over what goes into your potatoes, ensuring they’re grown organically and free from unwanted chemicals.
But the benefits extend beyond just taste and control. This project is a fantastic way to connect with nature, even in an urban environment. It’s a therapeutic activity that can reduce stress and provide a sense of accomplishment. It’s also a wonderful learning opportunity, especially for children, teaching them about the life cycle of plants and the importance of sustainable food practices.
Looking for variations? Absolutely! Experiment with different potato varieties. Russets are great for baking, Yukon Golds are perfect for roasting, and red potatoes are delicious boiled or in potato salad. You can also try different container sizes and materials. While we recommended a large container, you can adapt the method to smaller pots for a more manageable project. Consider adding companion plants like marigolds or basil to your potato container to deter pests and enhance growth. Another variation is to try using different types of soil mixes. A well-draining potting mix is essential, but you can experiment with adding compost, peat moss, or other organic amendments to see what works best for your specific environment.
Don’t be afraid to get creative and personalize your potato-growing journey. The most important thing is to have fun and learn along the way.
We wholeheartedly encourage you to give this DIY potato growing trick a try. It’s a simple, rewarding, and delicious way to bring a little bit of the garden into your life, no matter where you live. Once you’ve harvested your first batch of homegrown potatoes, we’d love to hear about your experience! Share your photos, tips, and stories with us in the comments below. Let’s build a community of urban gardeners and inspire others to discover the joy of growing their own food. Happy growing!
Frequently Asked Questions (FAQ)
What kind of potatoes should I use for growing in containers?
The best potatoes for container growing are typically smaller varieties like Yukon Gold, Red Pontiac, or fingerling potatoes. These varieties tend to mature faster and produce well in the limited space of a container. However, you can certainly try growing larger varieties like Russets, but be sure to provide them with a larger container and plenty of support. Seed potatoes are ideal, but you can also use potatoes from the grocery store that have started to sprout “eyes.” Just make sure they are organic to avoid any growth inhibitors.
How much sunlight do container potatoes need?
Potatoes need at least six to eight hours of direct sunlight per day to thrive. Choose a location for your container that receives ample sunlight throughout the day. If you live in a particularly hot climate, you may need to provide some afternoon shade to prevent the potatoes from overheating. If you don’t have enough natural sunlight, you can supplement with grow lights.
What kind of soil is best for growing potatoes in containers?
Potatoes need well-draining soil that is rich in organic matter. A good potting mix specifically designed for vegetables is ideal. You can also create your own mix by combining equal parts of compost, peat moss, and perlite or vermiculite. Avoid using garden soil, as it can be too heavy and compacted for container growing.
How often should I water my container potatoes?
Water your potatoes regularly, keeping the soil consistently moist but not waterlogged. Check the soil moisture by sticking your finger about an inch into the soil. If it feels dry, it’s time to water. Water deeply, allowing the water to drain out of the bottom of the container. Avoid overwatering, as this can lead to root rot.
How do I “hill” potatoes in a container?
“Hilling” is the process of adding more soil around the potato plants as they grow. This encourages the plants to produce more potatoes along the buried stem. As the potato plants grow, add more soil to the container, covering the lower part of the stems. Leave the top few inches of the plant exposed. Repeat this process every few weeks until the container is nearly full.
When will my potatoes be ready to harvest?
Potatoes are typically ready to harvest about 70-90 days after planting. You can start harvesting “new potatoes” (small, immature potatoes) a few weeks earlier. To harvest, gently dig around the base of the plant and remove the potatoes. Be careful not to damage the potatoes with your shovel or trowel.
What are some common pests and diseases that affect container potatoes?
Common pests that can affect container potatoes include aphids, potato beetles, and flea beetles. You can control these pests with insecticidal soap or neem oil. Common diseases include early blight and late blight. To prevent these diseases, choose disease-resistant potato varieties and avoid overwatering.
Can I grow potatoes in a container indoors?
While it’s possible to grow potatoes indoors, it can be challenging to provide them with the necessary sunlight and space. If you want to try growing potatoes indoors, choose a sunny location near a window or use grow lights. You’ll also need a large container and plenty of support for the plants.
What do I do with the potato plants after harvesting the potatoes?
After harvesting the potatoes, you can compost the potato plants. They are a great source of nutrients for your compost pile. Alternatively, you can till the plants into your garden soil to improve its fertility.
Can I reuse the soil from my potato container for other plants?
Yes, you can reuse the soil from your potato container for other plants, but it’s a good idea to amend it with fresh compost or other organic matter. Potatoes can deplete the soil of nutrients, so adding compost will help replenish them. You should also avoid planting other members of the nightshade family (tomatoes, peppers, eggplants) in the same soil, as they are susceptible to the same diseases.
Leave a Comment