
Handyman repair shortcuts – who doesn’t love them? Let’s be honest, tackling home repairs can feel daunting, like stepping into a labyrinth of tools and confusing instructions. But what if I told you there’s a secret world of clever tricks and DIY hacks that can transform you from a repair novice to a confident fixer-upper?
For generations, resourceful individuals have been passing down ingenious methods to simplify household maintenance. Think of your grandparents, masters of making-do, armed with duct tape and a can-do attitude! This tradition of practical problem-solving is deeply ingrained in our culture, a testament to our ability to adapt and innovate.
In today’s fast-paced world, time is precious. Nobody wants to spend hours wrestling with a leaky faucet or struggling to hang a picture straight. That’s where these handyman repair shortcuts come in. They’re designed to save you time, money, and frustration, empowering you to take control of your home’s upkeep. I’m going to share some of my favorite tips and tricks that will help you tackle those nagging repairs with ease and confidence. Get ready to unlock your inner handyman!
DIY Handyman Repair Shortcuts: Pro Tips for a Quick Fix!
Hey there, fellow DIY enthusiasts! Let’s face it, we all love tackling home repairs ourselves. It’s satisfying, saves money, and gives you bragging rights. But sometimes, you just need a quick fix, a clever shortcut to get the job done faster and easier. That’s where these handyman repair shortcuts come in handy (pun intended!). I’ve compiled some of my favorite tricks that I’ve learned over the years, and I’m excited to share them with you. Get ready to become a repair ninja!
Stripped Screw Savior
Stripped screws are the bane of every DIYer’s existence. You’re trying to tighten or loosen a screw, and suddenly, the screwdriver just spins uselessly. Don’t despair! Here are a few ways to rescue that stripped screw:
Rubber Band Rescue
This is my go-to method for slightly stripped screws.
1. Find a rubber band: Grab a wide, flat rubber band. The thicker, the better.
2. Place the rubber band: Fold the rubber band over the head of the stripped screw.
3. Insert the screwdriver: Press your screwdriver firmly into the screw head, on top of the rubber band. The rubber band will fill the gap and provide extra grip.
4. Turn slowly: Apply steady pressure and turn the screwdriver slowly. Hopefully, the rubber band will give you enough traction to remove or tighten the screw.
Steel Wool Solution
Similar to the rubber band trick, steel wool can provide extra grip.
1. Gather steel wool: Get a small piece of fine-grade steel wool.
2. Stuff the screw head: Push the steel wool into the stripped screw head, filling the gaps.
3. Insert the screwdriver: Insert your screwdriver into the screw head, pressing firmly.
4. Turn carefully: Apply pressure and turn the screwdriver slowly. The steel wool should help the screwdriver grip the screw.
Using a Wider Screwdriver
Sometimes, the problem isn’t just stripping, but also using the wrong size screwdriver.
1. Find a larger screwdriver: Select a screwdriver with a head that’s slightly larger than the stripped screw head.
2. Apply pressure: Press the larger screwdriver firmly into the screw head.
3. Turn slowly: Apply steady pressure and turn the screwdriver slowly. The larger size might give you enough grip to work with.
Screw Extraction Kit
If all else fails, a screw extraction kit is your best bet. These kits are relatively inexpensive and can save you a lot of frustration.
1. Choose the right extractor: Select an extractor bit that’s slightly smaller than the stripped screw head.
2. Drill a pilot hole: Use a drill to create a small pilot hole in the center of the stripped screw head.
3. Insert the extractor: Insert the extractor bit into the pilot hole.
4. Turn counterclockwise: Apply pressure and turn the extractor bit counterclockwise. The extractor bit will bite into the screw head and allow you to remove it.
Easy Wall Anchors
Hanging pictures or shelves on drywall can be tricky. Here are some shortcuts for using wall anchors:
Self-Drilling Anchors
These anchors are super easy to use and don’t require pre-drilling.
1. Position the object: Hold the picture or shelf in place on the wall.
2. Mark the spot: Mark the location where you want to insert the anchor.
3. Insert the anchor: Place the tip of the self-drilling anchor on the marked spot.
4. Screw in the anchor: Use a screwdriver to screw the anchor directly into the drywall. The anchor will create its own hole as you screw it in.
5. Attach the object: Hang your picture or shelf using the screw that comes with the anchor.
Using Toothpicks for Loose Screws
If a screw hole in drywall is too large or stripped, toothpicks can provide a quick fix.
1. Gather toothpicks: Collect a handful of wooden toothpicks.
2. Apply wood glue: Dip the toothpicks in wood glue.
3. Fill the hole: Stuff the glued toothpicks into the loose screw hole, filling it completely.
4. Let it dry: Allow the glue to dry completely (usually a few hours).
5. Trim the toothpicks: Trim the excess toothpicks flush with the wall using a utility knife.
6. Re-insert the screw: Re-insert the screw into the filled hole. The toothpicks will provide a solid base for the screw to grip.
Caulking Like a Pro
Caulking can be messy, but these shortcuts will help you achieve a professional-looking finish:
Painter’s Tape Perfection
Painter’s tape is your best friend when it comes to clean caulk lines.
1. Apply painter’s tape: Apply painter’s tape along both sides of the area you want to caulk, leaving a narrow gap for the caulk.
2. Apply the caulk: Apply a bead of caulk along the gap between the tape.
3. Smooth the caulk: Use a wet finger or a caulk smoothing tool to smooth the caulk bead.
4. Remove the tape: Immediately remove the painter’s tape while the caulk is still wet. This will leave you with a clean, crisp caulk line.
Dish Soap Smoothing
A little dish soap can make smoothing caulk much easier.
1. Mix soap and water: Mix a few drops of dish soap with a cup of water.
2. Dip your finger: Dip your finger in the soapy water.
3. Smooth the caulk: Use your soapy finger to smooth the caulk bead. The soap will prevent the caulk from sticking to your finger.
4. Wipe away excess: Wipe away any excess caulk with a damp cloth.
Unclogging Drains the Easy Way
Clogged drains are a common household problem. Here are some quick and easy ways to unclog them:
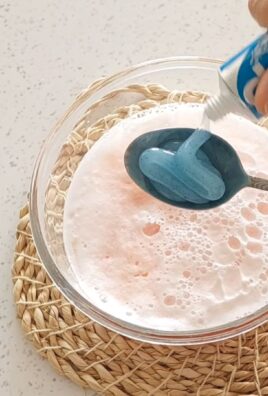
Baking Soda and Vinegar Volcano
This is a natural and effective way to unclog drains.
1. Pour baking soda: Pour about 1 cup of baking soda down the drain.
2. Pour vinegar: Pour about 1 cup of vinegar down the drain.
3. Let it fizz: Let the mixture fizz for about 30 minutes.
4. Flush with hot water: Flush the drain with hot water for several minutes.
Wire Hanger Hook
A straightened wire hanger can be surprisingly effective at removing clogs.
1. Straighten the hanger: Straighten a wire coat hanger as much as possible.
2. Create a hook: Bend one end of the hanger into a small hook.
3. Insert the hanger: Insert the hooked end of the hanger into the drain.
4. Fish for debris: Use the hook to fish out any hair, soap scum, or other debris that’s clogging the drain.
5. Flush with water: Flush the drain with hot water to clear any remaining debris.
Painting Perfection Shortcuts
Painting can be time-consuming, but these shortcuts will help you achieve a professional finish faster:
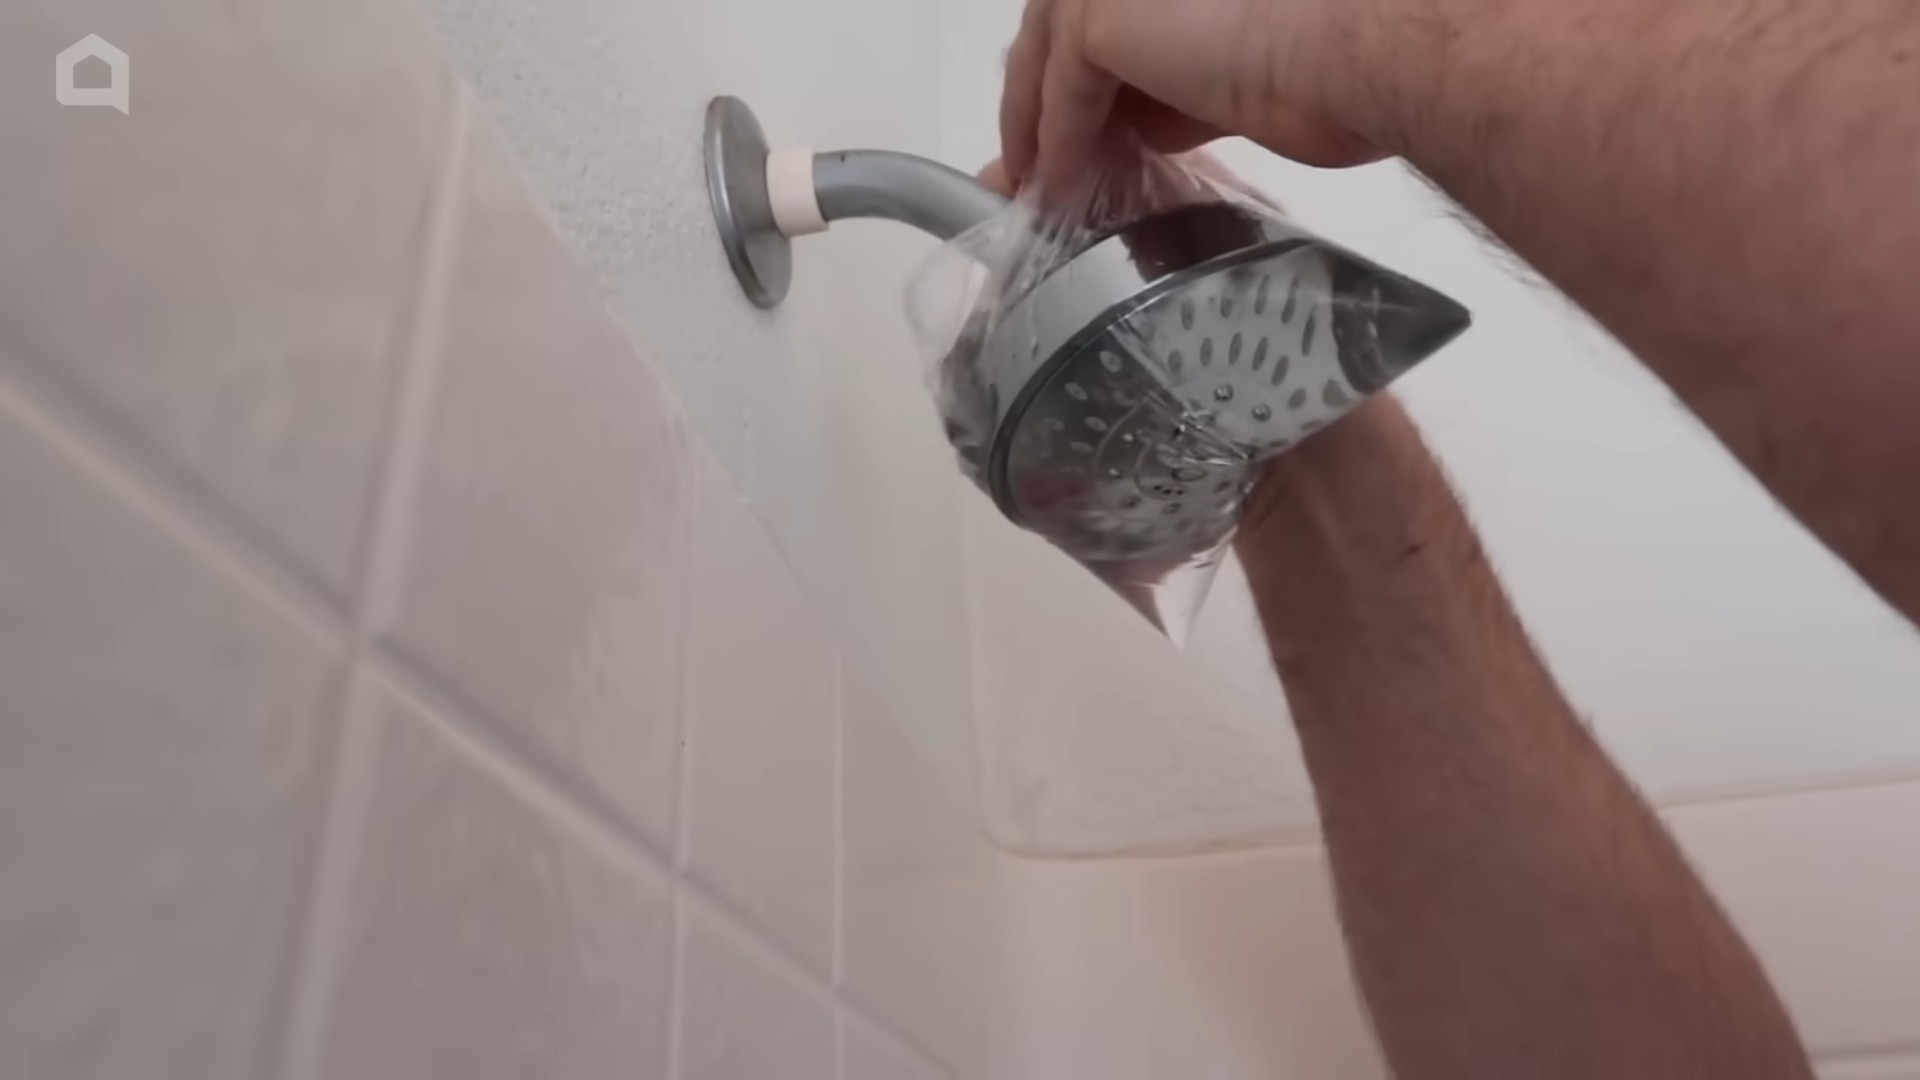
Plastic Wrap Brush Saver
Don’t want to clean your paintbrushes between coats? This trick will keep them fresh.
1. Wrap the brush: Wrap the bristles of your paintbrush tightly in plastic wrap.
2. Seal the wrap: Seal the plastic wrap with tape or a rubber band.
3. Store the brush: Store the wrapped brush in a cool, dry place. This will prevent the paint from drying out and hardening on the bristles.
Sock Paint Filter
Old socks make excellent paint filters.
1. Secure the sock: Stretch an old sock over the opening of your paint can.
2. Pour the paint: Pour the paint through the sock and into the can. The sock will filter out any lumps or debris, ensuring a smooth finish.
Vaseline Hinge Protector
Keep paint off your hinges with this simple trick.
1. Apply Vaseline: Apply a thin layer of Vaseline to the hinges of doors or cabinets before painting.
2. Paint as usual: Paint the door or cabinet as usual.
3. Wipe away Vaseline: After the paint is dry, wipe away the Vaseline with a clean cloth. The paint will come off easily with the Vaseline, leaving your hinges clean.
Fixing Squeaky Doors
Squeaky doors can be annoying. Here’s how to silence them quickly:
Hey there, fellow DIY enthusiasts! Let’s face it, we all love tackling home repairs ourselves. It’s satisfying, saves money, and gives you bragging rights. But sometimes, you just need a quick fix, a clever shortcut to get the job done faster and easier. That’s where these handyman repair shortcuts come in handy (pun intended!). I’ve compiled some of my favorite tricks that I’ve learned over the years, and I’m excited to share them with you. Get ready to become a repair ninja!
Stripped Screw Savior
Stripped screws are the bane of every DIYer’s existence. You’re trying to tighten or loosen a screw, and suddenly, the screwdriver just spins uselessly. Don’t despair! Here are a few ways to rescue that stripped screw:
Rubber Band Rescue
This is my go-to method for slightly stripped screws.
1. Find a rubber band: Grab a wide, flat rubber band. The thicker, the better.
2. Place the rubber band: Fold the rubber band over the head of the stripped screw.
3. Insert the screwdriver: Press your screwdriver firmly into the screw head, on top of the rubber band. The rubber band will fill the gap and provide extra grip.
4. Turn slowly: Apply steady pressure and turn the screwdriver slowly. Hopefully, the rubber band will give you enough traction to remove or tighten the screw.
Steel Wool Solution
Similar to the rubber band trick, steel wool can provide extra grip.
1. Gather steel wool: Get a small piece of fine-grade steel wool.
2. Stuff the screw head: Push the steel wool into the stripped screw head, filling the gaps.
3. Insert the screwdriver: Insert your screwdriver into the screw head, pressing firmly.
4. Turn carefully: Apply pressure and turn the screwdriver slowly. The steel wool should help the screwdriver grip the screw.
Using a Wider Screwdriver
Sometimes, the problem isn’t just stripping, but also using the wrong size screwdriver.
1. Find a larger screwdriver: Select a screwdriver with a head that’s slightly larger than the stripped screw head.
2. Apply pressure: Press the larger screwdriver firmly into the screw head.
3. Turn slowly: Apply steady pressure and turn the screwdriver slowly. The larger size might give you enough grip to work with.
Screw Extraction Kit
If all else fails, a screw extraction kit is your best bet. These kits are relatively inexpensive and can save you a lot of frustration.
1. Choose the right extractor: Select an extractor bit that’s slightly smaller than the stripped screw head.
2. Drill a pilot hole: Use a drill to create a small pilot hole in the center of the stripped screw head.
3. Insert the extractor: Insert the extractor bit into the pilot hole.
4. Turn counterclockwise: Apply pressure and turn the extractor bit counterclockwise. The extractor bit will bite into the screw head and allow you to remove it.
Easy Wall Anchors
Hanging pictures or shelves on drywall can be tricky. Here are some shortcuts for using wall anchors:
Self-Drilling Anchors
These anchors are super easy to use and don’t require pre-drilling.
1. Position the object: Hold the picture or shelf in place on the wall.
2. Mark the spot: Mark the location where you want to insert the anchor.
3. Insert the anchor: Place the tip of the self-drilling anchor on the marked spot.
4. Screw in the anchor: Use a screwdriver to screw the anchor directly into the drywall. The anchor will create its own hole as you screw it in.
5. Attach the object: Hang your picture or shelf using the screw that comes with the anchor.
Using Toothpicks for Loose Screws
If a screw hole in drywall is too large or stripped, toothpicks can provide a quick fix.
1. Gather toothpicks: Collect a handful of wooden toothpicks.
2. Apply wood glue: Dip the toothpicks in wood glue.
3. Fill the hole: Stuff the glued toothpicks into the loose screw hole, filling it completely.
4. Let it dry: Allow the glue to dry completely (usually a few hours).
5. Trim the toothpicks: Trim the excess toothpicks flush with the wall using a utility knife.
6. Re-insert the screw: Re-insert the screw into the filled hole. The toothpicks will provide a solid base for the screw to grip.
Caulking Like a Pro
Caulking can be messy, but these shortcuts will help you achieve a professional-looking finish:
Painter’s Tape Perfection
Painter’s tape is your best friend when it comes to clean caulk lines.
1. Apply painter’s tape: Apply painter’s tape along both sides of the area you want to caulk, leaving a narrow gap for the caulk.
2. Apply the caulk: Apply a bead of caulk along the gap between the tape.
3. Smooth the caulk: Use a wet finger or a caulk smoothing tool to smooth the caulk bead.
4. Remove the tape: Immediately remove the painter’s tape while the caulk is still wet. This will leave you with a clean, crisp caulk line.
Dish Soap Smoothing
A little dish soap can make smoothing caulk much easier.
1. Mix soap and water: Mix a few drops of dish soap with a cup of water.
2. Dip your finger: Dip your finger in the soapy water.
3. Smooth the caulk: Use your soapy finger to smooth the caulk bead. The soap will prevent the caulk from sticking to your finger.
4. Wipe away excess: Wipe away any excess caulk with a damp cloth.
Unclogging Drains the Easy Way
Clogged drains are a common household problem. Here are some quick and easy ways to unclog them:
Baking Soda and Vinegar Volcano
This is a natural and effective way to unclog drains.
1. Pour baking soda: Pour about 1 cup of baking soda down the drain.
2. Pour vinegar: Pour about 1 cup of vinegar down the drain.
3. Let it fizz: Let the mixture fizz for about 30 minutes.
4. Flush with hot water: Flush the drain with hot water for several minutes.
Wire Hanger Hook
A straightened wire hanger can be surprisingly effective at removing clogs.
1. Straighten the hanger: Straighten a wire coat hanger as much as possible.
2. Create a hook: Bend one end of the hanger into a small hook.
3. Insert the hanger: Insert the hooked end of the hanger into the drain.
4. Fish for debris: Use the hook to fish out any hair, soap scum, or other debris that’s clogging the drain.
5. Flush with water: Flush the drain with hot water to clear any remaining debris.
Painting Perfection Shortcuts
Painting can be time-consuming, but these shortcuts will help you achieve a professional finish faster:
Plastic Wrap Brush Saver
Don’t want to clean your paintbrushes between coats? This trick will keep them fresh.
1. Wrap the brush: Wrap the bristles of your paintbrush tightly in plastic wrap.
2. Seal the wrap: Seal the plastic wrap with tape or a rubber band.
3. Store the brush: Store the wrapped brush in a cool, dry place. This will prevent the paint from drying out and hardening on the bristles.
Sock Paint Filter
Old socks make excellent paint filters.
1. Secure the sock: Stretch an old sock over the opening of your paint can.
2. Pour the paint: Pour the paint through the sock and into the can. The sock will filter out any lumps or debris, ensuring a smooth finish.
Vaseline Hinge Protector
Keep paint off your hinges with this simple trick.
1. Apply Vaseline: Apply a thin layer of Vaseline to the hinges of doors or cabinets before painting.
2. Paint as usual: Paint the door or cabinet as usual.
3. Wipe away Vaseline: After the paint is dry, wipe away the Vaseline with a clean cloth. The paint will come off easily with the Vaseline, leaving your hinges clean.
Fixing Squeaky Doors
Squeaky doors can be annoying. Here’s how to silence them quickly:
WD-40 Wonder
WD-40 is a classic solution for squeaky hinges.
1. Spray the hinges: Spray WD-
Conclusion
So, there you have it! These handyman repair shortcuts aren’t just about saving time and money; they’re about empowering you to tackle those little home hiccups with confidence. Forget the frustration of waiting for a professional for minor fixes – with these simple tricks up your sleeve, you can become your own household hero.
The beauty of these DIY solutions lies in their adaptability. Think of them as starting points, not rigid rules. For example, if you’re dealing with a particularly stubborn stripped screw, try combining the rubber band trick with a drop of super glue (applied carefully, of course!) to provide extra grip. Or, if you’re patching a small hole in drywall, consider using a self-adhesive drywall patch for an even simpler, no-mess solution.
These handyman repair shortcuts are designed to be accessible to everyone, regardless of their prior experience. They’re about making home maintenance less daunting and more manageable. They’re about turning those “I can’t fix this” moments into “I got this!” moments.
But the real magic happens when you personalize these techniques to suit your specific needs and circumstances. Experiment with different materials, adapt the methods to fit your tools, and don’t be afraid to get creative. The more you practice, the more comfortable and confident you’ll become in your DIY abilities.
We truly believe that these handyman repair shortcuts can make a significant difference in your home maintenance routine. They can save you time, money, and a whole lot of stress. But the best way to discover their true value is to try them out for yourself.
So, go ahead, pick one of these tricks and put it to the test. Fix that wobbly table leg, silence that squeaky door hinge, or patch that small hole in the wall. You might be surprised at how easy and rewarding it can be.
And once you’ve experienced the satisfaction of successfully completing a DIY repair, we encourage you to share your experience with us. Tell us which trick worked best for you, what variations you tried, and any tips or advice you have for other readers. Your feedback is invaluable in helping us refine these techniques and make them even more accessible to everyone.
Don’t just take our word for it – become a handyman yourself and discover the power of these simple yet effective repair shortcuts! We can’t wait to hear your success stories!
Frequently Asked Questions (FAQ)
What if the rubber band trick doesn’t work on a stripped screw?
This is a common concern, and there are a few reasons why the rubber band trick might not work. First, ensure you’re using a thick, wide rubber band that can fill the gap between the screwdriver and the screw head. Second, apply firm, even pressure while turning the screwdriver. If the screw is severely stripped, the rubber band might not provide enough grip. In that case, try using a steel wool pad instead of a rubber band. The fine strands of steel wool can sometimes provide a better grip. As mentioned earlier, a tiny drop of super glue (applied carefully to the screw head) can also help, but be aware that this might make it more difficult to remove the screw later. Another option is to use a screw extractor tool, which is specifically designed for removing stripped screws. These tools are available at most hardware stores.
Are these handyman repair shortcuts safe for everyone to use?
While these shortcuts are generally safe, it’s essential to prioritize safety at all times. Always wear appropriate safety gear, such as safety glasses and gloves, when working with tools or chemicals. Be especially careful when using sharp objects or power tools. If you’re unsure about any step in the process, consult a professional. Keep children and pets away from your work area. And always follow the manufacturer’s instructions for any products you use. Remember, safety first!
Can I use these shortcuts on more complex repairs?
These shortcuts are primarily intended for minor repairs and maintenance tasks. They’re not a substitute for professional help when dealing with more complex issues, such as electrical problems, plumbing leaks, or structural damage. Attempting to fix these types of problems yourself can be dangerous and may even violate building codes. If you’re unsure about the scope of the repair, it’s always best to consult a qualified professional.
What are some other common handyman repair shortcuts?
Besides the tricks mentioned in the article, here are a few other handy shortcuts:
* **Unclogging a drain with baking soda and vinegar:** Pour a cup of baking soda down the drain, followed by a cup of vinegar. Let it fizz for 30 minutes, then flush with hot water.
* **Removing stickers with a hairdryer:** Heat the sticker with a hairdryer for a few seconds, then peel it off slowly. The heat will soften the adhesive, making it easier to remove.
* **Sharpening scissors with sandpaper:** Cut through a piece of fine-grit sandpaper several times to sharpen dull scissors.
* **Fixing a squeaky floorboard with baby powder:** Sprinkle baby powder between the floorboards to lubricate them and reduce friction.
How can I prevent these problems from happening in the first place?
Prevention is always better than cure. Regular maintenance can help prevent many common home repair problems. For example, lubricating door hinges and drawer slides can prevent squeaking. Tightening loose screws can prevent furniture from wobbling. And cleaning gutters regularly can prevent water damage. By taking a proactive approach to home maintenance, you can save yourself time, money, and hassle in the long run.
Where can I find more information about handyman repair shortcuts?
There are many resources available online and in libraries that can provide more information about handyman repair shortcuts. Search for DIY home repair websites, blogs, and YouTube channels. You can also find helpful books and magazines at your local library or bookstore. And don’t forget to ask friends, family, and neighbors for their tips and advice. Sharing knowledge and experiences is a great way to learn new skills and improve your DIY abilities.
What if I damage something while trying these shortcuts?
While these shortcuts are designed to be simple and effective, there’s always a risk of accidentally damaging something. If this happens, don’t panic. Assess the damage and determine the best course of action. In some cases, you may be able to repair the damage yourself. In other cases, you may need to call a professional. The key is to remain calm and take a methodical approach to resolving the problem. Remember, even experienced handymen make mistakes sometimes. It’s all part of the learning process.
Leave a Comment