
Grow Bok Choy Indoors? Absolutely! Imagine fresh, crisp bok choy, bursting with flavor, ready to harvest right from your windowsill, even in the dead of winter. Forget those sad, wilted greens at the grocery store – we’re talking vibrant, homegrown goodness, and I’m here to show you how surprisingly easy it is.
Bok choy, also known as pak choi, has been a staple in Asian cuisine for centuries, gracing tables with its delicate taste and nutritional benefits. Its cultivation dates back to the 5th century in China, and it has since become a beloved vegetable worldwide. But you don’t need a sprawling garden to enjoy this leafy green.
In today’s busy world, many of us lack the time or space for traditional gardening. That’s where the magic of indoor gardening comes in! Learning how to grow bok choy indoors offers a fantastic solution. It’s a rewarding way to connect with nature, enjoy fresh produce, and even save money on groceries. Plus, it’s incredibly satisfying to nurture a plant from seed to harvest. So, let’s dive into these simple DIY tricks and hacks that will have you enjoying homegrown bok choy in no time!
Grow Your Own Bok Choy Indoors: A Beginner’s Guide
Hey there, fellow plant enthusiasts! Ever thought about growing your own fresh, crisp bok choy right in your home? It’s easier than you might think, and the reward of having homegrown veggies at your fingertips is totally worth it. I’m going to walk you through everything you need to know to successfully cultivate bok choy indoors. Let’s get started!
What You’ll Need
Before we dive into the nitty-gritty, let’s gather our supplies. Having everything ready beforehand will make the whole process smoother and more enjoyable.
* Bok Choy Seeds: Choose a variety that’s well-suited for indoor growing. Dwarf varieties tend to do best.
* Seed Starting Tray or Small Pots: These will be used to germinate your seeds.
* Seed Starting Mix: This is a light, sterile mix that’s perfect for delicate seedlings.
* Larger Pots (at least 6 inches in diameter): Once your seedlings are big enough, they’ll need to be transplanted into larger containers.
* Potting Soil: A good quality potting mix is essential for healthy growth.
* Grow Lights: Bok choy needs plenty of light, so grow lights are a must, especially if you don’t have a super sunny window.
* Watering Can or Spray Bottle: For gentle watering.
* Fertilizer: A balanced liquid fertilizer will help your bok choy thrive.
* Spray Bottle (for pest control): Filled with water, or a mild insecticidal soap solution.
Getting Started: Sowing Your Seeds
The first step is to get those seeds germinating! This is where the magic begins.
1. Prepare Your Seed Starting Tray: Fill your seed starting tray or small pots with seed starting mix. Moisten the mix thoroughly, but don’t let it get soggy. You want it damp, not dripping.
2. Sow the Seeds: Sprinkle a few bok choy seeds on top of the soil in each cell or pot. Gently press them down into the soil. You don’t need to bury them too deep; about ¼ inch is perfect.
3. Cover Lightly: Cover the seeds with a thin layer of seed starting mix.
4. Water Gently: Use a spray bottle to mist the surface of the soil. This will help settle the seeds and keep the soil moist.
5. Create a Humid Environment: Cover the seed starting tray with a clear plastic lid or plastic wrap. This will help retain moisture and create a humid environment that’s ideal for germination.
6. Place in a Warm Location: Place the tray in a warm location, ideally around 70-75°F (21-24°C). A heat mat can be helpful if your home is cooler.
7. Wait for Germination: Keep the soil consistently moist, but not waterlogged. You should see seedlings emerge in about 5-10 days.
8. Remove the Cover: Once the seedlings emerge, remove the plastic lid or wrap.
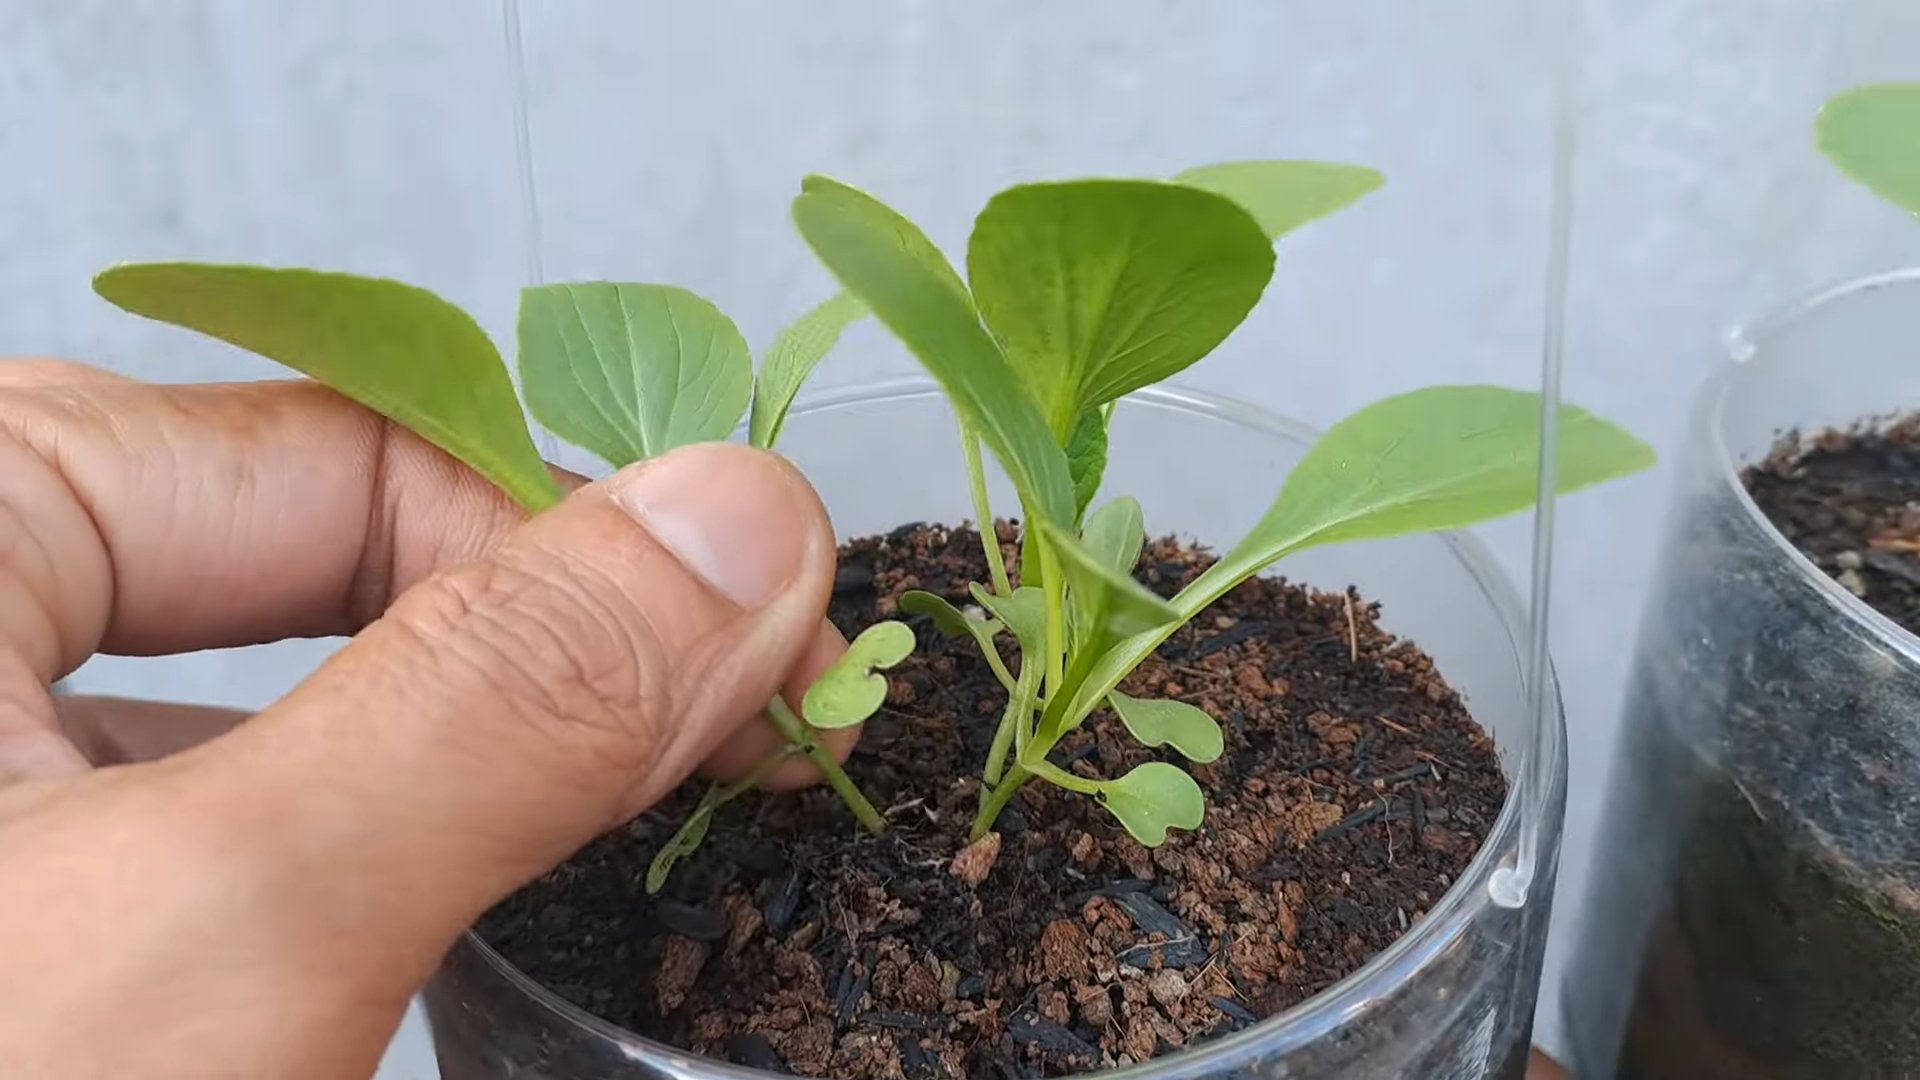
Transplanting Your Seedlings
Once your seedlings have developed a few sets of true leaves (those are the leaves that look like miniature versions of adult bok choy leaves), it’s time to transplant them into larger pots.
1. Prepare Your Larger Pots: Fill your larger pots (at least 6 inches in diameter) with potting soil. Make a well in the center of each pot.
2. Gently Remove the Seedlings: Carefully remove the seedlings from the seed starting tray or small pots. Be gentle to avoid damaging the roots. You can use a small spoon or fork to help lift them out.
3. Transplant the Seedlings: Place one seedling in each pot, making sure the top of the root ball is level with the soil surface.
4. Fill with Soil: Fill in around the seedling with potting soil, gently firming it down.
5. Water Thoroughly: Water the transplanted seedlings thoroughly.
Providing the Right Environment
Bok choy needs the right environment to thrive indoors. Here’s what you need to keep in mind:
* Light: Bok choy needs at least 6 hours of light per day. If you don’t have a sunny window, you’ll need to use grow lights. Place the grow lights about 6-12 inches above the plants. I’ve found that LED grow lights work really well and don’t generate too much heat.
* Temperature: Bok choy prefers cooler temperatures, ideally between 60-70°F (15-21°C). Avoid placing them near heat sources.
* Watering: Keep the soil consistently moist, but not waterlogged. Water when the top inch of soil feels dry to the touch. Be careful not to overwater, as this can lead to root rot.
* Humidity: Bok choy likes humidity. You can increase humidity by misting the plants regularly or placing a tray of water near them.
* Air Circulation: Good air circulation is important to prevent fungal diseases. A small fan can help.
Fertilizing Your Bok Choy
To ensure your bok choy gets all the nutrients it needs, you’ll need to fertilize it regularly.
1. Choose a Fertilizer: Use a balanced liquid fertilizer, such as a 10-10-10 or 20-20-20.
2. Dilute the Fertilizer: Dilute the fertilizer according to the package instructions.
3. Fertilize Regularly: Fertilize your bok choy every 2-3 weeks.
4. Avoid Over-Fertilizing: Be careful not to over-fertilize, as this can burn the roots.
Dealing with Pests and Diseases
Even indoors, your bok choy can be susceptible to pests and diseases. Here’s how to deal with them:
* Aphids: These tiny pests can suck the sap from your plants. You can get rid of them by spraying the plants with a strong stream of water or using insecticidal soap.
* Flea Beetles: These small beetles can chew holes in the leaves. You can control them by using row covers or insecticidal soap.
* Slugs and Snails: These pests can also damage the leaves. You can handpick them off the plants or use slug bait.
* Fungal Diseases: These can be caused by overwatering or poor air circulation. Prevent them by watering properly and providing good air circulation. If you see signs of fungal disease, remove the affected leaves and treat the plants with a fungicide.
I always recommend checking your plants regularly for any signs of pests or diseases. Early detection is key to preventing problems from getting out of hand.
Harvesting Your Bok Choy
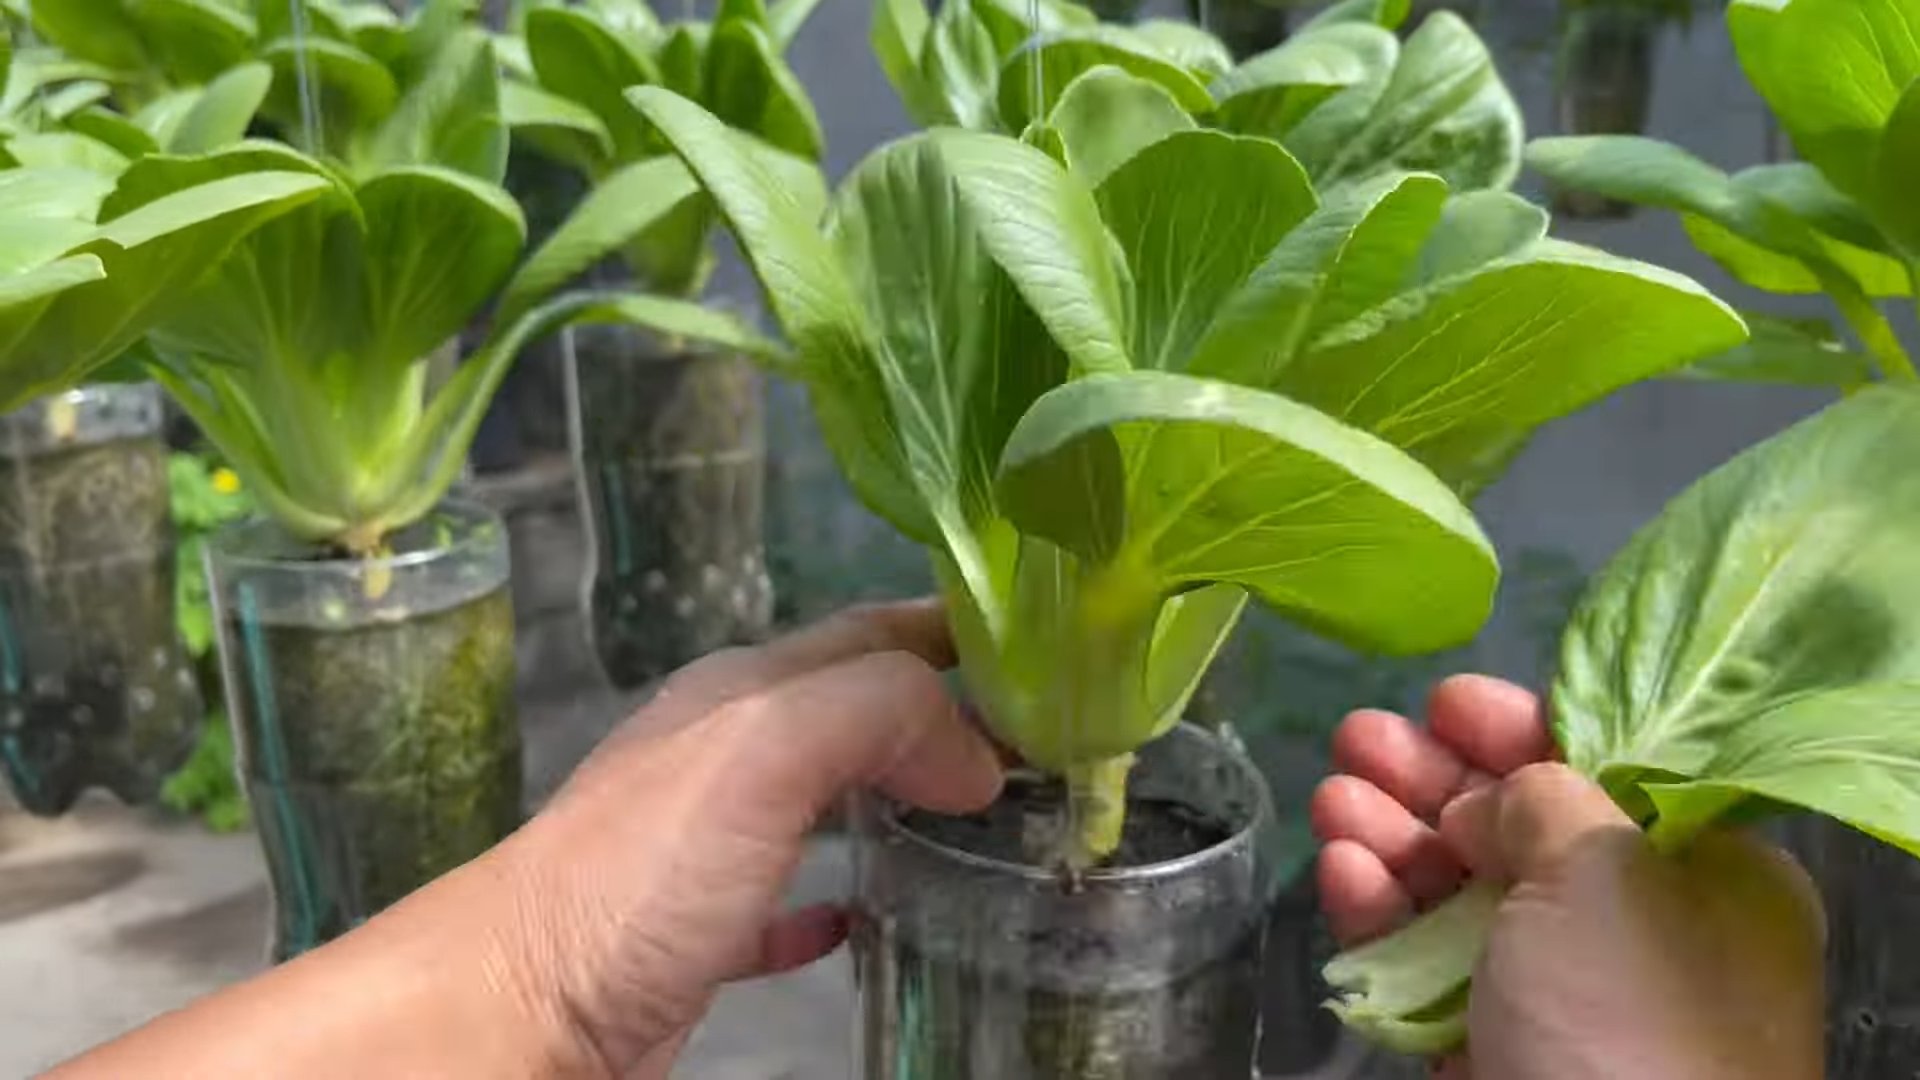
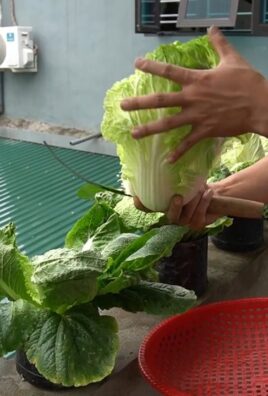
The best part of growing your own bok choy is harvesting it! You can harvest your bok choy when the leaves are about 6-8 inches long.
1. Harvest Individual Leaves: You can harvest individual leaves as needed, starting with the outer leaves. This will allow the plant to continue growing and producing more leaves.
2. Harvest the Whole Plant: Alternatively, you can harvest the entire plant by cutting it off at the base.
3. Wash and Enjoy: Wash the harvested leaves thoroughly before using them.
Freshly harvested bok choy is delicious in stir-fries, soups, salads, and more!
Troubleshooting Tips
Even with the best care, you might encounter some challenges along the way. Here are a few troubleshooting tips:
* Yellowing Leaves: This can be caused by overwatering, underwatering, or nutrient deficiencies. Check the soil moisture and adjust your watering accordingly. Fertilize the plants if necessary.
* Leggy Growth: This is usually caused by insufficient light. Make sure your bok choy is getting enough light, either from a sunny window or grow lights.
* Slow Growth: This can be caused by a variety of factors, including poor soil, insufficient light, or cool temperatures. Make sure your bok choy is getting the right environment and nutrients.
* Bolting (Premature Flowering): This can be caused by stress, such as high temperatures or inconsistent watering. Try to keep the temperature cool and water the plants regularly.
Choosing the Right Bok Choy Variety for Indoors
Not all bok choy varieties are created equal, especially when it comes to indoor growing. Dwarf varieties are generally the best choice because they stay smaller and more compact, making them well-suited for container gardening. Here are a few varieties I’ve had success with:
* ‘Toy Choi’: This is a popular dwarf variety that produces small, tender leaves. It’s quick to mature and perfect for small spaces.
* ‘Mei Qing Choi’: Another excellent dwarf variety with light green leaves and a mild flavor. It’s also relatively heat-tolerant, which can be a bonus indoors
Conclusion
So, there you have it! Growing bok choy indoors is not only achievable, but it’s also a surprisingly rewarding experience. Forget those limp, overpriced heads of bok choy at the grocery store. Imagine stepping into your kitchen and harvesting crisp, vibrant leaves whenever you need them. The freshness and flavor are simply unmatched, and the satisfaction of nurturing your own food from seed to table is truly special.
This DIY approach to growing bok choy offers a multitude of benefits. You have complete control over the growing environment, ensuring your bok choy is free from harmful pesticides and herbicides. Plus, it’s a fantastic way to reduce your carbon footprint by minimizing transportation and packaging waste. And let’s not forget the sheer convenience of having fresh greens readily available, no matter the season.
But the best part? It’s incredibly versatile! While we’ve outlined a basic method, feel free to experiment with different varieties of bok choy. Try growing baby bok choy for a more delicate flavor and texture, or explore colorful varieties like red bok choy for a visual pop in your dishes. You can also adjust the lighting and temperature to fine-tune the growth rate and flavor profile. Consider adding companion plants like basil or chives to your indoor garden to deter pests and enhance the overall ecosystem.
Don’t be afraid to get creative! Perhaps you want to try hydroponic growing for an even more efficient and space-saving approach. Or maybe you’d like to set up a small vertical garden to maximize your growing area. The possibilities are endless!
Ultimately, this DIY trick for growing bok choy indoors is a must-try for anyone who loves fresh, healthy food and enjoys a bit of gardening. It’s a simple, cost-effective, and incredibly satisfying way to bring a touch of green into your home and elevate your culinary creations.
We’re confident that you’ll be amazed by how easy and rewarding it is to grow your own bok choy. So, grab some seeds, gather your supplies, and get ready to embark on a delicious and fulfilling journey.
We can’t wait to hear about your experiences! Share your tips, tricks, and photos of your indoor bok choy garden in the comments below. Let’s create a community of indoor gardeners and inspire others to embrace the joy of growing their own food. Happy growing!
Frequently Asked Questions (FAQ)
Q: How much light does bok choy need when grown indoors?
A: Bok choy thrives in bright light. Ideally, it needs at least 6-8 hours of direct sunlight per day. If you don’t have a sunny windowsill, consider using grow lights. Fluorescent or LED grow lights are excellent options. Position the lights a few inches above the plants and keep them on for 12-14 hours a day. Insufficient light can lead to leggy growth and pale leaves.
Q: What is the best soil for growing bok choy indoors?
A: A well-draining potting mix is crucial for growing bok choy indoors. Avoid using garden soil, as it can become compacted and doesn’t drain well in containers. A good mix consists of equal parts potting soil, perlite, and compost. The potting soil provides a base, the perlite improves drainage, and the compost adds nutrients. You can also find specialized vegetable potting mixes at your local garden center.
Q: How often should I water my indoor bok choy?
A: Bok choy needs consistent moisture, but avoid overwatering. Water when the top inch of soil feels dry to the touch. Water deeply until water drains out of the bottom of the pot. Be sure to empty the saucer underneath the pot to prevent the roots from sitting in water, which can lead to root rot. During warmer months, you may need to water more frequently.
Q: What temperature is ideal for growing bok choy indoors?
A: Bok choy prefers cooler temperatures, ideally between 55°F and 75°F (13°C and 24°C). Avoid placing your plants near heat sources like radiators or vents. If your home is too warm, you can try misting the plants regularly to increase humidity and lower the temperature around them.
Q: How long does it take to grow bok choy indoors?
A: Bok choy is a relatively fast-growing vegetable. You can typically harvest baby bok choy in about 30 days, while full-sized heads take around 45-60 days. The exact time will depend on the variety, growing conditions, and your desired size.
Q: What are some common pests and diseases that affect indoor bok choy?
A: Common pests that can affect indoor bok choy include aphids, spider mites, and whiteflies. Regularly inspect your plants for signs of infestation. You can control these pests by spraying the plants with insecticidal soap or neem oil. Diseases are less common indoors, but root rot can occur if the soil is too wet. Ensure good drainage and avoid overwatering to prevent this.
Q: How do I harvest bok choy?
A: You can harvest bok choy at any stage, depending on your preference. For baby bok choy, simply snip off the leaves when they are a few inches tall. For full-sized heads, cut the entire plant at the base. You can also harvest individual outer leaves as needed, allowing the plant to continue growing.
Q: Can I grow bok choy from scraps?
A: Yes, you can regrow bok choy from the base of the plant. Place the base in a shallow dish of water, making sure the cut end is submerged. Change the water every day or two. After a few days, you should see new roots and leaves starting to grow. Once the roots are a few inches long, you can transplant the bok choy into a pot with soil.
Q: Can I grow bok choy indoors year-round?
A: Yes, you can grow bok choy indoors year-round, provided you have adequate light and temperature control. Using grow lights during the winter months can help supplement natural light and ensure consistent growth.
Q: What are some good companion plants for bok choy?
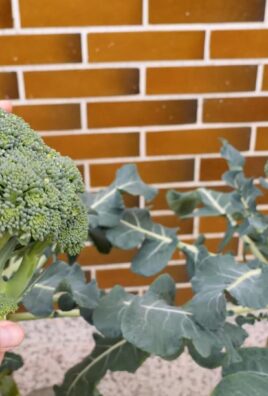
A: Good companion plants for bok choy include basil, chives, garlic, and onions. These plants can help deter pests and improve the overall health of your bok choy. Avoid planting bok choy near brassicas like broccoli or cabbage, as they can attract similar pests.
Leave a Comment