
Home Hydroponics for Fresh Vegetables: Imagine plucking a juicy, ripe tomato or crisp lettuce leaves right from your living room, even in the dead of winter! Sounds like a dream, right? Well, it’s not! With a little know-how and some DIY spirit, you can unlock the secrets of hydroponics and enjoy fresh, homegrown vegetables year-round.
Hydroponics, the art of growing plants without soil, isn’t some futuristic invention. Its roots stretch back centuries, with evidence suggesting that the Hanging Gardens of Babylon, one of the Seven Wonders of the Ancient World, may have utilized hydroponic principles. From ancient civilizations to modern-day urban farmers, the allure of soilless cultivation has always been strong.
But why should you consider home hydroponics for fresh vegetables? In today’s world, access to truly fresh, locally sourced produce can be a challenge. Supermarket vegetables often travel long distances, losing nutrients and flavor along the way. Plus, concerns about pesticides and herbicides are on the rise. That’s where hydroponics comes in! It allows you to control every aspect of your plants’ environment, ensuring they receive the perfect balance of nutrients, water, and light. This means healthier, tastier vegetables, grown right in your own home, without the need for harmful chemicals.
In this article, I’m going to share some easy-to-follow DIY tricks and hacks that will empower you to create your own thriving hydroponic garden. Whether you’re a seasoned gardener or a complete beginner, I’ll guide you through the process, step-by-step, so you can start enjoying the delicious rewards of home hydroponics in no time. Let’s get growing!
Building Your Own Budget-Friendly Hydroponic Garden
Hey there, fellow gardening enthusiasts! Are you dreaming of fresh, homegrown veggies all year round, regardless of the weather or the size of your yard? Well, I’ve got just the project for you: building your own hydroponic garden! Don’t let the fancy name intimidate you; it’s surprisingly simple and affordable to get started. I’m going to walk you through creating a basic Deep Water Culture (DWC) system, perfect for beginners. Trust me, if I can do it, you can too!
What is Deep Water Culture (DWC)?
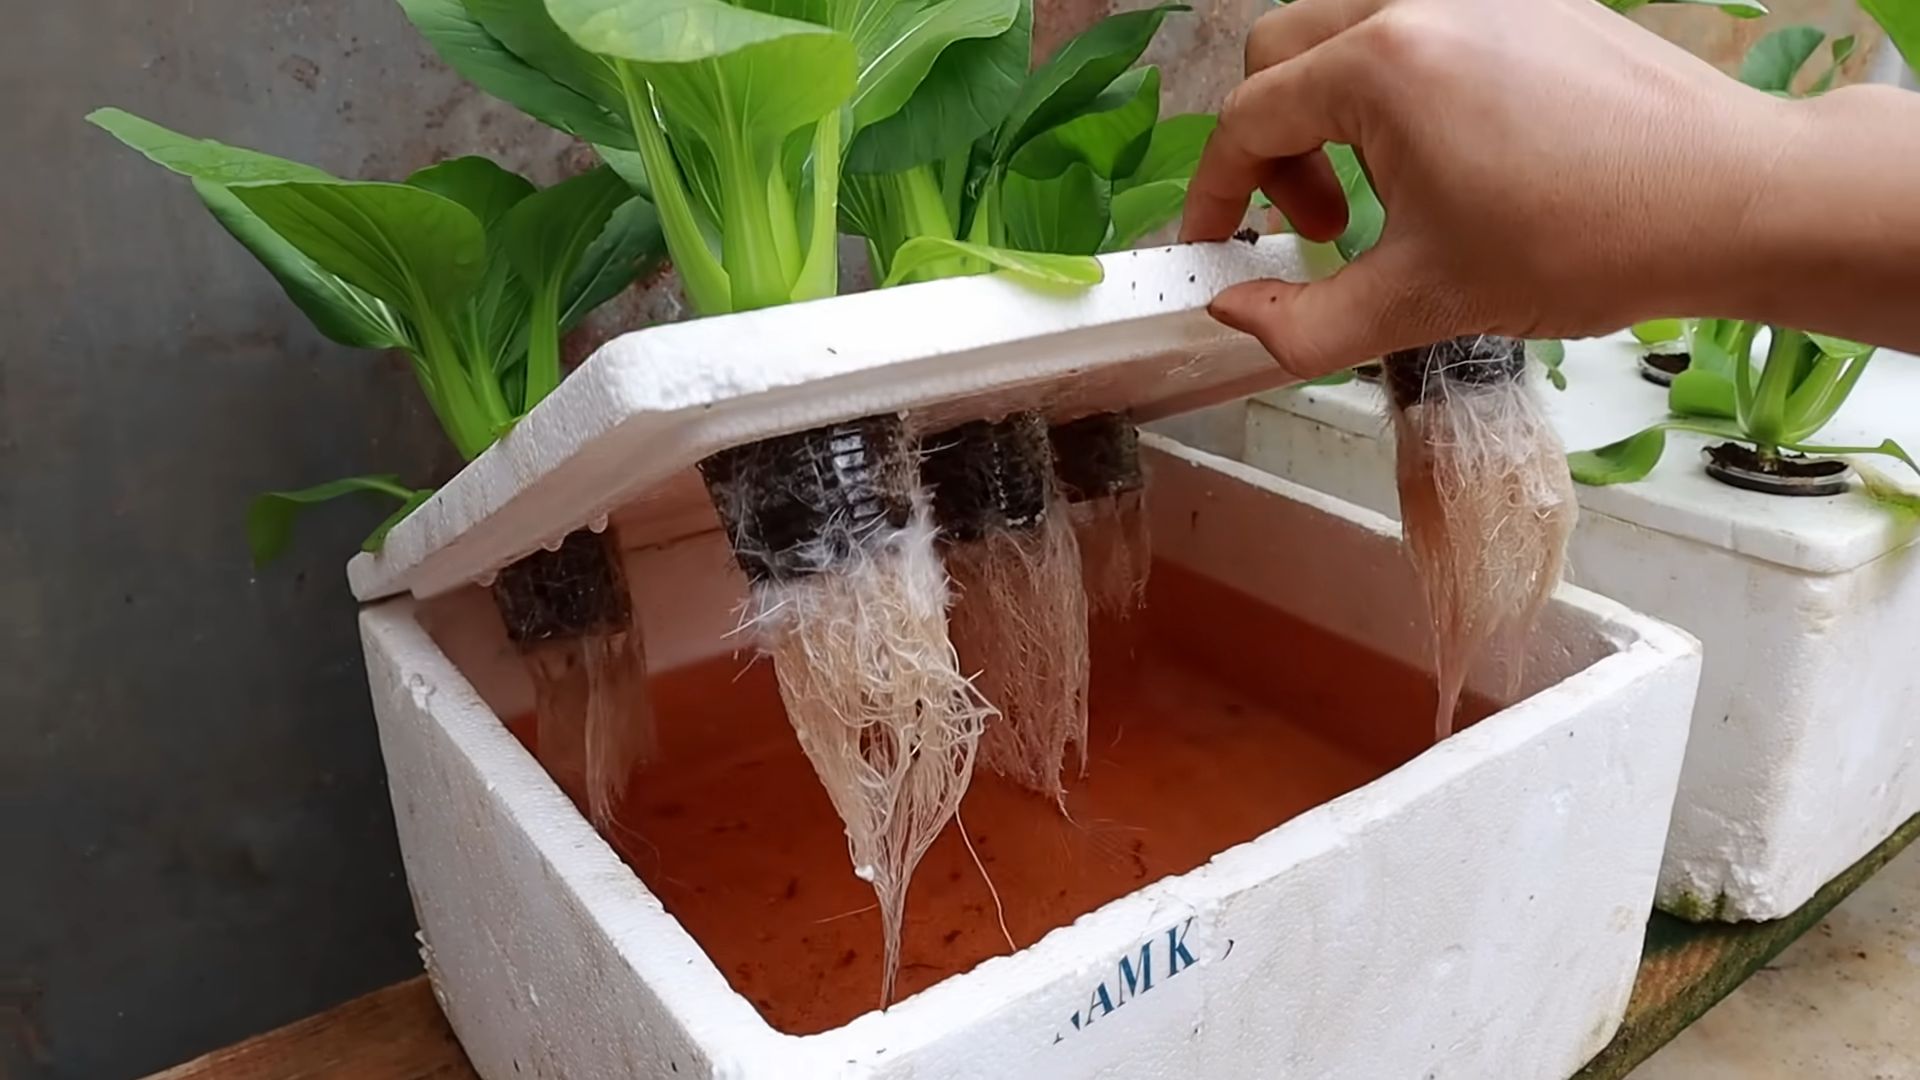
Before we dive in, let’s quickly cover what DWC is all about. In essence, DWC involves suspending the roots of your plants in a nutrient-rich water solution. An air pump and air stone provide oxygen to the roots, allowing them to thrive without soil. It’s a super efficient and space-saving way to grow your own food.
Materials You’ll Need
Okay, let’s gather our supplies. The beauty of this project is that you can often find many of these items around your house or at your local hardware store for a steal. Here’s what you’ll need:
* **A Plastic Container:** This will be your reservoir. A dark-colored container (like black or dark blue) is ideal to prevent algae growth. A 5-gallon bucket works great, but you can use any size that suits your needs.
* **Net Pots:** These are small, slotted pots that will hold your plants and allow their roots to grow down into the nutrient solution. I recommend 3-inch net pots.
* **Growing Medium:** You’ll need something to support your seedlings in the net pots. Rockwool cubes, coco coir, or clay pebbles (hydroton) are all excellent choices. I personally prefer rockwool for starting seeds.
* **Air Pump and Air Stone:** The air pump provides the oxygen that your plant roots need to survive. The air stone diffuses the air into tiny bubbles, maximizing oxygen absorption. Make sure the air pump is rated for the size of your reservoir.
* **Air Tubing:** This connects the air pump to the air stone.
* **Hydroponic Nutrients:** These are specially formulated fertilizers that provide your plants with all the essential nutrients they need. Make sure to get nutrients specifically designed for hydroponics. I recommend a two-part nutrient system for ease of use.
* **pH Testing Kit:** Maintaining the correct pH level is crucial for nutrient absorption. A simple pH testing kit (either liquid or digital) will help you monitor and adjust the pH of your nutrient solution.
* **pH Up and pH Down Solutions:** These solutions are used to adjust the pH of your nutrient solution.
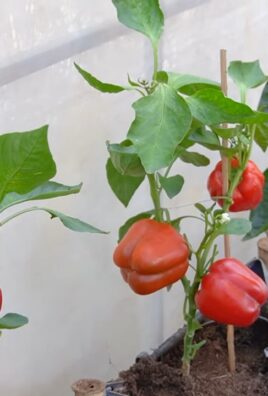
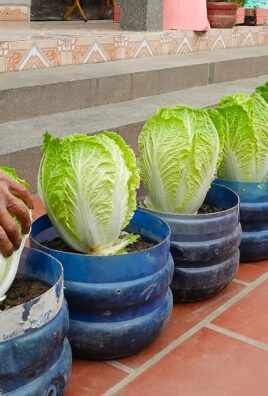
* **Seedlings or Seeds:** Choose plants that thrive in hydroponic systems, such as lettuce, spinach, herbs, strawberries, or peppers. I recommend starting with seedlings for faster results.
* **Drill with Hole Saw Attachment (optional):** This will make cutting the holes for the net pots much easier, but you can also use a utility knife if you’re careful.
* **Utility Knife or Scissors:** For cutting the air tubing and trimming the growing medium.
* **Measuring Cups and Spoons:** For accurately measuring nutrients and pH adjusting solutions.
* **Water:** Use clean, dechlorinated water. Tap water is fine if you let it sit out for 24 hours to allow the chlorine to evaporate.
Step-by-Step Instructions: Building Your DWC System
Alright, let’s get our hands dirty (well, not really, since we’re doing hydroponics!). Follow these steps to build your own DWC system:
1. Prepare the Container
* **Clean the container thoroughly:** Wash the container with soap and water to remove any dirt or residue. Rinse it well to ensure no soap remains.
* **Cut the holes for the net pots:** Decide how many plants you want to grow in your system and space the holes accordingly. Place the net pots on the lid of the container and trace around them with a marker. Use a hole saw attachment on your drill to cut out the holes. If you don’t have a hole saw, you can carefully use a utility knife, but be extra cautious. The holes should be slightly smaller than the rim of the net pots so they sit snugly.
2. Assemble the Air System
* **Connect the air tubing to the air pump and air stone:** Cut a length of air tubing long enough to reach from the air pump (which will be placed outside the container) to the bottom of the container. Attach one end of the tubing to the air pump outlet and the other end to the air stone.
* **Place the air stone in the container:** Put the air stone at the bottom of the container, ensuring it’s positioned where it will provide maximum aeration to the roots.
3. Prepare the Net Pots and Growing Medium
* **Soak the growing medium:** If you’re using rockwool cubes, soak them in water for a few hours before planting. This will help them retain moisture and provide a good environment for the seedlings. If you’re using coco coir, rinse it thoroughly to remove any excess salts. Clay pebbles don’t need soaking.
* **Place the growing medium in the net pots:** Fill the net pots with your chosen growing medium. Leave a little space at the top for the seedlings.
4. Plant Your Seedlings
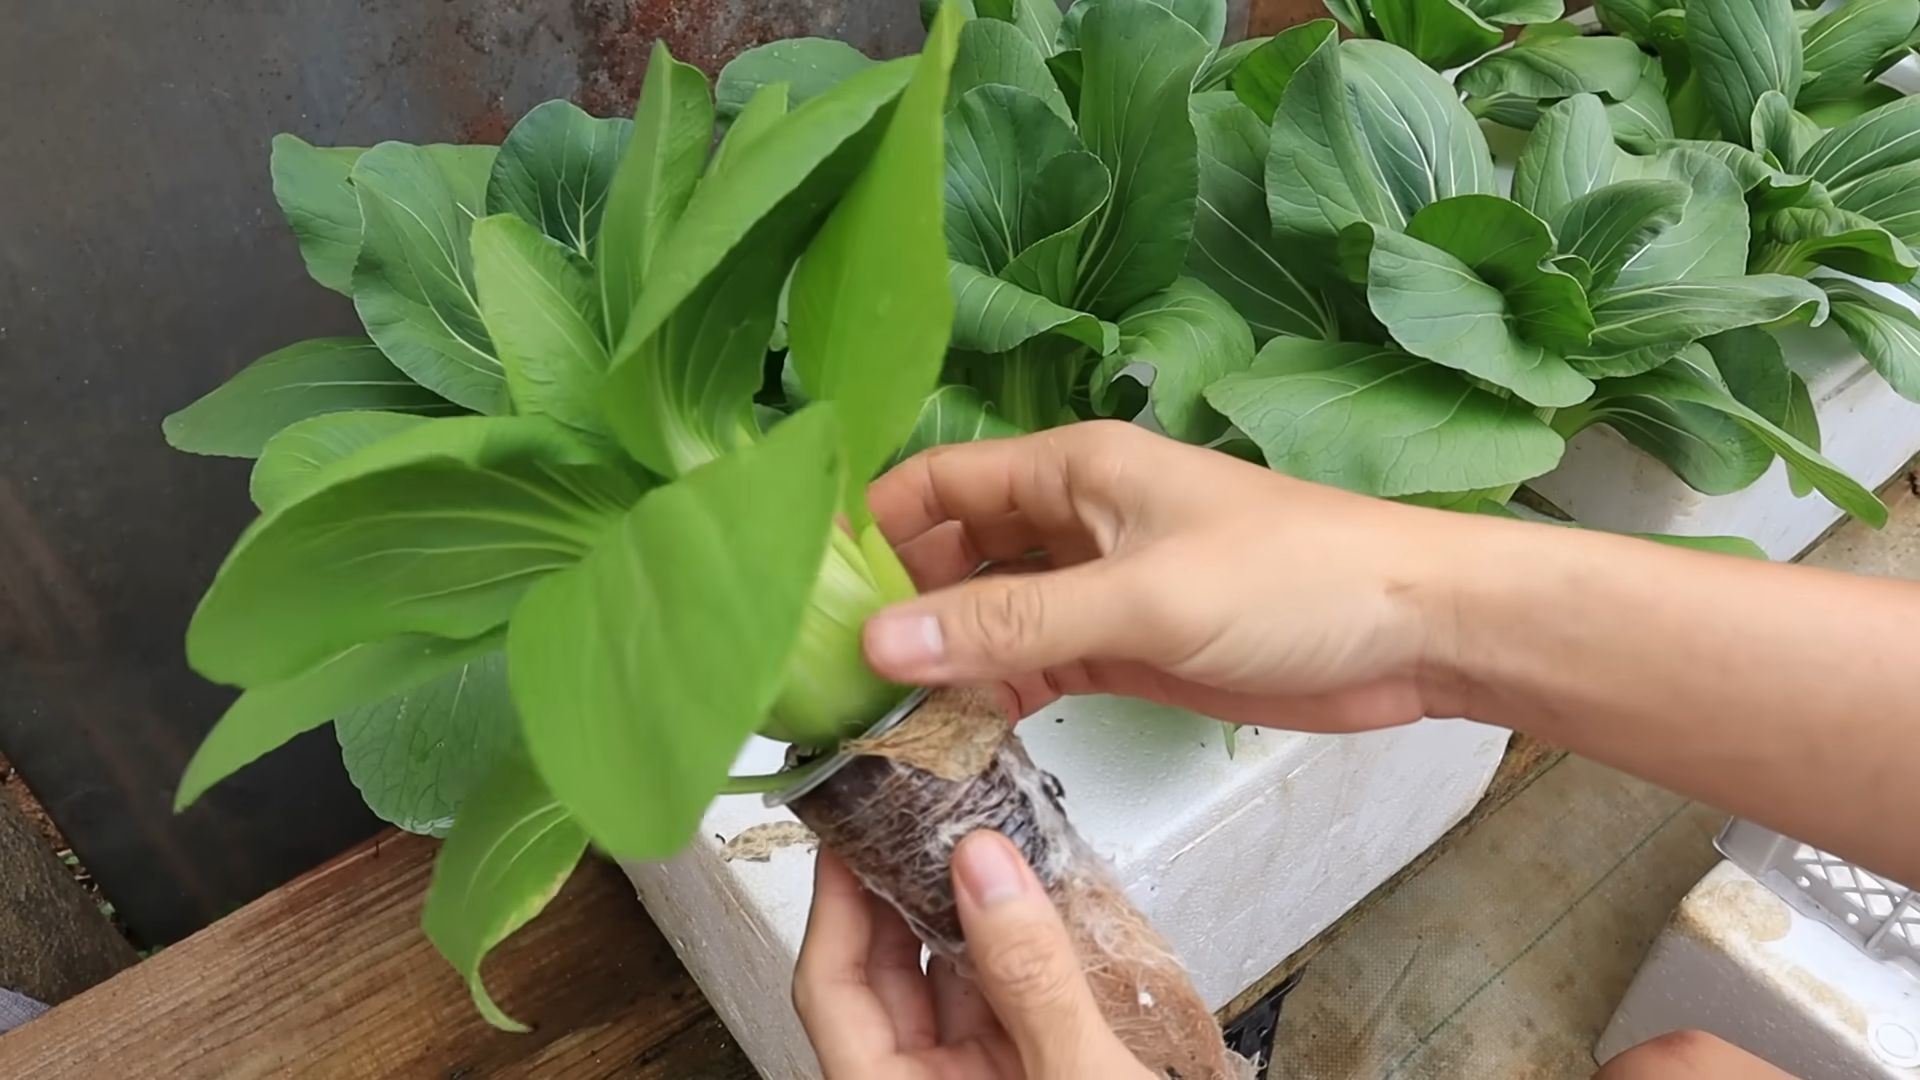
* **Gently transplant the seedlings:** Carefully remove the seedlings from their original containers and gently place them in the net pots. Make sure the roots are surrounded by the growing medium.
* **Secure the seedlings:** Add more growing medium around the seedlings to provide support and keep them upright.
5. Prepare the Nutrient Solution
* **Fill the container with water:** Fill the container with clean, dechlorinated water, leaving a few inches of space at the top.
* **Add the hydroponic nutrients:** Follow the instructions on the nutrient packaging to determine the correct amount of nutrients to add to the water. Start with a lower concentration of nutrients, especially when starting with young seedlings. I usually start with half the recommended dose and gradually increase it as the plants grow.
* **Mix the nutrient solution thoroughly:** Use a clean spoon or stick to mix the nutrient solution until it’s completely dissolved.
6. Check and Adjust the pH
* **Test the pH of the nutrient solution:** Use your pH testing kit to measure the pH of the nutrient solution. The ideal pH range for most hydroponic plants is between 5.5 and 6.5.
* **Adjust the pH if necessary:** If the pH is too high, add a small amount of pH down solution and mix well. If the pH is too low, add a small amount of pH up solution and mix well. Retest the pH and repeat until it’s within the desired range. Remember to add pH adjusting solutions gradually, as a little goes a long way.
7. Assemble the System
* **Place the net pots in the holes:** Carefully place the net pots with the seedlings into the holes in the container lid. The bottom of the net pots should be submerged in the nutrient solution.
* **Place the lid on the container:** Secure the lid on the container.
* **Plug in the air pump:** Plug in the air pump and make sure the air stone is bubbling vigorously in the nutrient solution.
8. Provide Light
* **Place the system under a grow light or in a sunny location:** Hydroponic plants need plenty of light to thrive. If you’re growing indoors, use a grow light specifically designed for plants. If you’re growing outdoors, place the system in a location that receives at least 6 hours of direct sunlight per day.
Maintaining Your Hydroponic Garden
Congratulations! You’ve built your own DWC hydroponic system. Now, let’s talk about how to keep your plants happy and healthy.
* **Monitor the Nutrient Solution:** Check the nutrient solution regularly (at least once a week) and top it off with fresh water as needed. Replace the entire nutrient solution every 1-2 weeks to prevent nutrient imbalances and the buildup of harmful bacteria.
* **Check and Adjust the pH:** Continue to monitor the pH of the nutrient solution and adjust it as needed to maintain the ideal range.
* **Monitor the Water Temperature:** The ideal water temperature for hydroponic systems is between 65°F and 75°F (18°C and 24°C). If the water temperature is too high, it can reduce oxygen levels and promote algae growth. If the water temperature is too low, it can slow down plant growth.
* **Clean the System Regularly:** Clean the container and net pots regularly to prevent algae growth and the buildup of debris.
* **Prune Your Plants:** Prune your plants as needed to encourage growth and prevent overcrowding.
* **Watch for Pests and Diseases:** Keep an eye out for pests and diseases and take action promptly if you notice any problems.
Troubleshooting Tips
Even with the best care, you might encounter some challenges along the way. Here are a few common problems and how to fix them:
* **Yellowing Leaves:** This could be a sign
Conclusion
So, there you have it – a simple, effective, and surprisingly rewarding way to bring the garden indoors with your own home hydroponics system. We’ve walked you through the steps, highlighted the benefits, and hopefully, inspired you to ditch the store-bought produce (at least some of the time!) and embrace the freshness and satisfaction of growing your own vegetables.
But why is this DIY trick a must-try? Beyond the obvious advantages of having access to pesticide-free, ultra-fresh vegetables right at your fingertips, building your own hydroponic system is an incredibly empowering experience. It connects you to the food you eat in a tangible way, fostering a deeper appreciation for the natural processes involved in growing. Plus, it’s a fantastic learning opportunity for both adults and children, offering a hands-on lesson in science, sustainability, and resourcefulness.
And let’s not forget the sheer fun of it! Watching your seedlings sprout, grow, and eventually yield a bountiful harvest is incredibly satisfying. It’s a project that can be tailored to your specific needs and preferences, allowing you to experiment with different vegetables, nutrient solutions, and growing techniques.
Speaking of variations, don’t be afraid to get creative! If you’re short on space, consider a vertical hydroponic system using stacked containers or PVC pipes. For a more automated approach, you could incorporate a timer to control the nutrient solution pump and grow lights. And if you’re feeling adventurous, try experimenting with different growing mediums like coco coir or perlite. You can even add a small aquarium pump to oxygenate the nutrient solution for even better results.
Consider growing herbs like basil, mint, or chives for a constant supply of fresh flavor. Leafy greens like lettuce, spinach, and kale thrive in hydroponic systems, providing a healthy and delicious addition to your salads and meals. And for those with a bit more space and experience, tomatoes, peppers, and cucumbers can also be successfully grown hydroponically.
The possibilities are truly endless! The key is to start small, experiment, and learn from your mistakes. Don’t be discouraged if your first attempt isn’t perfect. Hydroponics is a learning process, and with a little patience and persistence, you’ll be enjoying fresh, homegrown vegetables in no time.
We are confident that you will find this DIY project to be both enjoyable and rewarding. We encourage you to take the plunge and build your own home hydroponics system. Once you do, we’d love to hear about your experience! Share your photos, tips, and challenges in the comments below. Let’s build a community of hydroponic enthusiasts and inspire others to grow their own food! What are you waiting for? Get growing!
FAQ
What exactly is hydroponics?
Hydroponics is a method of growing plants without soil, using mineral nutrient solutions in water. Plant roots are submerged in, or periodically flushed with, this nutrient-rich solution, providing them with everything they need to thrive. This allows for faster growth, higher yields, and reduced water consumption compared to traditional soil-based gardening.
What are the benefits of using a home hydroponics system?
There are numerous benefits to using a home hydroponics system:
* **Faster Growth:** Plants grow faster in hydroponic systems because they have direct access to nutrients and water, eliminating the need to search for them in the soil.
* **Higher Yields:** Hydroponic systems can produce higher yields than traditional gardening methods, as plants are grown in optimal conditions.
* **Reduced Water Consumption:** Hydroponics uses significantly less water than soil-based gardening, as the water is recycled within the system.
* **Pesticide-Free Produce:** Hydroponic systems are less susceptible to pests and diseases, reducing the need for pesticides.
* **Year-Round Growing:** Hydroponics allows you to grow vegetables year-round, regardless of the weather conditions.
* **Space-Saving:** Hydroponic systems can be set up in small spaces, making them ideal for apartment dwellers or those with limited gardening space.
* **Control Over Nutrients:** You have complete control over the nutrients your plants receive, ensuring they get exactly what they need.
What kind of vegetables can I grow in a home hydroponics system?
Many different types of vegetables can be grown in a home hydroponics system, including:
* Leafy Greens: Lettuce, spinach, kale, arugula
* Herbs: Basil, mint, chives, parsley, oregano
* Tomatoes: Cherry tomatoes, grape tomatoes, Roma tomatoes
* Peppers: Bell peppers, chili peppers
* Cucumbers: Slicing cucumbers, pickling cucumbers
* Strawberries: A great option for indoor hydroponics.
What kind of nutrient solution should I use?
You can purchase pre-mixed hydroponic nutrient solutions from garden centers or online retailers. Look for solutions that are specifically formulated for the type of vegetables you are growing. Alternatively, you can mix your own nutrient solution using individual nutrient salts. There are many recipes available online, but it’s important to follow them carefully to ensure your plants receive the correct balance of nutrients.
How often should I change the nutrient solution?
The frequency of nutrient solution changes depends on the size of your system and the type of plants you are growing. As a general rule, you should change the nutrient solution every 1-2 weeks. However, it’s important to monitor the nutrient levels and pH of the solution regularly and adjust the frequency of changes as needed.
What is the ideal pH level for a hydroponic system?
The ideal pH level for a hydroponic system is between 5.5 and 6.5. This range allows plants to absorb nutrients most efficiently. You can use a pH meter or pH test strips to monitor the pH level of your nutrient solution and adjust it as needed using pH up or pH down solutions.
Do I need grow lights for a home hydroponics system?
If you are growing your hydroponic system indoors, you will likely need grow lights to provide your plants with the light they need to thrive. LED grow lights are a popular choice, as they are energy-efficient and produce very little heat. The type and intensity of grow lights you need will depend on the type of vegetables you are growing and the size of your system.
How do I prevent algae growth in my hydroponic system?
Algae growth can be a common problem in hydroponic systems. To prevent algae growth, keep your nutrient solution covered and out of direct sunlight. You can also add a small amount of hydrogen peroxide to the nutrient solution to kill algae.
What if my plants are not growing well?
If your plants are not growing well, there could be several reasons:
* **Nutrient Deficiency:** Make sure your plants are receiving the correct balance of nutrients.
* **pH Imbalance:** Check the pH level of your nutrient solution and adjust it as needed.
* **Insufficient Light:** Ensure your plants are receiving enough light.
* **Pest or Disease Infestation:** Inspect your plants for signs of pests or diseases.
* **Root Rot:** Check the roots of your plants for signs of root rot, which can be caused by overwatering or poor drainage.
Where can I find more information about home hydroponics?
There are many resources available online and in libraries that can provide you with more information about home hydroponics. You can also join online forums or local gardening clubs to connect with other hydroponic enthusiasts and learn from their experiences. Don’t be afraid to experiment and learn as you go!
Leave a Comment