
Homemade cleaning solutions: ever feel like you’re battling a never-ending war against grime and dirt in your home? I know I have! And let’s be honest, those store-bought cleaners, with their harsh chemicals and hefty price tags, can feel like overkill. But what if I told you that the secret to a sparkling clean home is probably already hiding in your pantry?
For generations, our grandmothers and great-grandmothers relied on simple, natural ingredients to keep their homes spotless. Think about it 鈥?before the age of mass-produced cleaning products, resourceful homemakers used vinegar, baking soda, and lemon juice to tackle everything from stubborn stains to lingering odors. This tradition, rooted in practicality and a deep understanding of natural cleaning agents, is something we can all benefit from reviving.
In today’s world, where we’re increasingly conscious of the environmental impact of our choices and the potential health risks associated with harsh chemicals, embracing homemade cleaning solutions is more relevant than ever. Not only are these DIY alternatives gentler on our planet and our bodies, but they’re also incredibly budget-friendly! This article is your ultimate guide to creating effective, all-natural cleaners that will leave your home sparkling without breaking the bank or compromising your well-being. Get ready to ditch the chemicals and discover the power of simple, sustainable cleaning!
DIY Cleaning Solutions: Ditch the Chemicals, Embrace the Natural!
Hey there, fellow cleaning enthusiasts! Are you tired of harsh chemicals and sky-high prices for your cleaning supplies? I know I was! That’s why I dove headfirst into the world of DIY cleaning solutions, and let me tell you, it’s been a game-changer. Not only are these recipes incredibly effective, but they’re also budget-friendly and much kinder to the environment (and your lungs!). So, grab your spray bottles and let’s get started!
All-Purpose Cleaner: Your New Best Friend
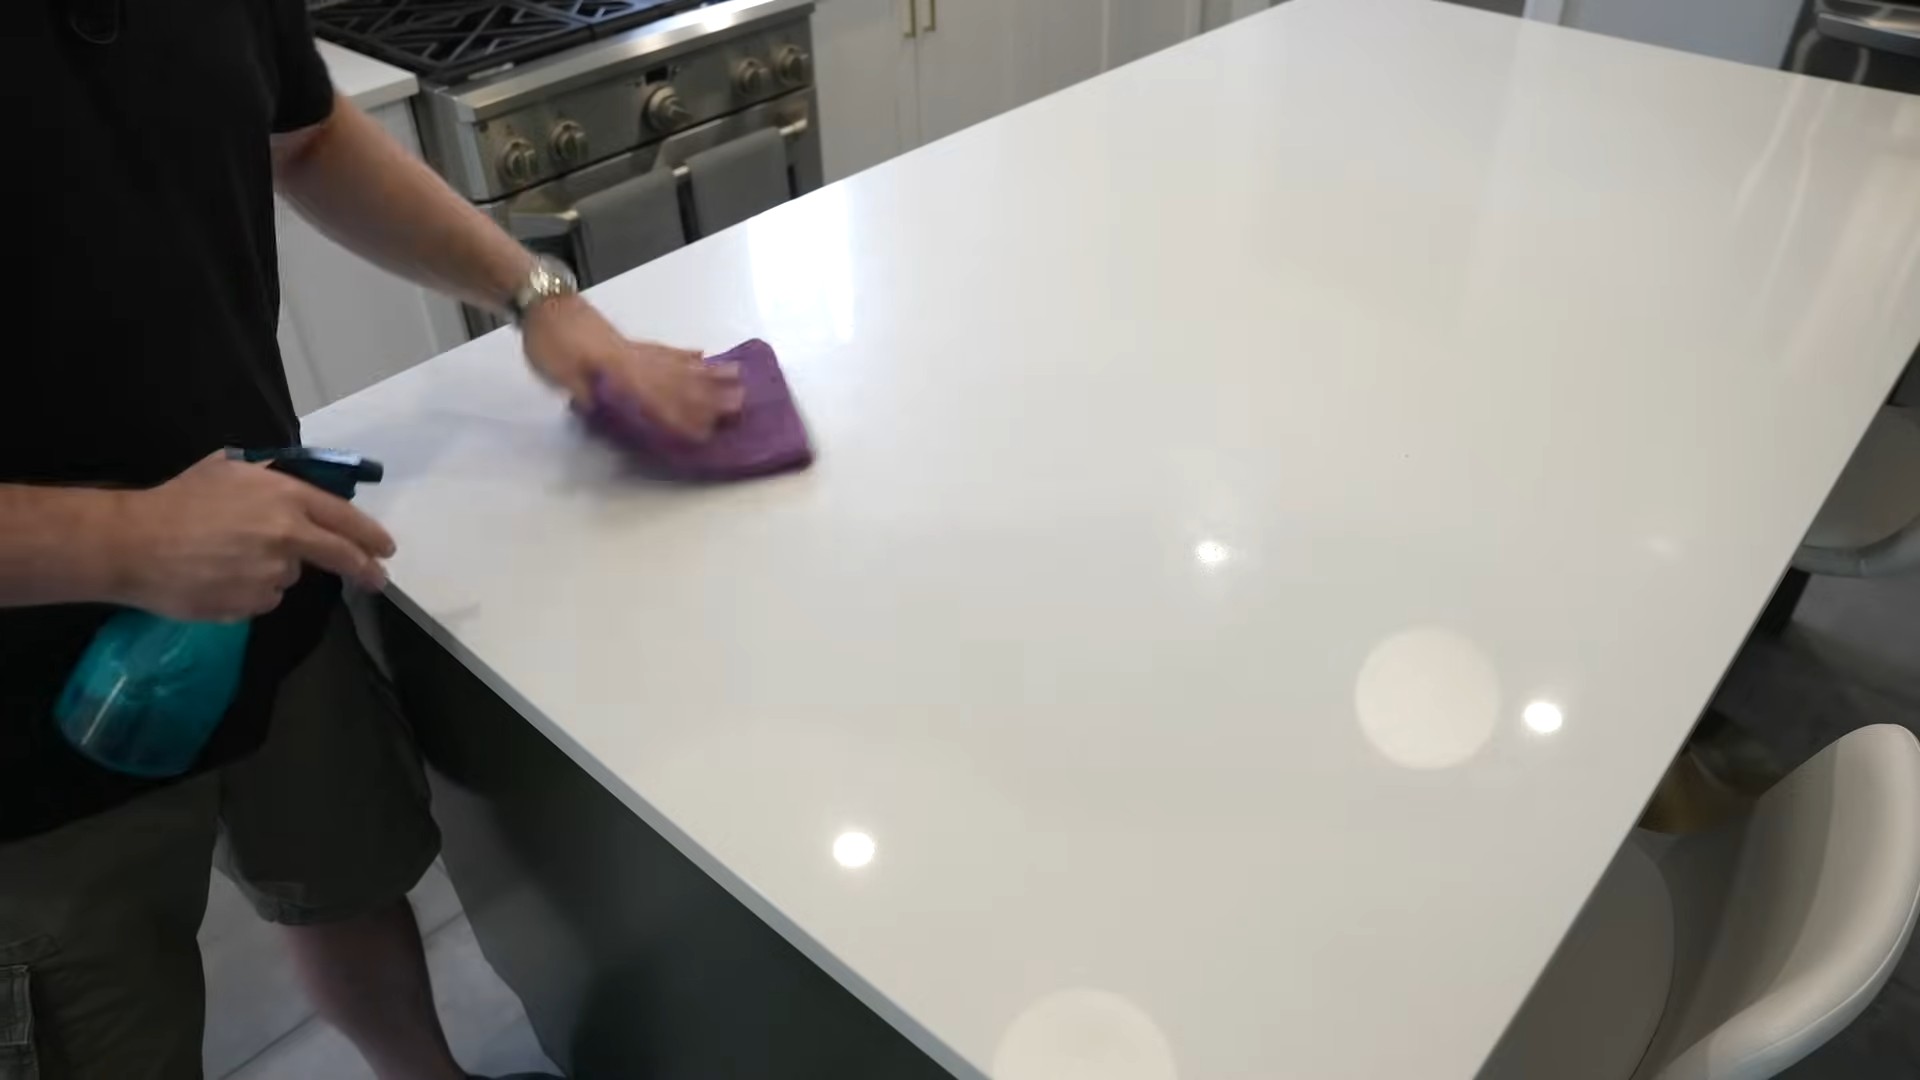
This is my go-to cleaner for just about everything. It’s fantastic for countertops, sinks, appliances, and even floors (just adjust the dilution).
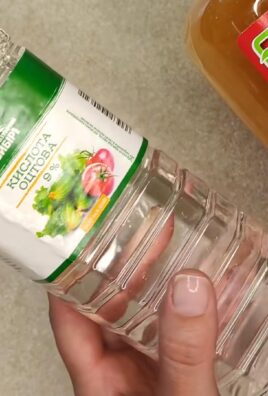
* Ingredients: White vinegar, water, essential oil (optional, but I love lemon or lavender).
* Equipment: Spray bottle, measuring cup.
Step-by-Step Instructions:
1. Combine Vinegar and Water: In your spray bottle, mix equal parts white vinegar and water. I usually start with 1 cup of each.
2. Add Essential Oil (Optional): If you want a pleasant scent, add 10-20 drops of your favorite essential oil. Lemon, tea tree, lavender, and eucalyptus are all great choices for their antibacterial and antiviral properties.
3. Shake Well: Give the bottle a good shake to combine all the ingredients.
4. Spray and Wipe: Spray the solution onto the surface you want to clean and wipe it down with a clean cloth or sponge. For tougher messes, let the solution sit for a few minutes before wiping.
Important Note: Avoid using vinegar on natural stone surfaces like marble or granite, as it can etch the surface.
Glass Cleaner: Streak-Free Shine Guaranteed
Say goodbye to streaks and hello to sparkling clean windows and mirrors! This glass cleaner is super simple and works like a charm.
* Ingredients: White vinegar, water, rubbing alcohol (isopropyl alcohol).
* Equipment: Spray bottle, microfiber cloth.
Step-by-Step Instructions:
1. Mix the Solution: In your spray bottle, combine 1/4 cup white vinegar, 1/4 cup rubbing alcohol, and 2 cups water.
2. Shake it Up: Give the bottle a good shake to ensure all the ingredients are well mixed.
3. Spray and Wipe: Spray the solution onto your windows or mirrors and wipe them down with a clean microfiber cloth. Microfiber cloths are key for streak-free results!
Pro Tip: For really dirty windows, pre-wash them with soapy water before using the glass cleaner.
Toilet Bowl Cleaner: Natural and Effective
Cleaning the toilet is nobody’s favorite chore, but this DIY cleaner makes it a little less dreadful.
* Ingredients: Baking soda, white vinegar, tea tree essential oil (optional).
* Equipment: Toilet brush.
Step-by-Step Instructions:
1. Sprinkle Baking Soda: Sprinkle about 1 cup of baking soda into the toilet bowl.
2. Add Vinegar: Pour 1 cup of white vinegar into the bowl. It will fizz 鈥?that’s the baking soda and vinegar reacting!
3. Let it Sit: Let the mixture sit for at least 15-20 minutes. This allows the baking soda and vinegar to loosen any stains and grime.
4. Scrub and Flush: Use your toilet brush to scrub the bowl thoroughly, paying attention to any stains or buildup.
5. Flush: Flush the toilet to rinse away the cleaner.
6. Add Tea Tree Oil (Optional): For extra disinfecting power and a fresh scent, add a few drops of tea tree essential oil to the bowl after flushing.
Oven Cleaner: Tackling Baked-On Grease
Cleaning the oven is one of those tasks we all dread, but with this DIY oven cleaner, it’s actually manageable!
* Ingredients: Baking soda, water, white vinegar.
* Equipment: Spray bottle, bowl, spatula or scraper, sponge or cloth.
Step-by-Step Instructions:
1. Prepare the Oven: Remove oven racks and any loose debris.
2. Make a Baking Soda Paste: In a bowl, mix 1/2 cup of baking soda with enough water to form a thick paste.
3. Apply the Paste: Spread the baking soda paste all over the inside of your oven, avoiding the heating elements. Be generous and make sure to cover all the greasy areas.
4. Let it Sit Overnight: This is the key! Let the baking soda paste sit overnight (or for at least 12 hours). This gives it time to loosen the baked-on grease and grime.
5. Scrub and Scrape: The next day, use a spatula or scraper to remove as much of the baking soda paste as possible. It should come off fairly easily.
6. Spray with Vinegar: Fill a spray bottle with white vinegar and spray it all over the inside of the oven. The vinegar will react with any remaining baking soda, creating a fizzing action that helps to loosen any stubborn residue.
7. Wipe Clean: Use a sponge or cloth to wipe down the inside of the oven, removing any remaining baking soda, vinegar, and grime.
8. Replace Racks: Replace the oven racks and you’re done!
Tough Spots: For really tough spots, you may need to repeat the process or use a scrub brush to help loosen the grime.
Drain Cleaner: Unclogging Drains Naturally
Forget those harsh chemical drain cleaners! This DIY method is safer, cheaper, and just as effective.
* Ingredients: Baking soda, white vinegar, boiling water.
* Equipment: None.
Step-by-Step Instructions:
1. Pour Baking Soda: Pour about 1/2 cup of baking soda down the drain.
2. Add Vinegar: Pour 1 cup of white vinegar down the drain. It will fizz!
3. Let it Sit: Let the mixture sit for 30 minutes. This allows the baking soda and vinegar to break down the clog.
4. Flush with Boiling Water: After 30 minutes, carefully pour a pot of boiling water down the drain. The hot water will help to flush away the clog.
5. Repeat if Necessary: If the drain is still clogged, repeat the process.
Prevention is Key: To prevent clogs, avoid pouring grease down the drain and regularly flush your drains with hot water.
Furniture Polish: Revive Your Wood Furniture
Give your wood furniture a new lease on life with this simple DIY polish.
* Ingredients: Olive oil, white vinegar or lemon juice.
* Equipment: Spray bottle or small bowl, soft cloth.
Step-by-Step Instructions:
1. Mix the Polish: In a spray bottle or small bowl, combine 1/4 cup olive oil with 1/4 cup white vinegar or lemon juice. The vinegar or lemon juice helps to cut through grime and dirt.
2. Apply the Polish: Lightly spray or dab the polish onto your wood furniture.
3. Wipe and Buff: Use a soft cloth to wipe the polish into the wood, following the grain. Then, use a clean part of the cloth to buff the furniture to a shine.
Test First: Before polishing your entire piece of furniture, test the polish on an inconspicuous area to make sure it doesn’t damage the finish.
Laundry Detergent Booster: Supercharge Your Wash
Boost the cleaning power of your laundry detergent with this simple addition.
* Ingredients: Washing soda (sodium carbonate).
* Equipment: None.
Step-by-Step Instructions:
1. Add to Washer: Add 1/2 cup of washing soda to your washing machine along with your regular laundry detergent.
2. Wash as Usual: Wash your clothes as usual.
Washing Soda vs. Baking Soda: Washing soda is more alkaline than baking soda and is a stronger cleaning agent. Be sure to use washing soda, not baking soda, for this recipe. You can usually find washing soda in the laundry aisle of your grocery store.
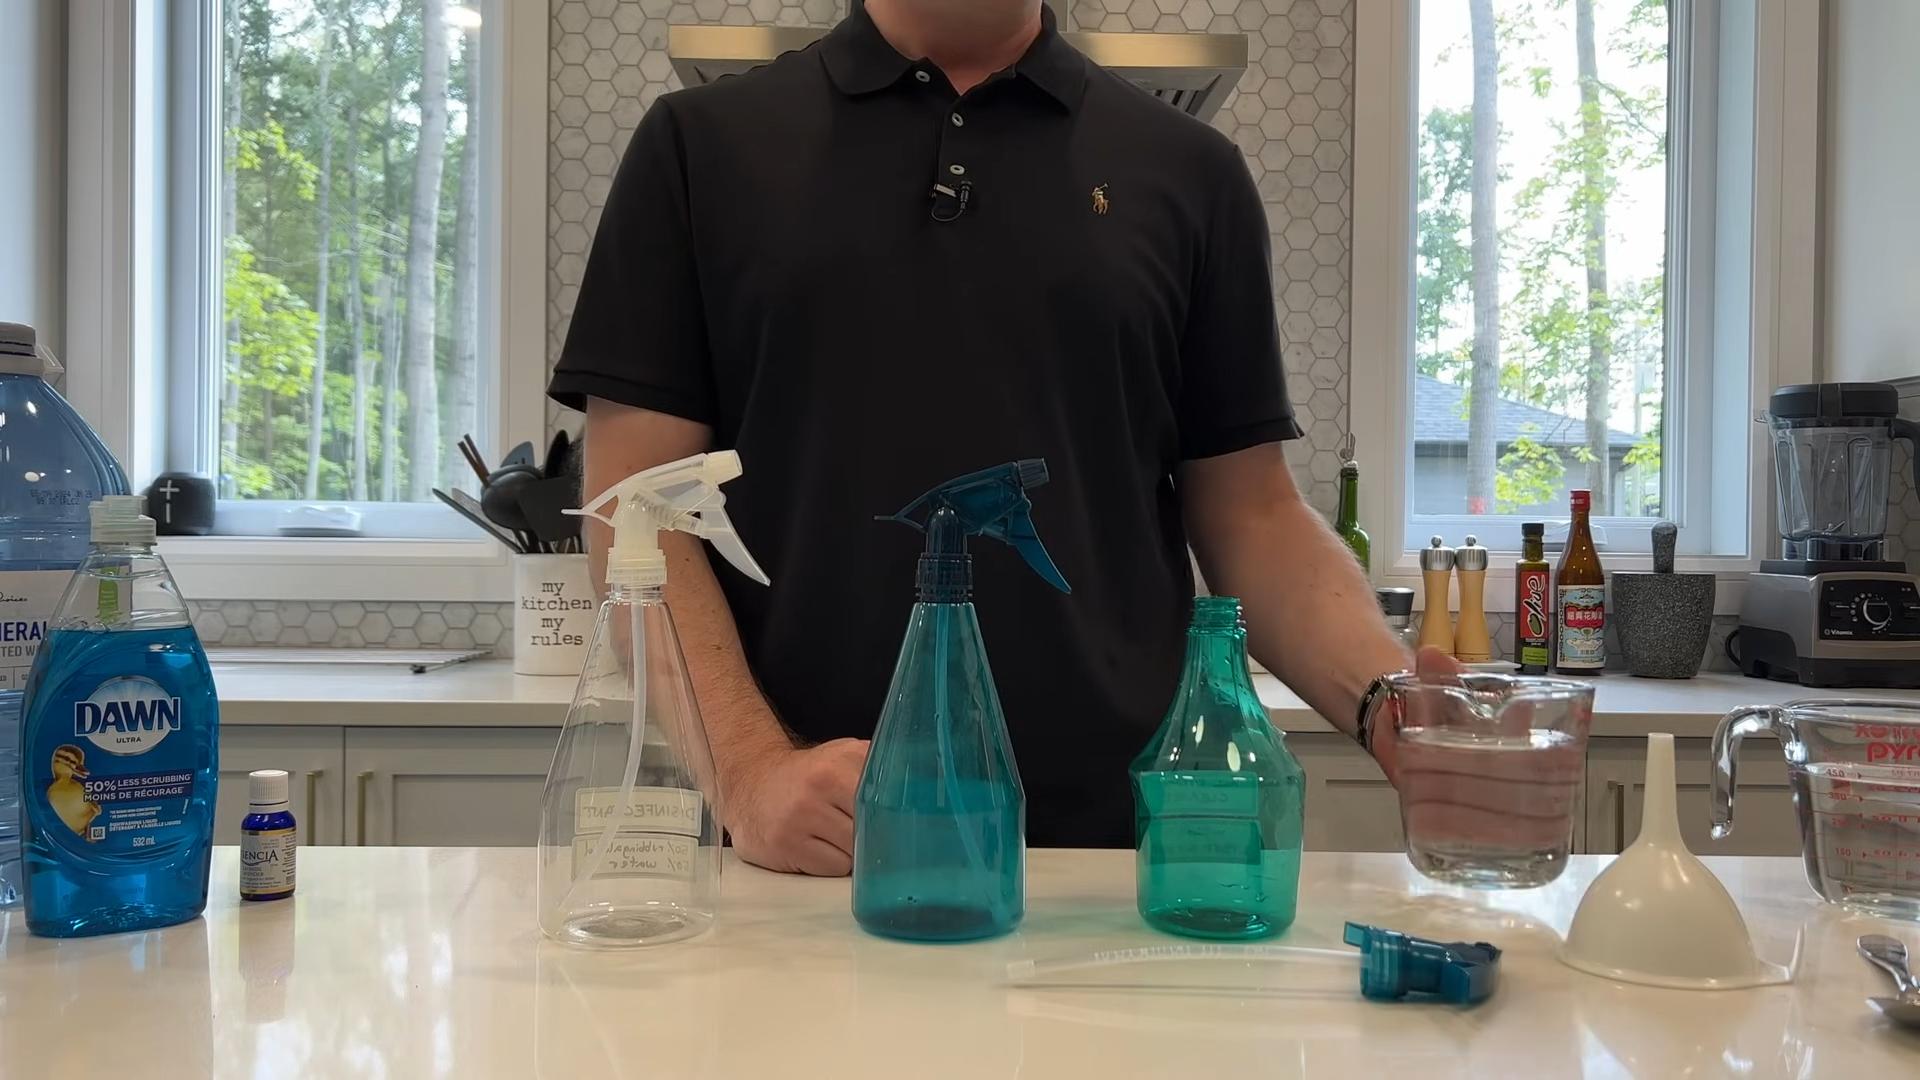
Disinfectant Spray: For Germ-Free Surfaces
When you need to disinfect surfaces, this DIY spray is a great alternative to harsh chemicals.
* Ingredients: Water, rubbing alcohol (isopropyl alcohol) 鈥?at least 70% concentration, essential oil (optional).
* Equipment: Spray bottle.
Step-by-Step Instructions:
1. Combine Ingredients: In a spray bottle, mix 1 part water with 1 part rubbing alcohol (at least 70% concentration). The alcohol is what kills the germs, so make sure you use a high enough concentration.
2. Add Essential Oil (Optional):
Conclusion
So, there you have it! Ditching the harsh chemicals and embracing the power of homemade cleaning solutions is not just a trend; it’s a conscious choice for a healthier home, a happier planet, and a lighter wallet. We’ve explored some fantastic recipes that are incredibly effective, surprisingly simple to make, and customizable to your specific needs and preferences.
Why is this a must-try? Because you’re taking control of what you’re bringing into your home. You know exactly what’s in your cleaning products, eliminating the worry about hidden toxins and allergens that can impact your family’s well-being. Plus, you’re significantly reducing your plastic waste by reusing spray bottles and containers. Think about the sheer volume of cleaning product bottles that end up in landfills each year 鈥?you can actively contribute to a more sustainable future by making this simple switch.
But the benefits don’t stop there. Homemade cleaning solutions are often gentler on surfaces, preventing damage and prolonging the life of your belongings. They’re also safer to use around children and pets, giving you peace of mind as you clean. And let’s not forget the cost savings! Many of the ingredients you need are already in your pantry or readily available at affordable prices.
Looking for variations? Absolutely! Experiment with different essential oils to create your own signature scents. Lavender, lemon, tea tree, and eucalyptus are all popular choices for their cleaning and aromatherapy properties. For tougher stains, consider adding a bit of borax or washing soda to your solutions. Just be sure to research the proper safety precautions before using these ingredients. You can also infuse your vinegar with citrus peels for a more pleasant scent and added cleaning power. Simply place citrus peels in a jar, cover with vinegar, and let it sit for a few weeks before straining and using.
We encourage you to take the plunge and try these homemade cleaning solutions. Start with one recipe that resonates with you and see the difference it makes. Once you experience the effectiveness and the peace of mind that comes with using natural ingredients, you’ll be hooked!
Don’t be afraid to experiment, adapt the recipes to your liking, and most importantly, share your experiences with us! We’d love to hear about your favorite combinations, any challenges you encounter, and the amazing results you achieve. Let’s build a community of eco-conscious cleaners who are passionate about creating a healthier and more sustainable world, one homemade cleaning solution at a time. Share your tips and tricks in the comments below 鈥?we can all learn from each other!
Frequently Asked Questions (FAQ)
Are homemade cleaning solutions as effective as store-bought cleaners?
This is a common concern, and the answer is a resounding yes, in many cases! While some heavy-duty cleaning tasks might require specialized products, homemade cleaning solutions are incredibly effective for everyday cleaning. Ingredients like vinegar, baking soda, and lemon juice possess natural cleaning, disinfecting, and deodorizing properties. The key is to use the right solution for the right task and to allow sufficient contact time for the ingredients to work their magic. For example, vinegar is excellent for cutting through grease and grime, while baking soda is a gentle abrasive that can scrub away stubborn stains. Many people find that homemade solutions work even better than commercial cleaners, especially when dealing with specific issues like hard water stains or mildew.
What are the best essential oils to use in homemade cleaning solutions?
The choice of essential oils is largely a matter of personal preference, but some oils are particularly well-suited for cleaning due to their antibacterial, antiviral, and antifungal properties. Popular choices include:
* **Lemon:** A powerful degreaser and disinfectant with a fresh, uplifting scent.
* **Tea Tree:** Known for its strong antibacterial and antifungal properties, making it ideal for disinfecting surfaces.
* **Lavender:** Offers a calming scent and possesses antiseptic properties.
* **Eucalyptus:** A natural disinfectant with a refreshing scent that can help clear sinuses.
* **Peppermint:** A natural insect repellent with a invigorating scent.
* **Orange:** Similar to lemon, it’s a great degreaser and has a cheerful aroma.
When using essential oils, always dilute them properly with water or another carrier oil, as they can be irritating to the skin and some surfaces. A general guideline is to use 10-20 drops of essential oil per cup of water.
How should I store homemade cleaning solutions?
Proper storage is crucial to maintain the effectiveness and safety of your homemade cleaning solutions. Always store them in clean, airtight containers, preferably glass or durable plastic. Label each container clearly with the name of the solution and the date it was made. Store them in a cool, dark place away from direct sunlight and heat, which can degrade the ingredients. Keep them out of reach of children and pets. For solutions containing essential oils, use dark-colored bottles to protect the oils from light degradation.
How long do homemade cleaning solutions last?
The shelf life of homemade cleaning solutions varies depending on the ingredients. Solutions containing water are more prone to bacterial growth and should be used within a few weeks. Solutions made with vinegar or alcohol tend to last longer, up to several months. Solutions containing essential oils may also have a longer shelf life due to the oils’ preservative properties. If you notice any changes in color, odor, or consistency, it’s best to discard the solution and make a fresh batch.
Are there any surfaces I should avoid cleaning with homemade solutions?
While homemade cleaning solutions are generally safe for most surfaces, there are a few exceptions. Avoid using vinegar on natural stone surfaces like marble, granite, and limestone, as it can etch and damage them. Also, avoid using baking soda on delicate surfaces like polished wood or glass, as it can scratch them. Always test a small, inconspicuous area before cleaning an entire surface to ensure that the solution doesn’t cause any damage or discoloration. When in doubt, consult the manufacturer’s instructions for cleaning specific surfaces.
Can I use homemade cleaning solutions in my laundry?
Yes, absolutely! Many homemade cleaning solutions can be used effectively in laundry. Vinegar can be used as a natural fabric softener and odor eliminator. Baking soda can be added to the wash to boost the cleaning power of your detergent and brighten whites. Lemon juice can be used as a natural bleach alternative for whitening clothes. However, avoid mixing vinegar and baking soda directly in the washing machine, as they will neutralize each other. Add them separately at different stages of the wash cycle.
What if I have allergies or sensitivities to certain ingredients?
If you have allergies or sensitivities to certain ingredients, such as citrus fruits or essential oils, be sure to avoid using them in your homemade cleaning solutions. There are plenty of alternative ingredients you can use instead. For example, if you’re allergic to citrus fruits, you can use white vinegar or hydrogen peroxide as a substitute. If you’re sensitive to essential oils, you can simply omit them from your recipes or use hypoallergenic alternatives. Always read the ingredient labels carefully and consult with your doctor or allergist if you have any concerns.
How can I make my homemade cleaning solutions more eco-friendly?
There are several ways to make your homemade cleaning solutions even more eco-friendly. Use organic ingredients whenever possible to reduce your exposure to pesticides and herbicides. Reuse and recycle containers to minimize waste. Compost citrus peels and other food scraps instead of throwing them away. Choose essential oils that are sustainably sourced and ethically produced. And most importantly, spread the word about the benefits of homemade cleaning solutions to encourage others to make the switch! By making small changes in our cleaning habits, we can collectively make a big difference for the environment.

Leave a Comment