
Household chore hacks – who doesn’t need them? Let’s be honest, tackling household chores can feel like a never-ending battle. From mountains of laundry to dusty corners, keeping our homes sparkling clean often feels like a Herculean task. But what if I told you there’s a smarter, faster, and even *fun* way to conquer those chores?
For centuries, people have been devising clever shortcuts and ingenious solutions to streamline their cleaning routines. Think about it – our grandmothers weren’t just scrubbing away; they were passing down generations of wisdom, little tricks learned through trial and error. These weren’t just about saving time; they were about preserving energy and creating more space for the things that truly mattered.
In today’s fast-paced world, time is more precious than ever. We’re juggling work, family, and personal commitments, leaving little room for hours spent scrubbing floors. That’s where these household chore hacks come in! I’m going to share some of my favorite DIY tips and tricks that will revolutionize your cleaning routine. Imagine spending less time cleaning and more time doing the things you love. Sounds good, right? Let’s dive in and discover how to transform your home from chaotic to clean with these simple, yet effective, strategies!
DIY Household Chore Hacks to Make Life Easier!
Okay, let’s be honest, nobody *loves* chores. But what if I told you there were some super simple DIY hacks that could make them faster, easier, and maybe even…dare I say…a little bit fun? I’ve compiled some of my favorite tricks that have seriously changed my cleaning game. Get ready to level up your household routine!
Cleaning Hacks for a Sparkling Home
This section is all about making your home shine without spending hours scrubbing. We’re talking about clever solutions using everyday items you probably already have.
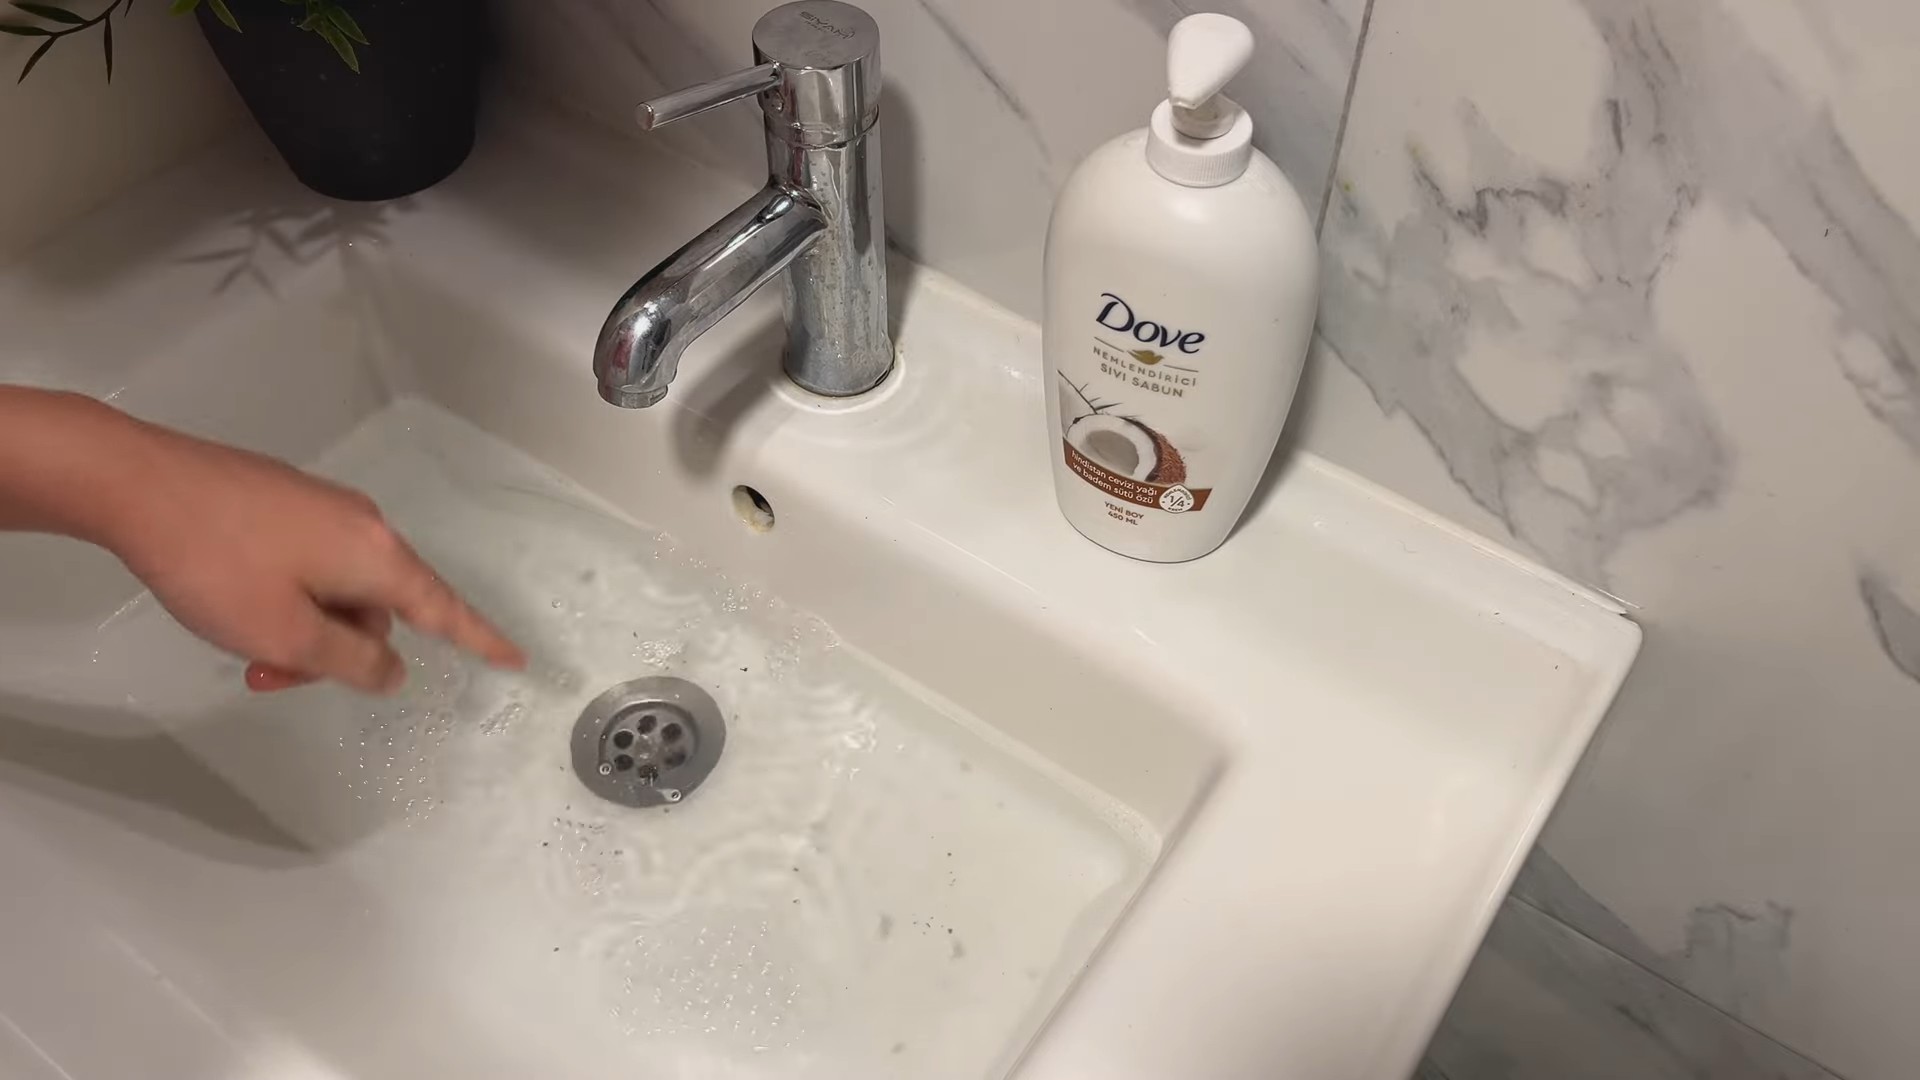
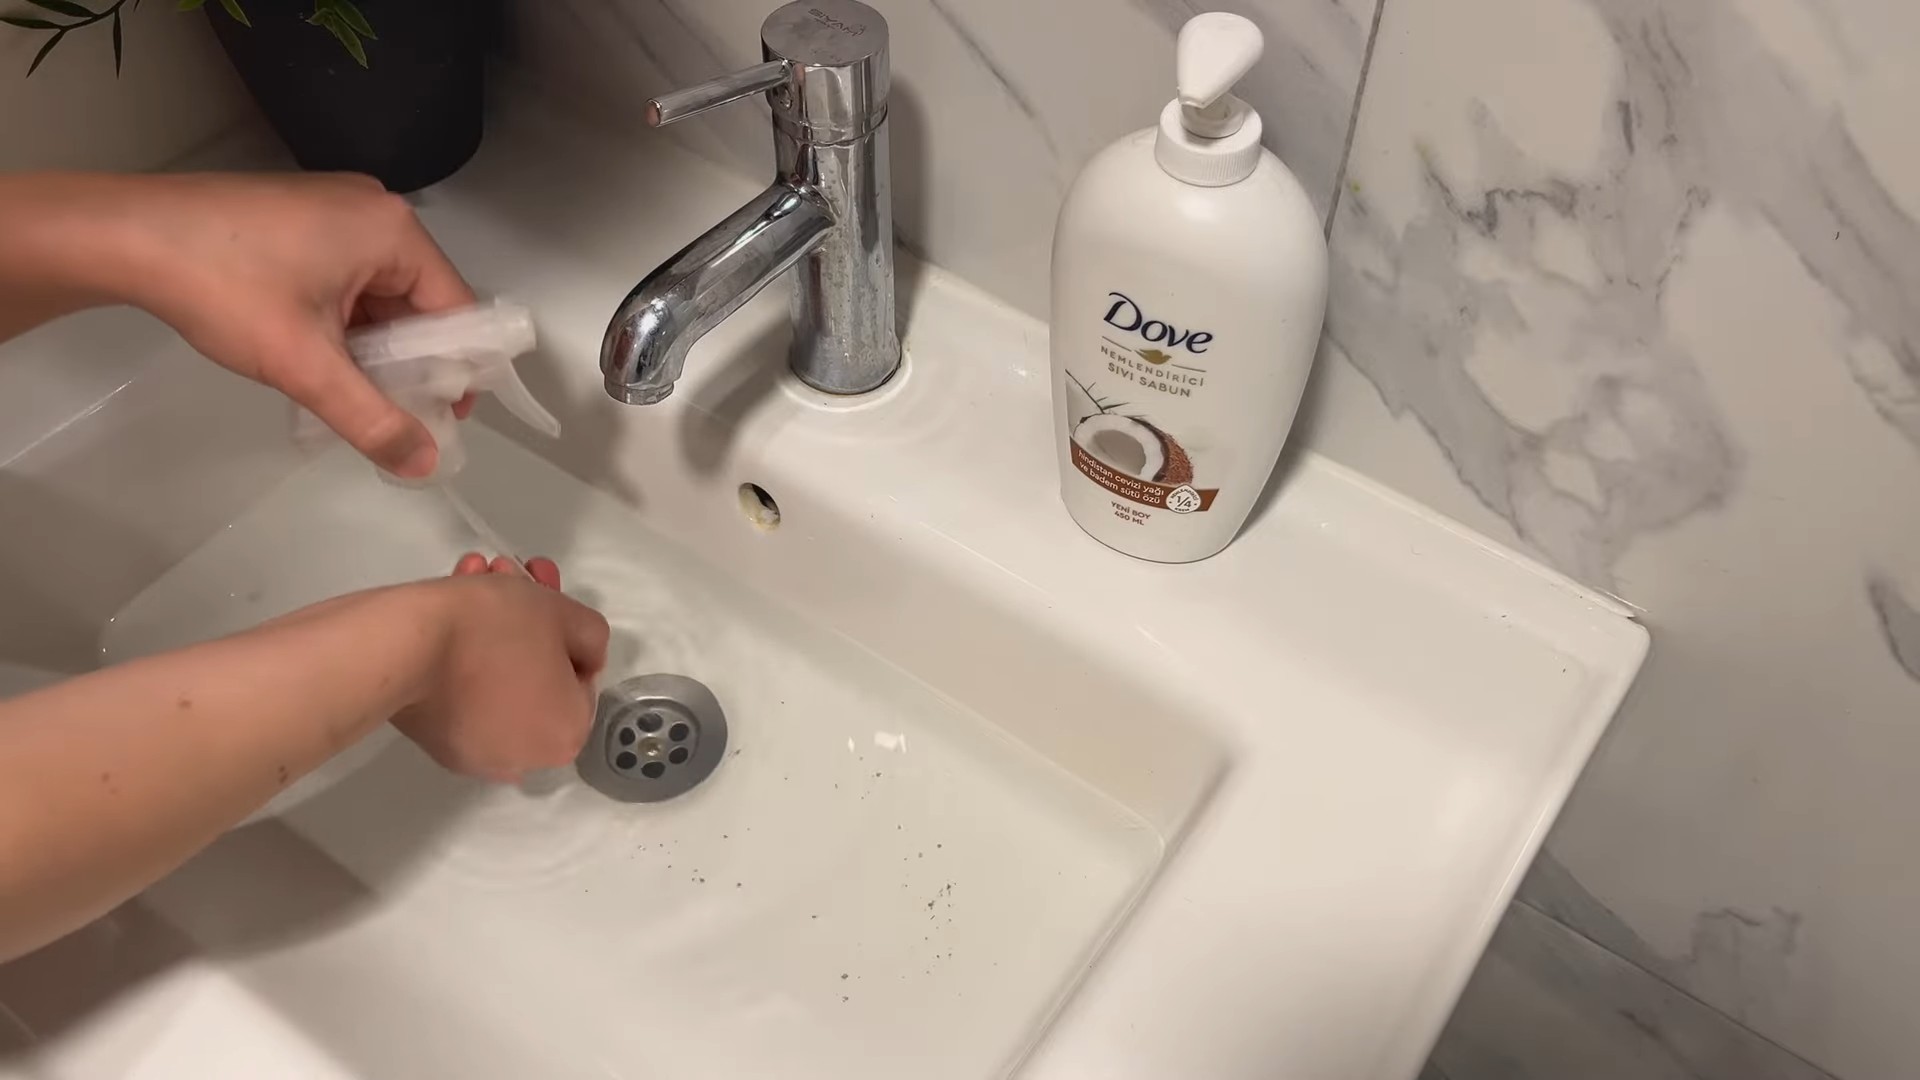
Cleaning Showerheads with Vinegar
Hard water got your showerhead looking sad? This is my go-to trick for restoring its sparkle and water pressure.
What You’ll Need:
* A plastic bag (sandwich bag or grocery bag works)
* White vinegar
* Rubber band or twist tie
Step-by-Step Instructions:
1. Fill the Bag: Pour enough white vinegar into the plastic bag to completely submerge the showerhead.
2. Secure the Bag: Carefully position the bag over the showerhead, ensuring the showerhead is fully immersed in the vinegar. Use a rubber band or twist tie to secure the bag tightly around the shower arm.
3. Soak Overnight: Let the showerhead soak in the vinegar overnight (or for at least a few hours). This allows the vinegar to dissolve the mineral deposits.
4. Remove and Rinse: Remove the bag and discard the vinegar. Turn on the shower and let the water run for a few minutes to flush out any remaining vinegar and loosened debris.
5. Wipe Clean: Use a clean cloth or sponge to wipe down the showerhead. You should see a noticeable difference in its appearance and water flow!
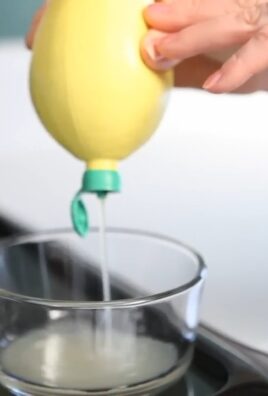
Microwave Cleaning Made Easy
Burnt food splatters making your microwave look like a disaster zone? This steam cleaning method is a lifesaver.
What You’ll Need:
* Microwave-safe bowl
* 1 cup water
* 1 tablespoon white vinegar or lemon juice
Step-by-Step Instructions:
1. Prepare the Solution: In the microwave-safe bowl, combine the water and vinegar (or lemon juice). The vinegar/lemon helps loosen the grime.
2. Microwave the Mixture: Place the bowl in the microwave and heat on high for 5-7 minutes, or until the water boils and the microwave is filled with steam.
3. Let it Stand: Leave the microwave door closed for another 2-3 minutes to allow the steam to further loosen the food particles.
4. Wipe Clean: Carefully remove the bowl (it will be hot!). Use a clean cloth or sponge to easily wipe away the softened food splatters. You shouldn’t need to scrub much at all!
5. Clean the Turntable: Remove the turntable and wash it with soap and water. Dry thoroughly before replacing it.
Cleaning Blinds Like a Pro
Dusty blinds can make a room look dingy. Here’s a quick and effective way to clean them without taking them down.
What You’ll Need:
* Old sock
* White vinegar
* Spray bottle (optional)
* Bowl of warm water
Step-by-Step Instructions:
1. Prepare the Sock: Dampen the old sock with warm water. You can either dip it in a bowl of warm water or lightly spray it with water from a spray bottle.
2. Vinegar Boost (Optional): For extra cleaning power, you can lightly spray the sock with white vinegar. Be careful not to saturate the sock.
3. Slip on Your Hand: Put the damp sock on your hand, like a glove.
4. Clean the Slats: Use your sock-covered hand to wipe each slat of the blinds, one at a time. The sock will trap the dust and dirt.
5. Rinse and Repeat: Rinse the sock in the bowl of warm water as needed, and repeat the process until all the slats are clean.
6. Dry: Allow the blinds to air dry completely. You can also use a clean, dry sock to wipe them down for faster drying.
Organization Hacks for a Clutter-Free Life
Tired of clutter taking over your home? These organization hacks will help you maximize space and keep things tidy.
DIY Drawer Dividers
Messy drawers driving you crazy? These simple dividers will bring order to your chaos.
What You’ll Need:
* Cardboard (cereal boxes or shipping boxes work great)
* Scissors or a craft knife
* Ruler
* Pencil
* Packing tape or glue
Step-by-Step Instructions:
1. Measure Your Drawer: Measure the inside dimensions of your drawer (length, width, and height).
2. Plan Your Dividers: Decide how you want to divide your drawer. Sketch out a plan on paper, noting the dimensions of each divider piece.
3. Cut the Cardboard: Using your ruler and pencil, mark the dimensions of each divider piece on the cardboard. Carefully cut out the pieces using scissors or a craft knife.
4. Assemble the Dividers: If your dividers need to be joined together (e.g., to create a grid), use packing tape or glue to secure them. Make sure the joints are strong and stable.
5. Test Fit: Place the dividers in your drawer to ensure they fit properly. Make any necessary adjustments.
6. Secure (Optional): If you want to prevent the dividers from shifting, you can use double-sided tape to secure them to the bottom of the drawer.
Upcycled Jar Storage
Don’t throw away those empty jars! They’re perfect for organizing small items.
What You’ll Need:
* Empty glass jars (mason jars, spaghetti sauce jars, etc.)
* Spray paint (optional)
* Labels (optional)
* Hooks or a shelf (depending on how you want to display them)
Step-by-Step Instructions:
1. Clean the Jars: Thoroughly wash and dry the jars, removing any labels or residue.
2. Paint (Optional): If you want to give the jars a more uniform look, spray paint them in your desired color. Let them dry completely.
3. Label the Jars (Optional): Use labels to identify the contents of each jar. This will help you stay organized.
4. Choose a Display Method: You can either place the jars on a shelf or hang them from hooks. If you’re hanging them, make sure the hooks are strong enough to support the weight of the jars.
5. Fill and Organize: Fill the jars with your desired items (e.g., cotton balls, Q-tips, craft supplies, spices). Arrange them in a way that is both functional and aesthetically pleasing.
T-Shirt Folding Hack for Maximum Space
This is a game changer for closet organization! I swear, it doubles the space.
What You’ll Need:
* A flat surface
Step-by-Step Instructions:
1. Lay the T-Shirt Flat: Place the t-shirt face down on a flat surface.
2. Imagine Two Lines: Mentally draw two imaginary lines, one down the center of the shirt and one horizontally across the shoulder area.
3. Fold the First Side: Grab the shirt at the shoulder point on the imaginary horizontal line and pinch it. Then, grab the bottom of the shirt at the imaginary vertical line and pinch it.
4. Cross Your Arms: Lift both pinched points, crossing your right hand over your left.
5. Uncross and Lay Down: Uncross your arms, laying the shirt down on the surface. The shirt should now be folded in half vertically.
6. Fold the Sleeves: Fold the sleeves back along the edge of the shirt.
7. Fold in Half Again: Fold the shirt in half horizontally, bringing the bottom edge up to the collar.
8. Fold in Half One Last Time: Fold the shirt in half again horizontally. You now have a neatly folded, compact t-shirt!
Laundry Hacks for a Fresher Wardrobe
Laundry doesn’t have to be a dreaded chore. These hacks will help you save time and keep your clothes looking their best.
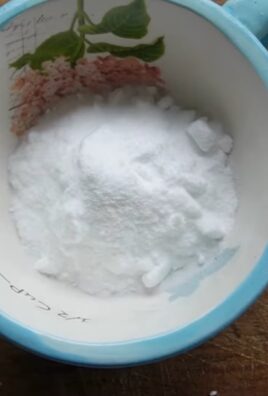
DIY Laundry Detergent
Making your own laundry detergent is surprisingly easy and can save you money.
What You’ll Need:
* 1 cup washing soda
* 1 cup borax
* 1 bar of soap (e.g., Fels-Naptha, Zote), grated
Step-by-Step Instructions:
1. Grate the Soap: Use a cheese grater to finely grate the bar of soap.
2. Combine Ingredients: In a large bowl, combine the grated soap
Conclusion
So, there you have it! These simple yet effective household chore hacks are more than just time-savers; they’re game-changers that can transform your cleaning routine from a dreaded task into a manageable, even enjoyable, activity. We’ve explored how everyday items can become powerful tools in your arsenal against dirt, grime, and clutter. From using vinegar to conquer hard water stains to employing baking soda as a natural deodorizer, these DIY solutions are not only cost-effective but also environmentally friendly, reducing your reliance on harsh chemicals.
But why is this DIY approach a must-try? Because it empowers you to take control of your cleaning process. You’re no longer bound by expensive, pre-packaged products with ingredients you can’t even pronounce. Instead, you’re harnessing the power of readily available resources to create a cleaner, healthier home. Plus, there’s a certain satisfaction that comes from knowing you’ve tackled a tough cleaning challenge with ingenuity and resourcefulness.
Consider these variations to further personalize your cleaning experience. Infuse your vinegar cleaning solution with citrus peels for a refreshing scent. Add a few drops of essential oils like lavender or tea tree to your baking soda mixture for added antibacterial properties. Experiment with different ratios of ingredients to find what works best for your specific needs and surfaces. The possibilities are endless!
Don’t be afraid to get creative and adapt these hacks to your own unique circumstances. Maybe you discover a new use for lemon juice or find that coffee grounds are surprisingly effective at scrubbing stubborn stains. The beauty of DIY is that it’s all about experimentation and discovery.
We wholeheartedly encourage you to try these household chore hacks and see the difference they can make in your home and your life. Imagine spending less time cleaning and more time doing the things you love. Imagine a home that’s not only sparkling clean but also free from harmful chemicals. Imagine the satisfaction of knowing you’re contributing to a more sustainable lifestyle.
But the journey doesn’t end here. We want to hear about your experiences! Share your successes, your challenges, and your own innovative cleaning solutions in the comments below. Let’s create a community of DIY enthusiasts who are passionate about making their homes cleaner, healthier, and happier. Your insights could inspire others to embrace the power of DIY and transform their own cleaning routines. So, go ahead, give these hacks a try, and let us know what you think. We can’t wait to hear from you! Remember, a cleaner home is a happier home, and with these simple tricks, you’re well on your way to achieving just that.
FAQ
What if I don’t have all the ingredients listed?
That’s perfectly fine! The beauty of these household chore hacks is their adaptability. Many of the ingredients can be substituted or omitted depending on your needs and what you have on hand. For example, if you don’t have white vinegar, you can often use lemon juice as a substitute, especially for cleaning surfaces and removing hard water stains. If a recipe calls for baking soda and you’re out, you might be able to use washing soda instead, although it’s a bit stronger, so use it with caution. The key is to understand the purpose of each ingredient and find a suitable alternative if necessary. Don’t be afraid to experiment! Just be sure to research any potential interactions between different ingredients before combining them.
Are these DIY cleaning solutions safe for all surfaces?
Not necessarily. It’s crucial to test any new cleaning solution on a small, inconspicuous area before applying it to the entire surface. This will help you ensure that the solution doesn’t damage or discolor the material. For example, vinegar can be too acidic for some natural stone surfaces like marble or granite, potentially etching or dulling the finish. Similarly, abrasive cleaners like baking soda should be used with caution on delicate surfaces like polished wood or stainless steel, as they can scratch the surface. Always read the manufacturer’s instructions for your surfaces and appliances and err on the side of caution when trying a new cleaning solution.
How often should I use these DIY cleaning solutions?
The frequency of use will depend on the specific cleaning task and the level of dirt or grime. For everyday cleaning tasks like wiping down countertops or cleaning mirrors, you can use these solutions as often as needed. However, for more intensive cleaning tasks like removing stubborn stains or cleaning grout, you may only need to use them once a week or even less frequently. Pay attention to how your surfaces respond to the cleaning solutions and adjust the frequency accordingly. Over-cleaning can sometimes be just as harmful as under-cleaning, so it’s important to find a balance that works for you.
Can I use essential oils in all of these DIY cleaning solutions?
While essential oils can add a pleasant scent and potential antibacterial properties to your cleaning solutions, it’s important to use them with caution. Some essential oils can be irritating to the skin or respiratory system, so it’s always a good idea to wear gloves and ensure proper ventilation when using them. Additionally, some essential oils can damage certain surfaces, so it’s important to test them on a small, inconspicuous area before applying them to the entire surface. When in doubt, it’s always best to err on the side of caution and use essential oils sparingly.
What are some other household chore hacks I can try?
Beyond the ones mentioned in the article, there are countless other household chore hacks you can explore. For example, you can use dryer sheets to remove static cling from clothing, clean baseboards, or even repel dust. You can use a lint roller to remove pet hair from furniture, clothing, and even lampshades. You can use a toothbrush to clean hard-to-reach areas like grout lines, faucet fixtures, and window tracks. The possibilities are endless! The key is to be creative, resourceful, and willing to experiment. Don’t be afraid to think outside the box and find new and innovative ways to tackle your cleaning challenges.
How do I store these DIY cleaning solutions?
Proper storage is essential for maintaining the effectiveness and safety of your DIY cleaning solutions. Always store them in airtight containers to prevent evaporation and contamination. Label each container clearly with the name of the solution and the date it was made. Store them in a cool, dark place away from direct sunlight and heat, as these can degrade the ingredients over time. Keep them out of reach of children and pets to prevent accidental ingestion or contact. If you’re using spray bottles, make sure they are properly sealed to prevent leaks. By following these simple storage tips, you can ensure that your DIY cleaning solutions remain fresh, effective, and safe to use.
Leave a Comment