
Old toothbrush cleaning uses – who knew these humble tools could have a vibrant second life beyond our pearly whites? I’m always on the lookout for clever ways to repurpose everyday items, and trust me, you’ll be amazed at the sheer versatility of your discarded toothbrushes! For generations, resourceful individuals have found creative ways to extend the life of their belongings, and this is no different. Think of our grandmothers, meticulously mending clothes and finding new uses for scraps – that spirit of ingenuity lives on!
In today’s world, where sustainability is more important than ever, finding innovative ways to reduce waste is crucial. Throwing away a perfectly good toothbrush just feels…wrong, doesn’t it? That’s where these DIY cleaning hacks come in. From scrubbing grout to detailing intricate crafts, an old toothbrush cleaning uses are endless. This article is your ultimate guide to unlocking the hidden potential of these overlooked tools, saving you money, reducing waste, and making your cleaning tasks a whole lot easier. So, grab that old toothbrush, and let’s get started!
Give Your Old Toothbrush a New Life: 20+ Cleaning Hacks You Need to Know!
Hey there, fellow DIY enthusiasts! Before you toss that old toothbrush, hold on! Did you know that your trusty old toothbrush is a cleaning superhero in disguise? Seriously, these little guys are amazing for getting into all those nooks and crannies that your regular cleaning tools just can’t reach. I’m going to share with you a ton of ways to repurpose your old toothbrushes and make your cleaning life so much easier. Get ready to be amazed!
Cleaning the Bathroom Like a Pro
The bathroom is a breeding ground for grime, but fear not! Your old toothbrush is here to help.
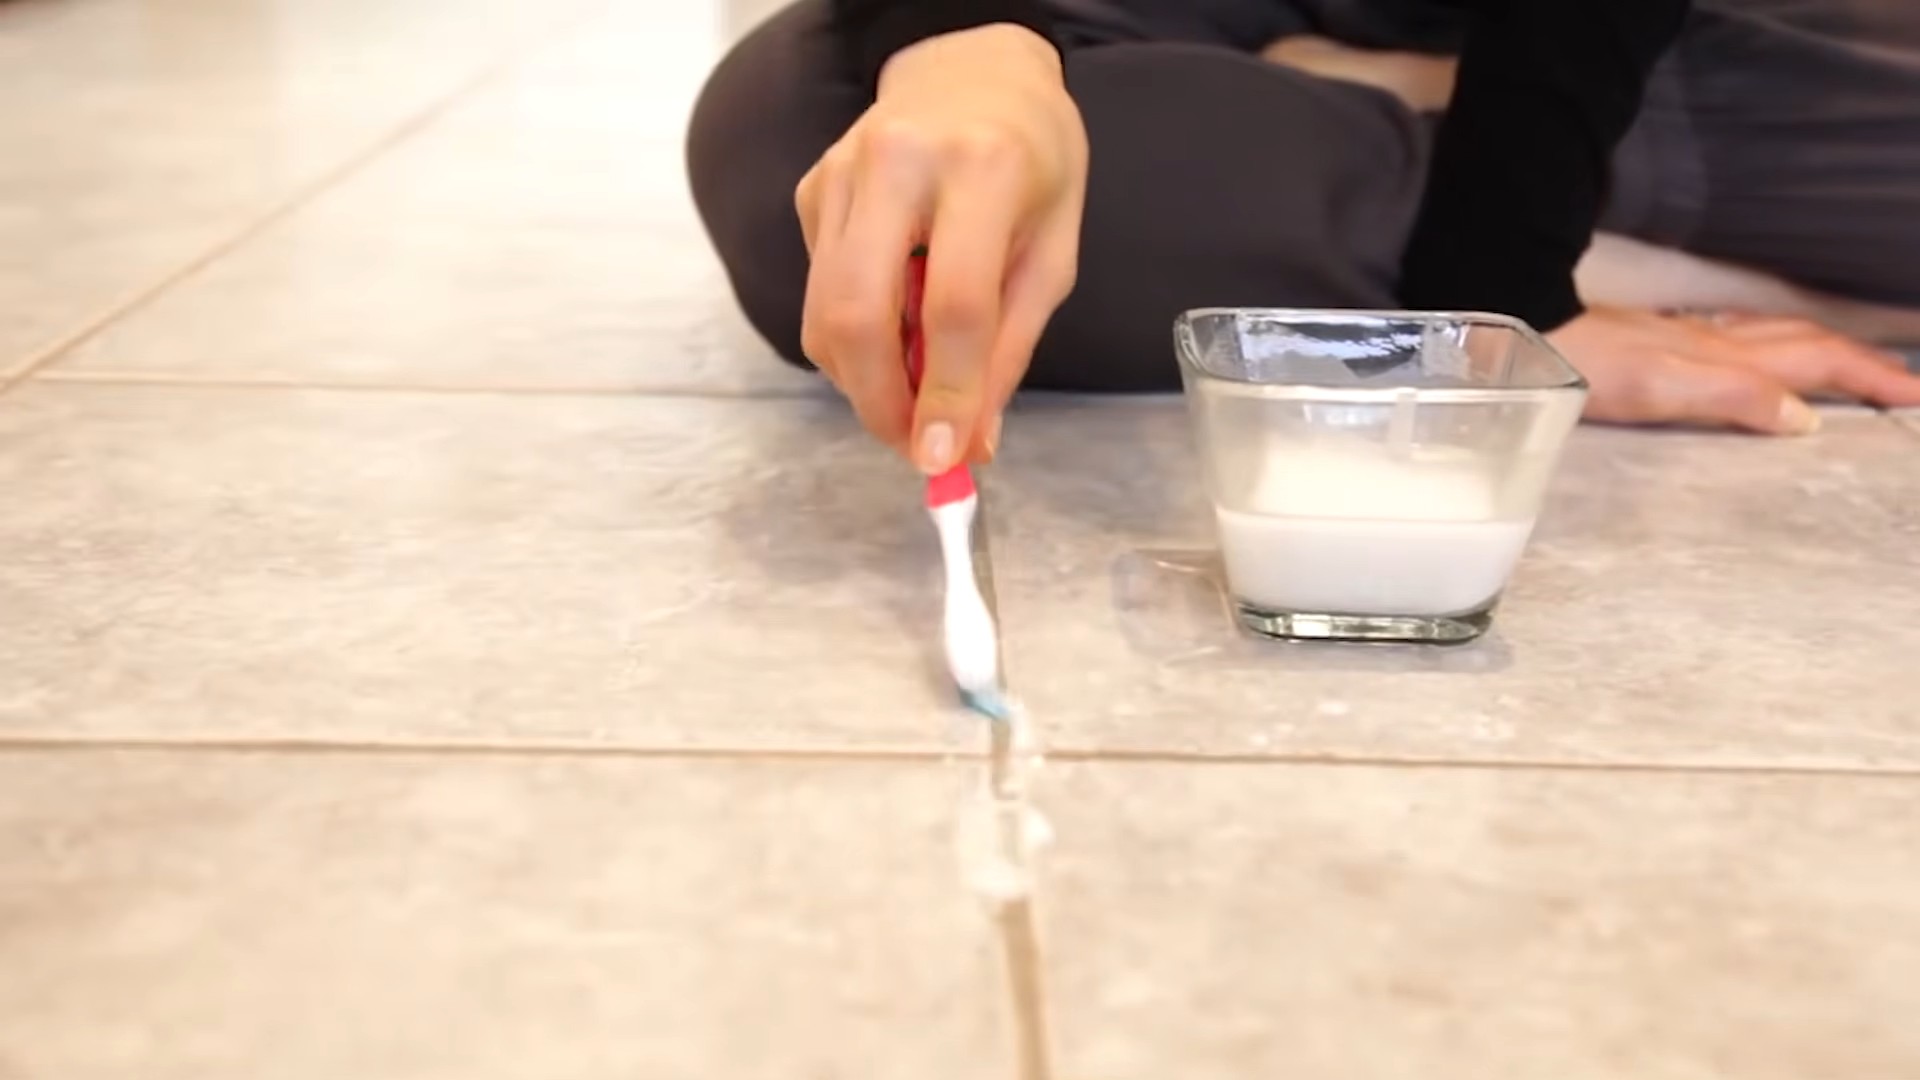
* Grout Cleaning: This is probably the most well-known use, and for good reason!
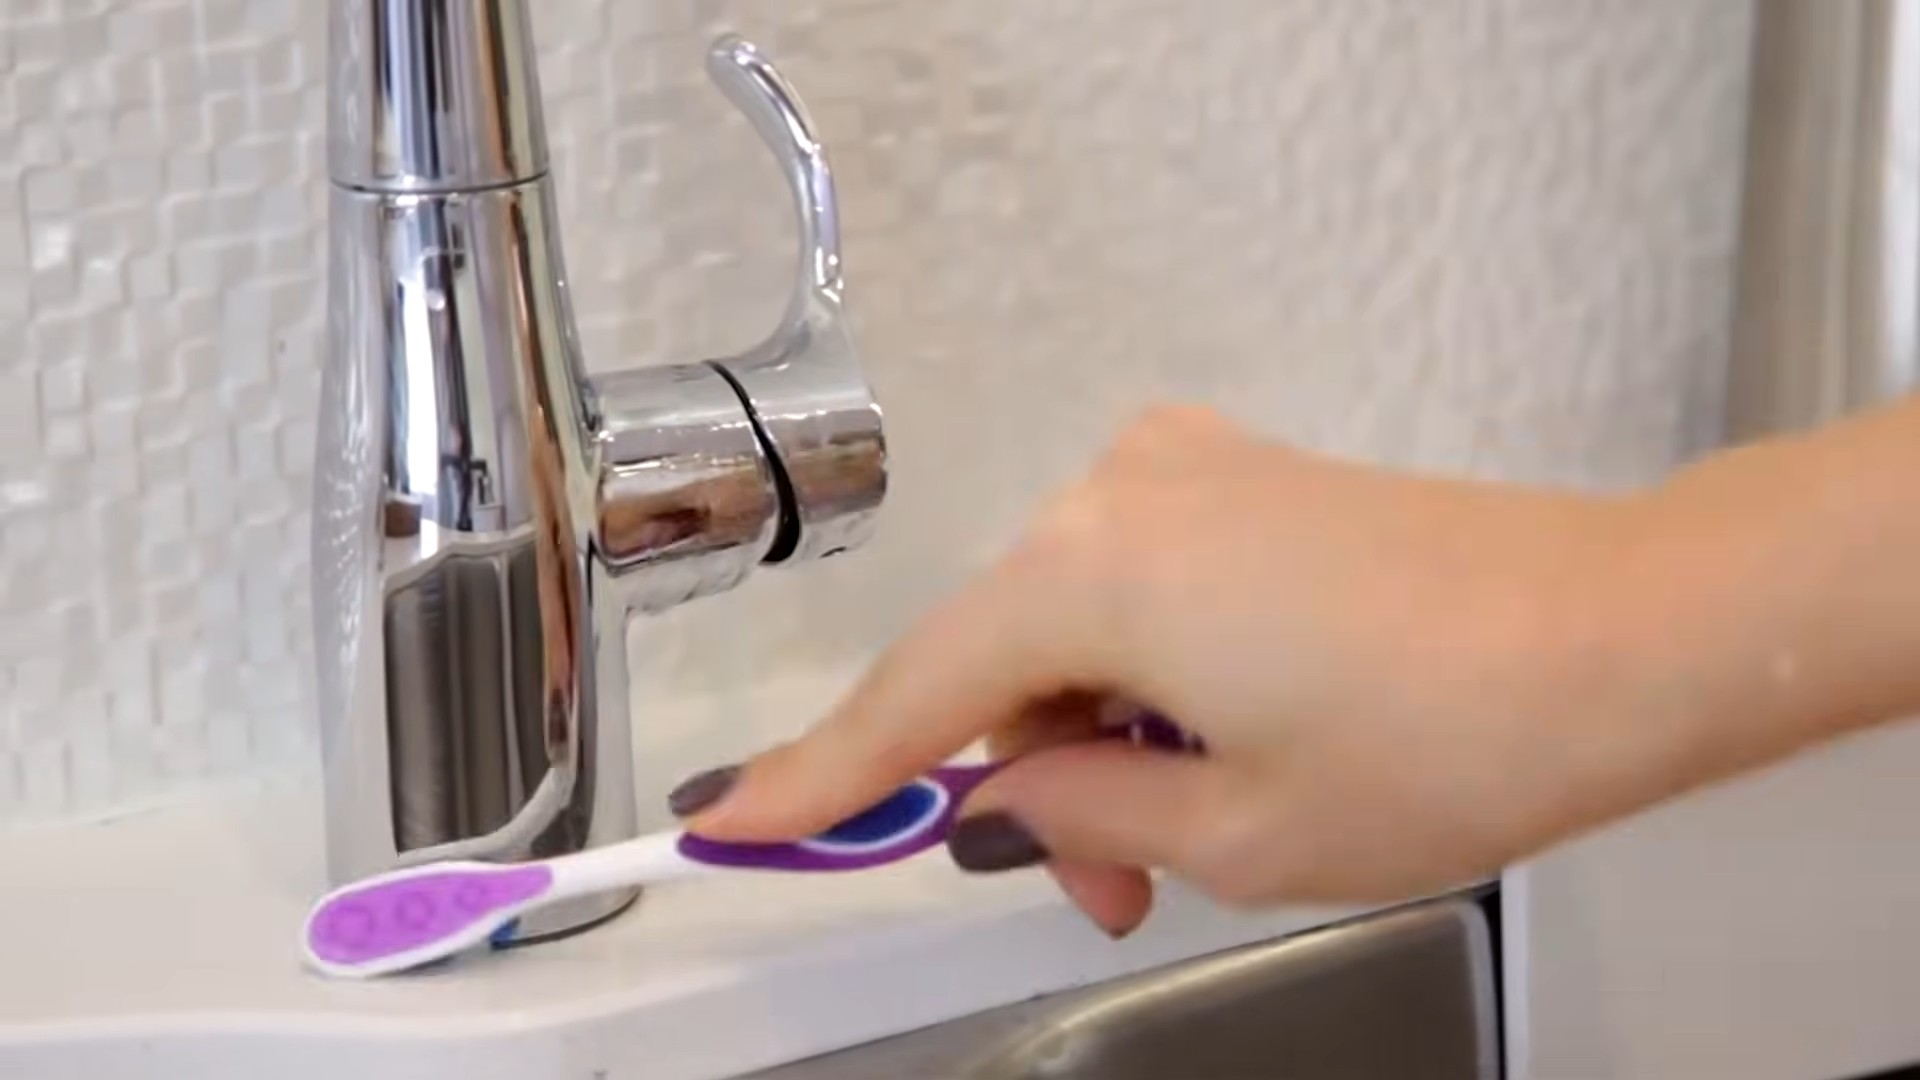
* Faucet Fixtures: Get rid of that stubborn buildup around your faucets.
* Shower Door Tracks: Those tracks are a pain, but a toothbrush makes it manageable.
* Toilet Seat Hinges: Don’t forget these often-overlooked areas!
Step-by-Step Grout Cleaning:
1. Prepare Your Cleaning Solution: You can use a variety of solutions. I personally love a mixture of baking soda and water to form a paste. You can also use a commercial grout cleaner, or even a simple solution of vinegar and water (test in an inconspicuous area first!).
2. Apply the Solution: Using your finger or a small spatula, apply the cleaning solution liberally to the grout lines you want to clean.
3. Scrub, Scrub, Scrub!: Now, grab your old toothbrush and get to work! Use firm, circular motions to scrub the grout lines. You’ll see the grime start to lift.
4. Rinse Thoroughly: Once you’ve scrubbed all the grout lines, rinse the area thoroughly with clean water. You can use a sponge or a spray bottle to help with this.
5. Dry the Area: Use a clean towel to dry the area. This will help prevent mildew from forming.
Step-by-Step Faucet Fixture Cleaning:
1. Choose Your Weapon (Cleaning Solution): Again, you have options! A mixture of vinegar and water works well for hard water stains. You can also use a commercial bathroom cleaner.
2. Apply the Solution: Spray or apply the cleaning solution directly onto the faucet fixtures, focusing on areas with buildup.
3. Scrub with Precision: Use your old toothbrush to scrub around the base of the faucet, the handles, and any other areas with grime.
4. Rinse and Shine: Rinse the fixtures thoroughly with clean water.
5. Buff to a Gleam: Use a clean, dry cloth to buff the fixtures to a shine.
Step-by-Step Shower Door Track Cleaning:
1. Loosen the Grime: Use a dry toothbrush to loosen any loose debris in the shower door tracks.
2. Apply a Cleaning Paste: Mix baking soda with a little water to form a thick paste. Apply the paste to the tracks.
3. Scrub Deep: Use your toothbrush to scrub the paste into the tracks, paying attention to corners and hard-to-reach areas.
4. Let it Sit (Optional): For really stubborn grime, let the paste sit for 15-20 minutes before scrubbing.
5. Rinse and Repeat (if necessary): Rinse the tracks thoroughly with water. You may need to use a small brush or a cotton swab to get into all the crevices. Repeat the process if necessary.
Step-by-Step Toilet Seat Hinge Cleaning:
1. Spray with Disinfectant: Spray the toilet seat hinges with a disinfectant cleaner.
2. Scrub Away: Use your old toothbrush to scrub around the hinges, removing any dirt or grime.
3. Wipe Clean: Wipe the hinges clean with a damp cloth.
Kitchen Cleaning Powerhouse
The kitchen is another area where your old toothbrush can shine.
* Around the Sink: Get rid of food particles and grime around the sink drain and faucet.
* Small Appliances: Clean coffee makers, blenders, and other small appliances.
* Stovetop Details: Clean around burner grates and other hard-to-reach areas on your stovetop.
* Cutting Boards: Scrub away food stains and bacteria from cutting boards.
Step-by-Step Sink Cleaning:
1. Rinse the Sink: Rinse the sink with water to remove any loose debris.
2. Apply Dish Soap: Apply a small amount of dish soap to the area around the sink drain and faucet.
3. Scrub with Precision: Use your old toothbrush to scrub around the drain, the faucet base, and any other areas with grime.
4. Rinse Thoroughly: Rinse the sink thoroughly with clean water.
Step-by-Step Small Appliance Cleaning:
1. Unplug the Appliance: Always unplug the appliance before cleaning it.
2. Disassemble (if possible): Disassemble any removable parts of the appliance.
3. Apply Cleaning Solution: Depending on the appliance, you can use dish soap, vinegar and water, or a specialized appliance cleaner. Apply the solution to the areas you want to clean.
4. Scrub with Care: Use your old toothbrush to scrub around buttons, knobs, and other hard-to-reach areas.
5. Rinse and Dry: Rinse the parts thoroughly with clean water and allow them to dry completely before reassembling the appliance.
Step-by-Step Stovetop Detail Cleaning:
1. Remove Burner Grates: Remove the burner grates from the stovetop.
2. Apply Cleaning Solution: Apply a degreasing cleaner to the stovetop, focusing on areas around the burners.
3. Scrub with Force: Use your old toothbrush to scrub around the burner grates and other hard-to-reach areas.
4. Wipe Clean: Wipe the stovetop clean with a damp cloth.
Step-by-Step Cutting Board Cleaning:
1. Wash with Soap and Water: Wash the cutting board with soap and water to remove any loose food particles.
2. Apply Cleaning Solution: You can use a variety of solutions, such as a mixture of lemon juice and salt, or a diluted bleach solution (use with caution and rinse thoroughly!).
3. Scrub Thoroughly: Use your old toothbrush to scrub the cutting board thoroughly, paying attention to any stains or grooves.
4. Rinse and Dry: Rinse the cutting board thoroughly with clean water and allow it to dry completely.
Beyond the Bathroom and Kitchen: Unexpected Uses
But wait, there’s more! Your old toothbrush can be used for so much more than just bathroom and kitchen cleaning.
* Cleaning Shoes: Scrub away dirt and grime from your shoes, especially around the soles and laces.
* Detailing Your Car: Clean vents, dashboards, and other hard-to-reach areas in your car.
* Jewelry Cleaning: Gently clean your jewelry to remove dirt and tarnish.
* Keyboard Cleaning: Remove dust and crumbs from your keyboard.
* Cleaning Electronics: Clean around ports and buttons on your electronics (make sure they are unplugged!).
* Sealing Food Bags: Use the handle to seal food bags by folding the top over and clipping it with the toothbrush handle.
* Cleaning Window Tracks: Just like shower door tracks, window tracks accumulate dirt and debris.
* Dusting Delicate Items: Use a dry toothbrush to gently dust delicate items like figurines or collectibles.
* Cleaning Sewing Machines: Get into all the tiny crevices of your sewing machine.
* Cleaning Bike Chains: Apply degreaser and scrub that chain clean!
Step-by-Step Shoe Cleaning:
1. Remove Loose Dirt: Use a dry brush or cloth to remove any loose dirt from your shoes.
2. Apply Cleaning Solution: Mix a small amount of dish soap with water.
3. Scrub Gently: Use your old toothbrush to scrub the shoes gently, paying attention to any stains or scuff marks.
4. Rinse and Dry: Rinse the shoes with clean water and allow them to air dry.
Step-by-Step Car Detailing:
1. Choose Your Cleaner: Use an appropriate car interior cleaner.
2. Spray and Scrub: Spray the cleaner onto the area you want to clean and use your toothbrush to scrub gently.
3. Wipe Clean: Wipe the area clean with a damp cloth.
Step-by-Step Jewelry Cleaning:
1. Prepare a Solution: Mix a few drops of dish soap with warm water.
2. Soak Your Jewelry: Soak your jewelry
Conclusion
So, there you have it! Transforming your old toothbrushes into indispensable cleaning tools is not just a clever way to recycle; it’s a game-changer for tackling those stubborn, hard-to-reach spots around your home. We’ve explored a multitude of uses, from scrubbing grout and detailing car interiors to cleaning small appliances and even reaching into the nooks and crannies of your favorite jewelry. The versatility of this simple DIY trick is truly remarkable, and the savings you’ll reap by avoiding specialized cleaning brushes are an added bonus.
But why is this old toothbrush cleaning method a must-try? Because it’s effective, economical, and environmentally conscious. You’re giving a second life to something that would otherwise end up in a landfill, while simultaneously saving money and achieving a level of cleanliness that’s often difficult to attain with larger, less precise tools. It’s a win-win-win situation!
Don’t be afraid to experiment with different types of old toothbrushes. A toothbrush with softer bristles might be ideal for delicate surfaces like electronics or painted trim, while a toothbrush with firmer bristles could be better suited for tackling tough grime on tile or in the kitchen sink. You can also customize your cleaning solutions to suit the task at hand. For example, a mixture of baking soda and water can create a powerful abrasive paste for removing stubborn stains, while a solution of vinegar and water can be effective for disinfecting and deodorizing. Consider adding a few drops of essential oil to your cleaning solution for a pleasant scent. Lemon, tea tree, and lavender oils are all excellent choices with natural antibacterial properties.
Beyond the specific applications we’ve discussed, let your imagination run wild! You might find that an old toothbrush is perfect for cleaning your computer keyboard, scrubbing the soles of your shoes, or even applying hair dye to your roots. The possibilities are endless.
We wholeheartedly encourage you to give this DIY trick a try. Gather up your old toothbrushes, select a cleaning project, and experience the satisfaction of transforming a discarded item into a valuable tool. We’re confident that you’ll be amazed by the results.
And most importantly, we want to hear about your experiences! Share your tips, tricks, and success stories in the comments section below. What unexpected uses have you discovered for your old toothbrushes? What cleaning solutions have you found to be most effective? Your insights could help other readers discover even more ways to benefit from this simple yet powerful DIY cleaning hack. Let’s build a community of resourceful cleaners who are committed to saving money, reducing waste, and keeping our homes sparkling clean!
FAQ
What types of old toothbrushes work best for cleaning?
The best type of old toothbrush for cleaning depends on the task at hand. For delicate surfaces like electronics, painted trim, or jewelry, a toothbrush with soft bristles is ideal. This will prevent scratching or damage. For tougher cleaning jobs, such as scrubbing grout, cleaning car interiors, or removing stubborn stains, a toothbrush with medium or firm bristles will provide more scrubbing power. Consider keeping a variety of old toothbrushes on hand, each designated for specific cleaning tasks. Remember to thoroughly clean and disinfect each toothbrush after each use to prevent the spread of bacteria.
How do I properly clean and disinfect an old toothbrush after using it for cleaning?
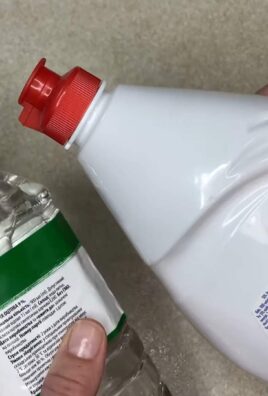
After each use, rinse the old toothbrush thoroughly under hot running water to remove any debris or cleaning solution residue. To disinfect the toothbrush, you can soak it in a solution of hydrogen peroxide for a few minutes. Alternatively, you can soak it in a solution of antibacterial mouthwash or a mixture of vinegar and water. After soaking, rinse the toothbrush again with hot water and allow it to air dry completely before storing it. Avoid storing the toothbrush in a closed container while it’s still wet, as this can promote the growth of bacteria. Regularly replacing your cleaning toothbrushes is also a good practice.
Can I use an old electric toothbrush head for cleaning?
Yes, old electric toothbrush heads can be excellent for cleaning, especially for tasks that require a bit more power. The oscillating or rotating action of the electric toothbrush head can help to loosen dirt and grime more effectively than a manual toothbrush. However, be mindful of the surface you’re cleaning, as the more powerful action could potentially scratch delicate materials. Always test in an inconspicuous area first. Clean and disinfect the electric toothbrush head thoroughly after each use, just as you would with a manual toothbrush.
What cleaning solutions are safe to use with old toothbrushes?
Many common household cleaning solutions are safe to use with old toothbrushes. Some popular options include:
* **Baking soda paste:** A mixture of baking soda and water creates a mild abrasive paste that’s effective for removing stains and grime.
* **Vinegar and water solution:** A solution of equal parts vinegar and water is a versatile cleaner that can disinfect and deodorize surfaces.
* **Dish soap and water:** A mild solution of dish soap and water is effective for general cleaning tasks.
* **Hydrogen peroxide:** Hydrogen peroxide is a powerful disinfectant that can be used to kill bacteria and viruses.
* **Commercial cleaning sprays:** Many commercial cleaning sprays can be used with old toothbrushes, but always follow the manufacturer’s instructions and test in an inconspicuous area first.
Avoid using harsh chemicals or abrasive cleaners that could damage the toothbrush or the surface you’re cleaning. Always wear gloves when using cleaning solutions, and ensure proper ventilation.
Are there any surfaces I should avoid cleaning with an old toothbrush?
While old toothbrushes are versatile cleaning tools, there are some surfaces you should avoid cleaning with them. These include:
* **Delicate fabrics:** The bristles of a toothbrush can damage delicate fabrics like silk or lace.
* **Surfaces that scratch easily:** Avoid using a toothbrush with firm bristles on surfaces that scratch easily, such as polished wood or soft plastics.
* **Electronics with exposed components:** Be careful when cleaning electronics with an old toothbrush, as moisture can damage sensitive components.
* **Painted surfaces with peeling paint:** Using a toothbrush on peeling paint can further damage the surface.
Always test in an inconspicuous area before cleaning an entire surface with an old toothbrush.
How often should I replace my old toothbrushes that I use for cleaning?
The frequency with which you should replace your old toothbrushes used for cleaning depends on how often you use them and the types of cleaning tasks you perform. As a general guideline, replace your cleaning toothbrushes every 2-3 months, or sooner if the bristles become frayed or worn. If you use your toothbrushes for cleaning particularly dirty or contaminated surfaces, you may need to replace them more frequently. Regularly inspecting your cleaning toothbrushes for signs of wear and tear will help you determine when it’s time for a replacement.
Can I use old toothbrushes for cleaning my teeth?
No, you should never use an old toothbrush for cleaning your teeth. Once a toothbrush has been used for cleaning other surfaces, it can harbor bacteria and other contaminants that could be harmful to your health. Always use a new, clean toothbrush specifically designed for oral hygiene. Replace your toothbrush every 3 months, or sooner if the bristles become frayed or you have been sick.
Leave a Comment