
Prevent Mold Growth: It’s the silent enemy of every thriving home garden, lurking in the shadows, ready to wreak havoc on your precious plants. Have you ever noticed a fuzzy white or grey coating on your soil or leaves and wondered what it was? Chances are, it’s mold, and it’s not a welcome guest! For centuries, gardeners have battled this persistent problem, using various techniques passed down through generations to keep their green spaces healthy and vibrant.
Mold growth isn’t just unsightly; it can seriously harm your plants, hindering their growth and even leading to their demise. That’s why mastering simple DIY tricks to prevent mold growth is absolutely essential for any home gardener, whether you’re a seasoned pro or just starting out. I’m here to share some easy-to-implement hacks that will help you create a mold-resistant environment for your plants, ensuring they flourish and bring you joy for years to come. Think of it as giving your plants a shield against this common garden foe!
This article will equip you with the knowledge and practical tips you need to keep your garden mold-free. We’ll explore natural remedies, proper watering techniques, and ventilation strategies that will make your plants say, “Thank you!” So, let’s dive in and discover how to keep your garden healthy, happy, and mold-free!
DIY Guide: Conquer Mold and Keep Your Home Fresh!
Hey everyone! Mold. Just the word sends shivers down my spine. It’s unsightly, smells awful, and can even be harmful to your health. But don’t despair! You don’t need to call in expensive professionals right away. I’m going to share some tried-and-true DIY methods to prevent mold growth in your home. Let’s get started!
Understanding the Enemy: Why Mold Grows
Before we dive into the solutions, it’s important to understand why mold thrives in the first place. Mold loves moisture, warmth, and a food source (like dust, wood, or drywall). Common culprits include:
* Leaks: Roof leaks, plumbing leaks, even small drips can create the perfect environment.
* Humidity: High humidity, especially in bathrooms and kitchens, is a breeding ground.
* Poor Ventilation: Stagnant air allows moisture to linger.
* Condensation: Condensation on windows and walls provides a constant source of water.
* Flooding: Even a small flood can lead to significant mold growth if not addressed quickly.
Phase 1: Identifying Problem Areas
The first step in preventing mold is to identify areas in your home that are prone to moisture. I always start with these spots:
* Bathrooms: Showers, tubs, sinks – they’re all potential problem areas. Check around the grout, caulk, and under the sink.
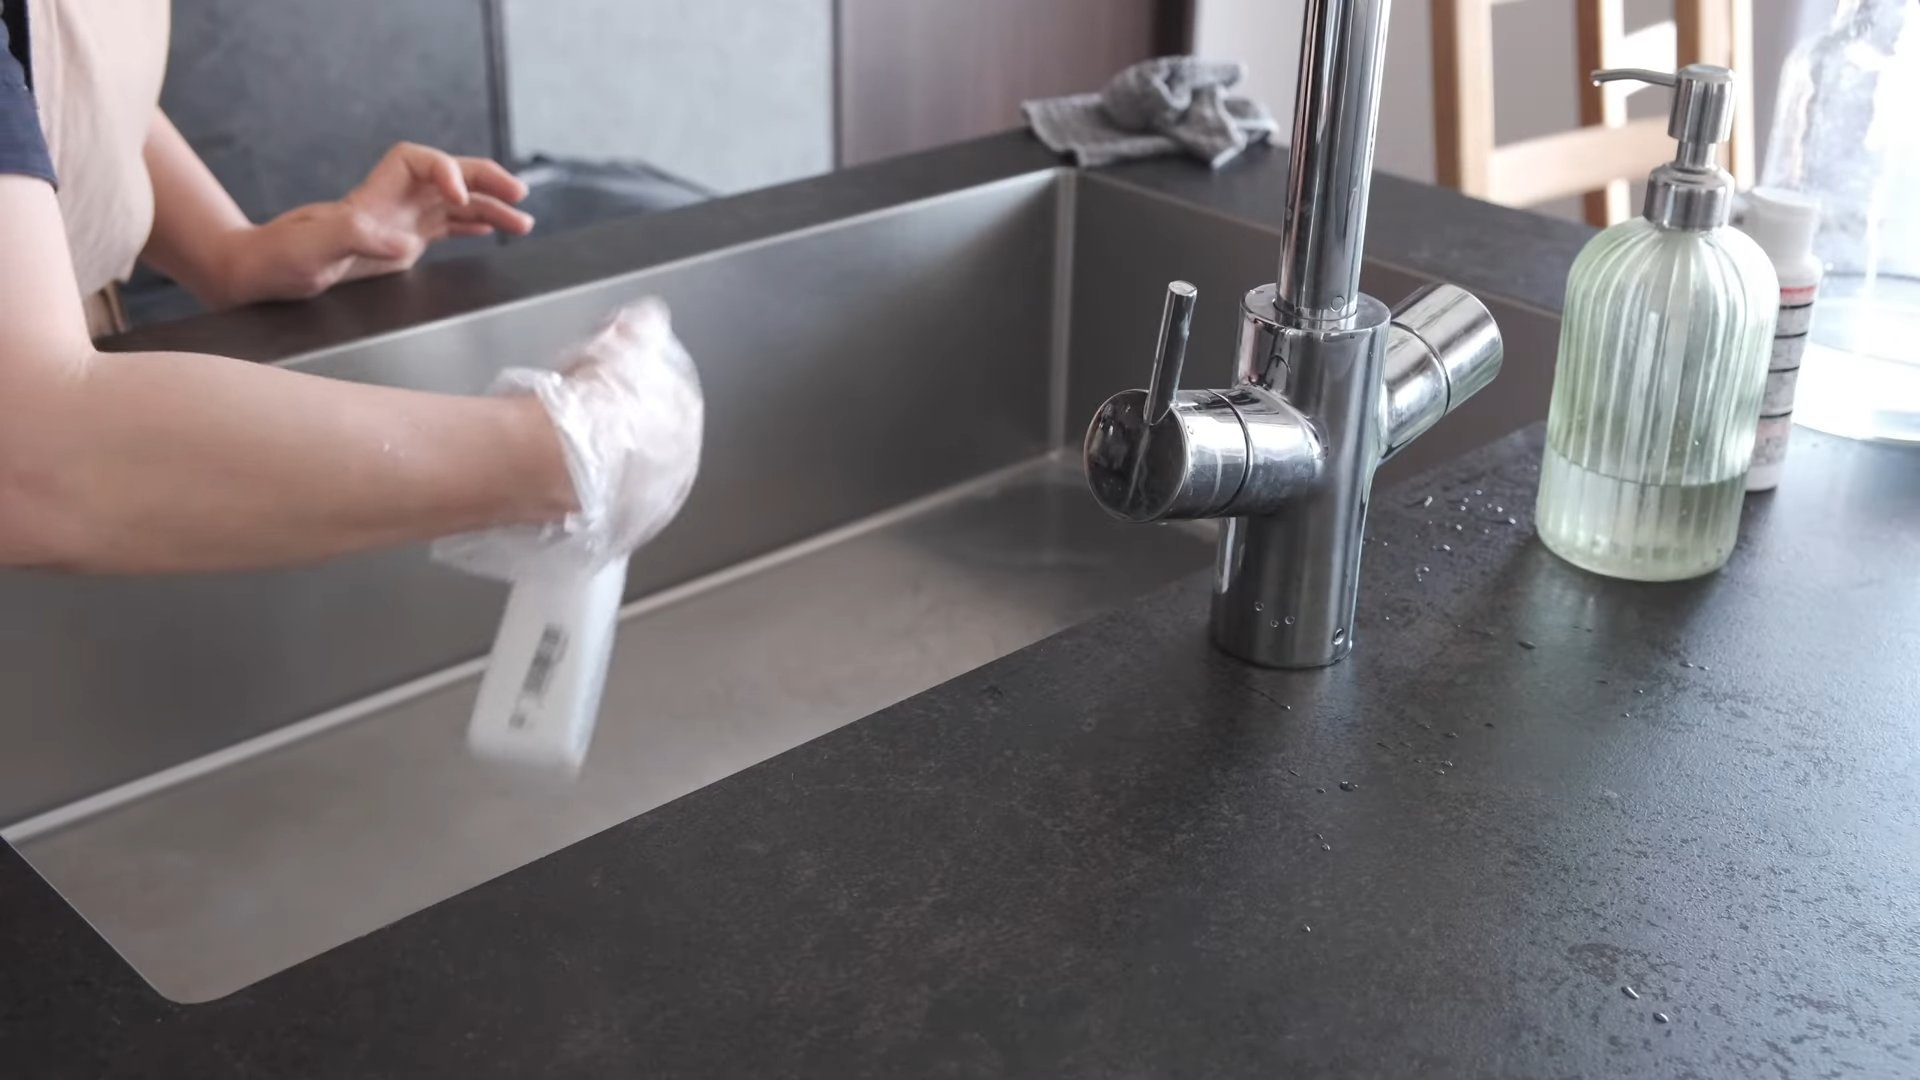
* Kitchens: Look around the sink, dishwasher, refrigerator (especially the drip pan), and any areas where food spills might occur.
* Basements: Basements are often damp, so inspect walls, floors, and any stored items.
* Attics: Check for roof leaks and proper ventilation.
* Windows and Doors: Look for condensation and leaks around the frames.
* Laundry Room: Washing machines and dryers can create a lot of moisture.
Phase 2: Prevention is Key: Simple Steps for a Mold-Free Home
Now for the good stuff! Here’s how to prevent mold from taking hold in your home.
1. Control Humidity
This is probably the most important step. Mold can’t grow without moisture, so keeping humidity levels low is crucial.
* Use a Dehumidifier: In damp areas like basements, bathrooms, and laundry rooms, a dehumidifier is your best friend. I recommend aiming for a humidity level between 30% and 50%. You can buy a hygrometer (humidity meter) to monitor the levels.
* Improve Ventilation: Open windows and doors whenever possible to allow fresh air to circulate. Use exhaust fans in bathrooms and kitchens when showering, bathing, or cooking. Make sure your exhaust fans are venting to the outside, not just into the attic.
* Fix Leaks Promptly: Don’t ignore that dripping faucet or leaky pipe! Even small leaks can create a breeding ground for mold. Repair them as soon as possible.
* Dry Wet Areas Immediately: If you spill something, clean it up right away. If you have a flood, even a small one, dry everything thoroughly within 24-48 hours to prevent mold growth. Use fans, dehumidifiers, and even a wet/dry vacuum to remove excess water.
* Properly Vent Appliances: Make sure your clothes dryer is properly vented to the outside. This will prevent moisture from building up in your laundry room.
* Insulate Pipes: Insulating cold water pipes can prevent condensation from forming on their surfaces.
2. Keep Things Clean and Dry
Mold loves to feed on organic matter, so keeping your home clean and dry is essential.
* Regular Cleaning: Dust and vacuum regularly to remove mold spores and potential food sources. Pay special attention to areas prone to moisture.
* Clean Bathrooms and Kitchens Frequently: Wipe down showers, tubs, sinks, and countertops after each use. Clean up spills immediately.
* Wash or Replace Shower Curtains and Mats Regularly: These items can easily harbor mold.
* Clean Gutters Regularly: Clogged gutters can cause water to back up and leak into your home.
* Avoid Carpeting in Bathrooms and Basements: Carpet is a magnet for moisture and mold. Opt for tile or other water-resistant flooring in these areas. If you must have carpet, clean it regularly and consider using a mold-resistant carpet pad.
* Store Items Properly: Store items in dry, well-ventilated areas. Avoid storing cardboard boxes directly on the floor in basements or garages. Use plastic bins instead.
3. Use Mold-Resistant Products
When renovating or building, consider using mold-resistant materials.
* Mold-Resistant Paint: Use mold-resistant paint in bathrooms, kitchens, and basements.
* Mold-Resistant Drywall: This type of drywall is less susceptible to mold growth.
* Mold-Resistant Caulk and Grout: Use these products in bathrooms and kitchens to prevent mold from growing in these areas.
4. Improve Air Circulation
Good air circulation helps to prevent moisture from building up.
* Open Windows and Doors: Whenever possible, open windows and doors to allow fresh air to circulate.
* Use Fans: Use fans to circulate air in rooms that are prone to moisture.
* Arrange Furniture Properly: Don’t block air vents with furniture.
5. Inspect and Maintain Your Home Regularly
Regular inspections can help you catch potential problems before they become major mold infestations.
* Check for Leaks: Inspect your roof, plumbing, and windows regularly for leaks.
* Inspect Your Foundation: Look for cracks in your foundation that could allow water to enter your home.
* Check Your Attic: Make sure your attic is properly ventilated and insulated.
* Check Your Basement: Look for signs of moisture in your basement.
Phase 3: DIY Mold Prevention Solutions
Here are some specific DIY solutions I’ve found helpful:
1. Vinegar Spray
Vinegar is a natural disinfectant and mold killer. I use it all the time!
Instructions:
1. Pour undiluted white vinegar into a spray bottle.
2. Spray the vinegar onto any areas that are prone to mold growth, such as shower walls, tubs, and sinks.
3. Let the vinegar sit for at least an hour.
4. Wipe the area clean with a damp cloth.
5. Repeat this process weekly to prevent mold growth.
2. Baking Soda Paste
Baking soda is another natural cleaner and deodorizer that can help prevent mold growth.
Instructions:
1. Mix baking soda with water to form a paste.
2. Apply the paste to any areas that are prone to mold growth, such as grout and caulk.
3. Let the paste sit for at least an hour.
4. Scrub the area with a brush.
5. Rinse the area with water.
6. Repeat this process as needed.
3. Tea Tree Oil Spray
Tea tree oil is a natural antifungal and antibacterial agent. It has a strong scent, but it’s very effective at preventing mold growth.
Instructions:
1. Mix 1 teaspoon of tea tree oil with 1 cup of water in a spray bottle.
2. Shake the bottle well to combine the ingredients.
3. Spray the mixture onto any areas that are prone to mold growth.
4. Do not rinse. Let the mixture air dry.
5. Repeat this process weekly to prevent mold growth.
4. Hydrogen Peroxide
Hydrogen peroxide is a mild disinfectant that can kill mold spores.
Instructions:
1. Pour 3% hydrogen peroxide into a spray bottle.
2. Spray the hydrogen peroxide onto any areas that are prone to mold growth.
3. Let the hydrogen peroxide sit for at least 10 minutes.
4. Wipe the area clean with a damp cloth.
5. Repeat this process as needed.
5. Borax Solution
Borax is a natural mineral that can kill mold and prevent it from returning.
Instructions:
1. Mix 1 cup of borax with 1 gallon of water in a bucket.
2. Dip a sponge or cloth into the solution.
3. Wipe the solution onto any areas that are prone to mold growth.
4. Do not rinse. Let the solution air dry.
5. Repeat this process as needed.
Important Considerations
* Safety First: When using any cleaning products, always wear gloves and eye protection.
* Severe Mold Problems: If you have a large mold infestation (more than 10 square feet), it’s best to call in a professional mold remediation company.
* Ventilation: Always ensure good ventilation when cleaning with any of these solutions.
* Test in an Inconspicuous Area: Before applying any cleaning solution to
Conclusion
So, there you have it! This simple, yet incredibly effective DIY trick to prevent mold growth is a game-changer for any homeowner or renter. We’ve walked you through the steps, explained the science behind it, and hopefully, dispelled any lingering doubts about its efficacy. But why is this a must-try?
Firstly, it’s about peace of mind. Mold isn’t just unsightly; it’s a potential health hazard, especially for those with allergies, asthma, or compromised immune systems. Knowing you’ve taken proactive steps to safeguard your home and your family’s well-being is invaluable. Secondly, it’s cost-effective. Compared to expensive mold remediation services or harsh chemical treatments, this DIY solution utilizes readily available, affordable ingredients. You’re saving money while creating a healthier living environment. Thirdly, it’s environmentally friendly. By opting for natural solutions, you’re reducing your exposure to potentially harmful chemicals and contributing to a more sustainable lifestyle.
But the beauty of this method lies in its adaptability. Feel free to experiment with variations to suit your specific needs and preferences. For instance, if you’re dealing with a particularly stubborn area prone to mold, consider increasing the concentration of tea tree oil in your solution. Alternatively, if you prefer a different scent, you can substitute the essential oil with lavender, eucalyptus, or peppermint – all known for their antifungal properties. Remember to always test a small, inconspicuous area first to ensure the solution doesn’t damage the surface.
Another variation involves the application method. While we’ve recommended a spray bottle for ease of use, you can also apply the solution with a sponge or cloth, especially for larger surfaces. For hard-to-reach areas, consider using a long-handled brush or a specialized mold removal tool. The key is to ensure thorough coverage and allow the solution to air dry completely.
Beyond the initial application, consider incorporating this DIY trick into your regular cleaning routine. A quick spray of the solution in moisture-prone areas like bathrooms and kitchens can go a long way in preventing mold from taking hold. Think of it as a preventative measure, rather than a reactive one.
We genuinely believe that this DIY trick to prevent mold growth is a valuable addition to your home maintenance arsenal. It’s simple, effective, affordable, and environmentally friendly. But don’t just take our word for it – try it yourself! We’re confident that you’ll be impressed with the results.
And now, we want to hear from you! Have you tried this DIY trick? What variations did you experiment with? What were your results? Share your experiences, tips, and insights in the comments below. Your feedback will not only help other readers but also contribute to a collective knowledge base on effective mold prevention strategies. Let’s work together to create healthier, mold-free homes for everyone! We are eager to hear your success stories and any challenges you might have encountered. Your shared experiences will help us refine and improve this method for the benefit of all. So, go ahead, give it a try, and let us know what you think!
FAQ
What exactly causes mold growth in the first place?
Mold thrives in damp, humid environments with poor ventilation. Common causes include leaky pipes, condensation, inadequate ventilation in bathrooms and kitchens, and water damage from floods or spills. Organic materials like wood, drywall, and fabric provide a food source for mold to grow. Understanding these causes is the first step in effectively preventing mold growth.
Is this DIY solution safe to use around children and pets?
While the ingredients in this DIY solution are generally considered safe, it’s always best to exercise caution when using any cleaning product around children and pets. Keep the solution out of reach and avoid spraying it directly on surfaces that children or pets might lick or chew. If you’re concerned about potential sensitivities, consider using a diluted solution or opting for essential oils that are known to be safe for pets and children, such as lavender (in moderation). Always supervise children and pets during application and ensure the area is well-ventilated.
How often should I apply this DIY solution to prevent mold growth?
The frequency of application depends on the specific environment and the level of humidity. In high-humidity areas like bathrooms, you may need to apply the solution weekly or bi-weekly. In drier areas, a monthly application may suffice. Regularly inspect moisture-prone areas for signs of mold growth and adjust the frequency accordingly. As a general rule, it’s better to err on the side of caution and apply the solution more frequently than less.
What types of surfaces can I safely use this DIY solution on?
This DIY solution is generally safe to use on most non-porous surfaces, including tiles, glass, plastic, and painted surfaces. However, it’s always a good idea to test a small, inconspicuous area first to ensure the solution doesn’t damage the surface or cause discoloration. Avoid using the solution on delicate materials like unfinished wood, leather, or certain fabrics without testing first.
What if I already have a significant mold problem? Will this DIY solution be effective?
This DIY solution is primarily intended for preventing mold growth, not for removing existing mold infestations. While it may help to inhibit the growth of small patches of mold, it’s not a substitute for professional mold remediation services. If you have a significant mold problem, it’s crucial to address the underlying cause of the moisture and consult with a qualified mold remediation specialist. They can assess the extent of the damage and recommend the appropriate course of action.
Can I use bleach instead of this DIY solution to prevent mold growth?
While bleach is a powerful disinfectant, it’s not the ideal solution for preventing mold growth. Bleach only kills surface mold and doesn’t penetrate porous materials to kill the mold spores at the root. Additionally, bleach can be harmful to your health and the environment. It can also damage certain surfaces and release toxic fumes. This DIY solution, on the other hand, is a safer, more environmentally friendly, and potentially more effective option for preventing mold growth.
What are the best essential oils to use in this DIY solution for preventing mold growth?
Tea tree oil is widely recognized for its potent antifungal properties and is a popular choice for preventing mold growth. Other effective essential oils include lavender, eucalyptus, peppermint, clove, and thyme. Each of these oils has its own unique scent and properties, so you can choose the one that best suits your preferences. When using essential oils, be sure to use pure, high-quality oils and follow the recommended dilution ratios.
How do I store the DIY solution?
Store the DIY solution in a cool, dark place away from direct sunlight and heat. A glass spray bottle is ideal for storage, as it won’t react with the essential oils. Be sure to label the bottle clearly and keep it out of reach of children and pets. The solution should remain effective for several months if stored properly.
What are some other tips for preventing mold growth in my home?
In addition to using this DIY solution, there are several other steps you can take to prevent mold growth in your home:
* Ensure proper ventilation in bathrooms and kitchens by using exhaust fans.
* Fix any leaks or water damage promptly.
* Keep humidity levels low by using a dehumidifier.
* Clean and dry damp areas immediately.
* Improve air circulation by opening windows and doors.
* Regularly clean and disinfect surfaces that are prone to mold growth.
* Consider using mold-resistant paint in bathrooms and kitchens.
What if I am allergic to one of the ingredients?
If you are allergic to any of the ingredients listed in the DIY solution, such as tea tree oil or vinegar, it is crucial to avoid using it. Allergies can manifest in various ways, including skin irritation, respiratory problems, or other adverse reactions. Instead, explore alternative mold prevention methods that do not contain the allergen. You might consider using a different essential oil known for its antifungal properties that you are not allergic to, or consult with a professional for alternative solutions. Always prioritize your health and safety when choosing a mold prevention strategy.

Leave a Comment