
Salt kitchen hacks – who knew such a simple ingredient could be a secret weapon in your culinary arsenal and beyond? I’m always amazed at how everyday items can be repurposed to make life easier, and salt is definitely a superstar in that category. For centuries, salt has been more than just a seasoning; it’s been used for preservation, cleaning, and even medicinal purposes. Think about ancient civilizations using salt to preserve food before refrigeration existed – pretty ingenious, right?
But let’s bring it back to the present. Are you tired of scrubbing burnt pots and pans? Or maybe you’re looking for a natural way to keep your kitchen sparkling clean? That’s where these salt kitchen hacks come in! In this article, I’m going to share some of my favorite DIY tricks using salt that will save you time, money, and a whole lot of elbow grease. From reviving dull copper to keeping your drains fresh, you’ll be surprised at the versatility of this humble ingredient. So, grab your salt shaker, and let’s get started on transforming your kitchen with these simple yet effective hacks!
DIY Salt Hacks for a Sparkling Kitchen!
Hey there, fellow DIY enthusiasts! I’m always on the lookout for simple, effective, and budget-friendly ways to keep my kitchen clean and organized. And guess what? Salt, that humble kitchen staple, is a powerhouse of cleaning and problem-solving potential! Forget expensive specialty cleaners; let’s dive into some amazing salt hacks that will leave your kitchen sparkling and you feeling like a domestic goddess (or god!).
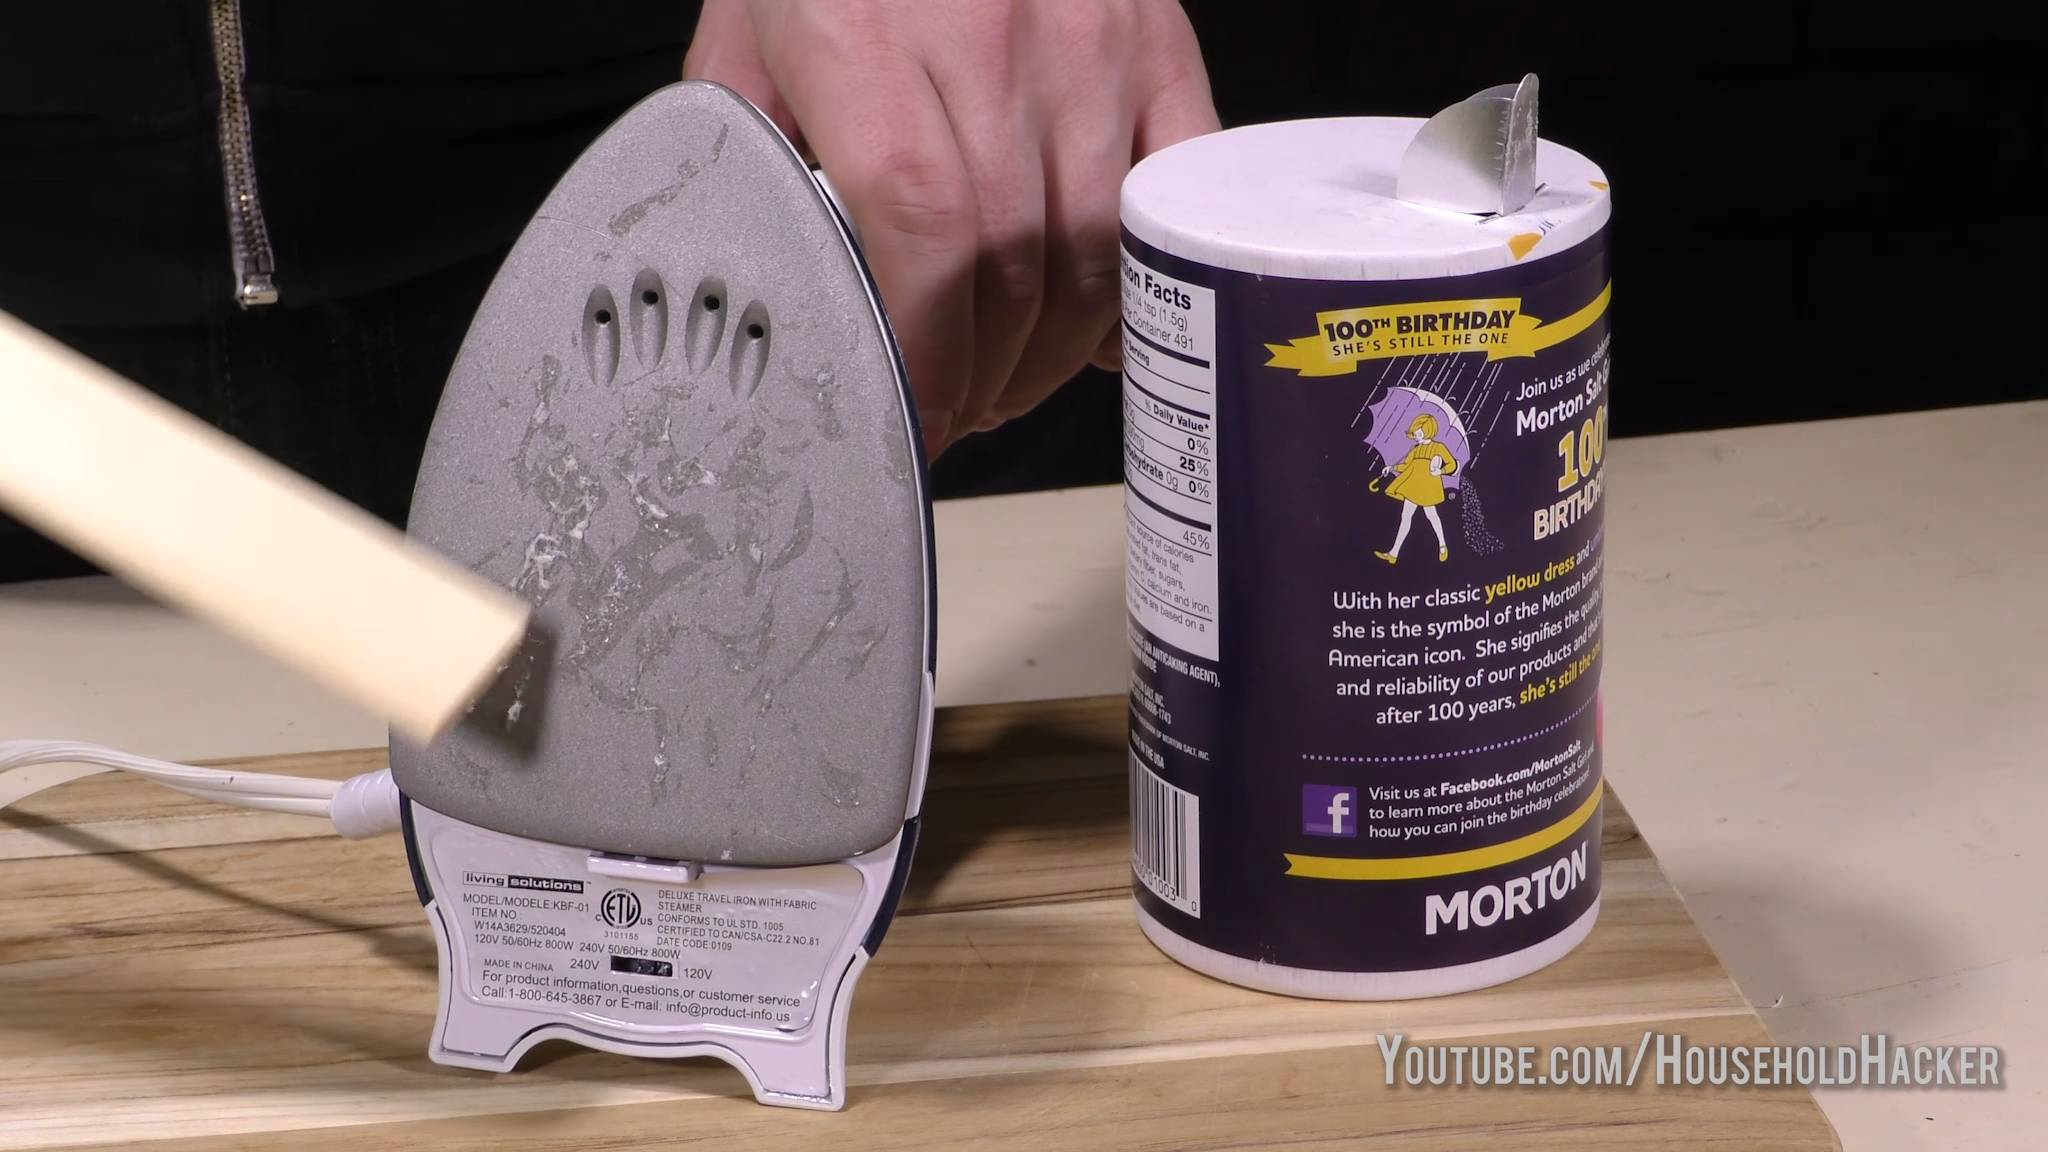
Cleaning Cast Iron Like a Pro
Cast iron cookware is a kitchen essential, but cleaning it can be a real pain. Soap can strip away the seasoning, and scrubbing too hard can damage the surface. But fear not! Salt is here to save the day. Its abrasive texture gently removes food particles without harming your precious cast iron.
What You’ll Need:
* Coarse salt (kosher or sea salt works best)
* A clean, dry cloth or sponge
* Vegetable oil or other cooking oil
Step-by-Step Instructions:
1. Scrape Away Excess Food: After cooking, use a spatula or scraper to remove any large pieces of food from your cast iron pan.
2. Add Salt and Scrub: Pour a generous amount of coarse salt into the pan. Using your cloth or sponge, scrub the pan in a circular motion. Apply firm pressure to dislodge any stuck-on food. I usually spend a few minutes on this step, making sure to get into all the nooks and crannies.
3. Rinse (Optional): If the pan is particularly dirty, you can rinse it briefly with hot water. However, try to avoid prolonged exposure to water, as it can lead to rust.
4. Dry Thoroughly: This is crucial! Use a clean towel to dry the pan completely. You can also place it on a burner over low heat for a few minutes to ensure all moisture is gone.
5. Season the Pan: Pour a small amount of vegetable oil (about a teaspoon) into the pan. Use a clean cloth to rub the oil all over the inside and outside of the pan, including the handle.
6. Remove Excess Oil: Use a clean, dry cloth to wipe away any excess oil. You want the pan to be lightly coated, not greasy.
7. Heat the Pan: Place the pan upside down in a preheated oven at 350°F (175°C) for about an hour. This will help the oil bake into the pan and create a protective layer. If you don’t want to use the oven, you can also heat the pan on the stovetop over medium heat until it starts to smoke slightly.
8. Cool and Store: Let the pan cool completely before storing it. Your cast iron is now clean, seasoned, and ready for its next culinary adventure!
Reviving Dull Copper Pots and Pans
Copper cookware is beautiful, but it can tarnish easily. Instead of buying expensive copper cleaners, try this simple salt and vinegar paste. It’s amazing how well it works!
What You’ll Need:
* Salt (table salt is fine)
* White vinegar
* A soft cloth or sponge
Step-by-Step Instructions:
1. Make a Paste: In a small bowl, mix equal parts salt and white vinegar to form a paste. I usually start with about a tablespoon of each and adjust as needed.
2. Apply the Paste: Apply the paste to the tarnished copper surface.
3. Scrub Gently: Using a soft cloth or sponge, gently scrub the copper in a circular motion. You’ll start to see the tarnish disappear almost immediately.
4. Rinse Thoroughly: Rinse the copper with warm water to remove all traces of the paste.
5. Dry Completely: Use a clean towel to dry the copper thoroughly. Buff it to a shine for extra sparkle!
Cleaning a Grimy Sink
Sinks can get pretty gross, especially around the drain. Salt can help scrub away grime and deodorize at the same time.
What You’ll Need:
* Salt (table salt is fine)
* Lemon halves (optional, but adds a nice scent and extra cleaning power)
* A sponge or cloth
Step-by-Step Instructions:
1. Wet the Sink: Lightly wet the surface of your sink.
2. Sprinkle with Salt: Sprinkle a generous amount of salt over the entire sink surface, focusing on areas with grime or stains.
3. Scrub: Use a sponge or cloth to scrub the sink in a circular motion. The salt will act as a gentle abrasive to remove dirt and grime.
4. Add Lemon (Optional): If you’re using lemon halves, squeeze some juice onto the salt and use the lemon itself to scrub the sink. The citric acid in the lemon will help to break down grease and deodorize the sink.
5. Rinse Thoroughly: Rinse the sink with warm water to remove all traces of salt and grime.
6. Dry: Dry the sink with a clean towel. Your sink will be sparkling clean and smell fresh!
Unclogging Drains (Minor Clogs)
A clogged drain is a kitchen nightmare! While salt won’t solve major blockages, it can help with minor clogs caused by grease and food particles.
What You’ll Need:
* Salt (coarse salt is best)
* Boiling water
Step-by-Step Instructions:
1. Pour Salt Down the Drain: Pour about 1/2 cup of salt down the clogged drain.
2. Pour Boiling Water: Carefully pour a kettle of boiling water down the drain.
3. Wait: Let the mixture sit for about 20-30 minutes. The salt and hot water will help to break down grease and dissolve minor clogs.
4. Flush with Hot Water: Flush the drain with hot water for several minutes to clear any remaining debris.
5. Repeat if Necessary: If the drain is still clogged, repeat the process. For stubborn clogs, you may need to use a plunger or call a plumber.
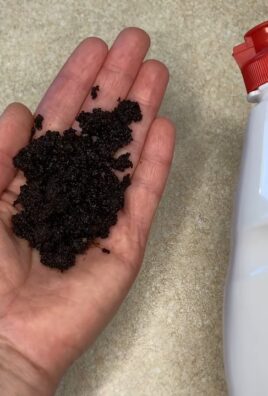
Cleaning Burnt Food from Pots and Pans
We’ve all been there – accidentally burning food onto the bottom of a pot or pan. It’s frustrating, but salt can help!
What You’ll Need:
* Salt (table salt is fine)
* Water
* A sponge or scraper
Step-by-Step Instructions:
1. Cover the Burnt Area with Salt: Pour a generous amount of salt into the pot or pan, covering the burnt food completely.
2. Add Water: Add enough water to cover the salt and the burnt food.
3. Let it Soak: Let the mixture soak for several hours, or even overnight. The salt will help to loosen the burnt food.
4. Scrub: After soaking, use a sponge or scraper to scrub the burnt food. It should come off much easier than before.
5. Wash as Usual: Wash the pot or pan with soap and water as usual.
Keeping Ants Away
Ants are unwelcome guests in any kitchen. Salt can act as a natural deterrent to keep them away.
What You’ll Need:
* Salt (table salt is fine)
Step-by-Step Instructions:
1. Identify Ant Entry Points: Observe where the ants are entering your kitchen.
2. Sprinkle Salt: Sprinkle a line of salt along the ant trails and entry points. Ants don’t like to cross salt, so this will help to deter them.
3. Repeat as Needed: Repeat the process as needed to keep the ants away.
Absorbing Spills
Spilled something sticky or greasy on your countertop? Salt can help absorb the mess and make cleanup easier.
What You’ll Need:
* Salt (table salt is fine)
Step-by-Step Instructions:
1. Cover the Spill with Salt: Immediately cover the spill with a generous amount of salt.
2. Let it Absorb: Let the salt sit for about 10-15 minutes to absorb the spill.
3. Wipe Away: Wipe away the salt and the absorbed spill with a damp cloth.
4. Clean as Usual: Clean the area with soap and water as usual.
Preventing Fruit from Browning
Cut apples, pears, and other fruits can quickly turn brown. A little salt water can help prevent this.
What You’ll Need:
* Salt (table salt is fine)
* Water
Step-by-Step Instructions:
1. Make a Salt Water Solution: Dissolve about 1/2 teaspoon of salt in 1 cup of water.
2. Soak the Fruit: Soak the cut fruit in the salt water solution for about
Conclusion
So, there you have it! Mastering these simple salt kitchen hacks is a game-changer for any home cook, from the novice to the seasoned chef. We’ve explored how this humble ingredient, often overlooked, can be so much more than just a seasoning. From reviving wilted greens to preventing apples from browning, and even cleaning cast iron skillets, salt proves its versatility time and time again.
Why is this a must-try? Because these hacks are not only incredibly effective, but they’re also cost-effective and environmentally friendly. You’re likely already using salt in your daily cooking, so you’re essentially unlocking hidden potential within an ingredient you already have on hand. Think about the money you’ll save on specialized cleaning products or produce that ends up in the trash because it spoiled too quickly. These salt kitchen hacks offer a sustainable and practical solution to common kitchen woes.
But the magic doesn’t stop there! Feel free to experiment and adapt these techniques to your own needs and preferences. For example, if you’re using salt to clean your cast iron, consider adding a touch of baking soda for extra scrubbing power. Or, when reviving wilted lettuce, try adding a squeeze of lemon juice to the salt water for an extra boost of freshness. You can even create flavored salts by infusing coarse sea salt with herbs like rosemary, thyme, or even citrus zest. These flavored salts can then be used to elevate your dishes to a whole new level.
We’ve only scratched the surface of what’s possible with salt in the kitchen. The possibilities are truly endless, and we encourage you to explore and discover your own unique salt-based solutions.
Don’t just take our word for it – try these salt kitchen hacks for yourself! We’re confident that you’ll be amazed by the results. And more importantly, we want to hear about your experiences. Did you discover a new and innovative way to use salt in the kitchen? Did one of these hacks work particularly well for you? Share your stories, tips, and tricks in the comments below. Let’s build a community of salt-savvy cooks who are passionate about making the most of this incredible ingredient. Your feedback will not only help other readers but also inspire us to continue exploring the endless possibilities of salt in the kitchen. So go ahead, grab that salt shaker, and get ready to revolutionize your cooking!
Frequently Asked Questions (FAQs)
Q: What kind of salt is best for these kitchen hacks?
A: The type of salt you use can depend on the specific hack. For most cleaning and preservation purposes, coarse salt, sea salt, or kosher salt are excellent choices. Their larger granules provide better scrubbing power and dissolve more slowly, making them ideal for tasks like cleaning cast iron or reviving wilted vegetables. Table salt, while readily available, can sometimes be too fine and may not be as effective. For flavoring, sea salt flakes or specialty salts like Himalayan pink salt can add a unique touch to your dishes. Ultimately, experiment to see what works best for you and your specific needs.
Q: Can I use iodized salt for these hacks?
A: Yes, you can use iodized salt for most of these hacks. However, keep in mind that iodized salt can sometimes have a slightly metallic taste, which might affect the flavor of your food if you’re using it for seasoning. For cleaning and preservation purposes, the iodine content is generally not a concern. If you’re sensitive to the taste of iodine, you might prefer to use non-iodized salt, especially when seasoning delicate dishes.
Q: How long can I soak wilted vegetables in salt water to revive them?
A: The soaking time can vary depending on the type and severity of the wilting. Generally, 15-30 minutes is a good starting point. Check the vegetables periodically to see if they’ve regained their crispness. If they’re still limp after 30 minutes, you can soak them for another 15-30 minutes. Be careful not to over-soak them, as they can become too salty or waterlogged. Once they’re revived, drain them thoroughly and pat them dry before using.
Q: Will salt damage my cast iron skillet?
A: No, salt will not damage your cast iron skillet if used properly. In fact, it’s a great natural abrasive for cleaning. The key is to use coarse salt and avoid prolonged soaking. After scrubbing with salt, rinse the skillet thoroughly with hot water and dry it completely. Then, re-season it with a thin layer of oil to prevent rust. Never let your cast iron skillet sit with salt for extended periods, as this could potentially lead to corrosion.
Q: Can I use these salt hacks on all types of vegetables and fruits?
A: While many vegetables and fruits benefit from these salt hacks, there are some exceptions. For example, delicate berries might not hold up well to soaking in salt water. Similarly, some leafy greens, like spinach, can become too salty if soaked for too long. Always test a small portion first to see how the food reacts. In general, sturdier vegetables like carrots, celery, and lettuce are more tolerant of salt treatments.
Q: How much salt should I use for each of these hacks?
A: The amount of salt needed will vary depending on the specific hack and the quantity of food or item you’re working with. As a general guideline, start with a small amount and add more as needed. For example, when reviving wilted vegetables, use about 1-2 tablespoons of salt per quart of water. When cleaning cast iron, use enough salt to cover the surface of the skillet. It’s always better to start with less and add more than to over-salt and potentially ruin your food or damage your cookware.
Q: Are there any safety precautions I should take when using salt in the kitchen?
A: Salt is generally safe to use in the kitchen, but there are a few precautions to keep in mind. Avoid getting salt in your eyes, as it can cause irritation. When using salt to clean, wear gloves to protect your hands from abrasion. Store salt in a cool, dry place to prevent it from clumping. And as with any cleaning agent, keep salt out of reach of children and pets.
Q: Can I use salt to get rid of ants in my kitchen?
A: Yes, salt can be an effective natural ant repellent. Sprinkle salt along ant trails or around areas where you see ants entering your home. The salt disrupts their scent trails, making it difficult for them to navigate. You can also create a salt water solution and spray it directly on ants. While salt is not a permanent solution, it can help to deter ants and keep them away from your food.
Q: How can I make flavored salt at home?
A: Making flavored salt is easy and fun! Simply combine coarse sea salt with your favorite herbs, spices, or citrus zest. For example, you can mix salt with dried rosemary, thyme, garlic powder, or chili flakes. You can also zest lemons, limes, or oranges and mix the zest with salt. Spread the mixture on a baking sheet and bake at a low temperature (around 200°F) for about an hour to dry it out. Once it’s cool, store it in an airtight container. Experiment with different combinations to create your own unique flavored salts.
Leave a Comment